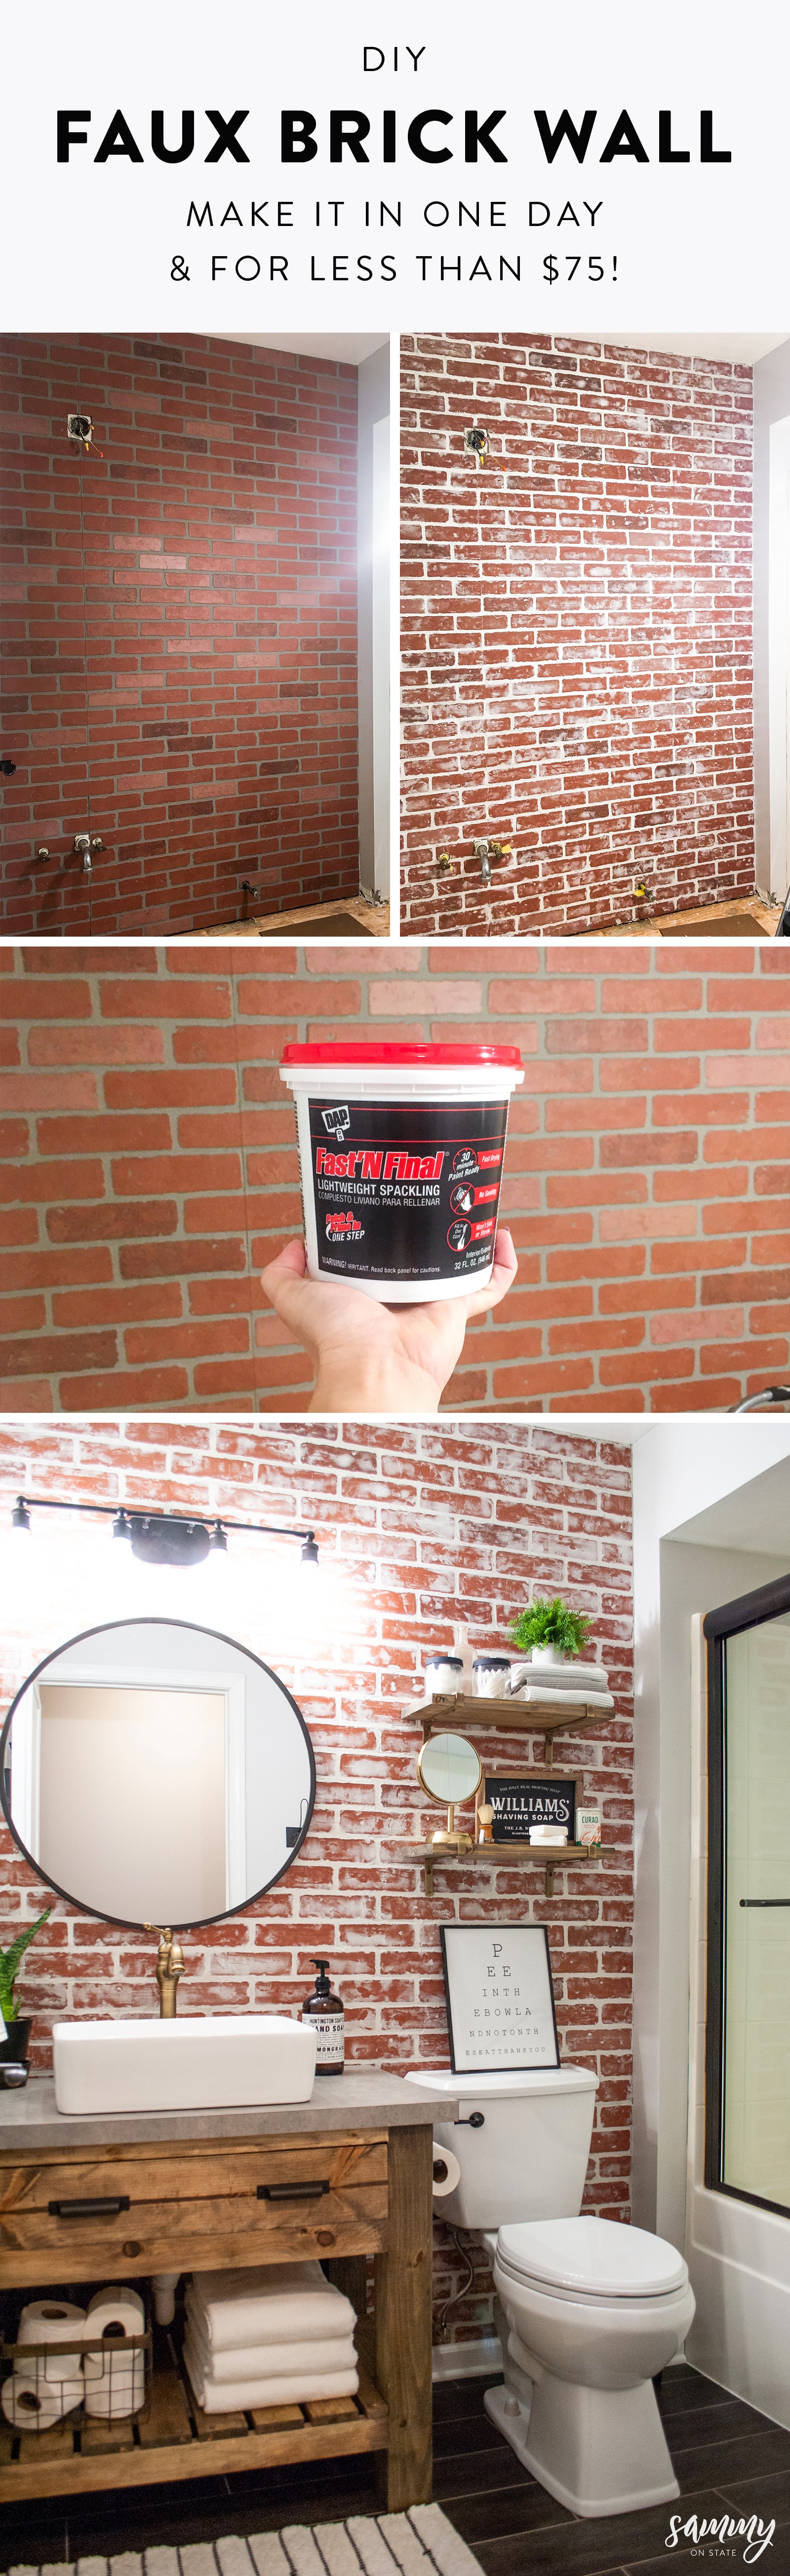
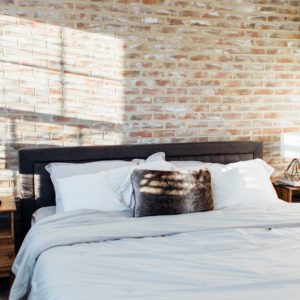
Hi there! If you’re visiting from our Instagram page, you’ve seen my (Tammy here!) guest bathroom reno. By far, my favorite transformation we’ve completed in the house! As well, probably the one I’ve been most nervous about. Why? This faux brick wall. I was extremely nervous about incorporating it into the bathroom design. I didn’t know if it would be too chaotic for the small space, or if it was going to look terrible against the vanity, sink, and faucet. But, once we added all the final touches, it really completed the entire space! Creating this wall was probably one of the easier DIY projects we’ve done too. You can easily finish this in a day! And a bonus? It didn’t break the bank! Check out below on how we created this DIY faux brick wall.
This post may contain affiliate links where we earn a small commission on your purchases at no additional cost to you.
SUPPLIES
Brick wall panels: I got mine from Home Depot because I liked the colors of the bricks they offered. Lowes and Menards also carry brick panels as well. They come in the standard 8ft by 4ft size.
1″ panelboard nails: We bought them at Menards (because that’s almost my second home), but you can pretty much buy these anywhere – Amazon, Lowes, Home Depot, Walmart, they all sell them.
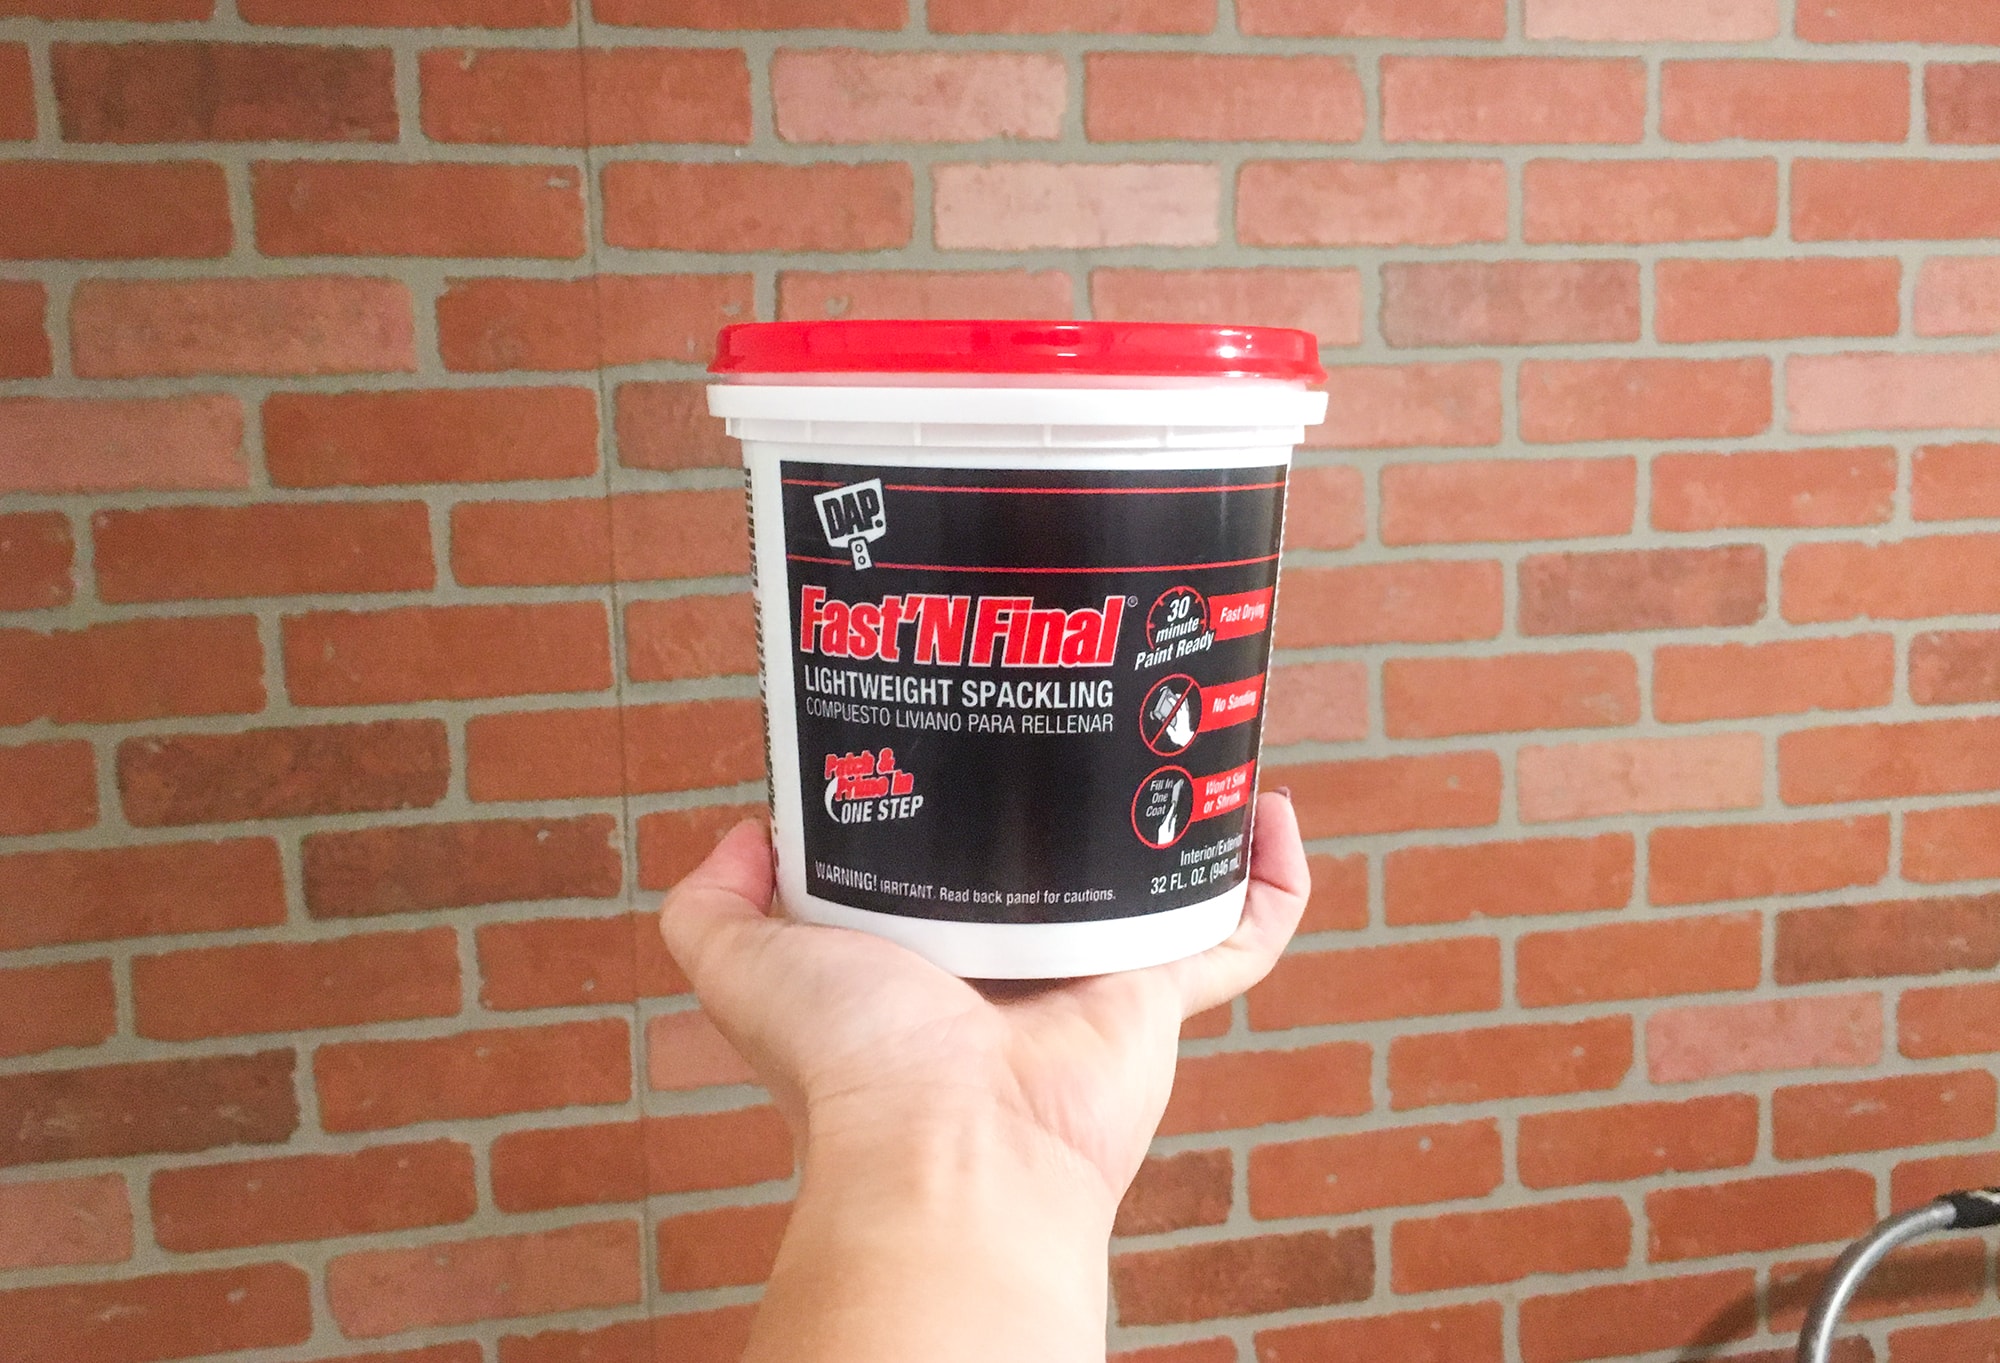
White Spackling: I specifically used this one by DAP, because I knew it would dry white and fast. The amount you need depends on how large your wall is and how much “German Schmear” you want to show. We used 2 32oz containers for our faux brick wall and had about a half container left.
Putty Knife: The bigger the putty knife you get, the faster it is to apply on the paneling!
Polycrylic Protective finish – Matte optional: Since this wall is in our bathroom, where its exposed to water, we needed a sealer. This is not necessary to have if your wall is not going to be in a bathroom or any other room exposed to water.
TOOLS
– Circular Saw: This is to cut the paneling to fit the wall space.
– Hammer: To nail the panelboards into the wall.
– Utility Knife: To cut out any holes in the paneling for outlets, etc. Just make sure the blade is sharp/new.
– Stud Finder: To know where to nail into the wall when hanging the panelboards.
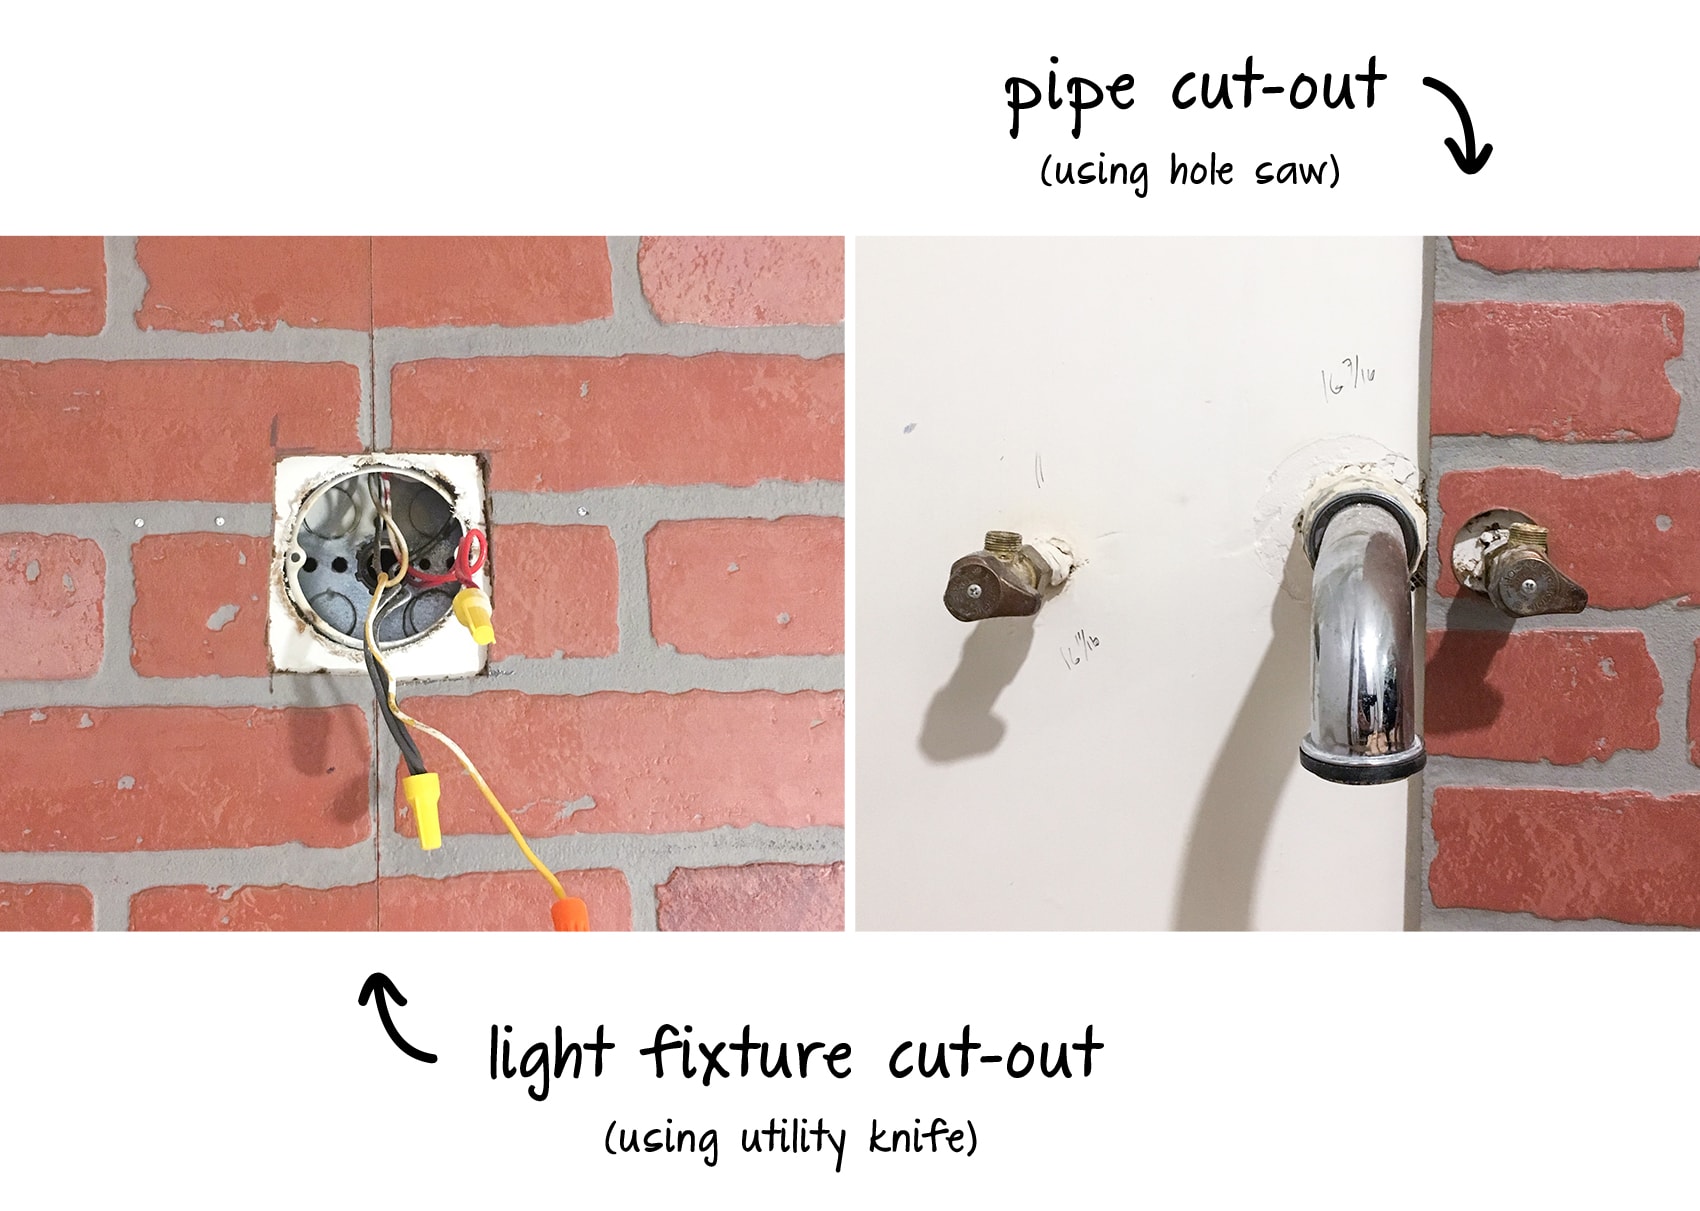
– optional Hole Saw: We recommend using one of these if you’re installing this wall somewhere with pipes… A.K.A. a bathroom wall 😉 We ended up having to cut out 4 circular holes, so a hole saw was necessary for us!
– optional Foam Brush: To apply the protective finish.
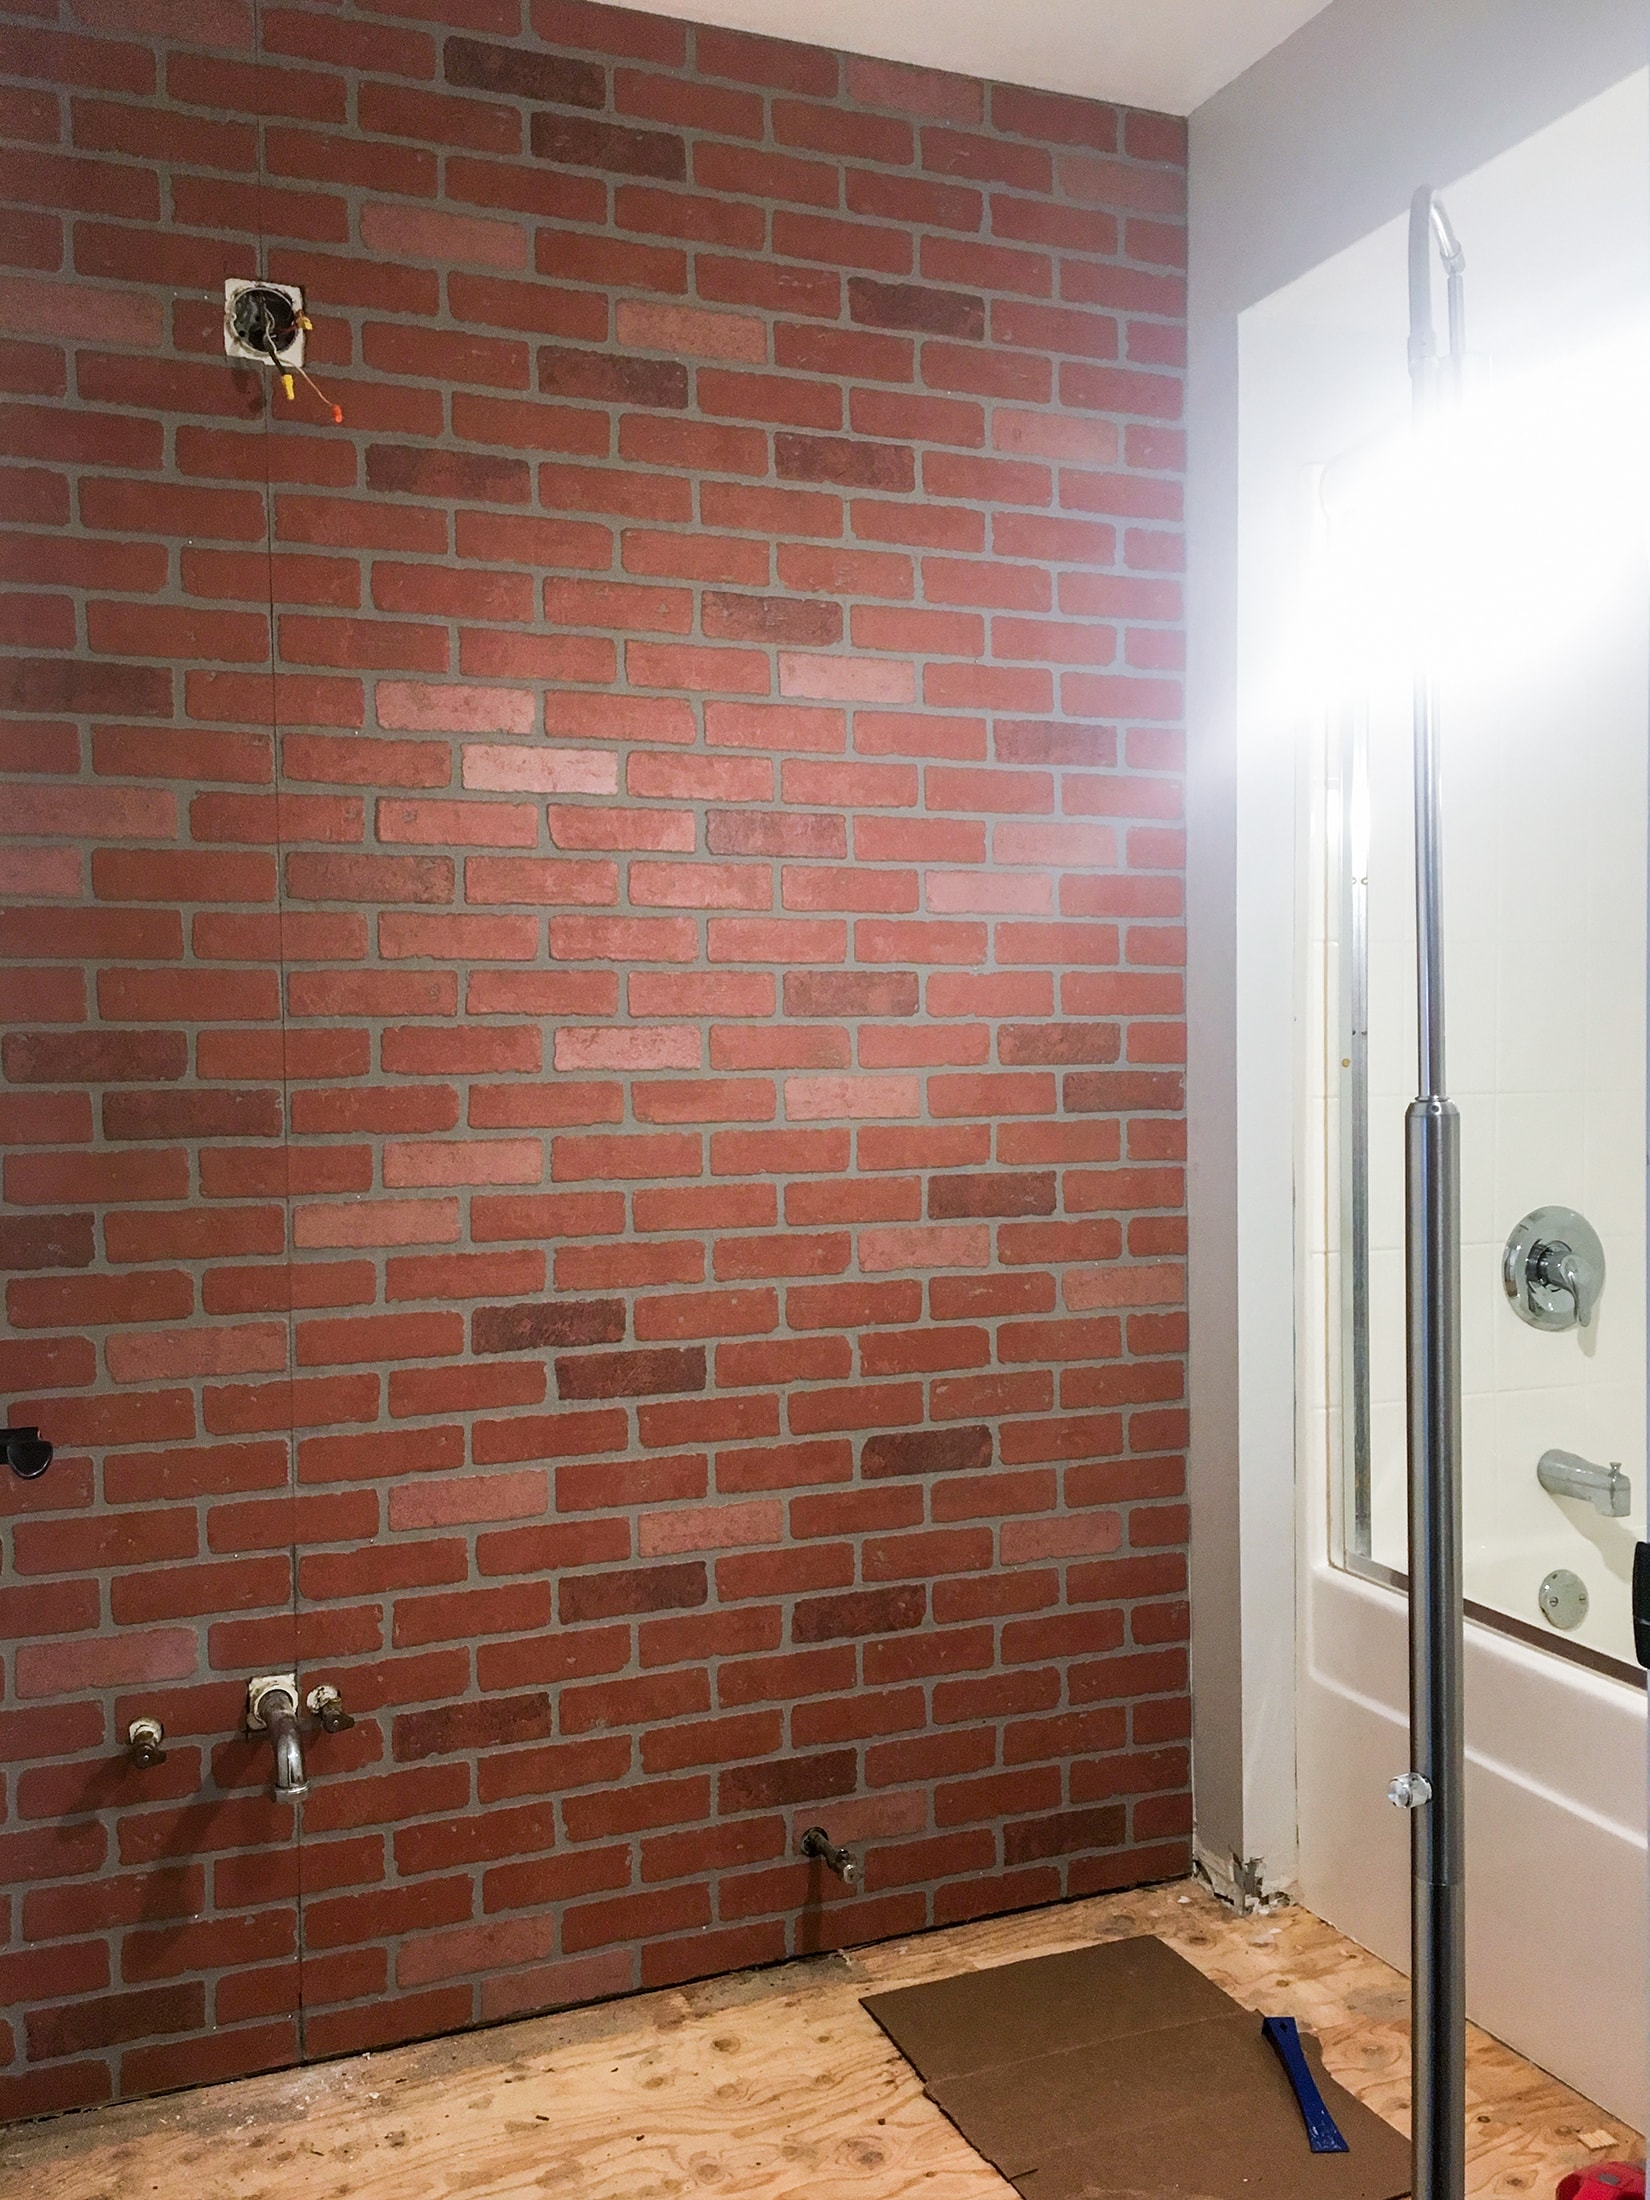
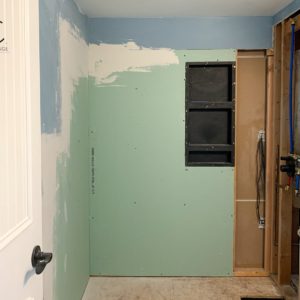
STEP 1 – Measure, Cut & Hang Panelboards
These panelboards are 8′ tall and 4′ wide. Our bathroom is around 5 feet wide, so we needed a small section from a second panelboard. Our walls are 8′ tall, so we did not need to accommodate for any additional height. If you are working in a space with taller ceilings, make sure to plan for additional wall panels for that section.
In our other faux aged brick wall tutorial we posted (see it here!), Sarah ended up cutting out each individual brick on the ends of the panels, so the panelboards were seamless against each other. Well, I’m a bit lazy when it comes to stuff like that… oops. Hear me out first before you go judging me for my laziness! We had 1 seam to work with, and we knew it was going to be (mostly) hidden on the wall. Can you tell where our seam is? Probably not ;P
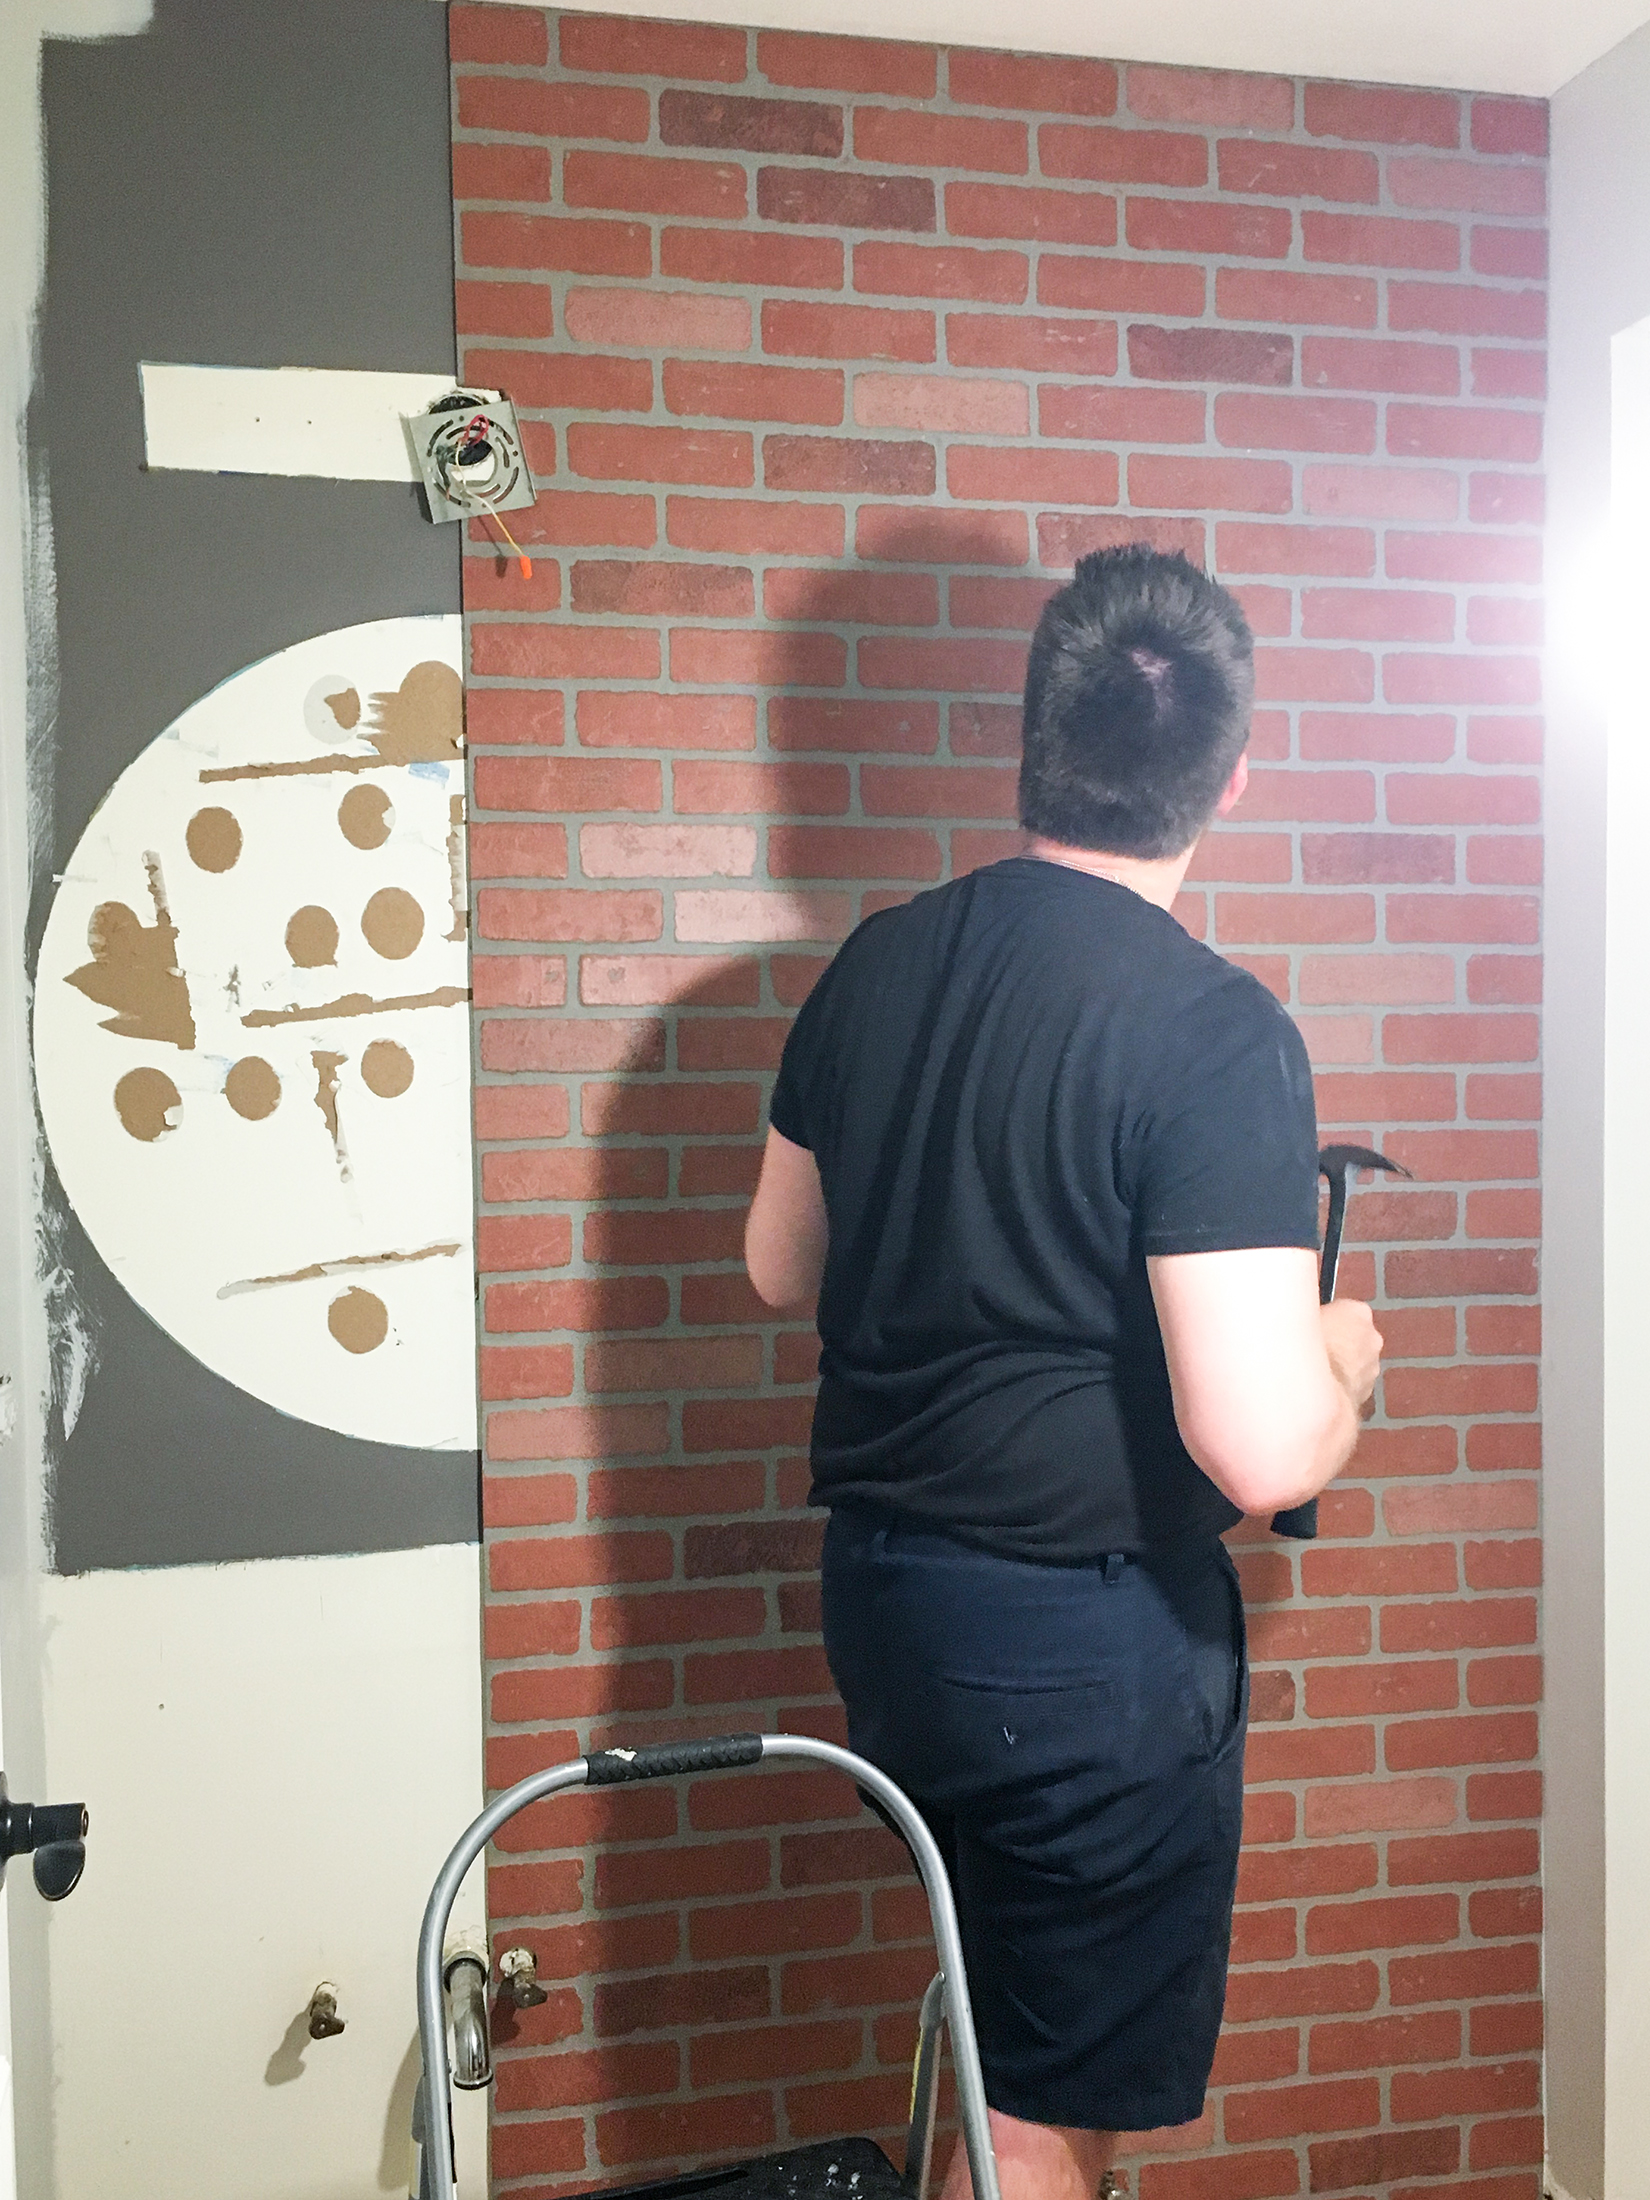
You’ll want to start hanging the panelboards at one end of the wall, and then work your way to the next end. Don’t forget about cutting out any holes for outlets, pipes, or light switches. For outlets, light switches or anything that needs a box cut, a utility knife will work just fine. For any circular cuts (pipes), you’ll want to use a hole saw.
As I mentioned in the supply list, we used panelboard nails to hang the wall panels. I know other people have used wall panel adhesive, but I didn’t want that type of a permanent option. Nails are much easier to remove from a wall then adhesive. Like I said earlier, I was already nervous about the brick wall in this space. So I definitely wanted a way out (justttt in case). To be cautious, we nailed within the seams of the bricks. We did this because we knew the spackle, for sure, was going to cover it there. Since we had more brick showing through, we didn’t want to chance the nail head showing.
– side note – Don’t forget to mark your studs! We found all of our studs and then ended up marking it on the ceiling where they were. We did this because we knew marking them on the wall was going to get covered by panelboards.
Now, I won’t sugar coat this for you… most walls are not straight. When you get to that end piece, it may or may not be a struggle. We like to do projects late at night, you know, when your brain is starting to melt and you can’t think straight. I’m sure some of you know about that. Yeah, well, we road the struggle bus for a little bit while trying to get our last panel to fit in the space. But, low and behold, we got it to fit and I know you will too!
– tip – Make sure to keep your utility knife handy to easily slice off any small pieces at the edge of the panelboard where needed. You can also resort to sandpaper (50 grit) to help sand off the edges where it’s too tight.
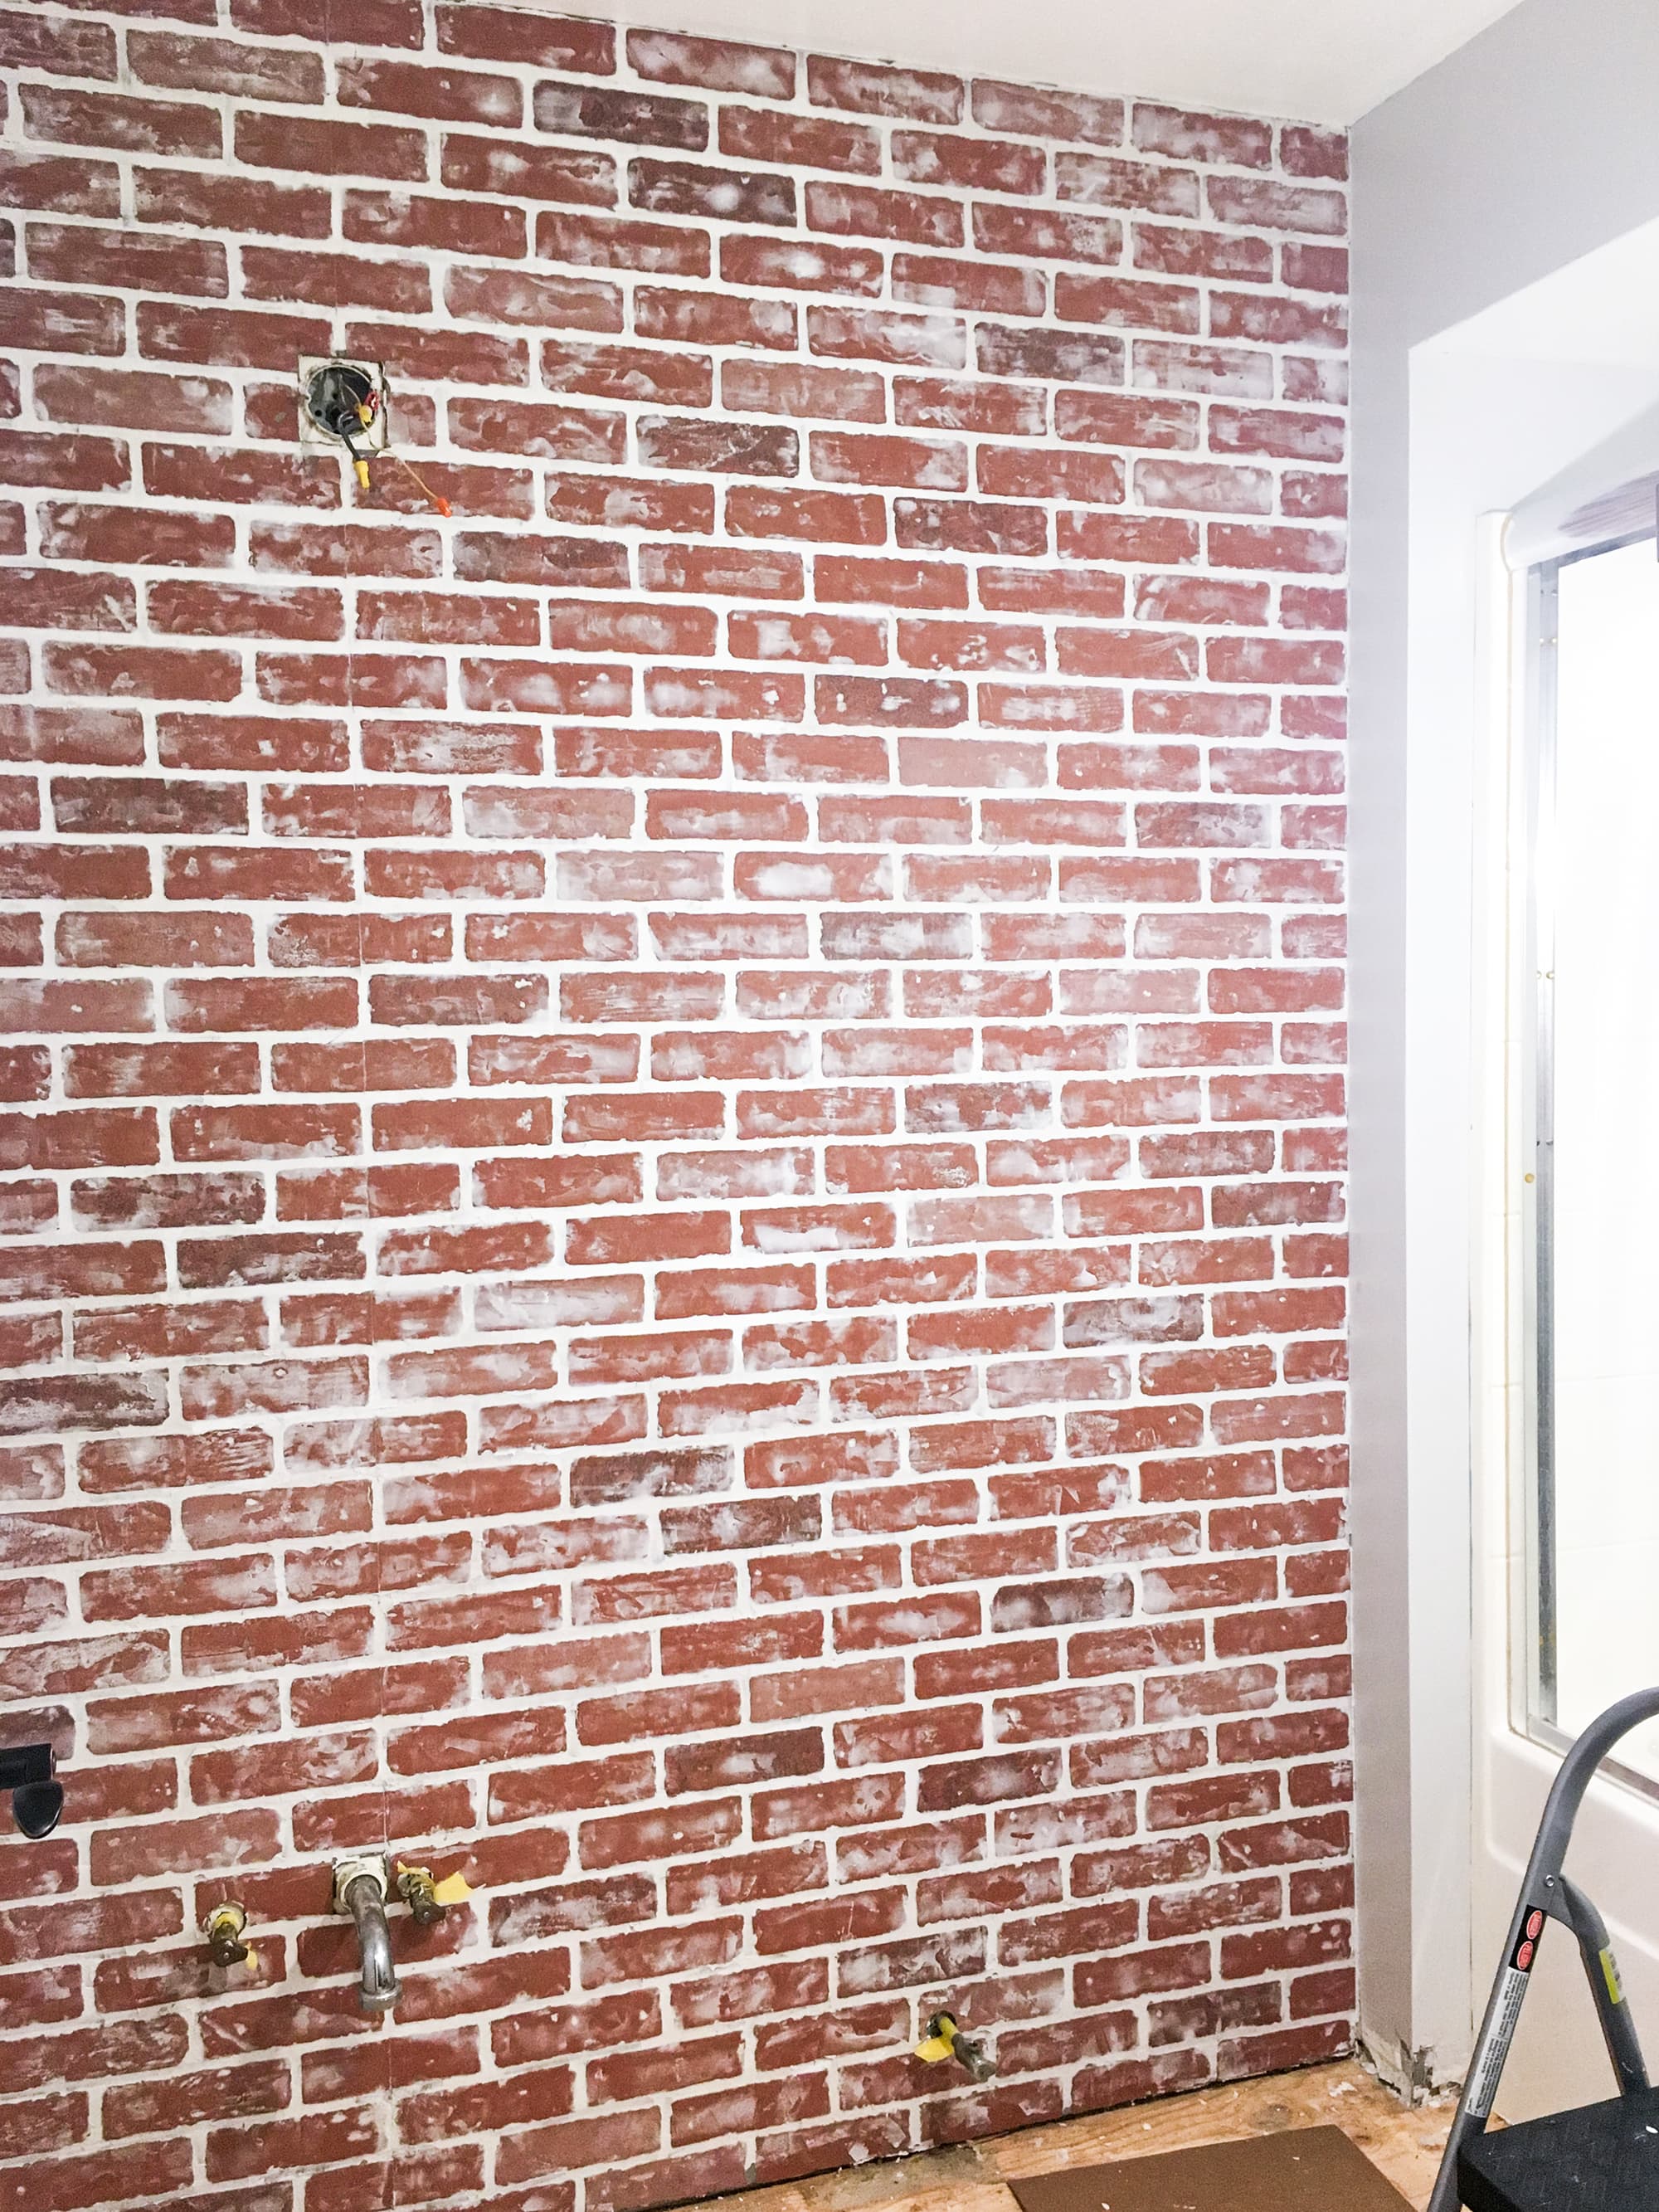
STEP 2 – Create The Faux Brick Wall Look!
I’d like to call what I did a German Schmear, but it’s really not? My original intention was to go with the legit German Schmear look – lots of white showing with a little red brick showing. But you know, inspiration takes its course right as your in the middle of the project. As I was applying the spackle, I really loved how it looked with more of the red brick showing and really just filling in the seams with the spackle. I’ve been on a vintage industrial kick lately, can you blame me? Anyways, I just went with what was happening and let it roll.
Literally, I had FUN applying the German schmear to the wall! Plus, it was so easy (maybe that’s why it was fun). All you need is your putty knife, and the spackle – that’s it. You can be the judge of how much you want to show through. If you step back and take a look at it, and think too much of the brick is showing, just add more spackle! That’s the best part – you can always add more 🙂
If you take a step back again and think too much white is on a brick – use your putty knife to wipe some away. You really can’t mess up, just have fun with it!
STEP 3 – Optional – Seal The Faux Brick Wall
I listed it in the supplies, but if you’re adding this faux brick wall in a bathroom, or maybe a kitchen, where it can be exposed to water, you should seal it with a protective finish. We always use Minwax Polycrylic Matte Finish. Make sure you get the polycrylic because it will not turn yellow once applied. You also want to make sure it’s the matte finish too, so your brick wall does not turn out shiny/glossy. I only did one coat but made sure it was a good one and fully covered everything.
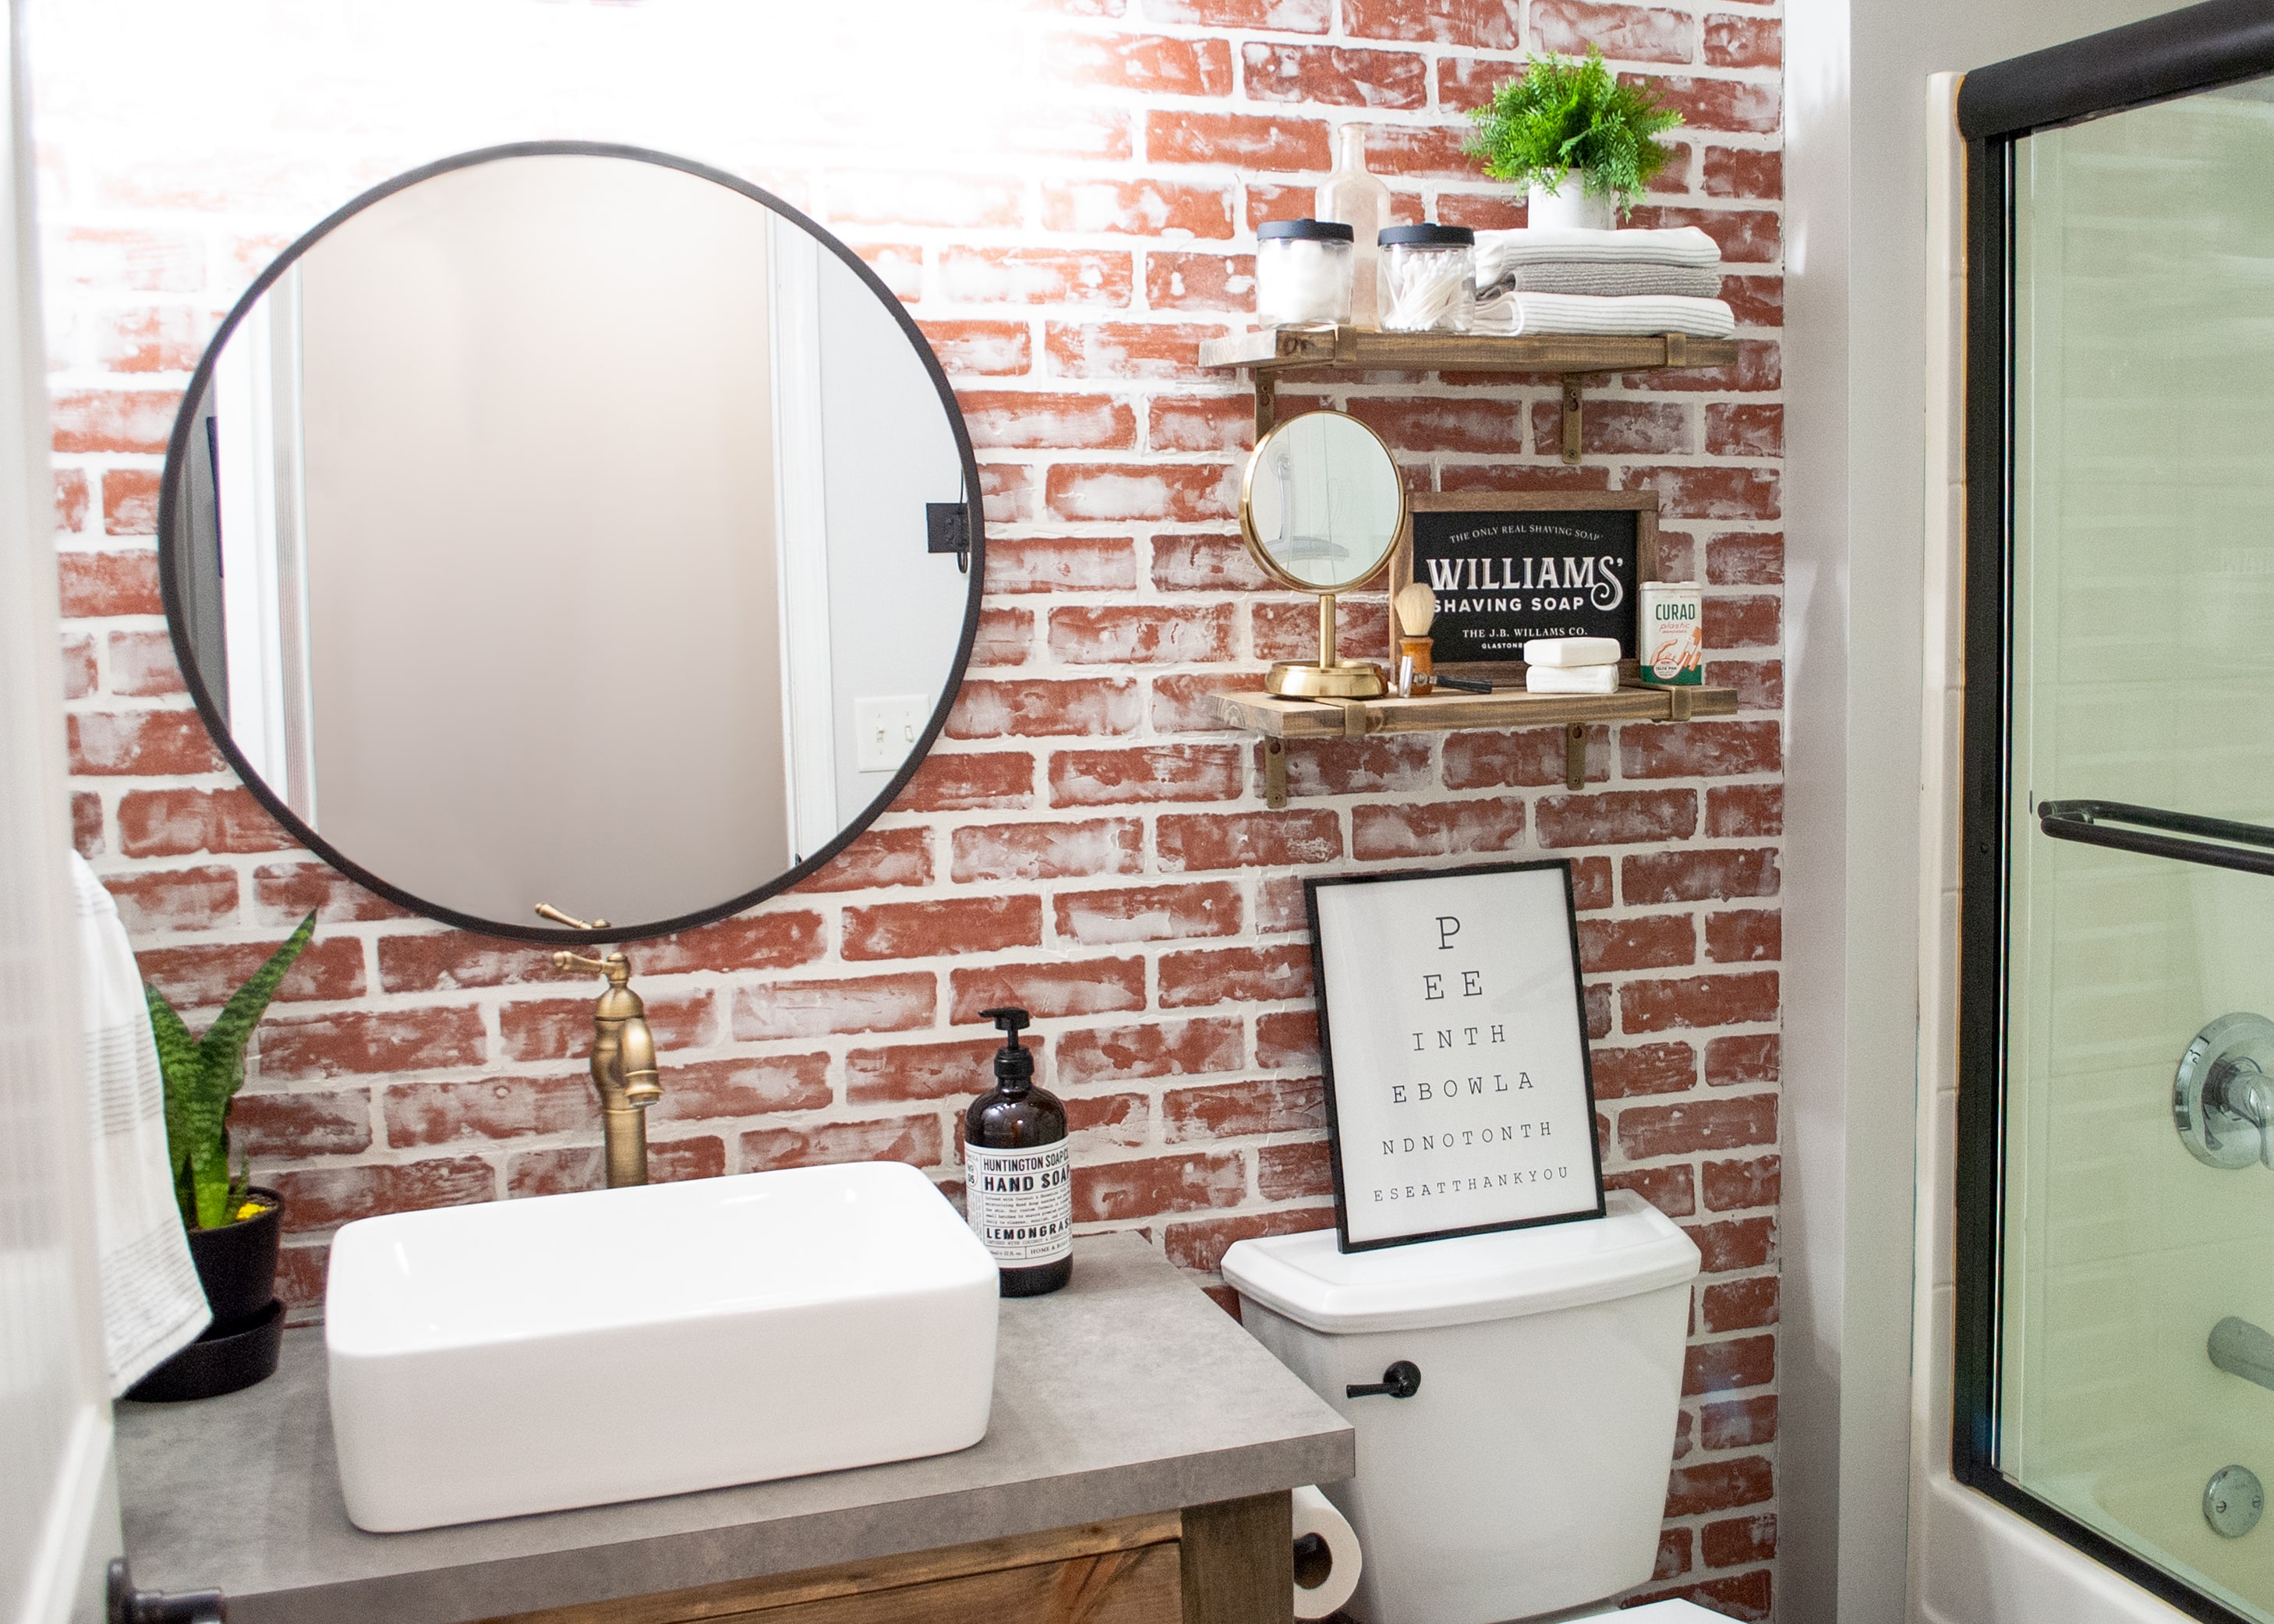
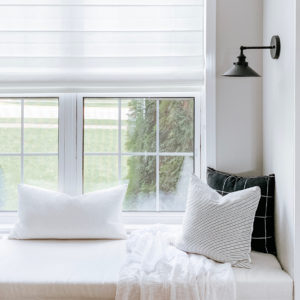
THE FINISHED LOOK – That Texture Though!
That’s it! A 2, maybe 3 step process. Super easy, and could be completed in a day! Who doesn’t like a project that can be done that quickly?! And the total cost? $75!! That includes the paneling, nails, spackle, and putty knife. Everything you will need. Say whattt!
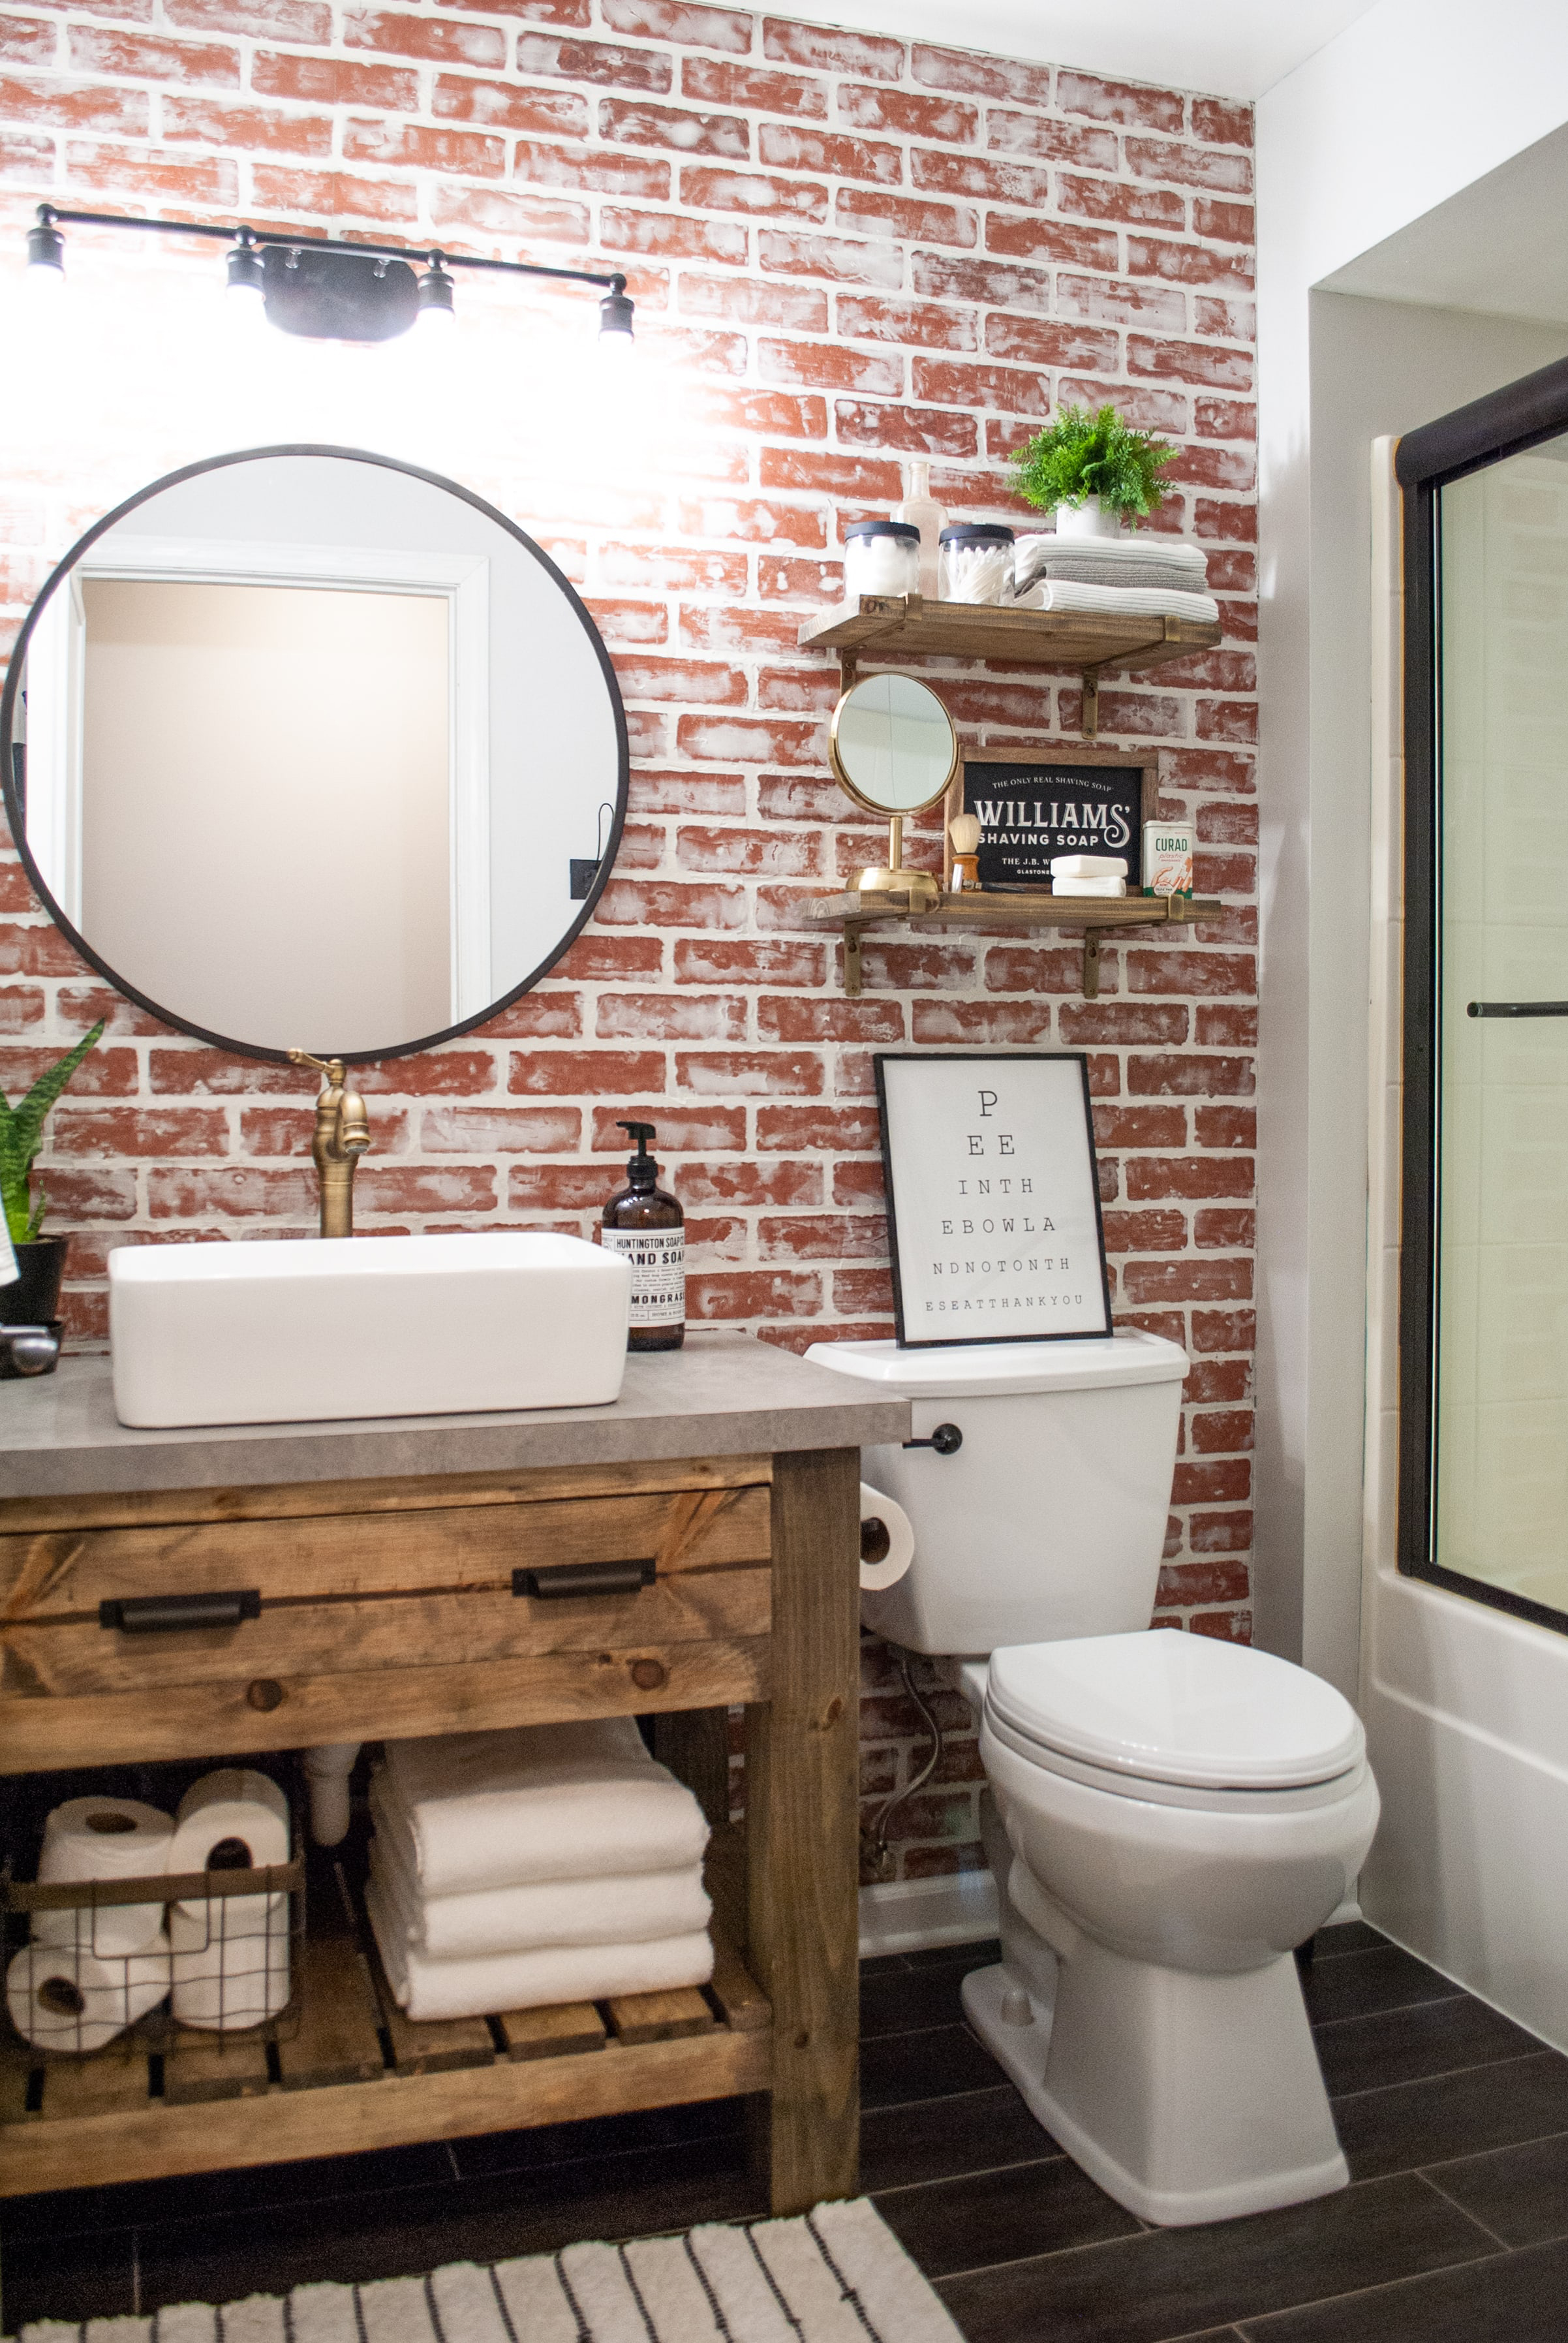
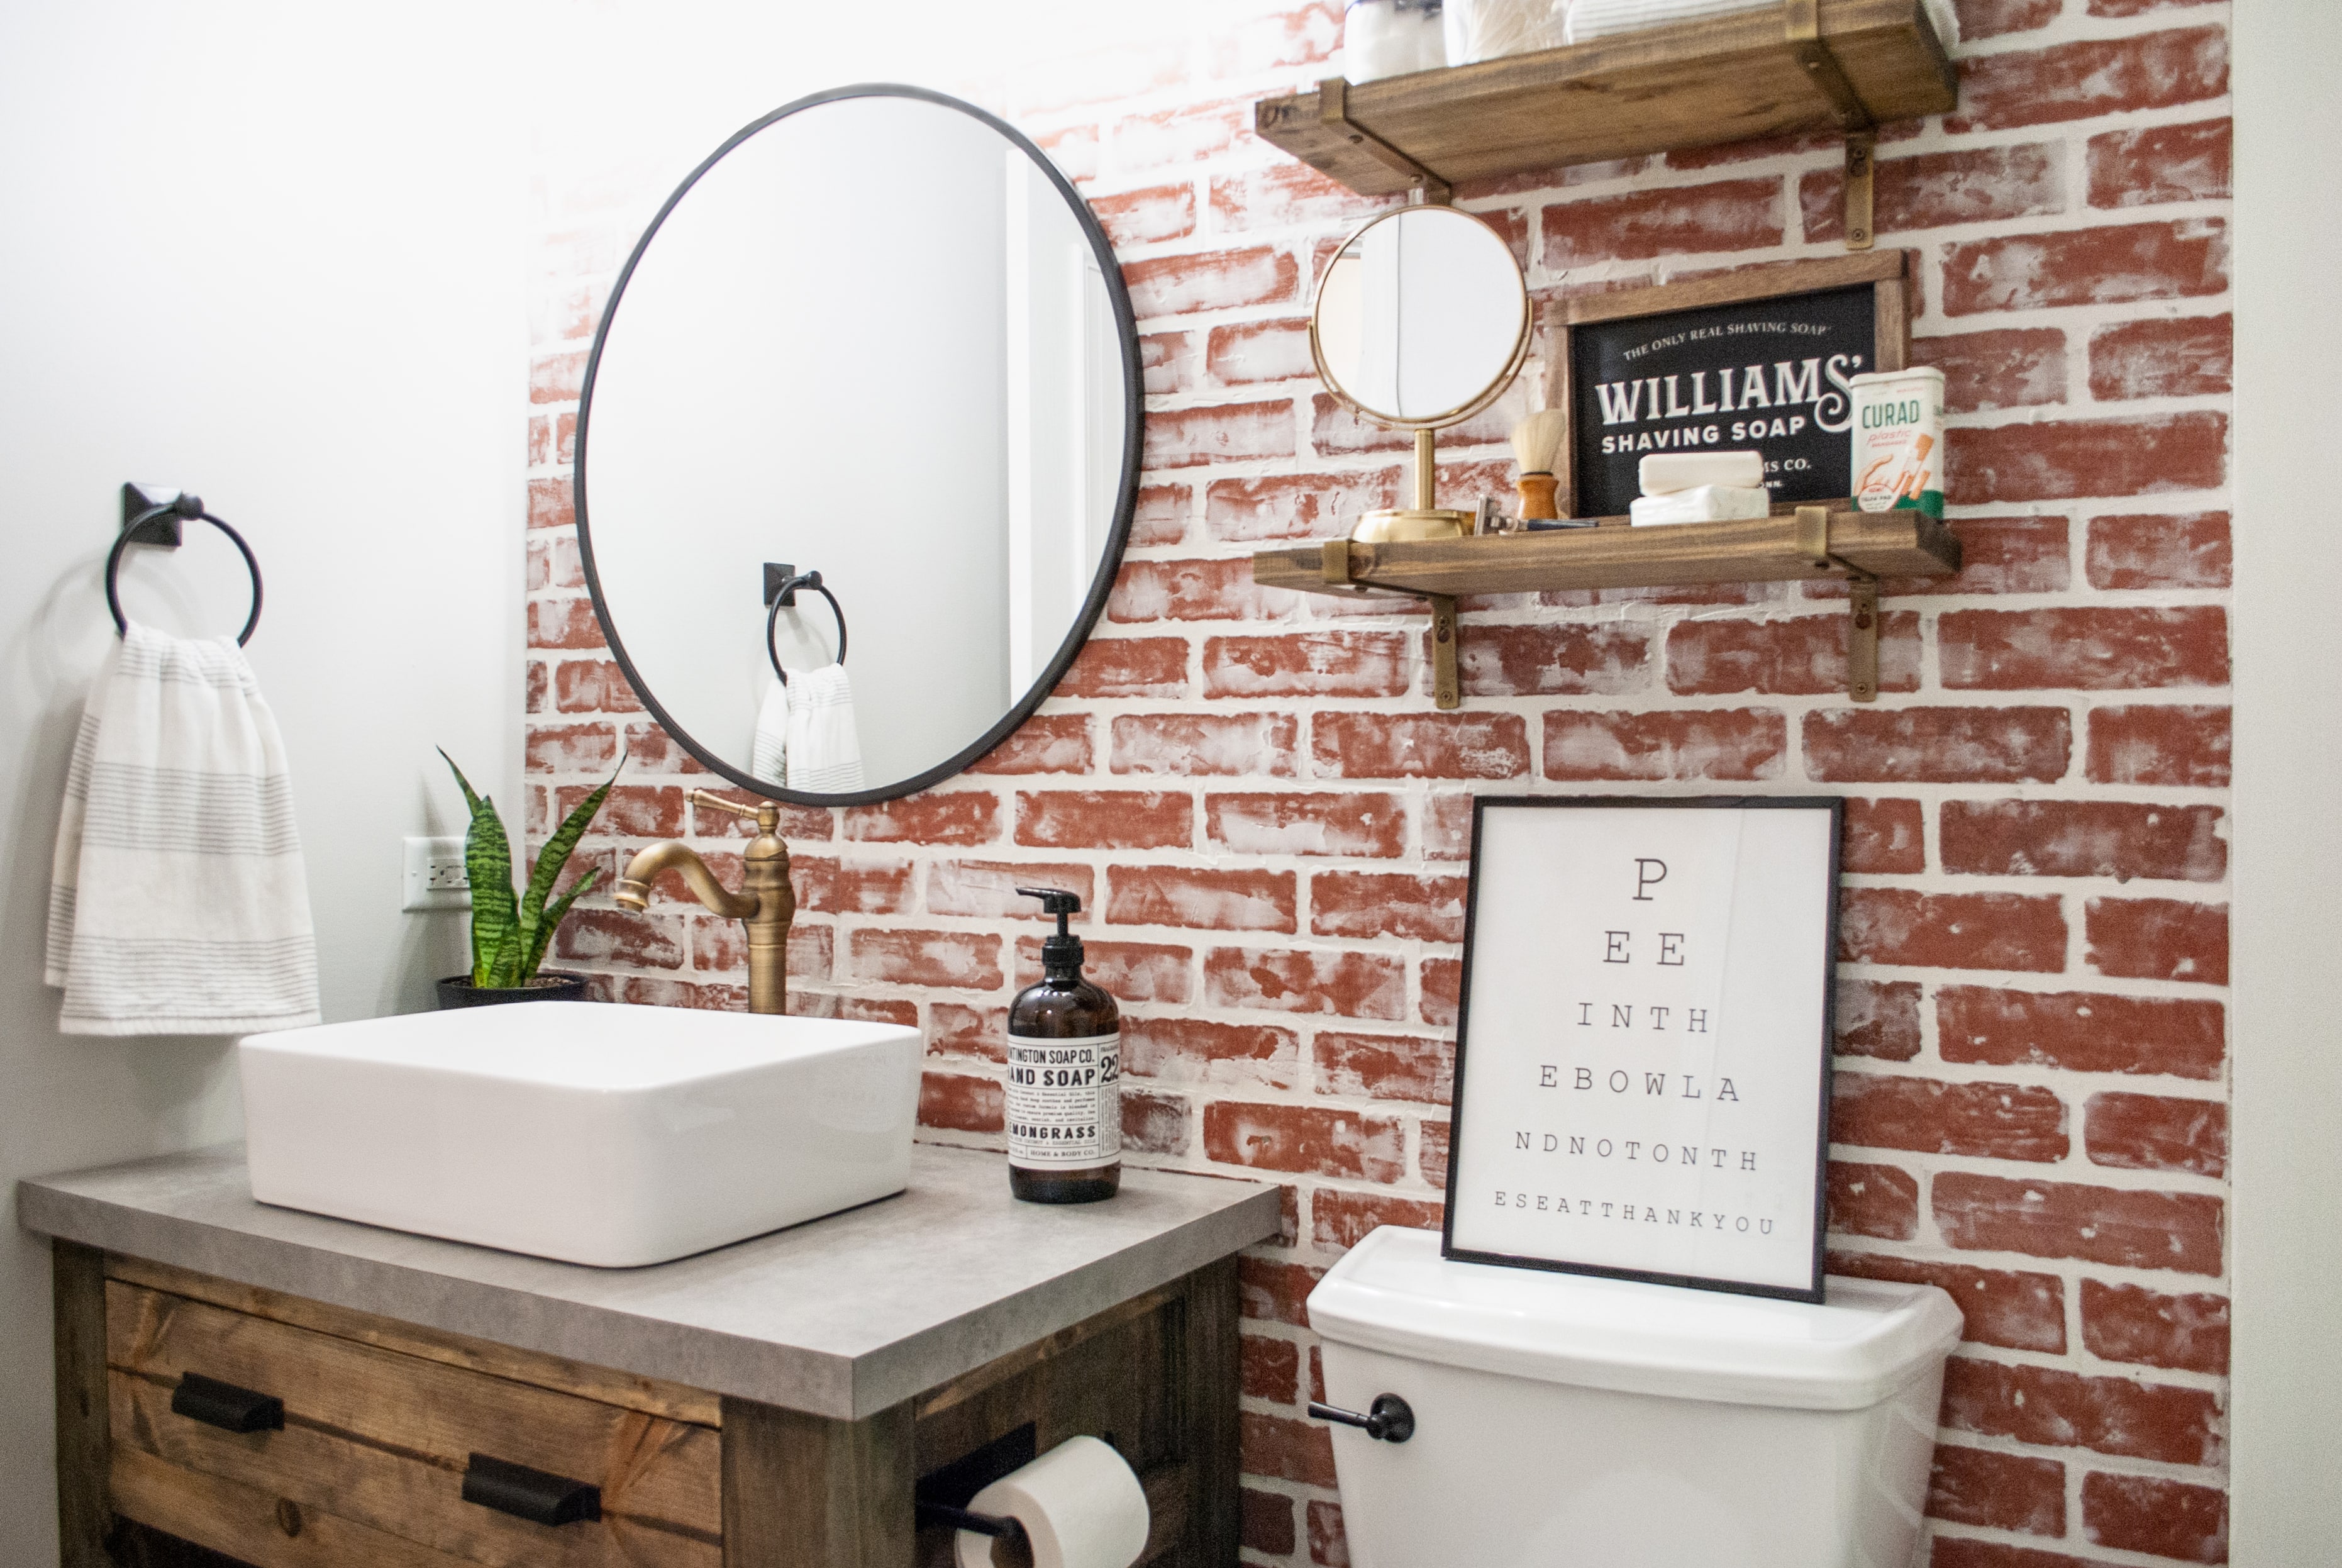
This entire space was such a transformation and I love it. All of that fussing over the brick wall for nothing. It looks so good!! It really ties everything together.
We even built the bathroom vanity (which I was nervous about that tying into the space too)! You can read all the details on how we built it here.
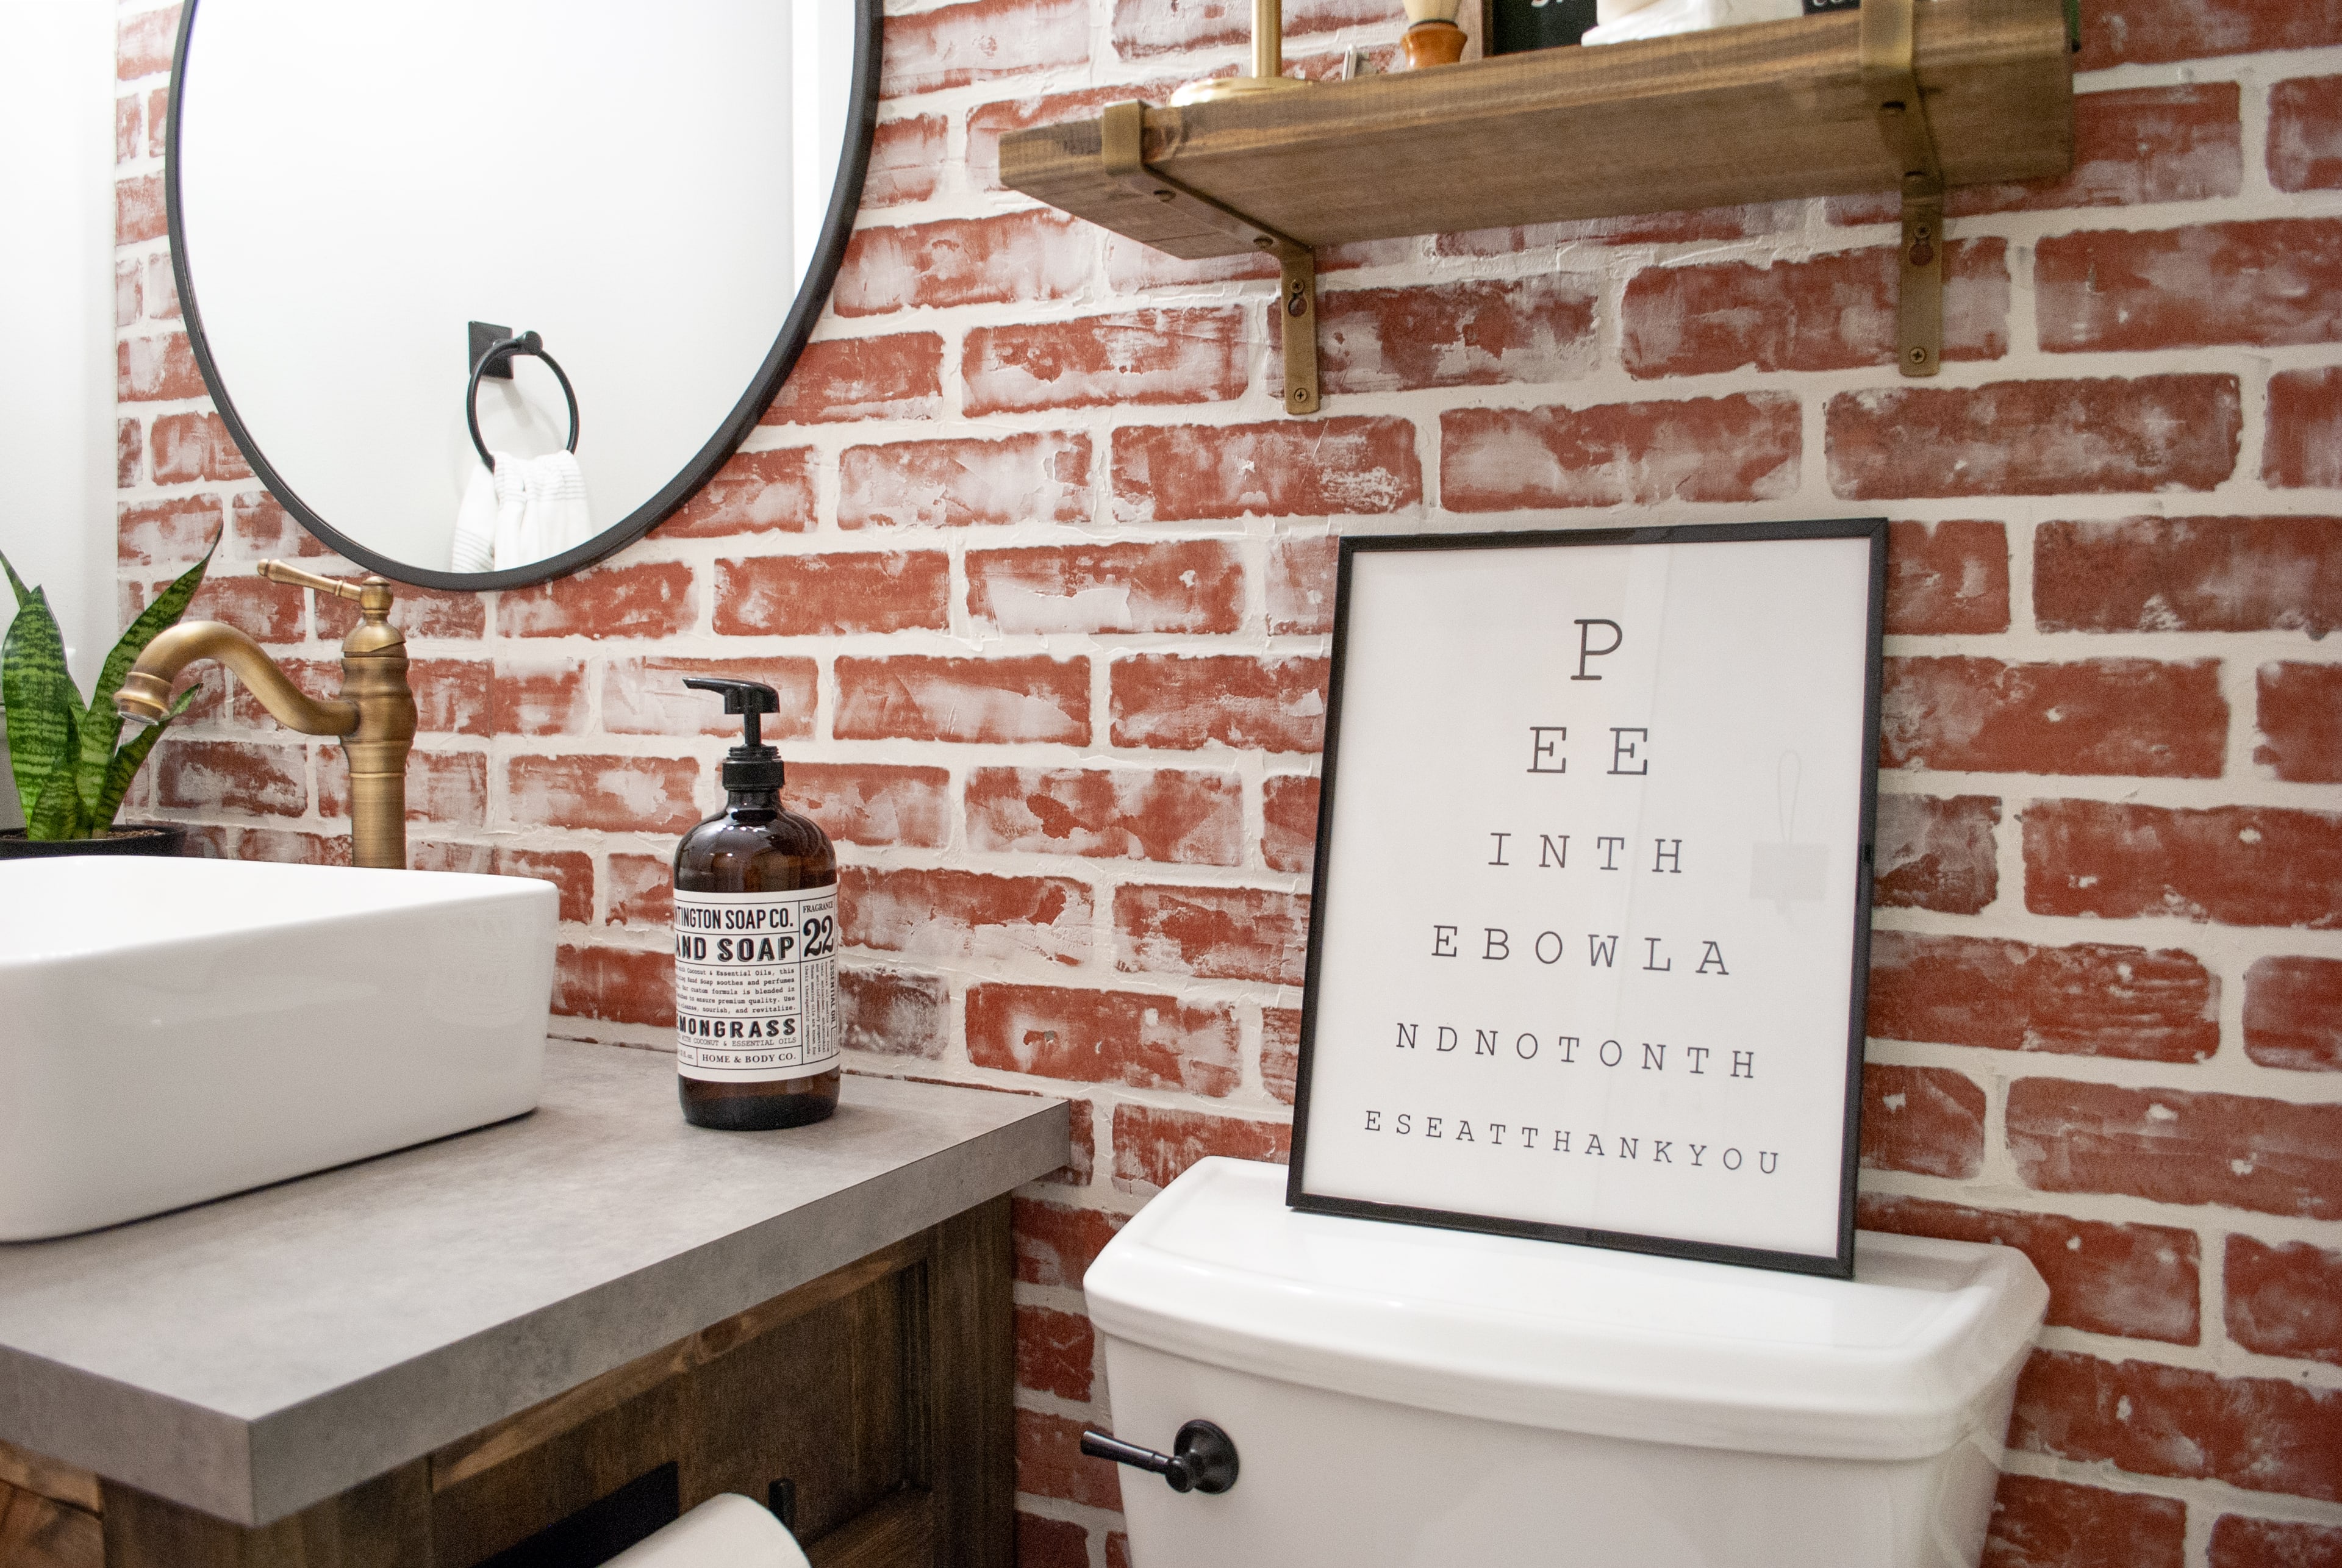
This eye chart is my favorite too! If you’re thinking you need to add one to your bathroom as well, you can purchase it as an instant download on our Etsy Shop.
If you’re looking for an easy way to update your space, give this faux brick wall a try! I promise you won’t be disappointed in the result 🙂
We hope to write a couple more posts about this bath renovation soon. For now, if you’re interested in seeing the full reno, check out our Instagram where we have a story highlight of the complete transformation!


I love it. Want to try it in my kitchen!
Thanks for your help
Thank you so much! Send us pictures or tag us on Instagram @sammyonstate! We would love to see how it turns out!
Hello! Awesome job! How were you able to hang the shelves and mirror? Did you put those into studs? I’m having trouble adding onto the wall now that I’ve got my brick up.
Hi Stephanie!
Thank you!! Yes, we did attach them into studs. For the shelves, I believe we were able to attach into a stud for one bracket, and the other bracket we attached using a drywall anchor. If you’re having trouble finding a stud, or do not have one in the area you are trying to hang something, try a drywall anchor!
-Tammy
Where is this vanity from?
Just wondering since you’ve had this up a while if it yellowed from the polycrylic? I had it turn a piece of furniture yellow that I chalk painted white.
No it has not!!
I love this whole look. Where did you get your vanity?
Hi Sue!
We built the vanity ourselves. We actually have the plans and a blog post on how we built it. You can read about it here – https://sammyonstate.com/2019/07/22/diy-rustic-bathroom-vanity/
I’m remodeling my daughters bathroom and bought the faux brick paneling before I realized it was dry moisture only . If I seal it like you did , it should buckle or fall apart right
We didn’t have any issues!
Did you paint any of the brick? It just looks so different from the original Home Depot panel given you just added spackle on it. I don’t see any of the darker bricks.
Looks fantastic.
Hi Rosario!
Thank you! We did not paint any of the brick. We bought this brick paneling – https://www.homedepot.com/p/1-4-in-x-48-in-x-96-in-Kingston-Brick-Hardboard-Wall-Panel-278844/205683640 which is a little lighter in color than the other brick paneling you may see at other hardware/home improvement stores.
– Tammy
I want to try this on a fireplace but curious how to do the corners? Any thoughts? Also wondering if it would hold up to use for an entry way flooring?
You can add a small piece of trim to the edges! We wouldn’t recommend using this for flooring as the brick boards are made of HDF (High density fiberboard). Which wouldn’t hold up as flooring very well.
Your wall looks great and it sounds like the spackling might be easier! Do you mind sharing where you got your vanity ?
Thank you Leah! The spackling was very easy and actually kinda fun to do! As for the vanity – we actually built that ourselves 🙂
I was curious what’s the texture like after you seal it?
Hi Kayla!
The texture is still the same as before sealing the brick.
Quick Question….how was the spackling applied around each “ brick”..? Looks great….
“
Hey Mark!
You can just spackle over the entire thing! So, you don’t have to worry about getting in between all the grout lines. Under Step 2, there is a GIF showing how I just spackled right over it! 🙂
Let us know if you have any other questions!
Where is this vanity from?
Hi Amy!
We built the vanity ourselves. We have a blog post with the plans on how to build it. Here’s the link – https://sammyonstate.com/2019/07/22/diy-rustic-bathroom-vanity/
Could we do it on our fireplace?
Yes, go for it!
This is gorgeous! Great way to make an otherwise boring room turn into a statement!!!
Thank you so much Patty!!
Just used your spackle method yesterday! So easy and I love how it turned out! Thank you for sharing!
Awesome! We’re so happy to hear that! 😀
This is so fun, especially a great solution for an ugly apt bathroom! One thing though, I’m wondering how important it is to be mindful of caulking in every single seem to ensure moisture doesn’t get in between it and the wall and create mold later???
Hi Angelique! We used a polycrylic sealer on the entire wall and did multiple coats!
Looks great! What is the paint color on the other walls?
Thanks Bayli!
The wall color in the bathroom is Sherwin Williams Crushed Ice 🙂
I would like to try this on our fireplace, wondering if I would need to apply the spackling first on to the grout and then apply to brick? What are your thoughts.
Hi Melody!
We are so sorry we missed your comment and just seeing it now! We’ve seen other’s use this same technique on a fireplace and they did the entire spackle on the fireplace all at once. So, you probably wouldn’t need to separate it by doing the grout first. Hope this helps!
– Tammy
Did you white spackling turn a yellowish color over time after applying? Is there a reason to use a spackling vs joint compound?
Hi Aubree,
It has not yellowed! I sealed it with a polycrylic. Also, I used spackle because I preferred the texture of it, over the joint compound! Either one is great to use for this DIY.
– Tammy
Do you think the spackle could be tinted? Not sure I want white for the grout line.
I was at lowes today to get this, we shed away from it because we thought we had to use adhesive and I also did not want something so permanent. I guess my concern is the weight of the sheets on the wall without adhesive, and with wall decor on top of it ?? The wall looks GORGEOUS!!
you stated you put the sealer on with a sponge can it be rolled on?
Sure! We just didn’t want a super thick layer of the sealer on it. Rolling it might cause it to be a little thicker but that’s up to you!