I am SO excited to share our entryway closet makeover with you guys! If you read our last blog post (which you can read here), I mentioned that we are planning on DIY-ing a window seat in our dining room. But unfortunately, it’s been housing our dog crates for the last couple of years. It’s definitely been an eyesore having the dog crates there, but it was convenient. I finally told myself, time was up – they have to get outta there. I just had to figure out where to put them (preferably hide them) and I thought to myself – why not in the entryway coat closet!
For now, I’m just sharing the overall project transformation. I will for sure be sharing each part of this project as a separate DIY post later on 🙂
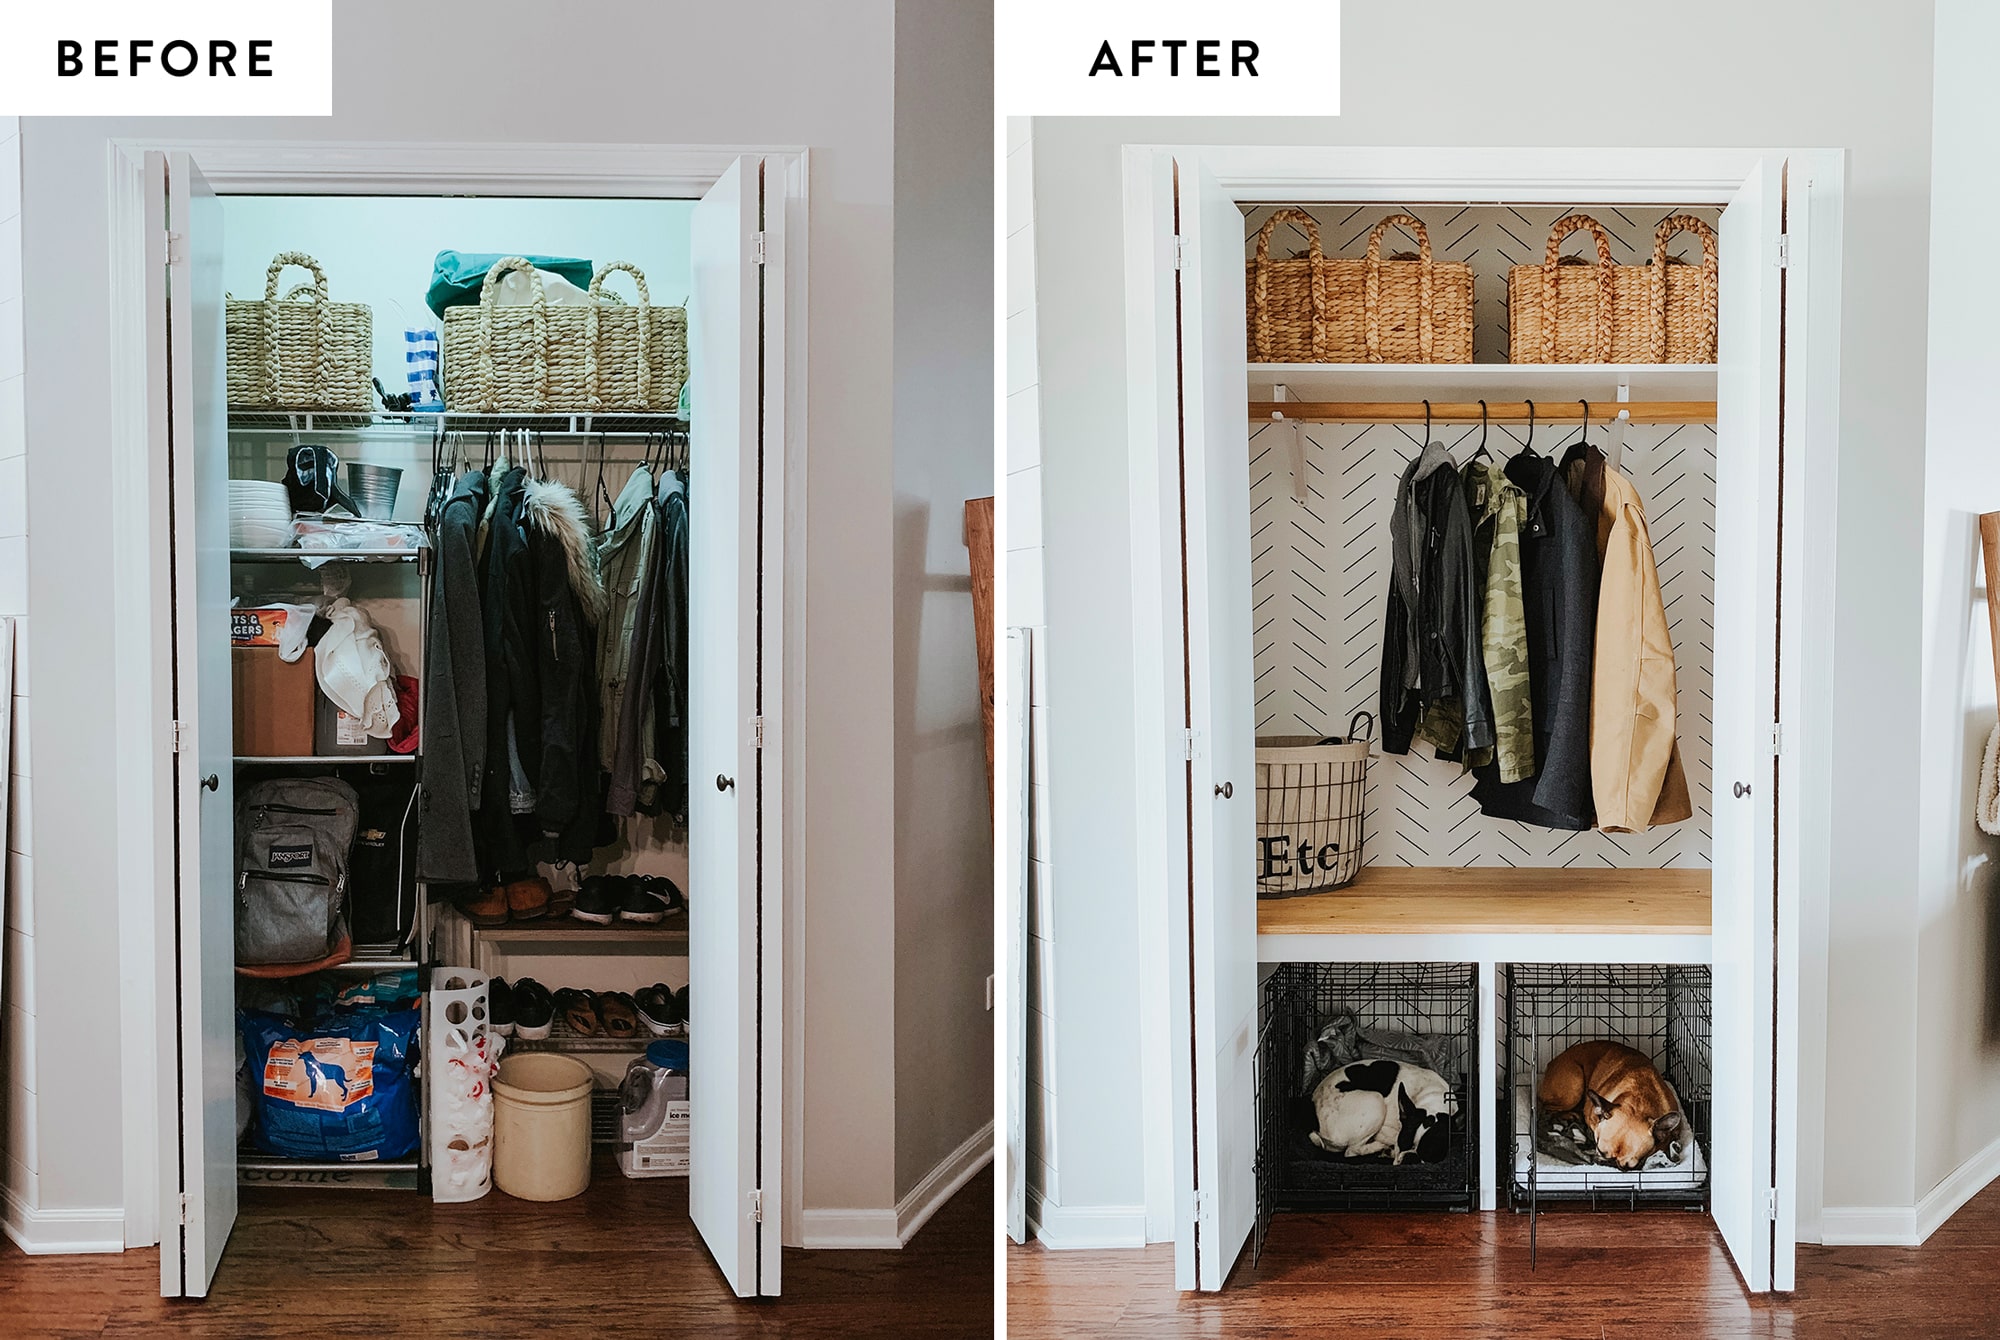
THE MAKEOVER
This post may contain affiliate links where we earn a small commission on your purchases at no additional cost to you.
When I found out that both dog crates would actually fit in the closet, I knew I had to follow through with the idea (and of course, jump up and down in celebration!). On the plus side, our coat closet was already a dysfunctional disaster and an awkward layout, so this project was going to be the perfect solution! I got to planning and figured out everything I needed to complete the project.
THE PROJECT TO-DO LIST
- Sharpie Wall
- Top Shelf + Closet Rod
- Side Shelving
- Bench Seat (for dog crates)
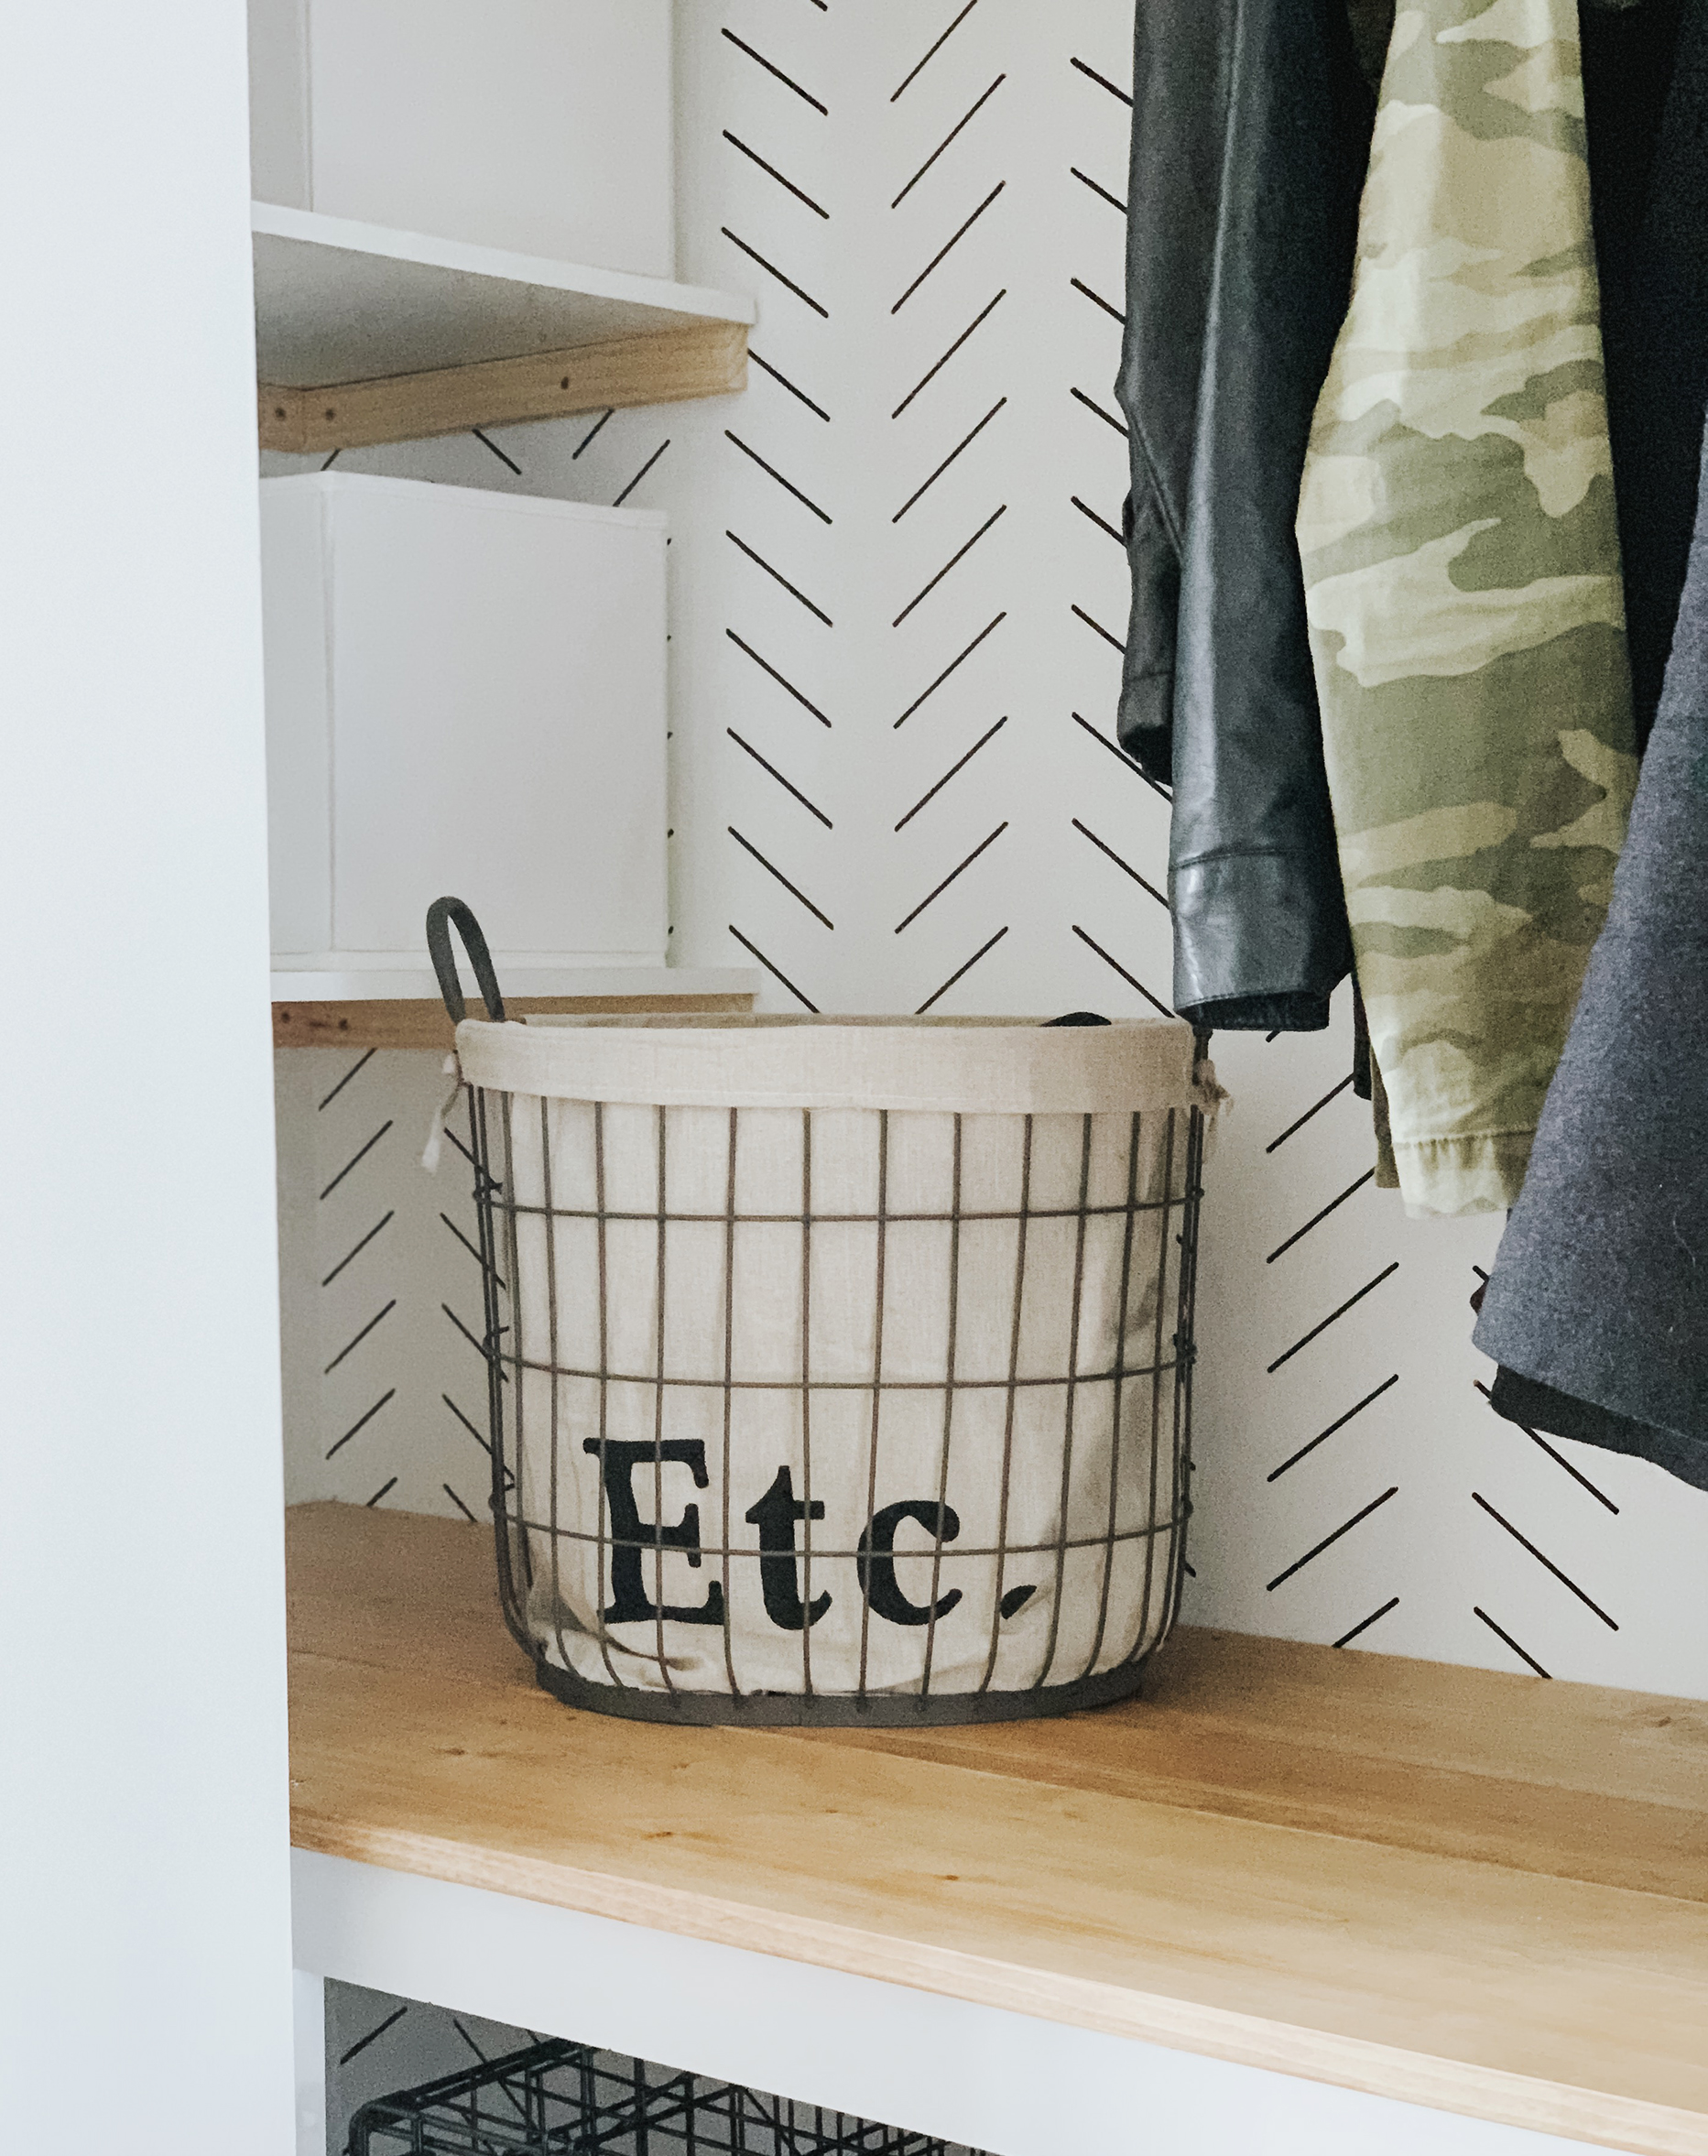
SHARPIE WALL
I don’t really know why, but I always seem to create more work for myself LOL. I told myself it’s a closet, with the doors closed most of the time, but I couldn’t help myself… I had to jump on board with the DIY S
I’ve seen so many amazing patterns on Instagram and Facebook of people achieving a wallpaper look – by just using a sharpie paint pen. I’ve been wanting to give it a try, but didn’t have a wall that I could try it on… until now 😉
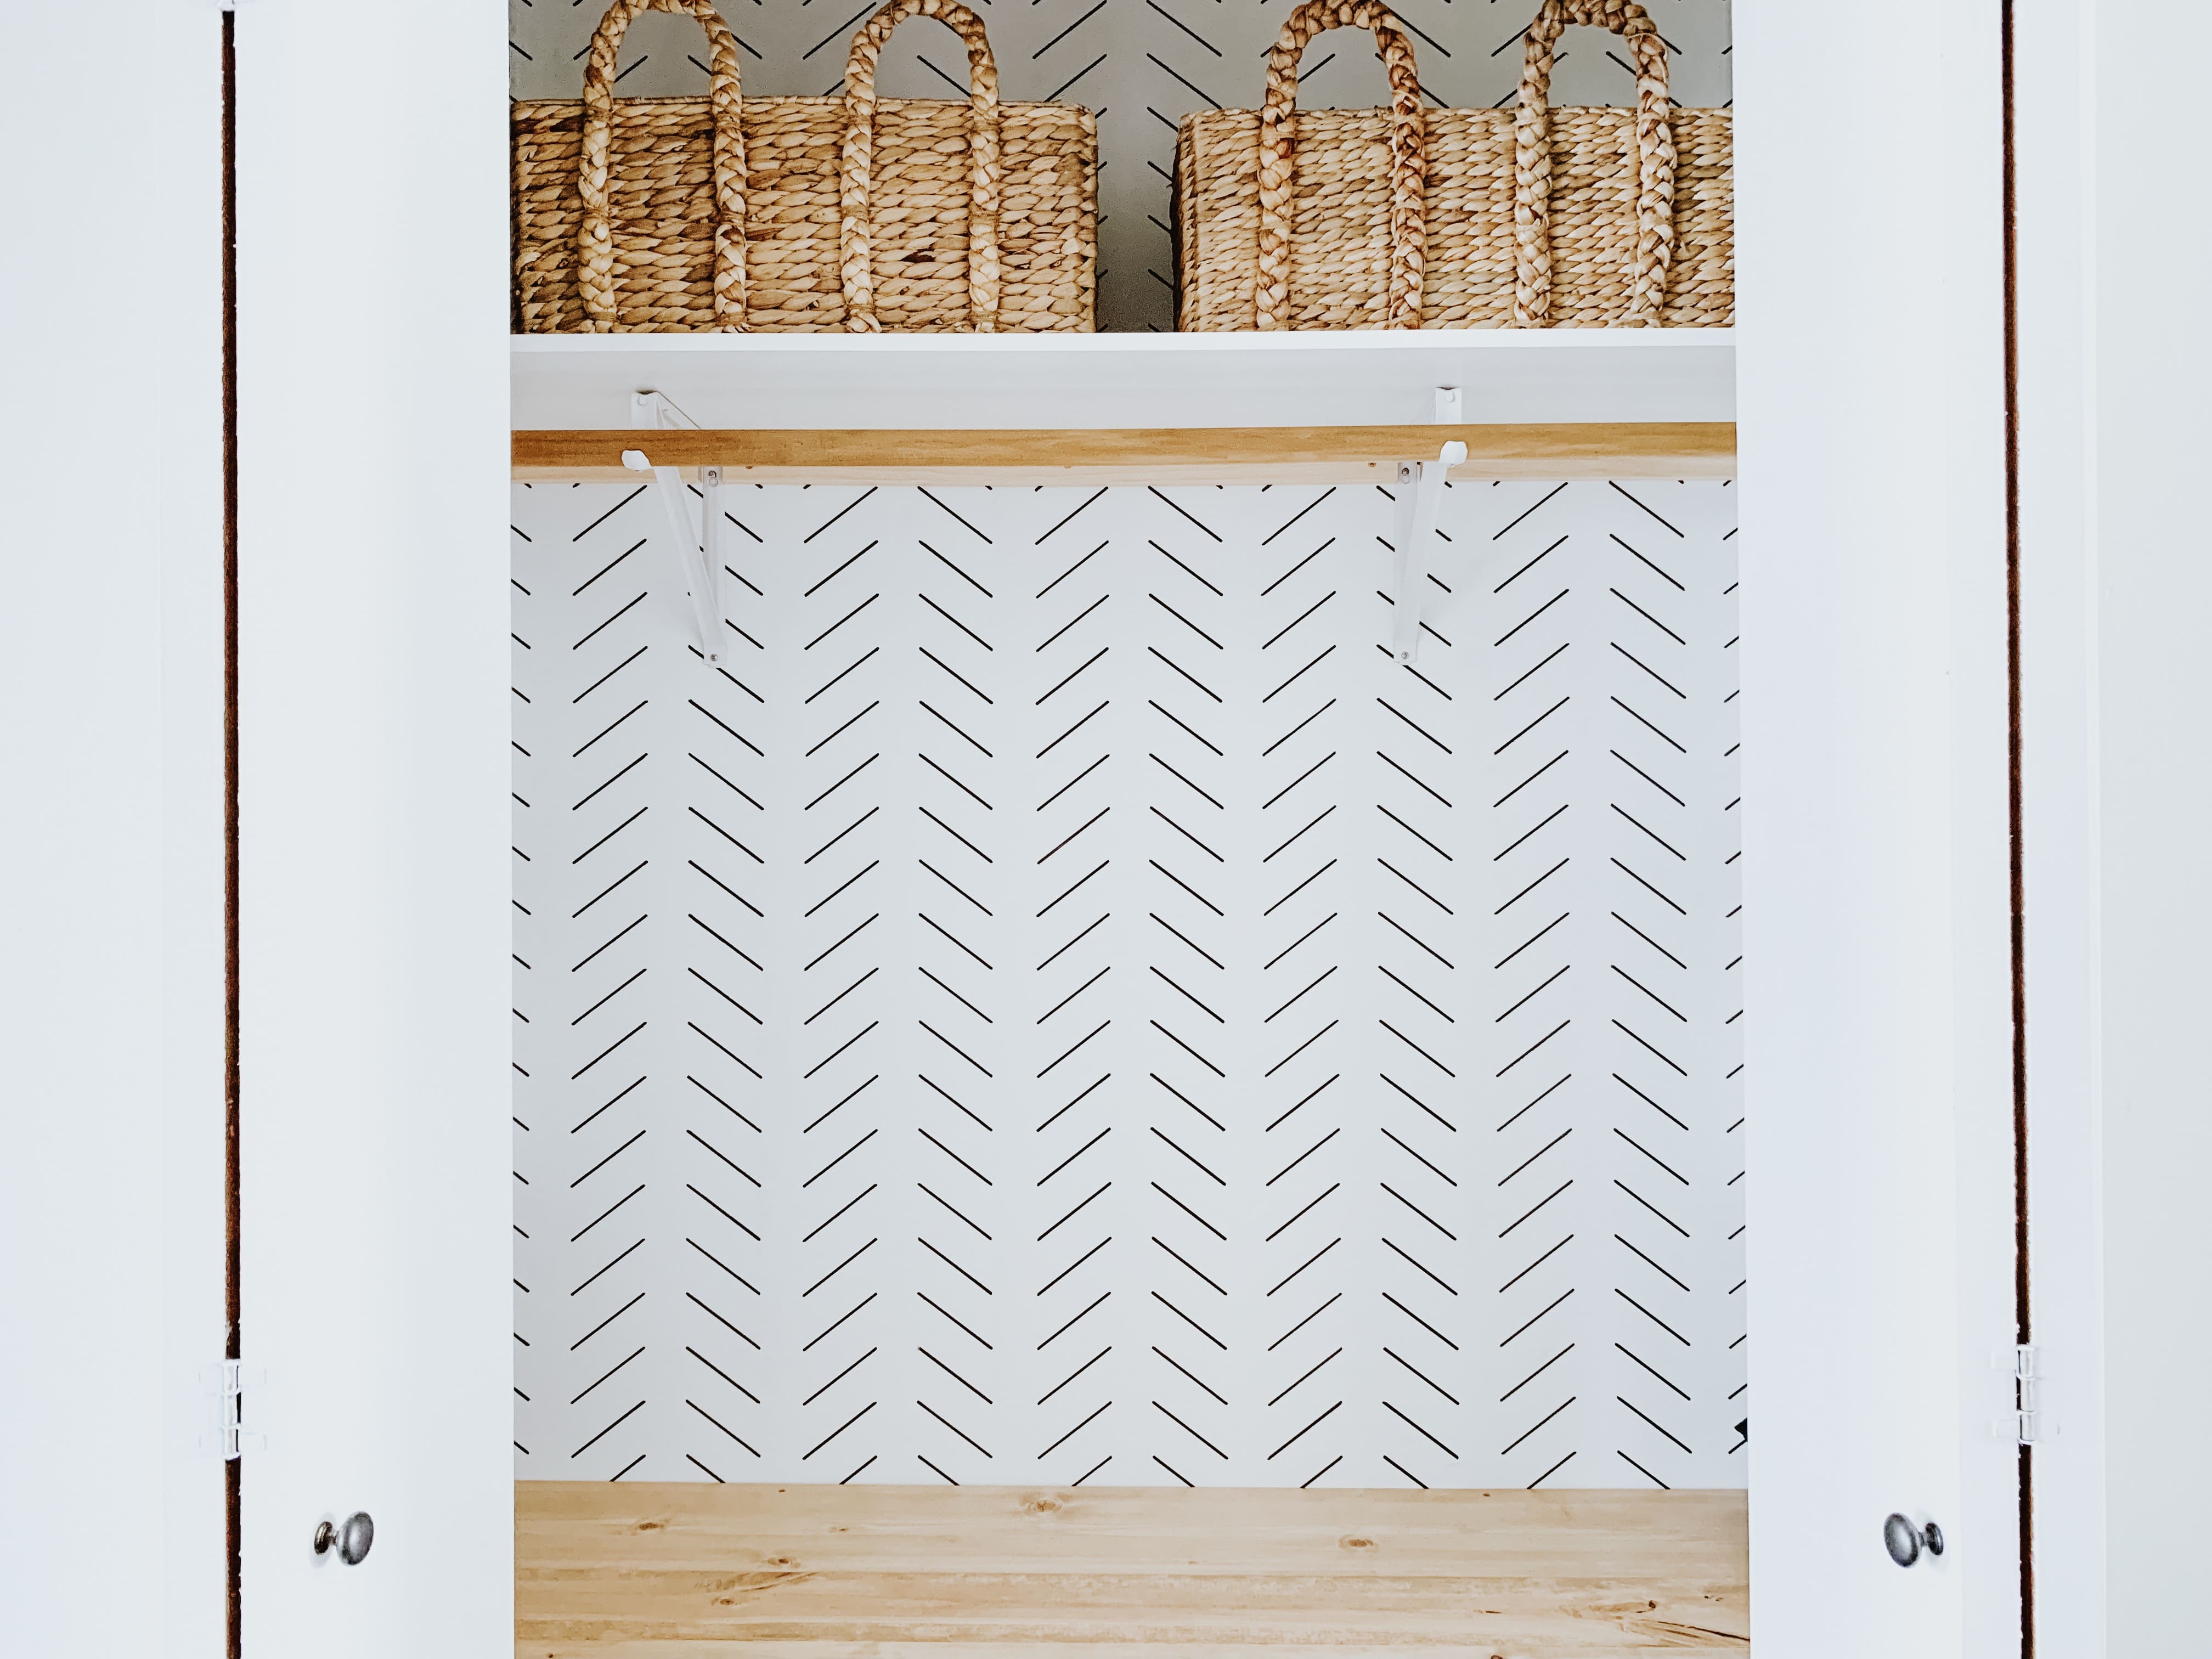
It was SUPER easy to do, and it cost less than $10. I’m actually really happy I went through with the idea (even if it was more work). It totally completed the space! I’ll be writing a separate blog post on how I created the sharpie wall, but I did document the entire process on our Instagram. For now, if you’re interested in finding out how to create a sharpie wall, you can check it out our Instagram highlights.
*UPDATE* We’ve had quite a few people ask where we got the stencil for this Sharpie feature wall – so we decided to launch the stencil on our Etsy Shop! 😀 If you’re looking to easily create this same feature wall, check out our stencil available here.
TOP SHELF + CLOSET ROD
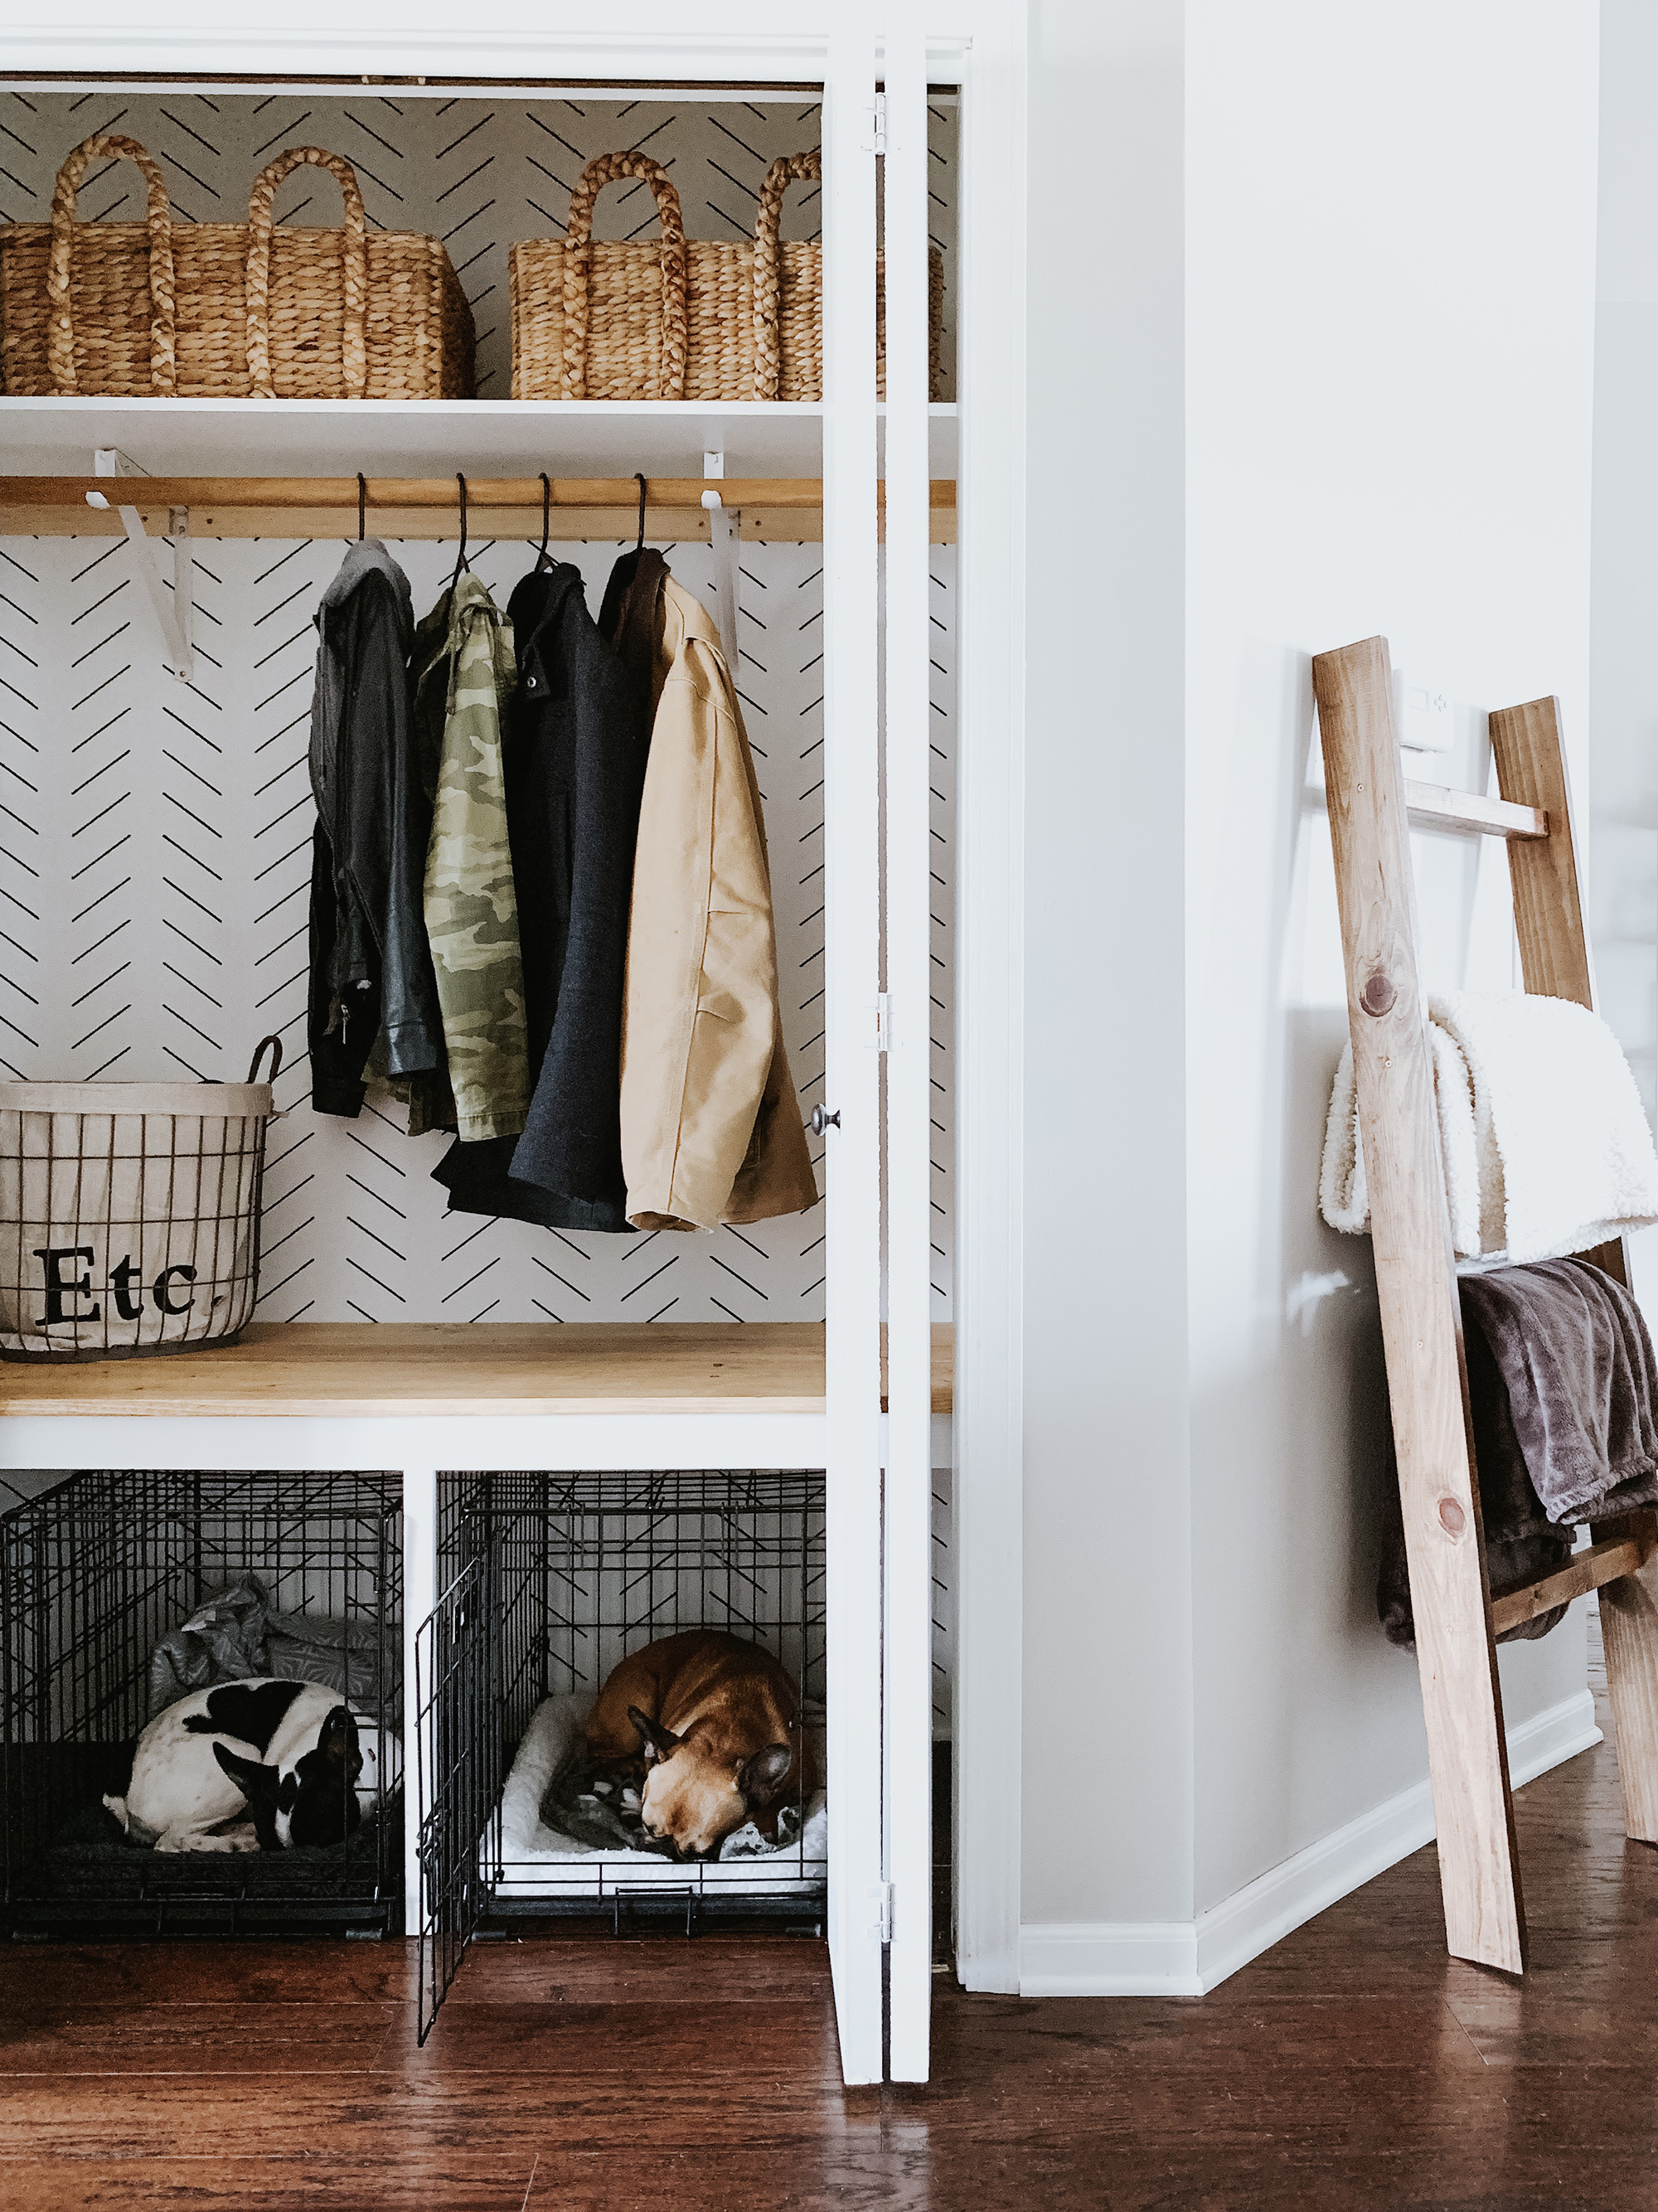
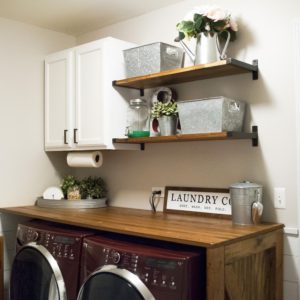
While I was searching for inspiration, I saw a lot of entryway closets turned into a bench seating area or a “mud-room”. Most of the makeovers I saw had swapped out the closet rod for hooks. For our closet, I didn’t want to switch to hooks (even though it does look cute!) since it wouldn’t have been practical for us. Hooks are great, but not when you have 3/4 coats per hook 😛 We have a lot of coats and jackets that we hang in the closet, so keeping a closet rod was a must for us.
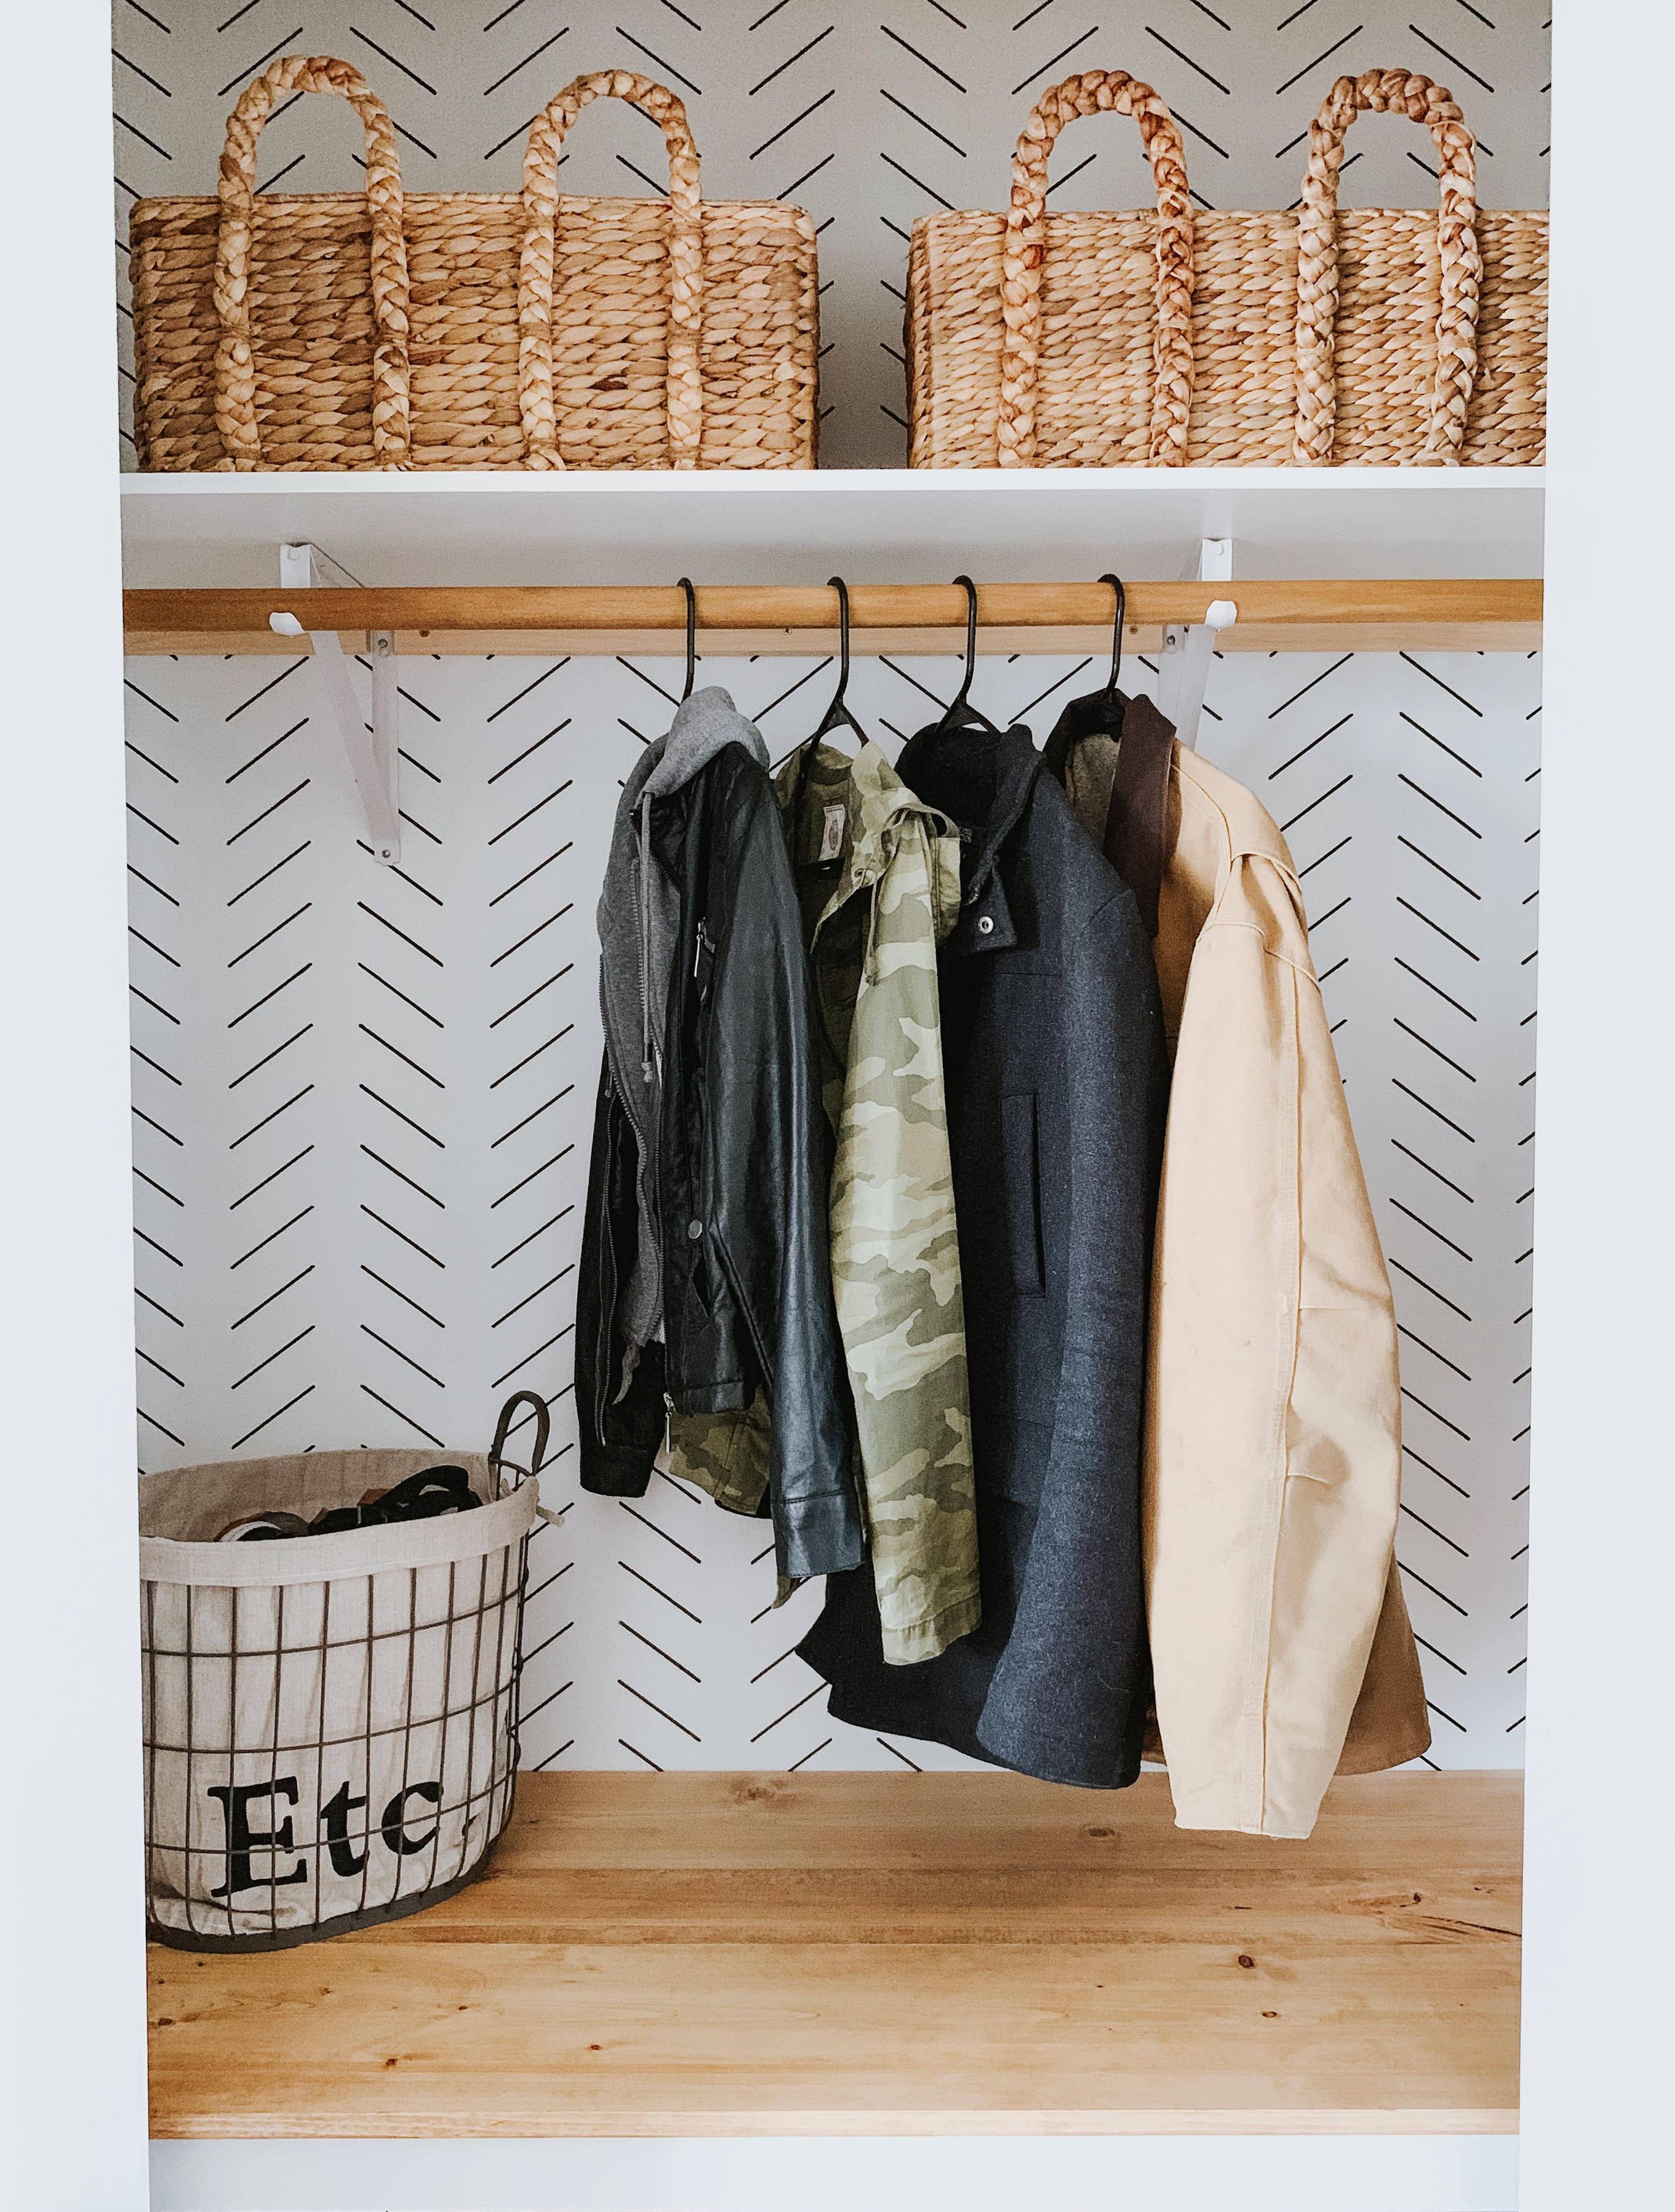
I already had the two woven baskets that are on the top shelves. I found those gems at Marshalls last summer.
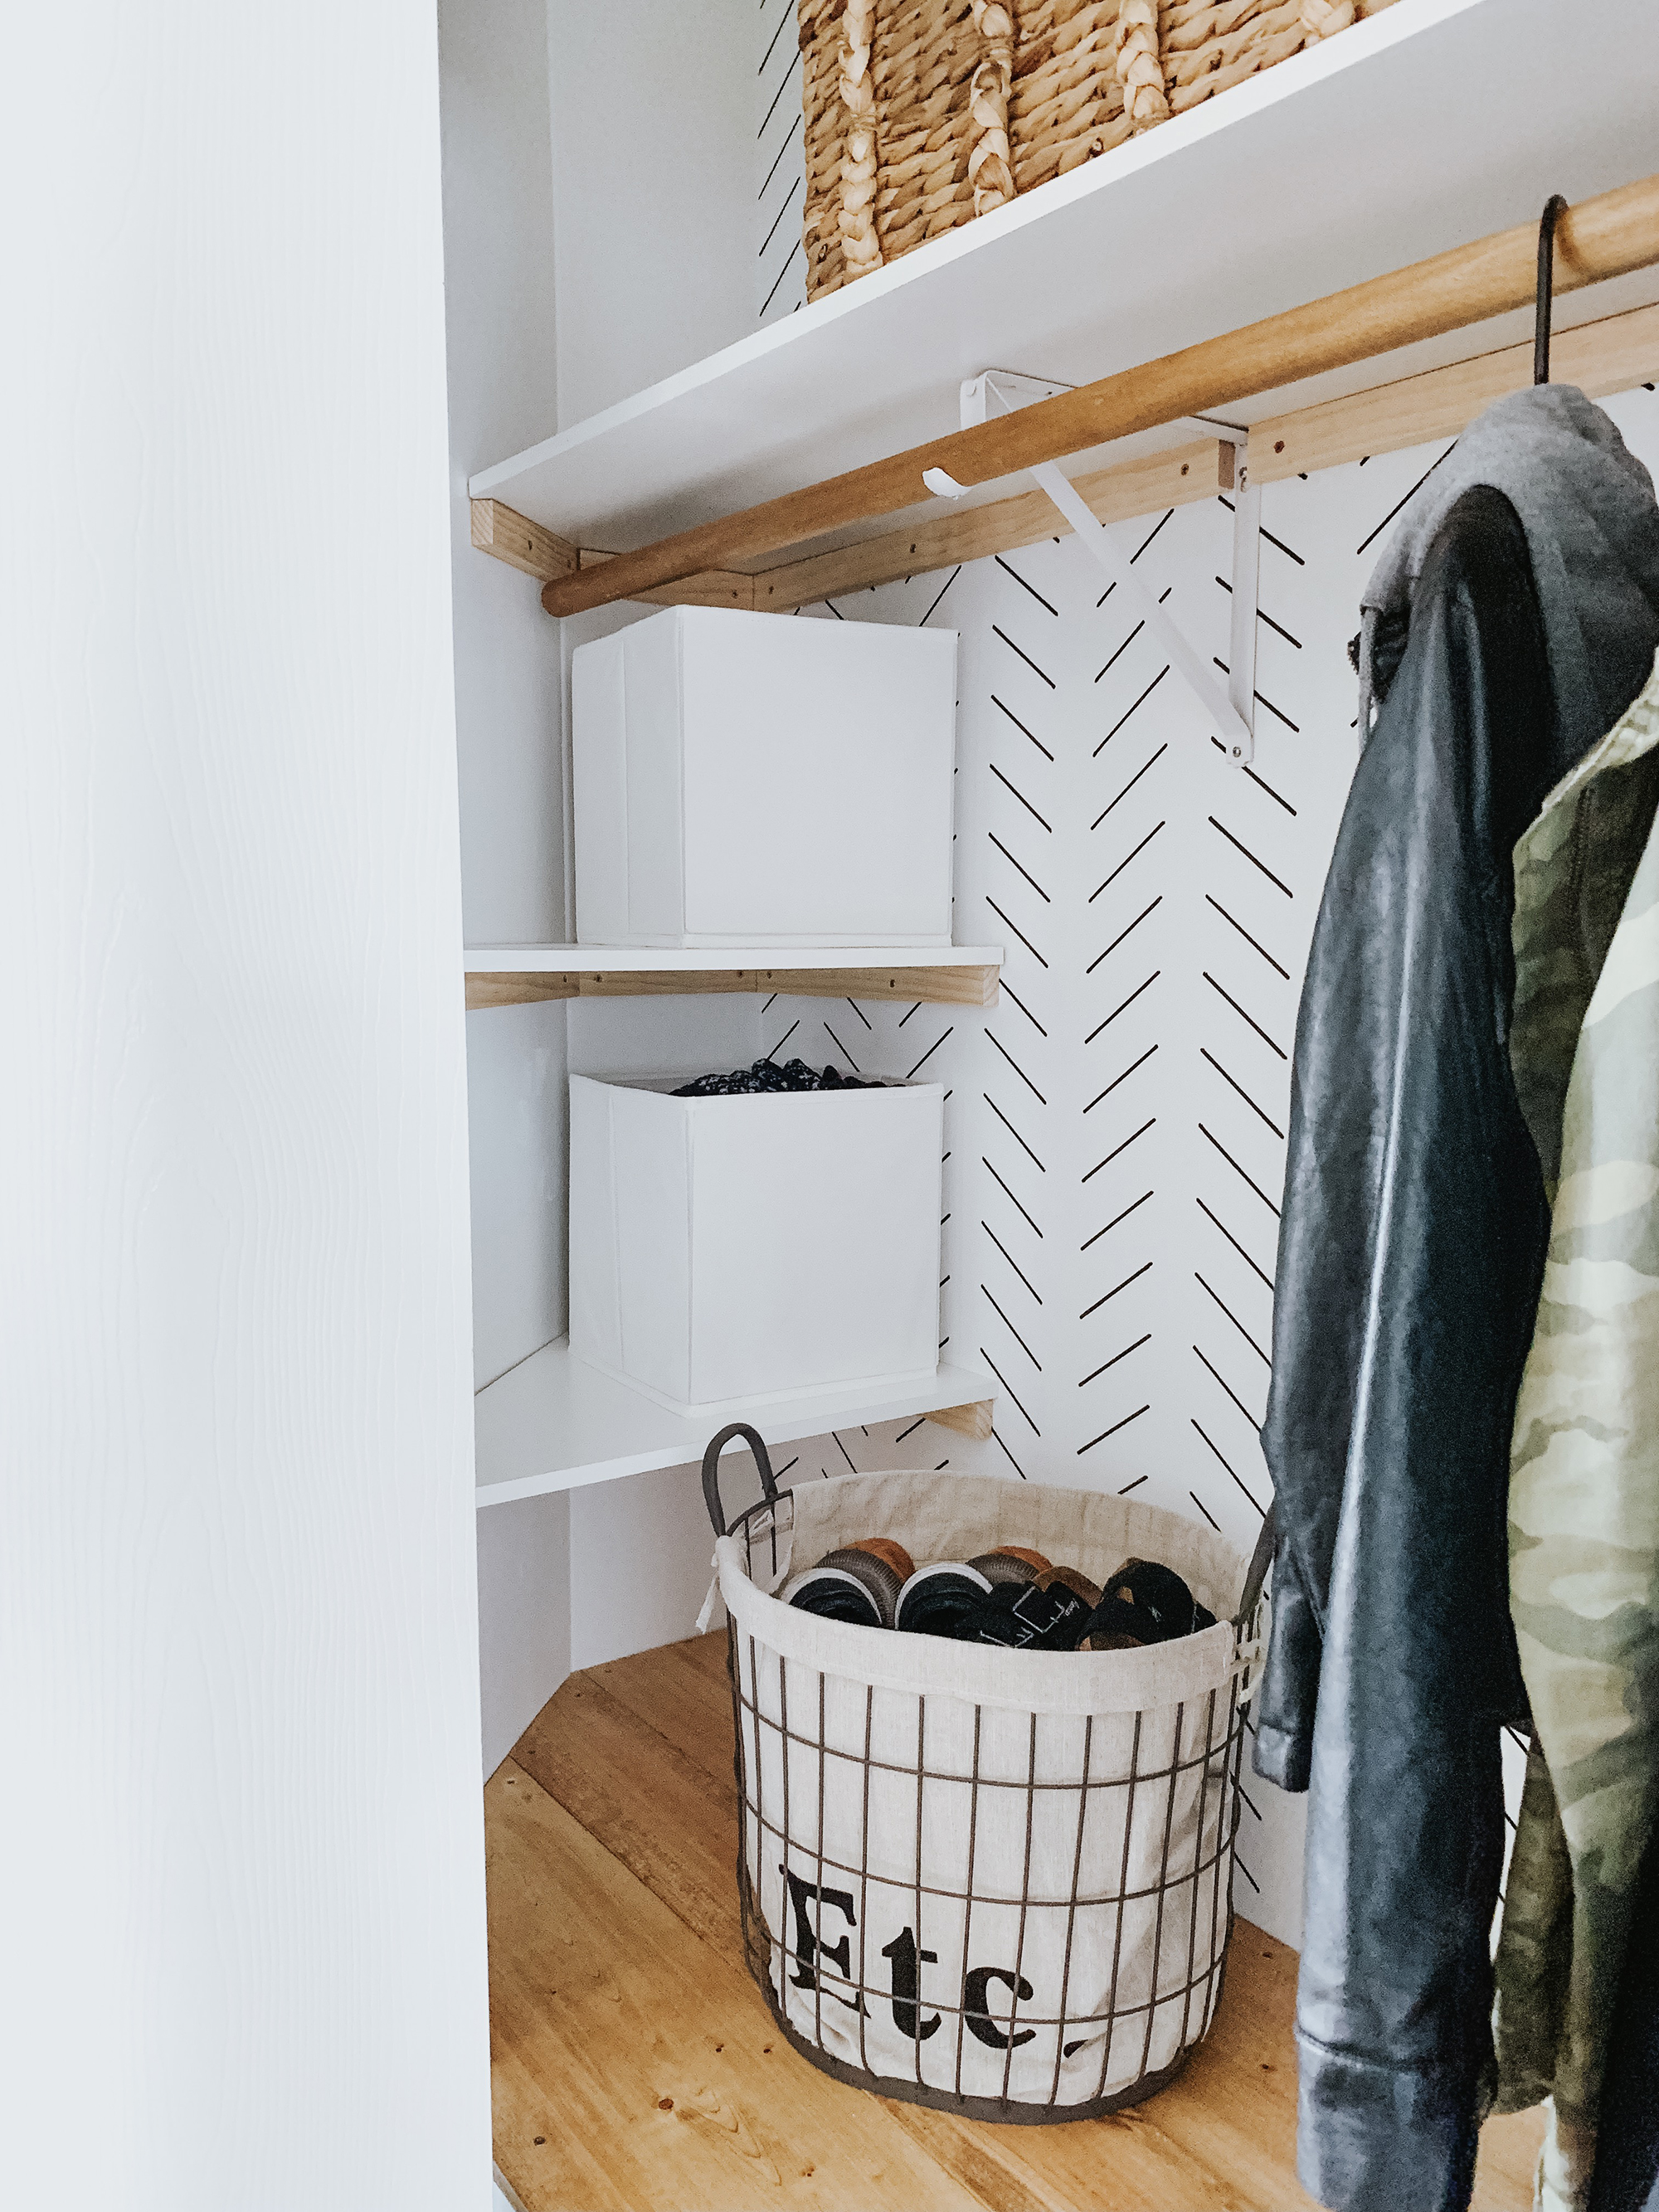
SIDE SHELVING
The biggest issue for the closet being dysfunctional are the angled side walls. The wire closet shelving we had didn’t go all the way to the edge. Then, I bought a shelving unit hoping that would do the trick. Sadly, it still was too wide, which left a bunch of empty, wasted space yet again. When I decided to move the dog crates inside the closet, I knew that it would be the perfect opportunity to make side shelving as well. These shelves would take care of the wasted space from the angled walls and would maximize the overall storage space.
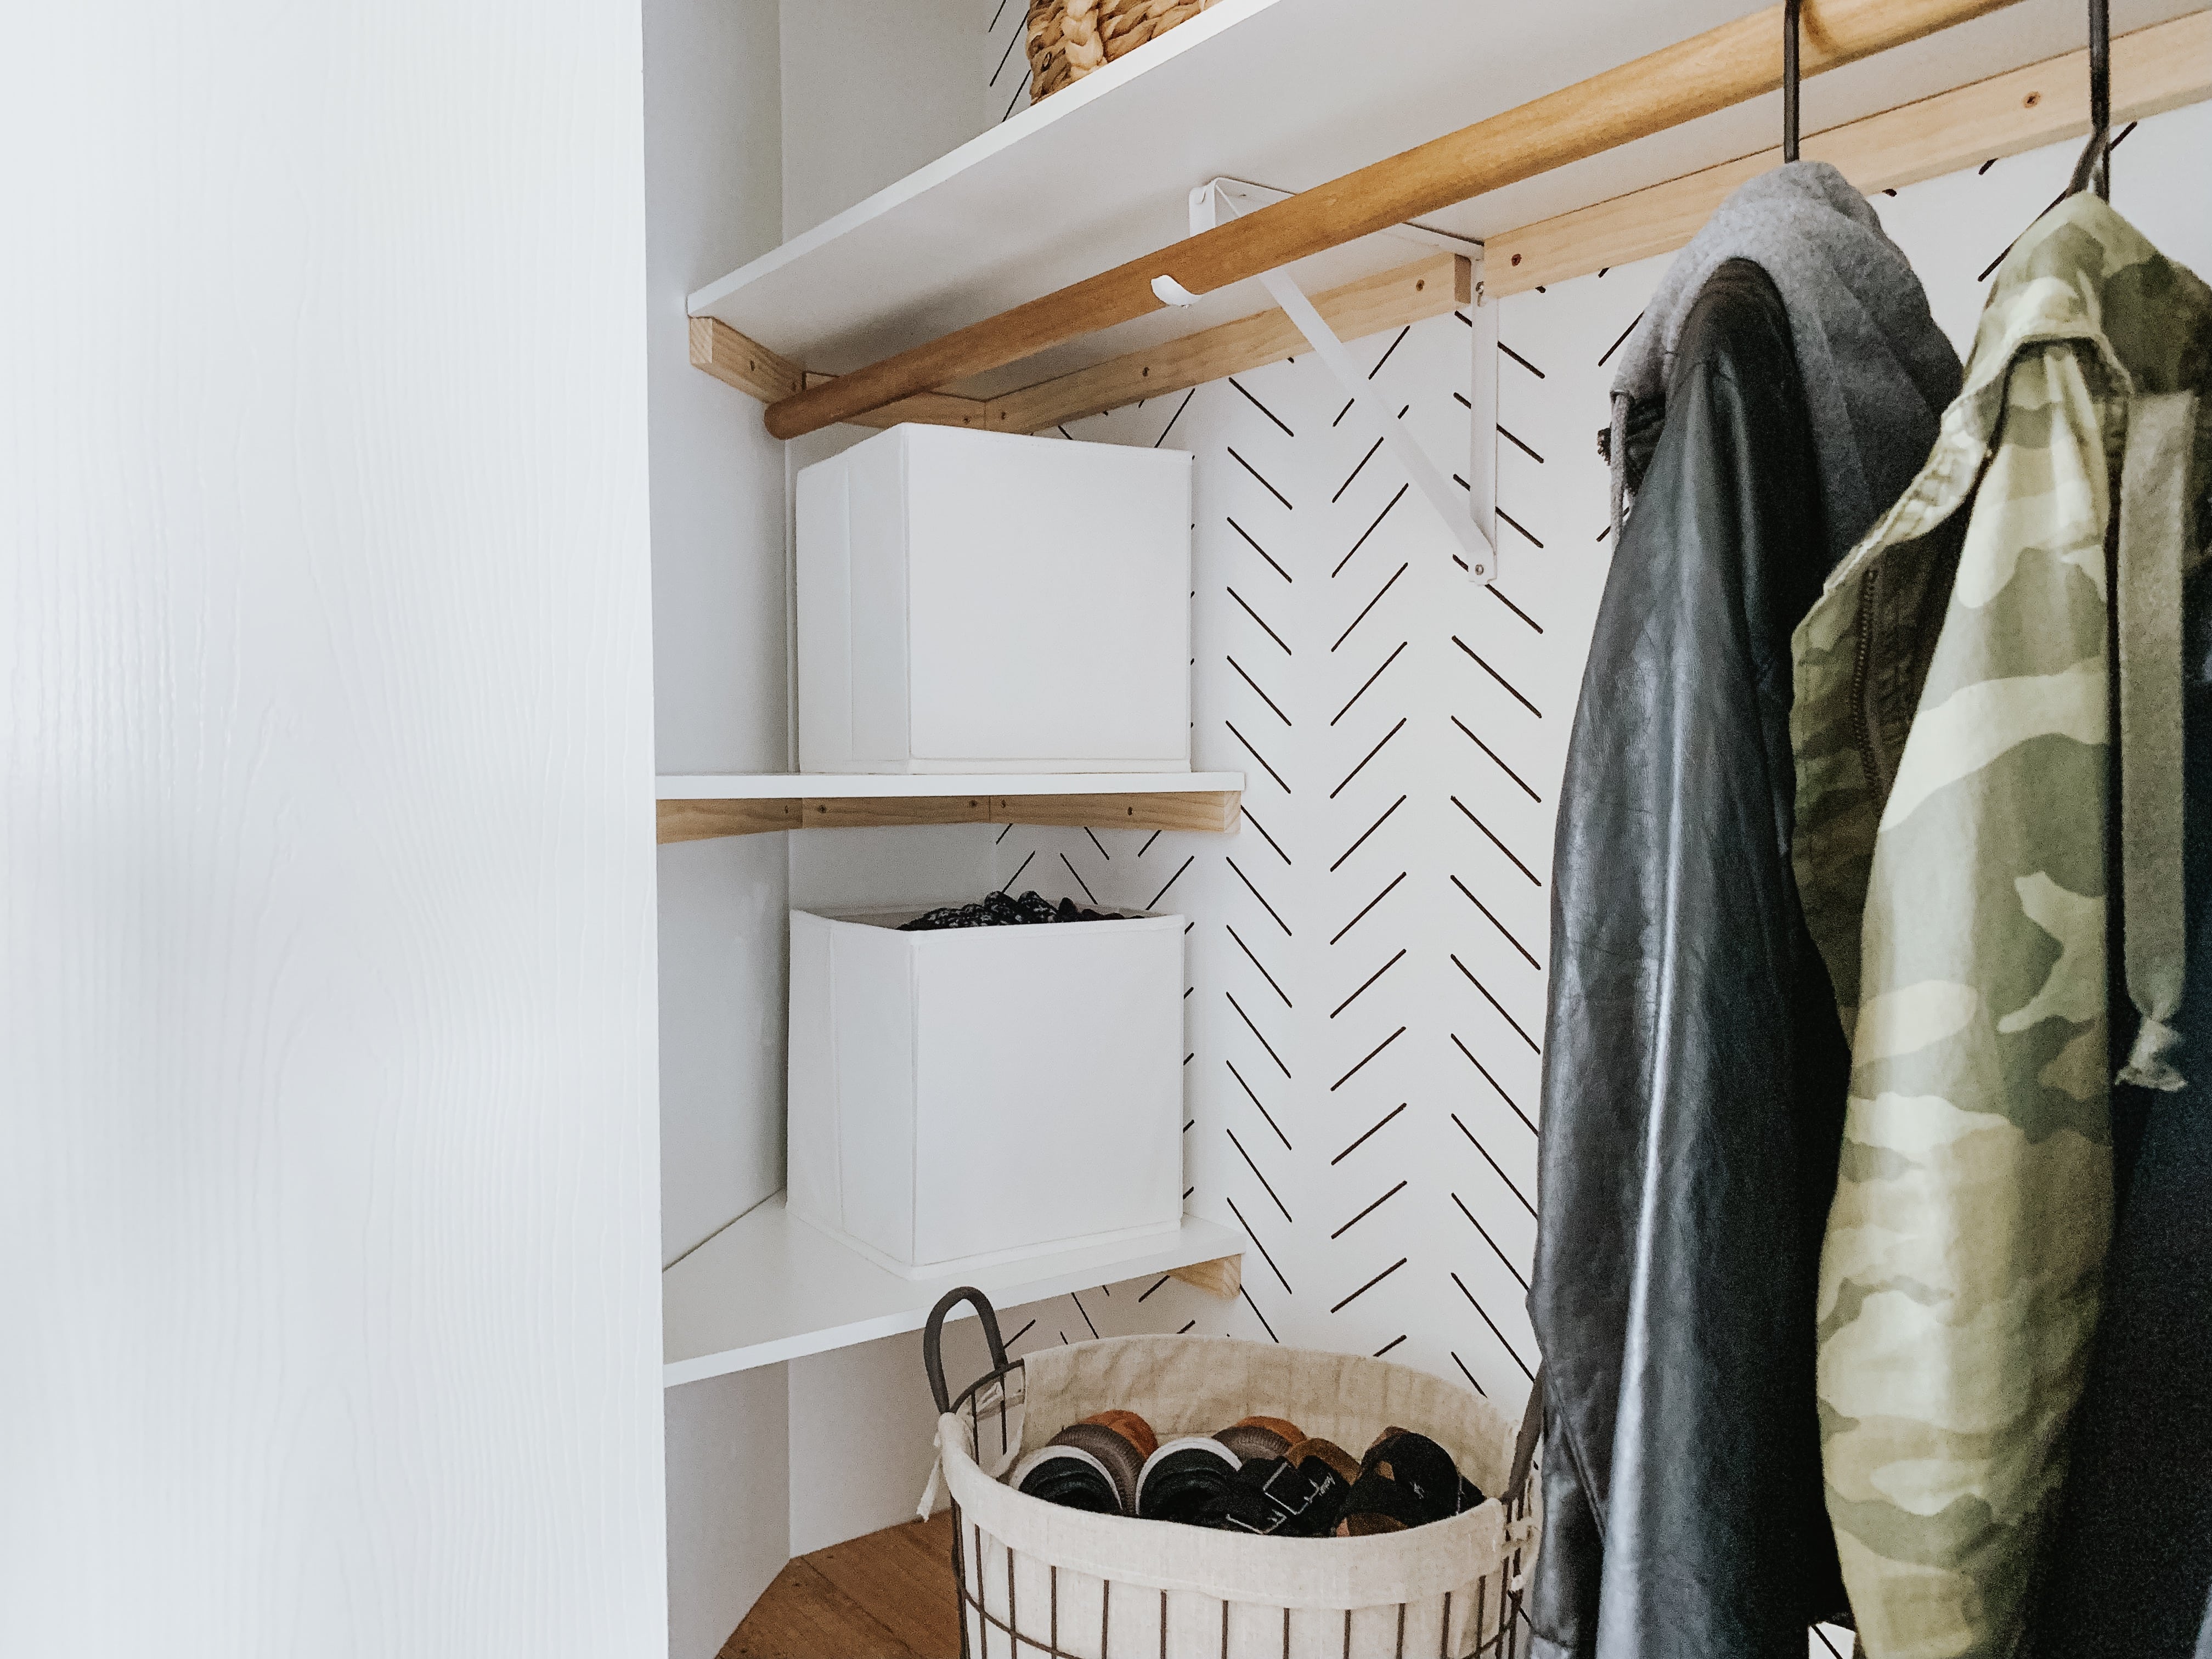
For the storage bins, I ended up just buying these fabric storage bins. They are definitely pretty plain looking right now. My original plan was to find some cute baskets for the side shelves, but I decided to keep it cheap (for less than $4 each, I’ll take it!). However, I ended up adding leather pulls to the bins and they look SO much better! You can read about it here.
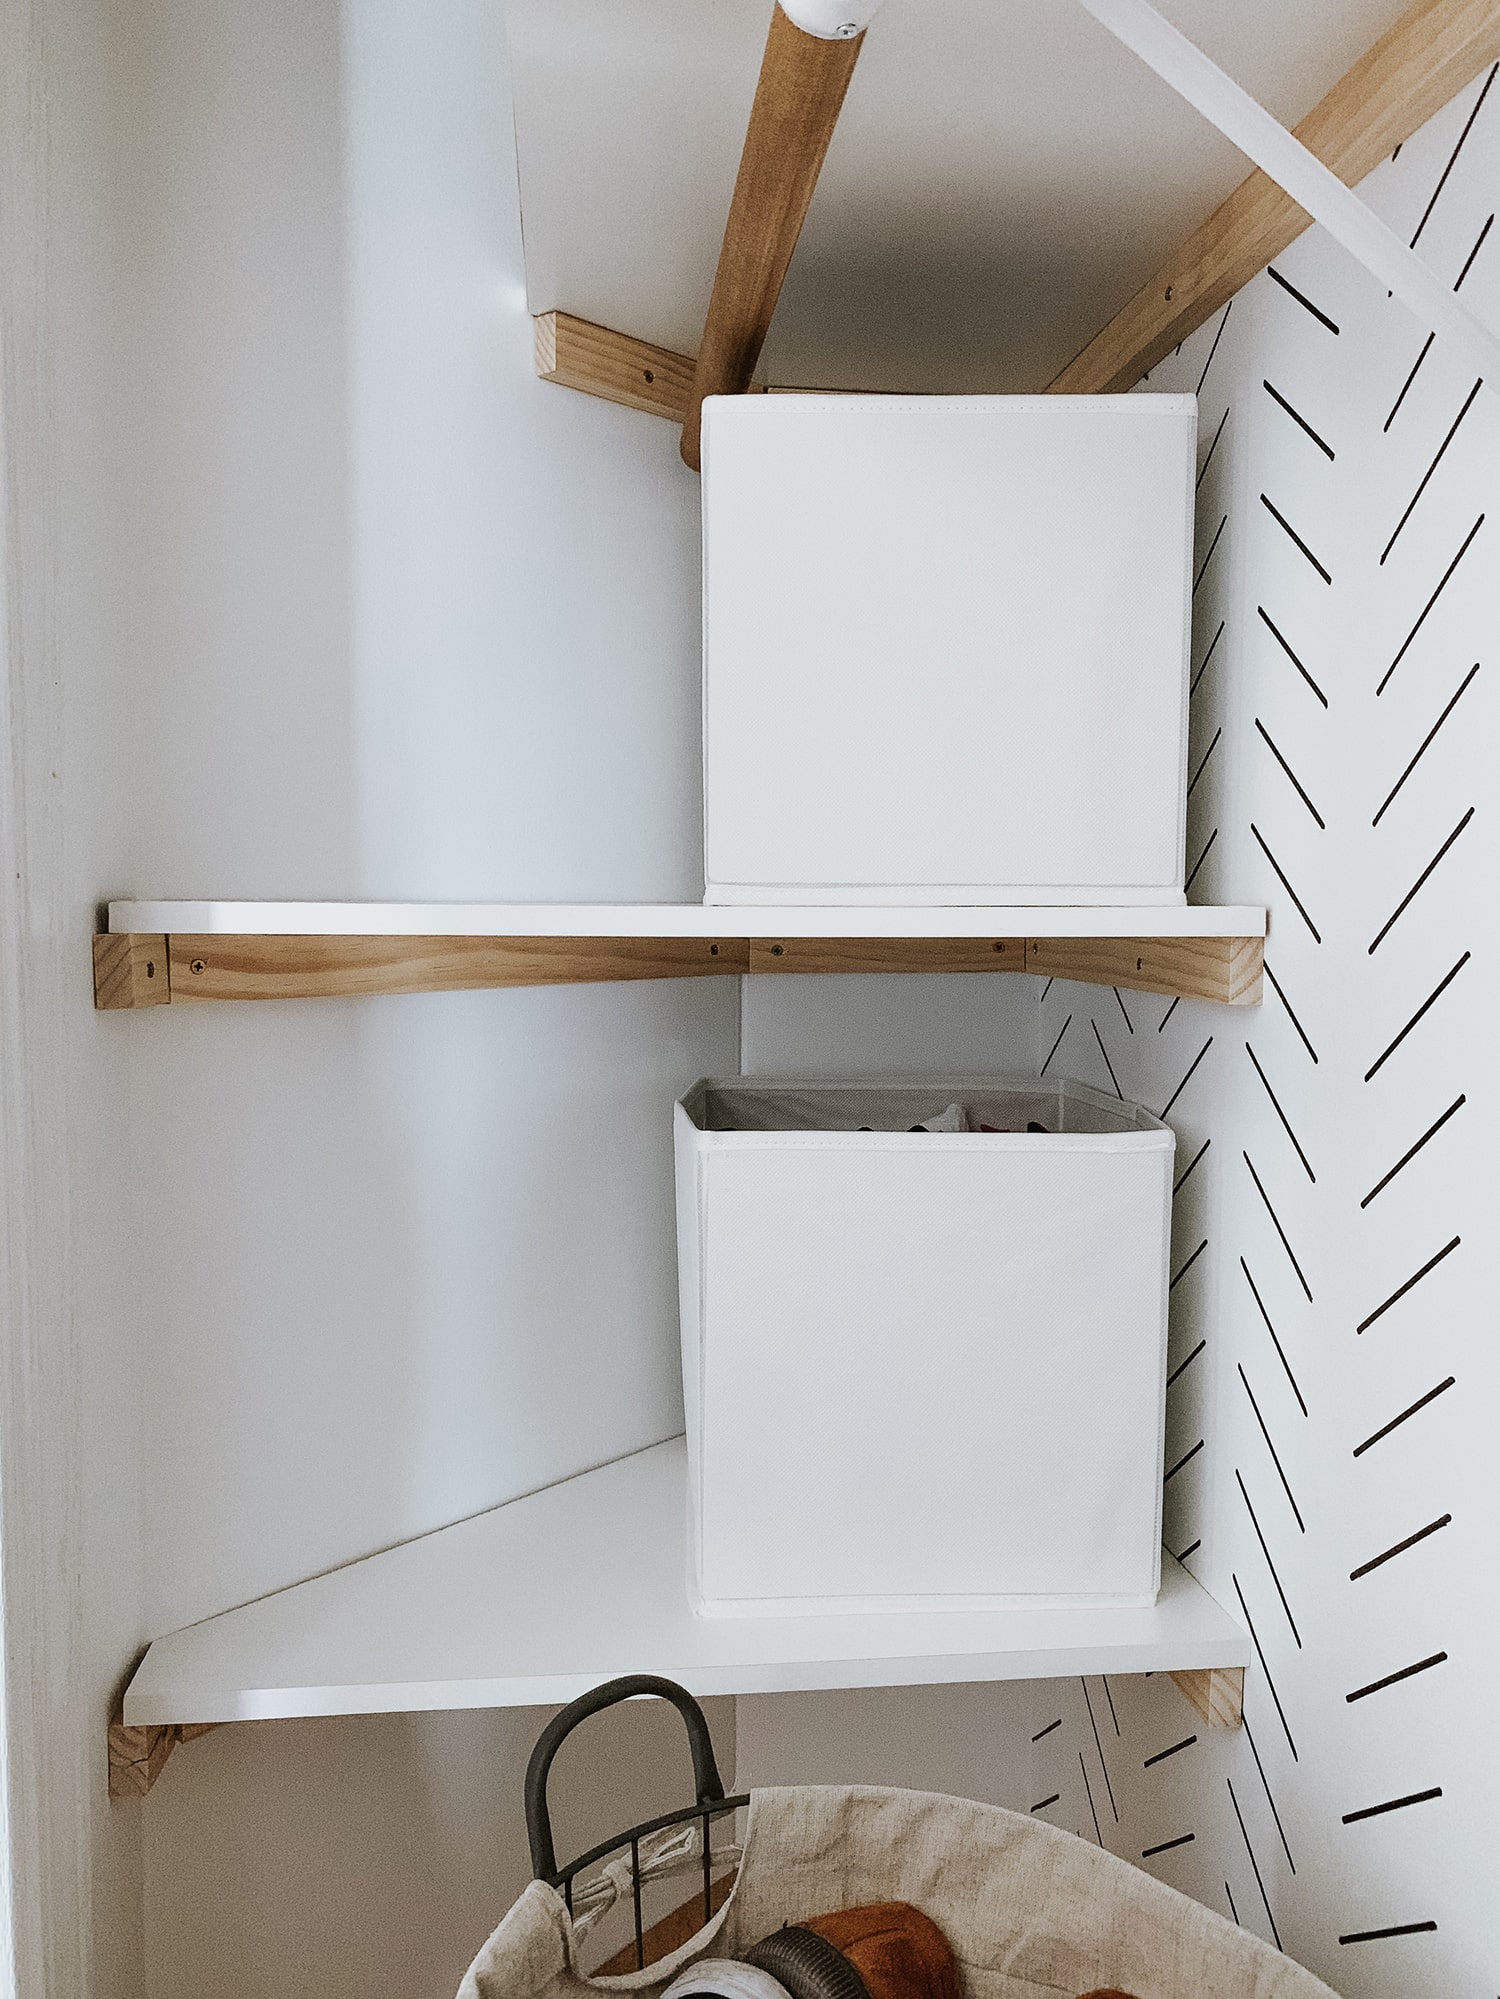
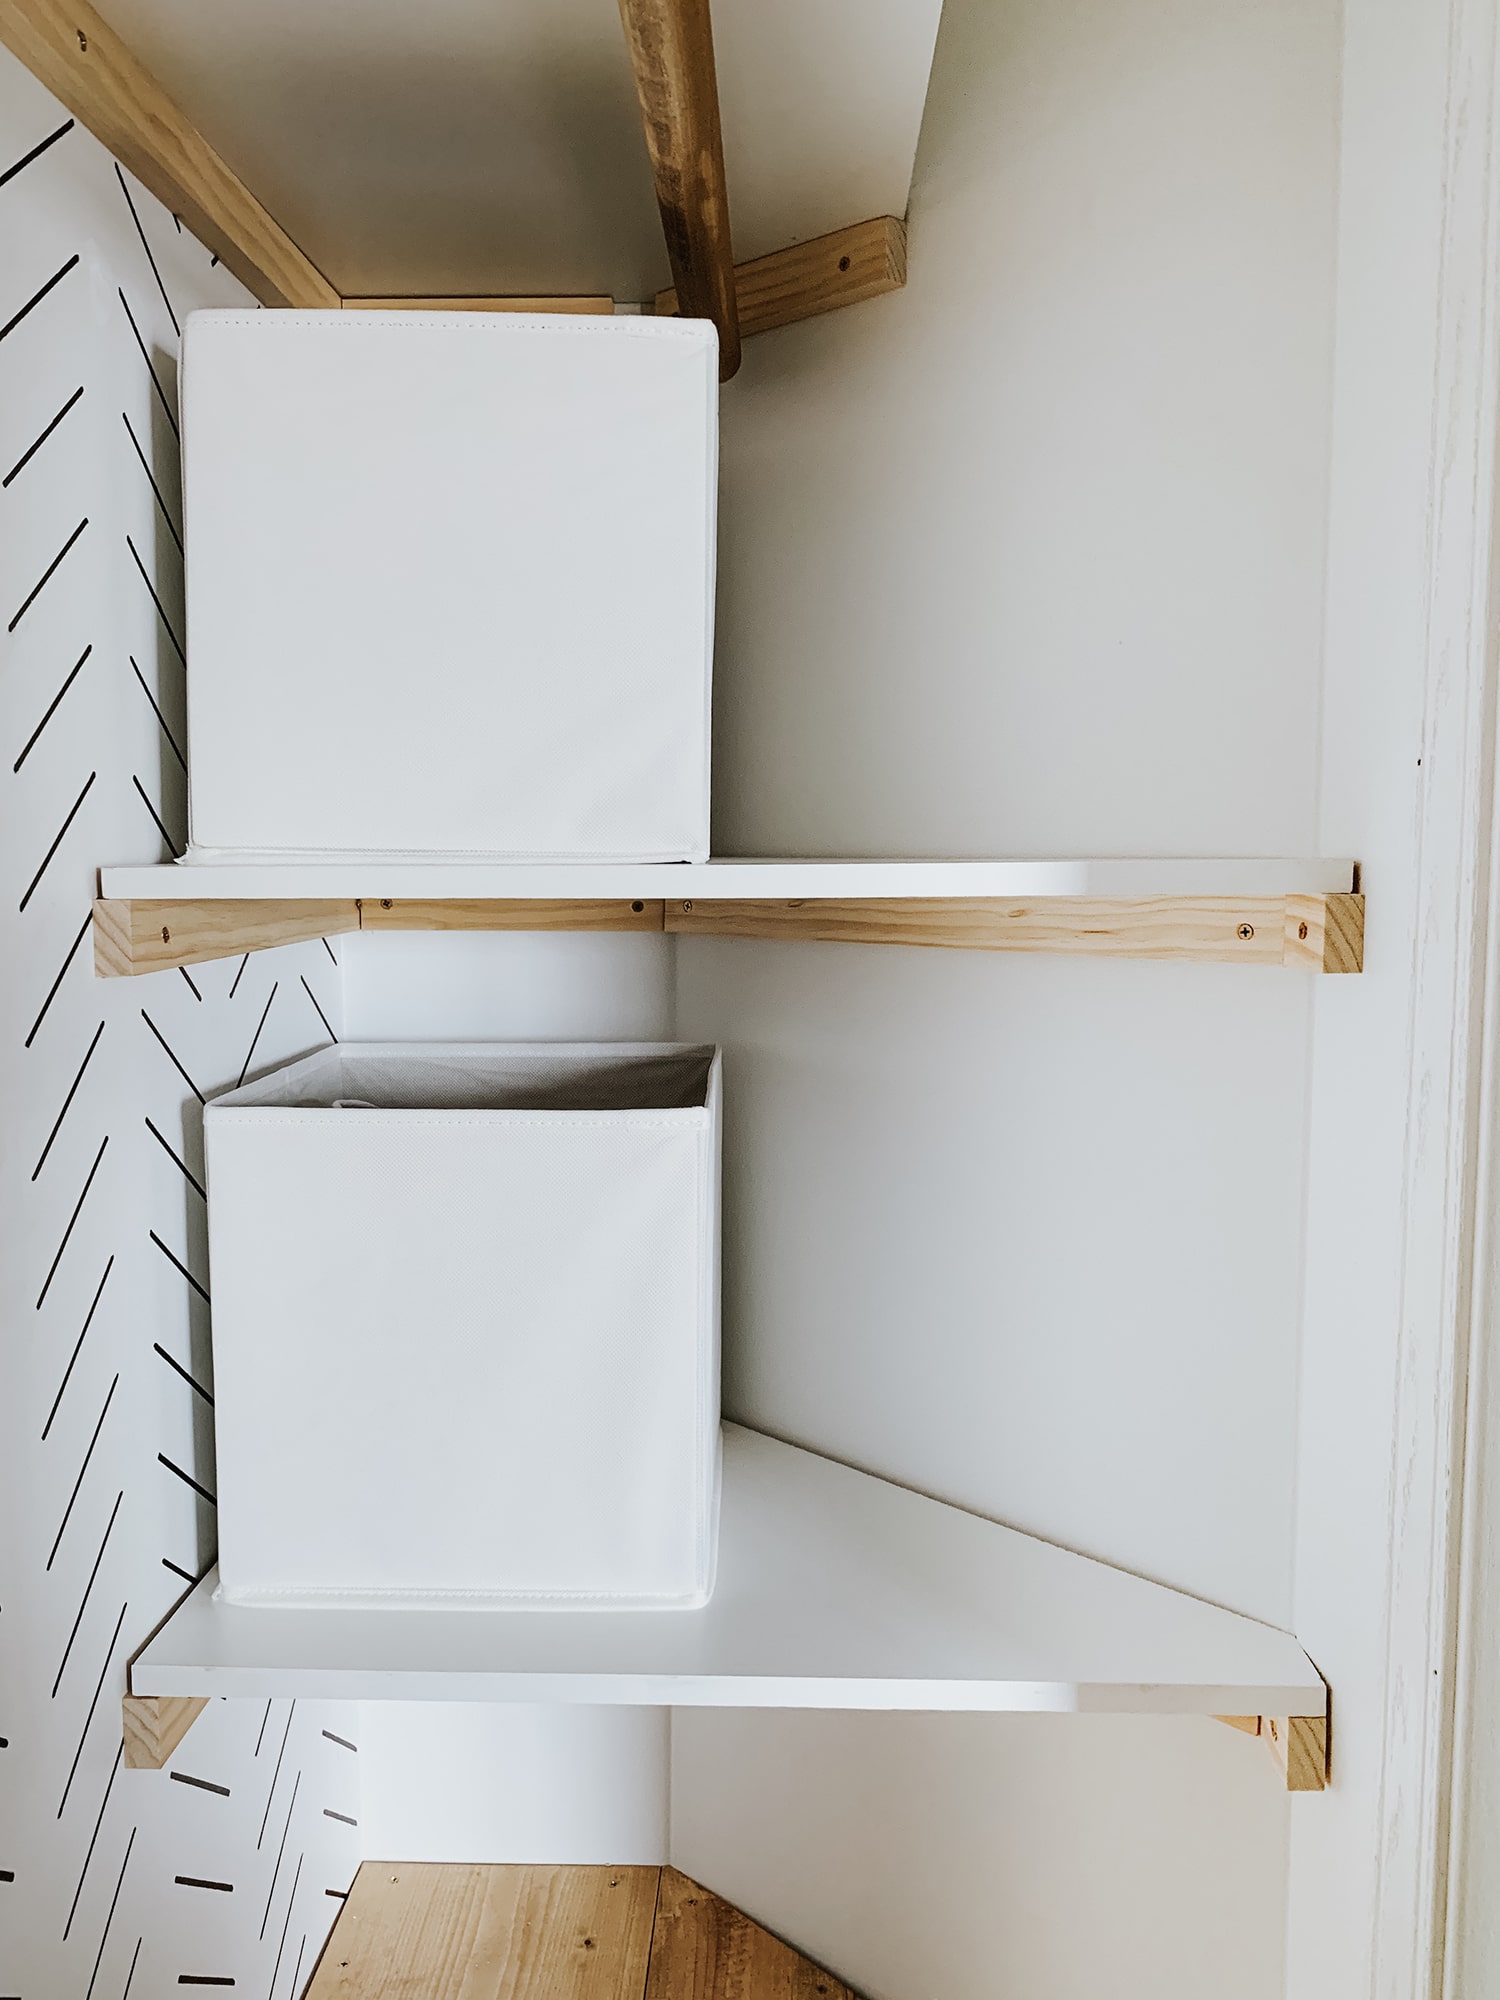
For all the shelving, I ended up buying a melamine panel board and 1×2 pine boards. I went with the melamine panel board because it was much cheaper than buying pre-cut melamine boards. I had the hardware store cut down the panel board into measured out strips. This was to make it easier to bring home – and left me with fewer cuts later on.
BENCH SEAT
This was the biggest puzzle piece of the entire closet makeover. I definitely had to put some thought into it and make sure everything fit correctly while being sturdy enough to hold weight. My original plan was to use 1×2’s for the entire bench support (yes, yes, I know. Not the smartest idea). I re-thought my decision the first night of working on the closet and I decided to use 2x4s and 2x2s for overall support. I also used our Kreg Jig to create pocket holes to connect the boards together and to make it stronger overall.
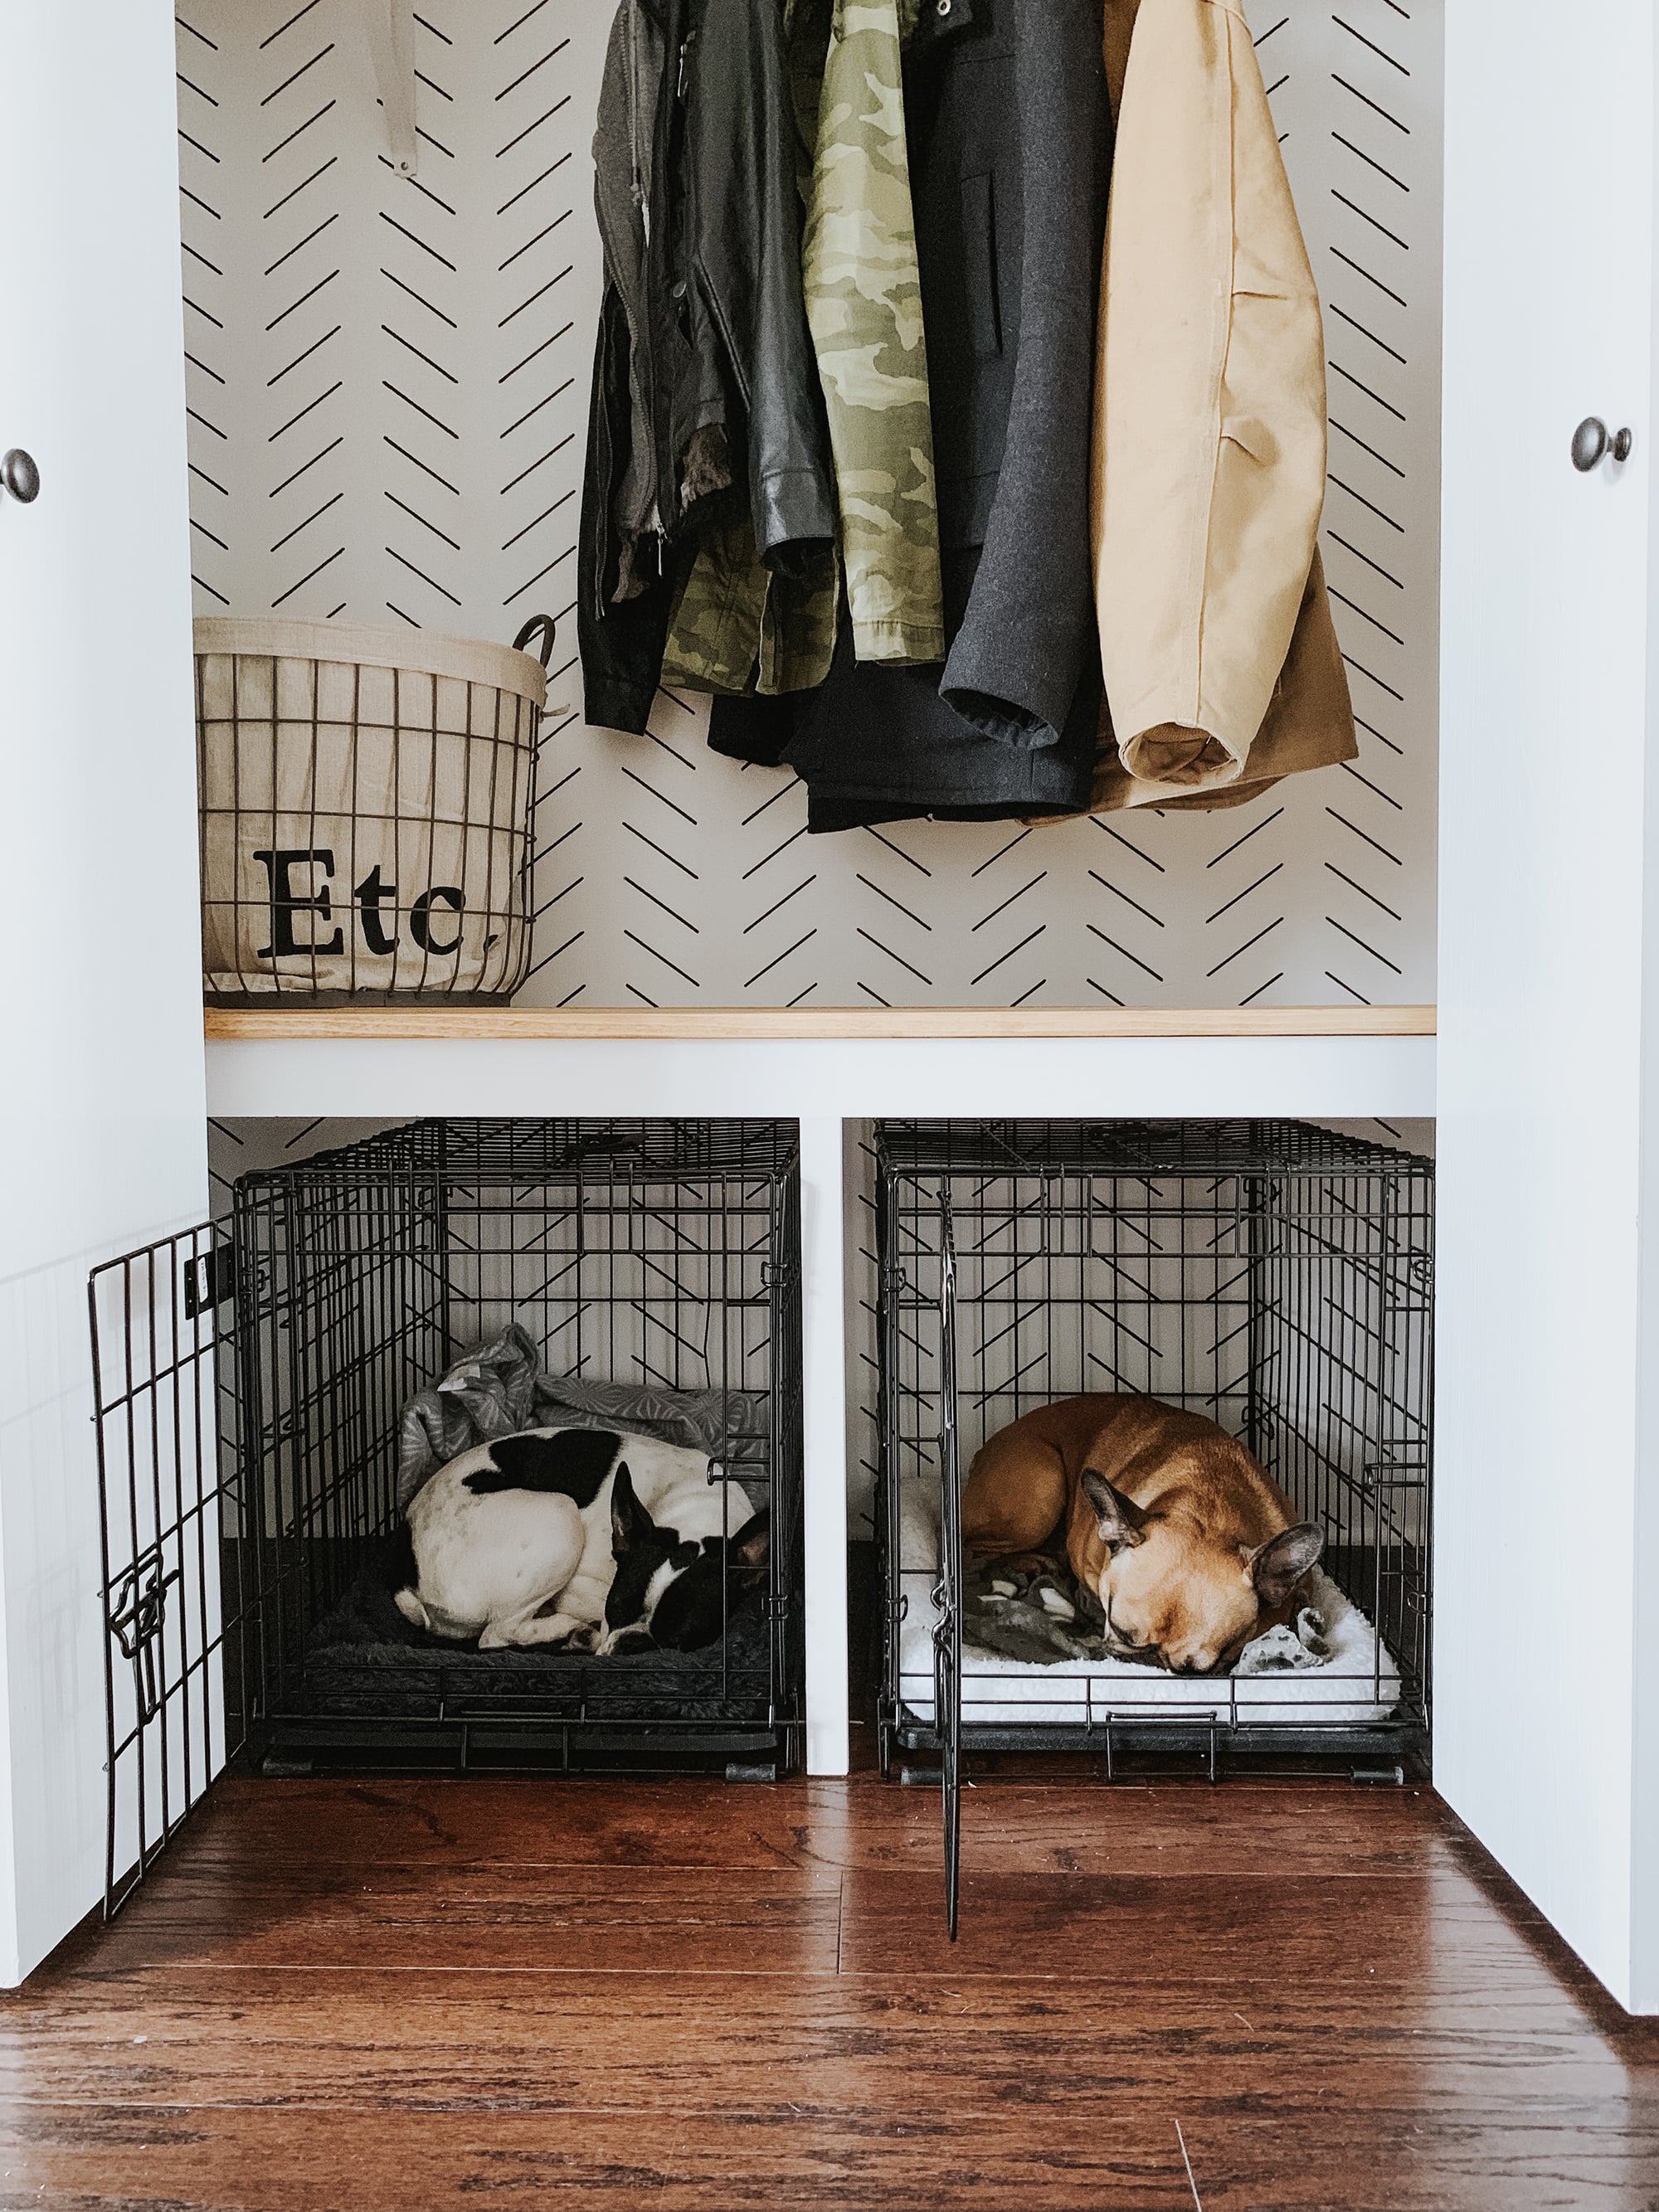
For the “front” piece of the bench seat, I used a 1×3 (what is right above the crates) and 1x2s for the legs of the bench. There are 3 total legs – the other 2 are behind the doors.
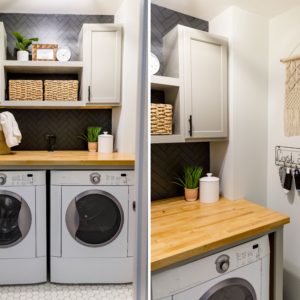
For the top of the bench, I used 2 – 1×12 pine boards, and 1 – 1×4 pine board. Those boards equaled out to be 24″ together – the closet depth. For the stain, I used Minwax Puritan Pine (which has been my favorite stain color lately!). Most of the wood furniture or decor pieces we have in our home are darker in color, so I was really happy to have this space warmer and lighter. I loved how the stain color turned out!
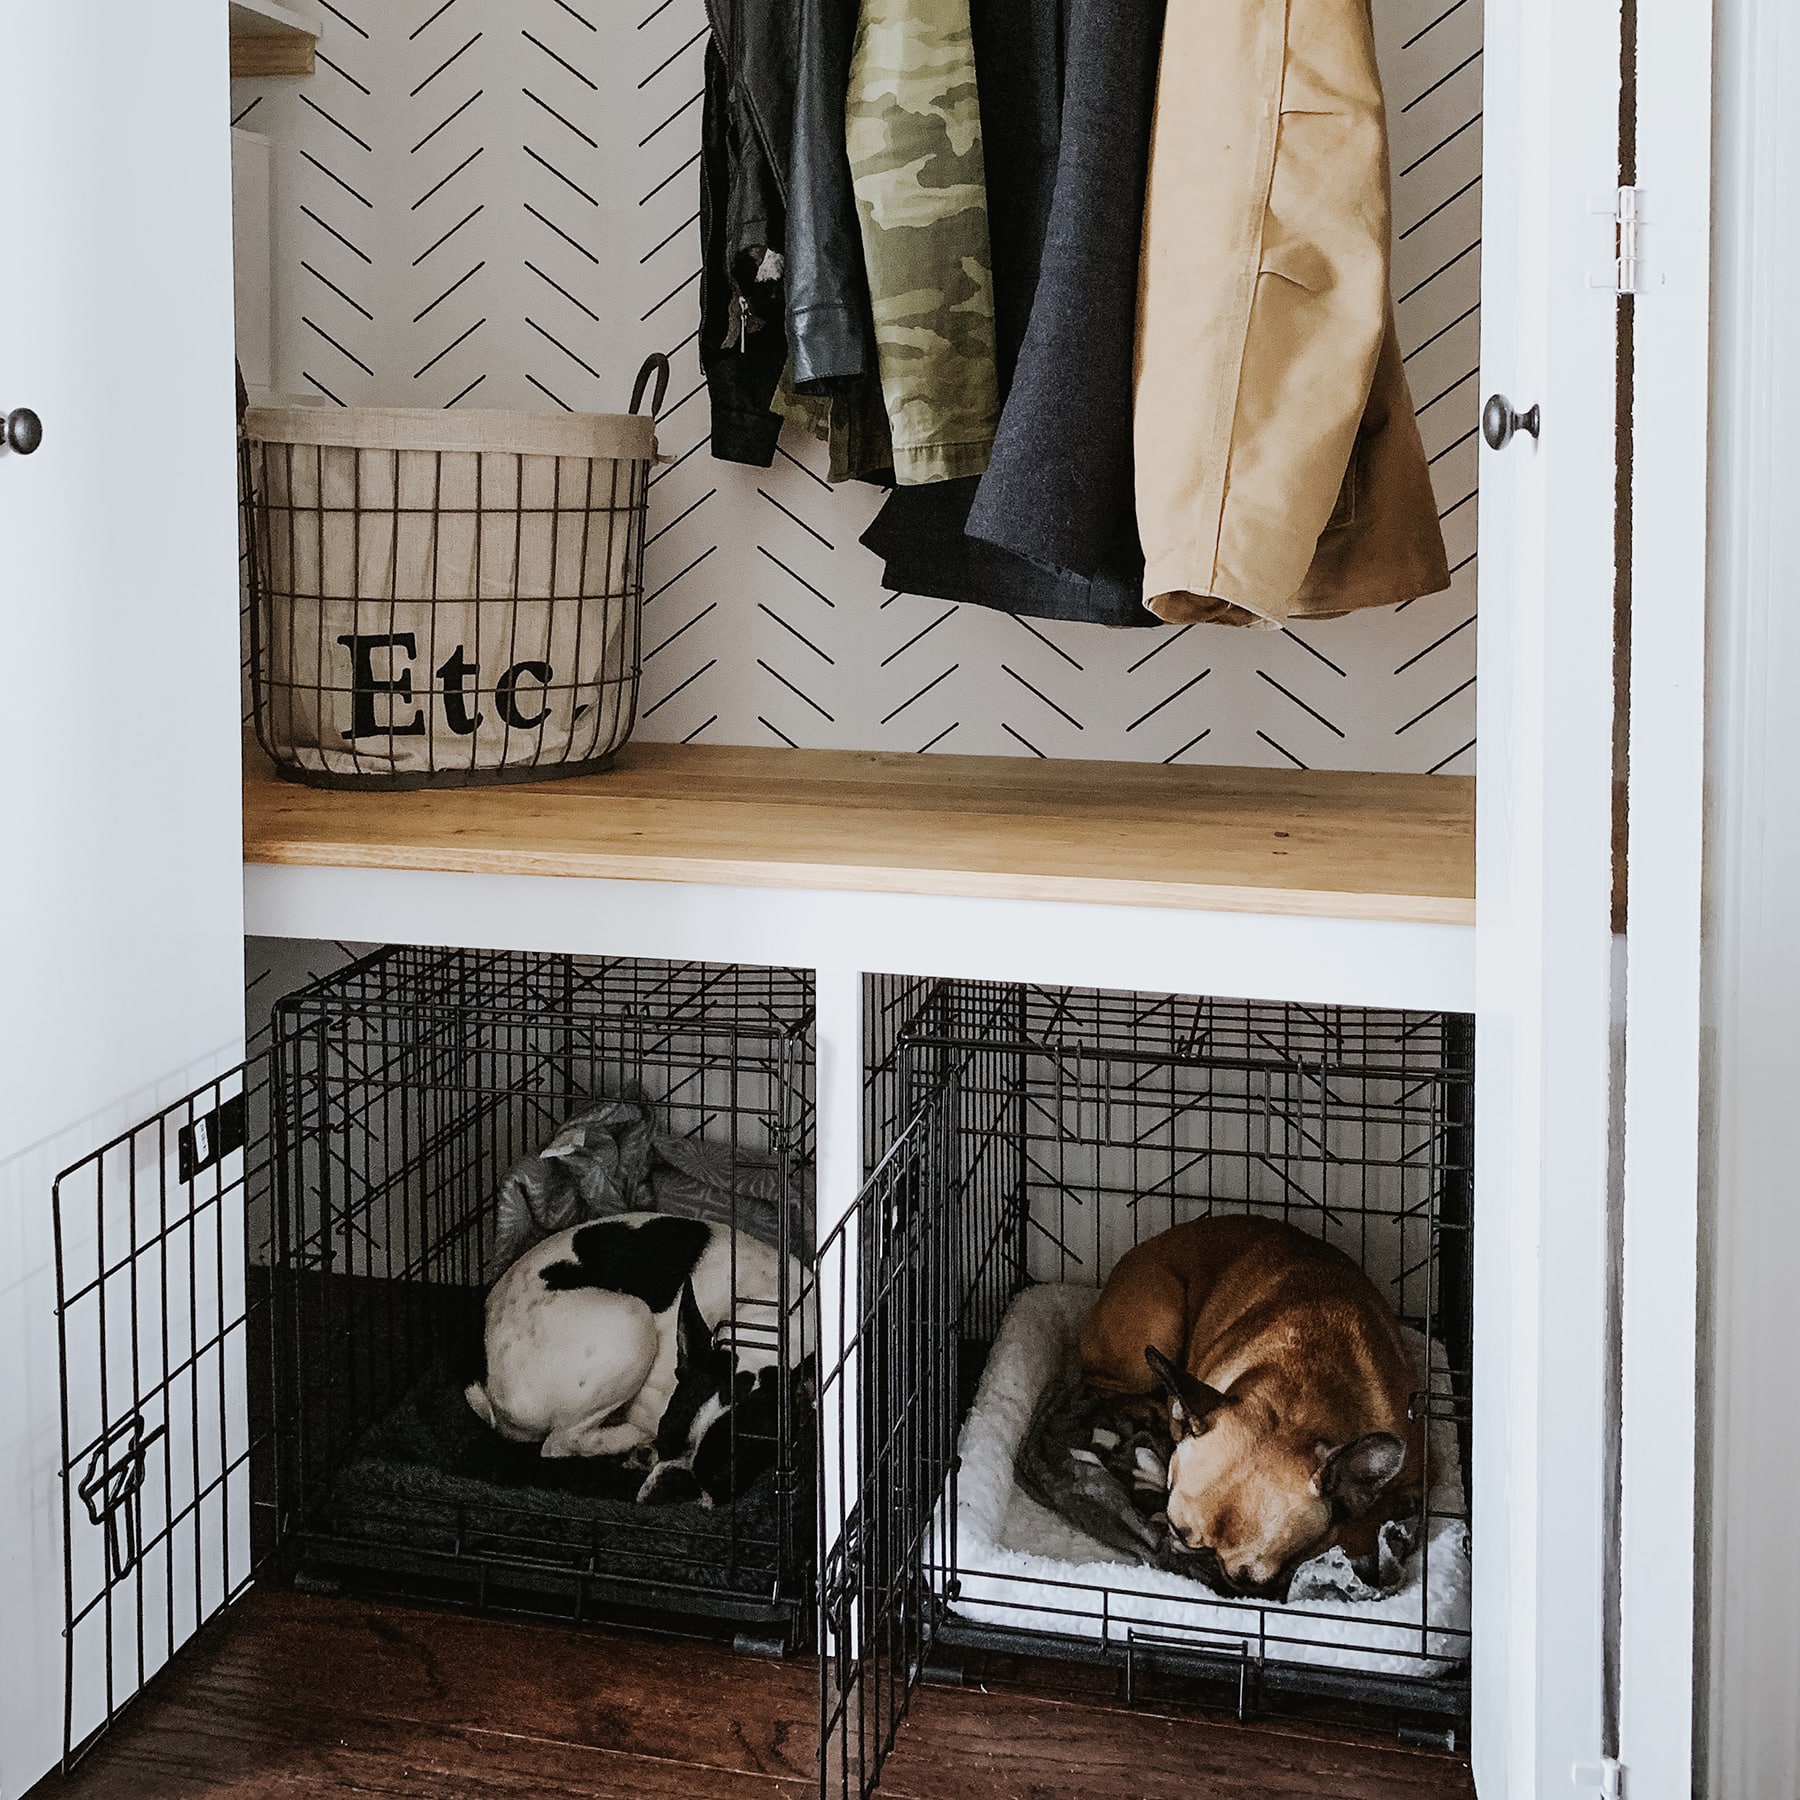
As you can see, the dog crates could not fit anymore perfect in the closet opening! At one point, I did have my fingers crossed to make sure it all did fit, but it did (phew).
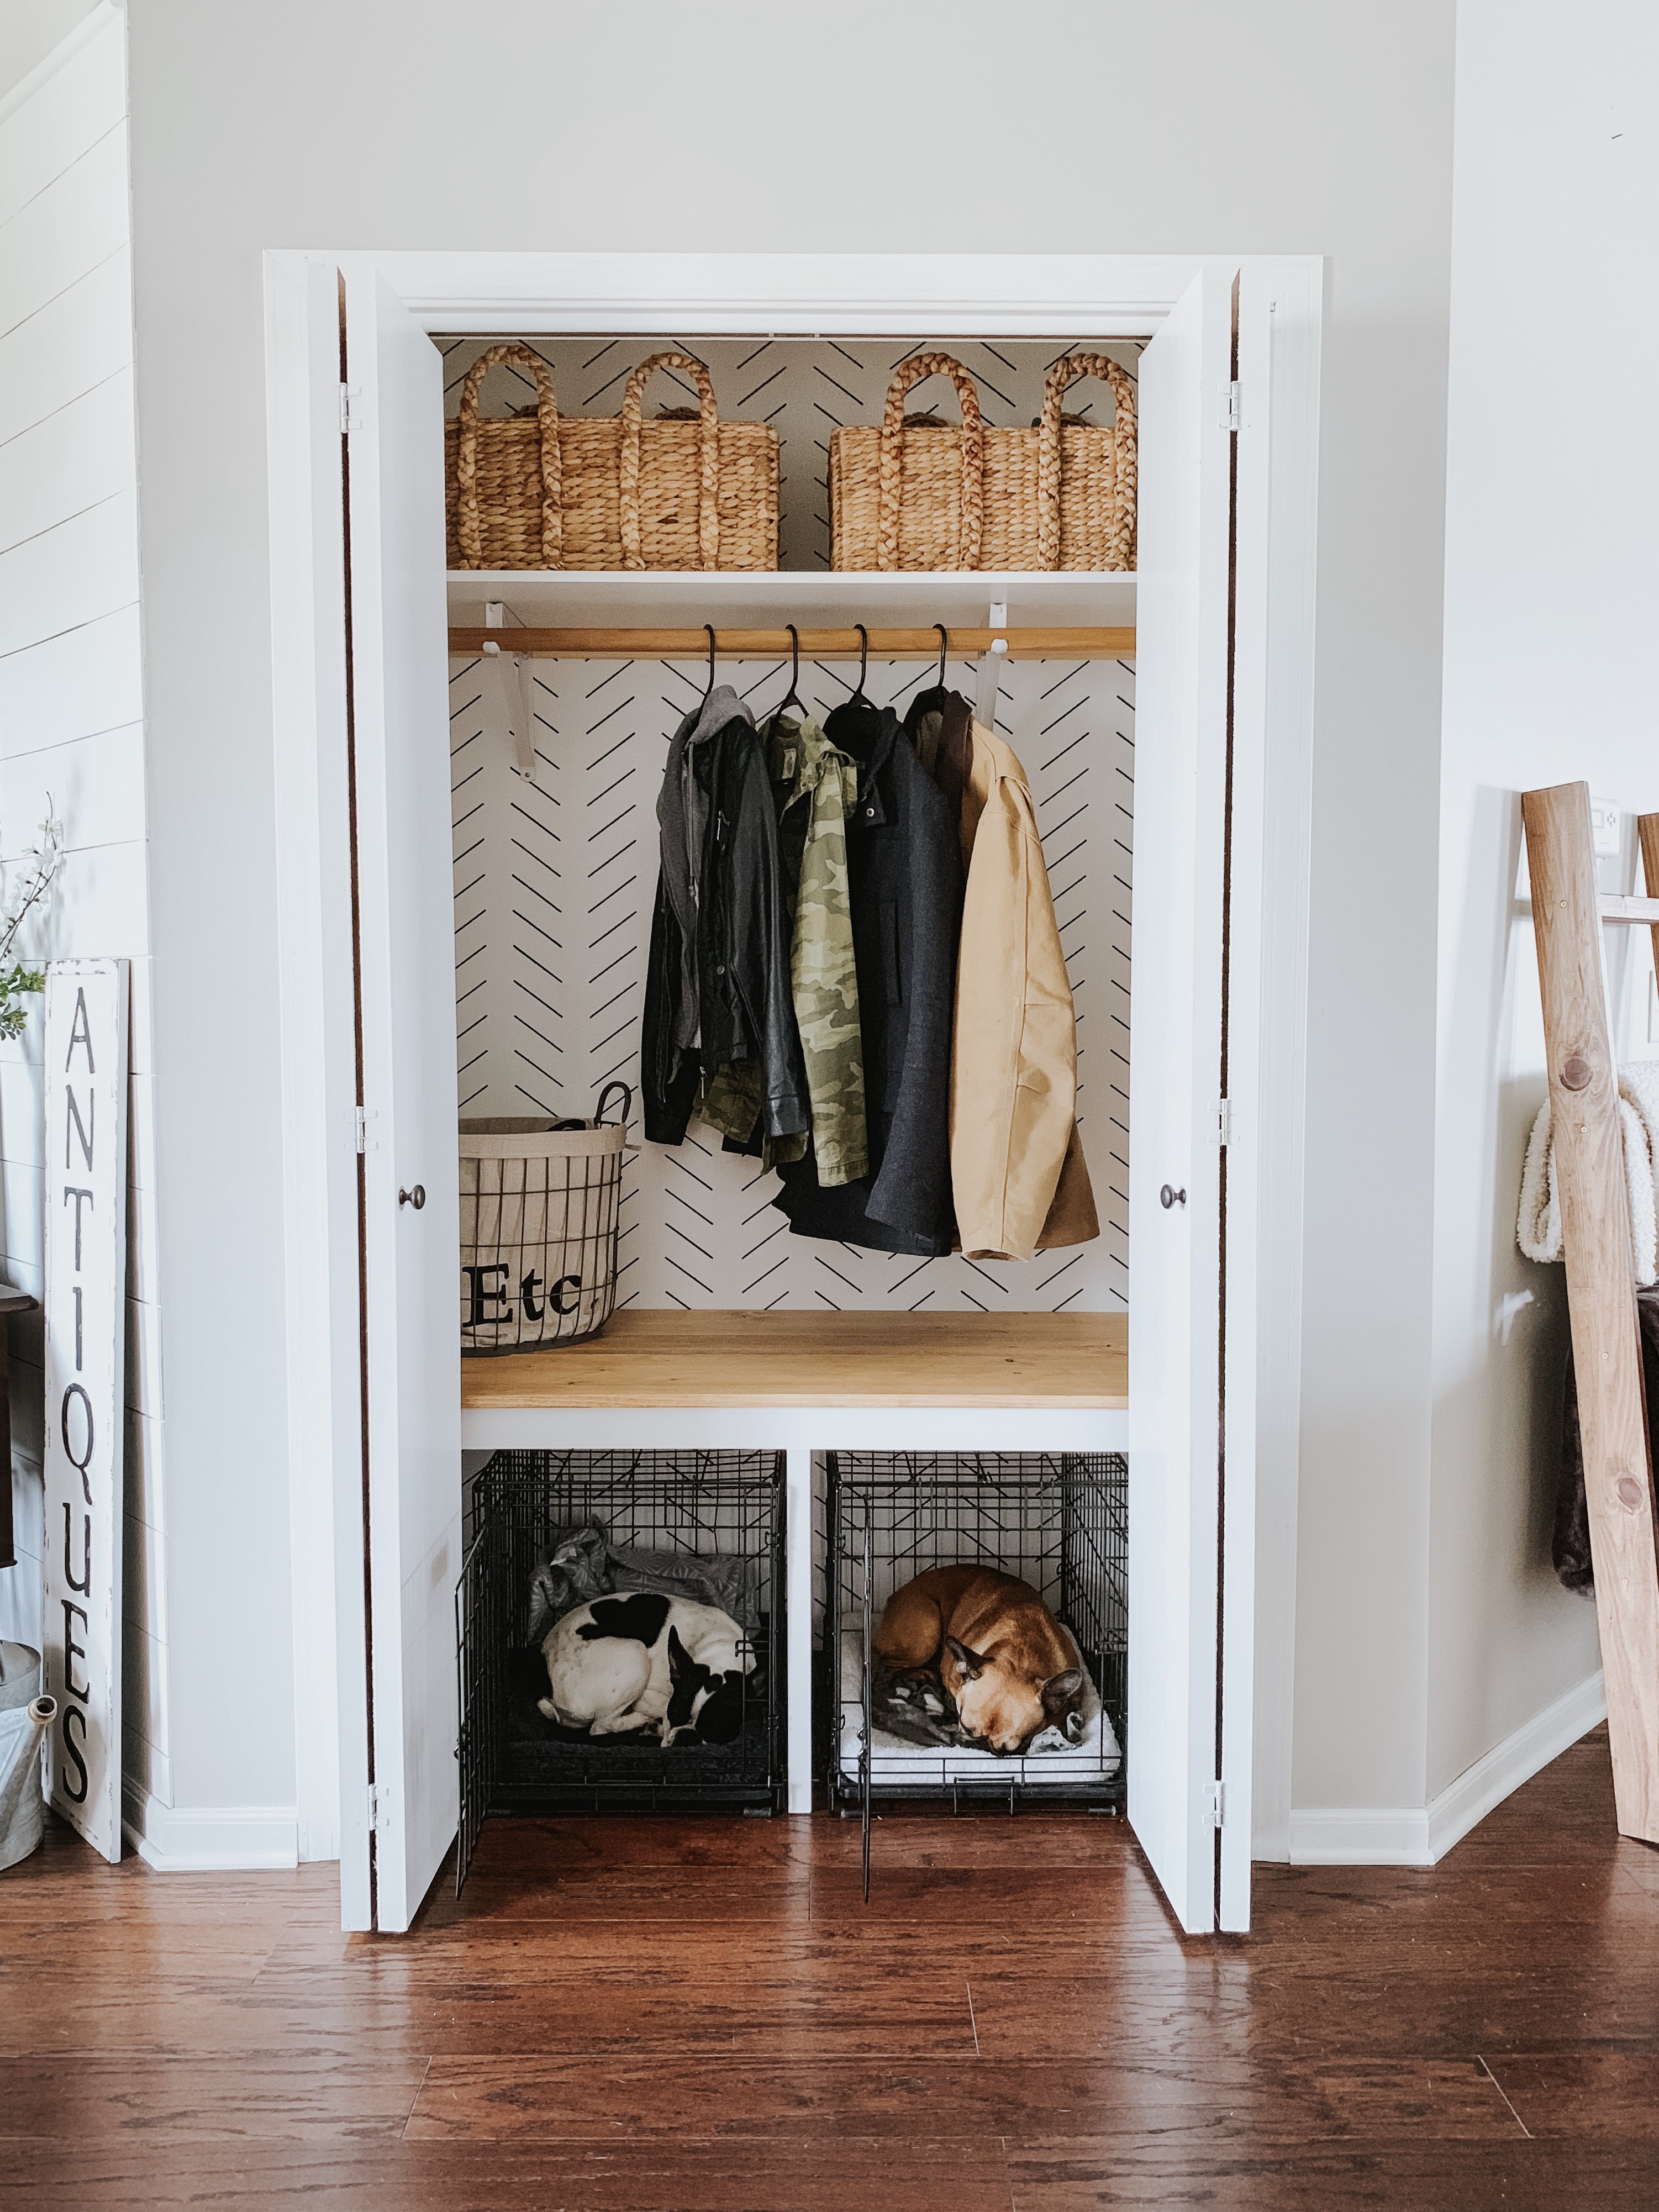
THE COMPLETE LOOK
This was the first “big” project I tackled on my own, without the handy help of my husband, So I’m pretty proud of myself! After calculating all the lumber, shelving and brackets together, the total cost of this entryway closet makeover was just over $110!
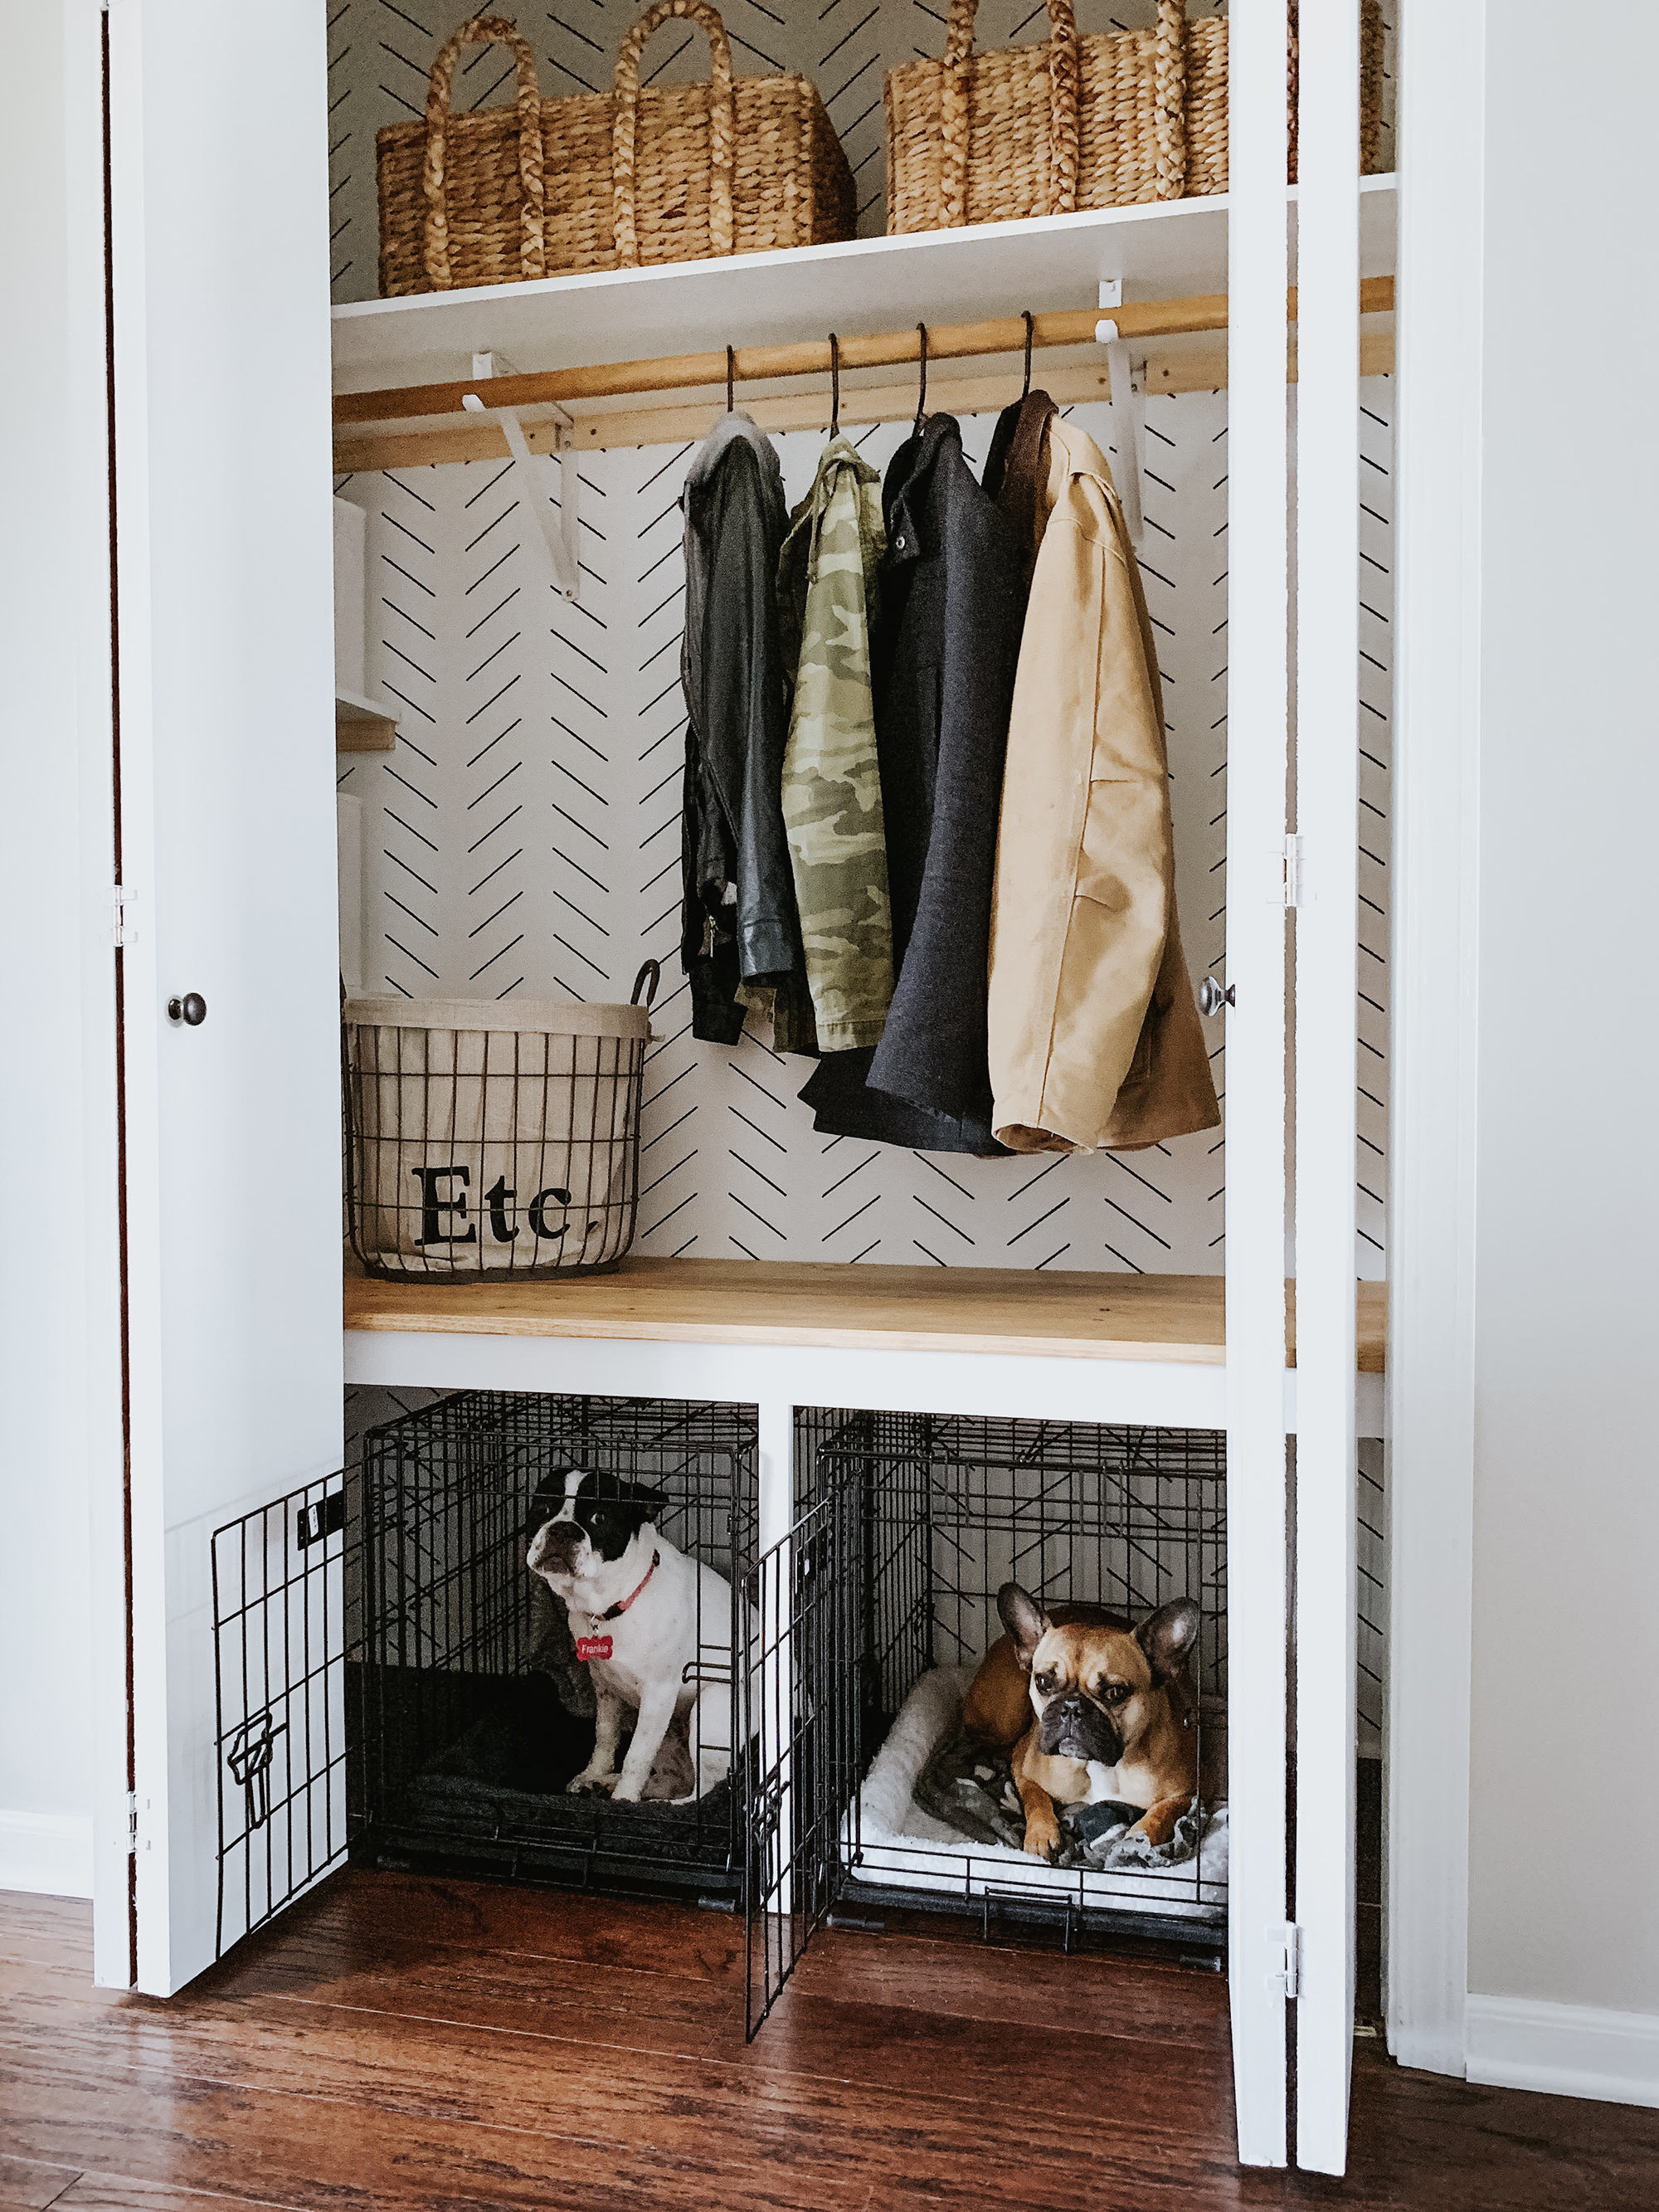
P.S. I promise Frankie and Figgy actually climb in their cages when I started to snap all these photos. Yes, it may have melted my heart.
Let us know what you think of the entryway closet makeover in the comments below!


Hi! Love this makeover! I recently ordered the stencil you’ve created for a pantry/coat closet makeover I’m planning. I’m just wondering where you got the shelf/rod hangers you used?
Hey Rebecca,
Thank you so much! I found the shelf brackets at Lowes – https://www.lowes.com/pd/Blue-Hawk-12-8-in-Shelf-Bracket/50036824
I hope that helps! We’d love to see how your pantry/closet turns out 🙂
Love the look, hoping to achieve something similar with my entryway closet! Wondering where you got the wooden rod?
We got the wooden rod from Lowe’s!
Love this! Needed the inspiration to redo my super small entryway closet. How/where do you store your shoes? TIA!!
Hi Reann!
Thank you so much! We store our shoes in the basket at the top, along with a shoe tray near the door.
Do you have a light inside the closet?
Yes!