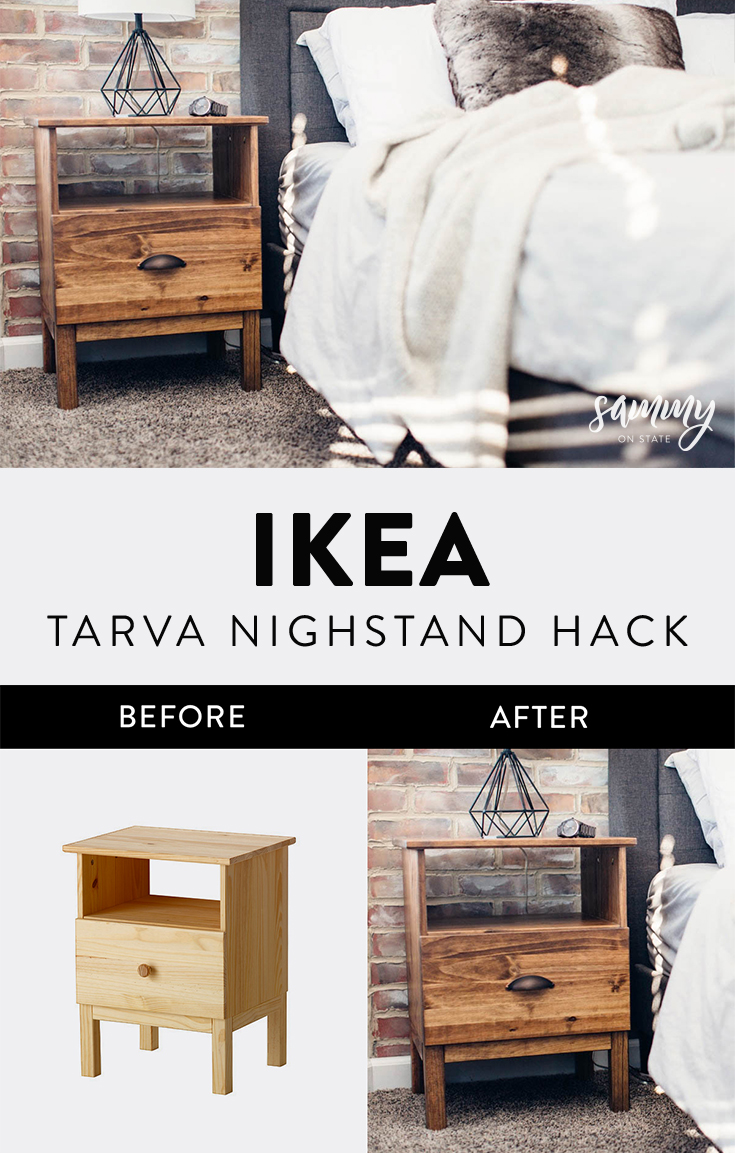
Unfortunately, IKEA has discontinued this Tarva nightstand, but this hack can still be done with other dressers in the Tarva Collection!
Hello, hello! Sarah here. 🙂
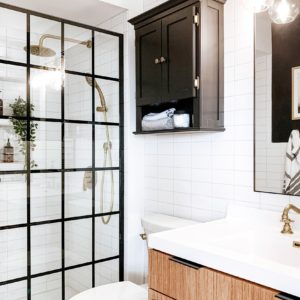
When my fiancé and I first moved into our new house several months ago, our bedroom remodel was number 1 on our list of things to-do. We wanted to at least have one spot where we can unwind while the rest of the house was under renovation/construction.
I really really wanted a rustic nightstand with a natural stain color to go with the rest of the neutrals in the room. Any nightstand I found online was so unbelievably expensive. I mean $300 dollars for a NIGHTSTAND. You put your phone on it at night….like c’mon.
I did some nightstand soul searching and stumbled upon this nightstand that was unfinished and extremely cheap! So I thought… “First DIY project in the new house HERE I COME!!”
This post may contain affiliate links where we earn a small commission on your purchases at no additional cost to you.
THE SUPPLIES
- IKEA Tarva Nightstand (Unfortunately, IKEA has discontinued this Tarva nightstand, but this hack can still be done with other dressers in the Tarva Collection!)
- Minwax Special Walnut Stain
- Minwax Polycrylic Protective Finish Water Based – Satin Finish
- Aged Bronze Arched Cabinet Pull (or whatever handle you would like)
- Foam Brushes
- Cheap/old Lint-free rags
- Gloves – optional
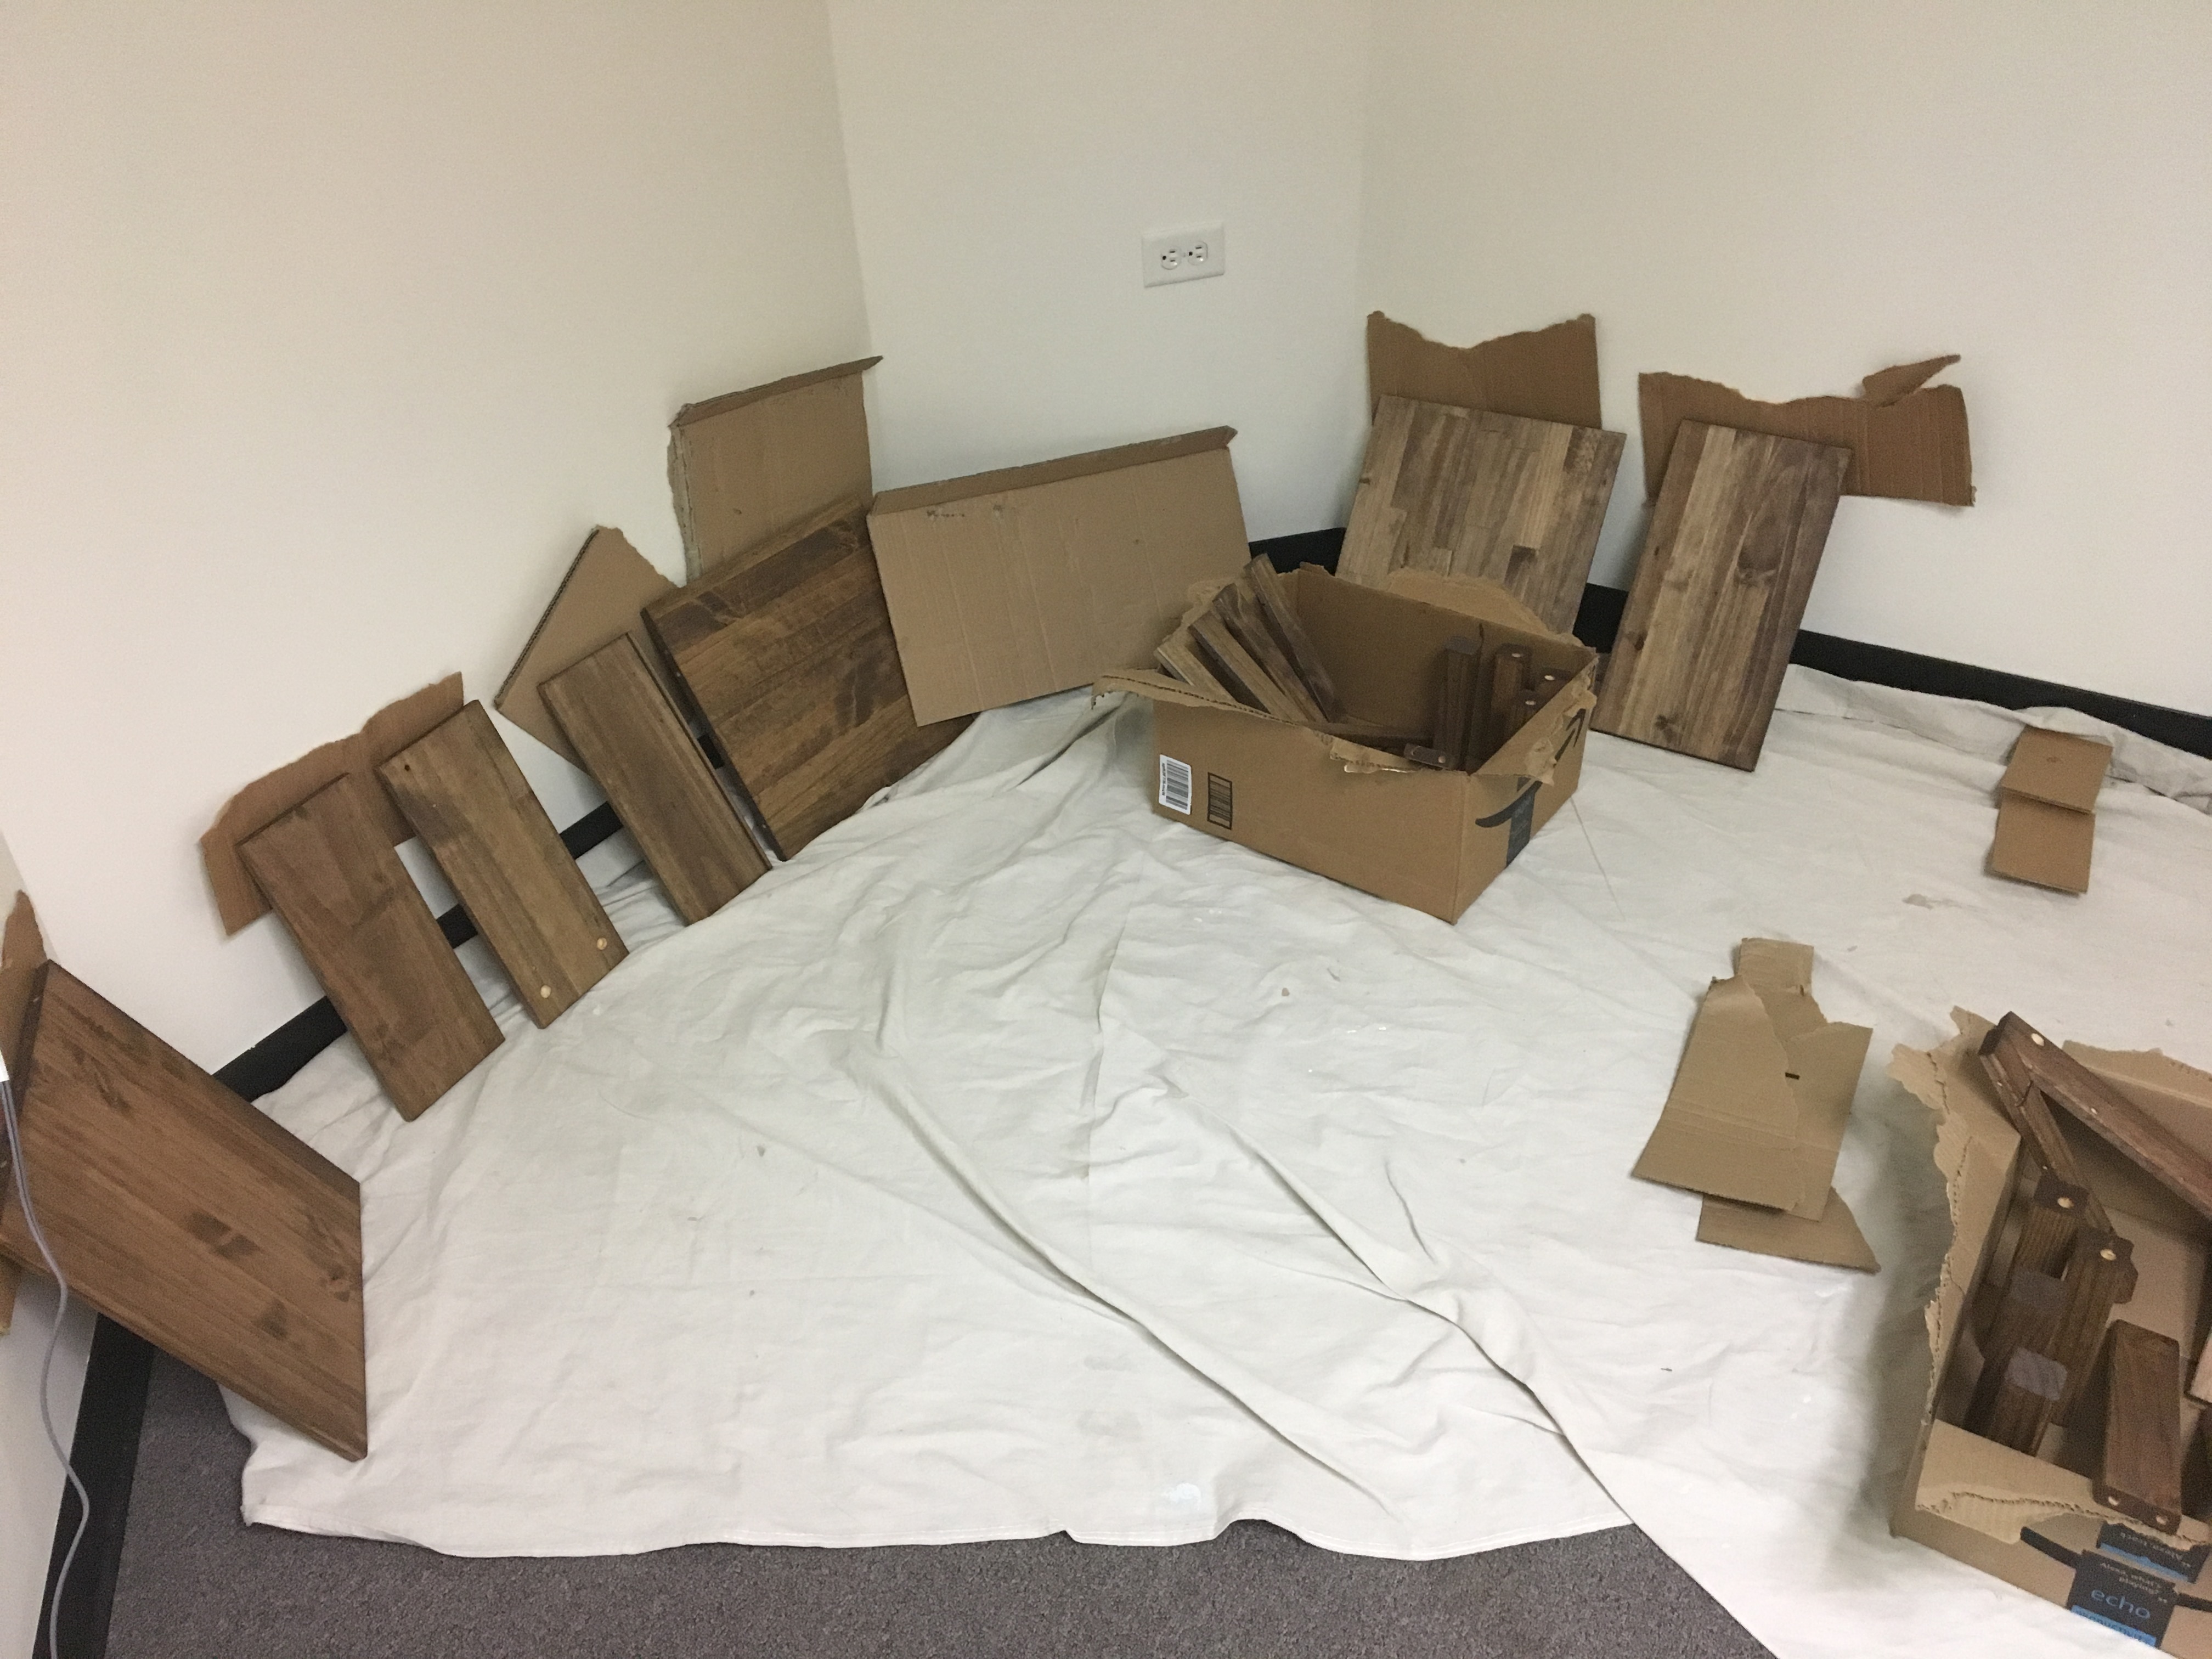
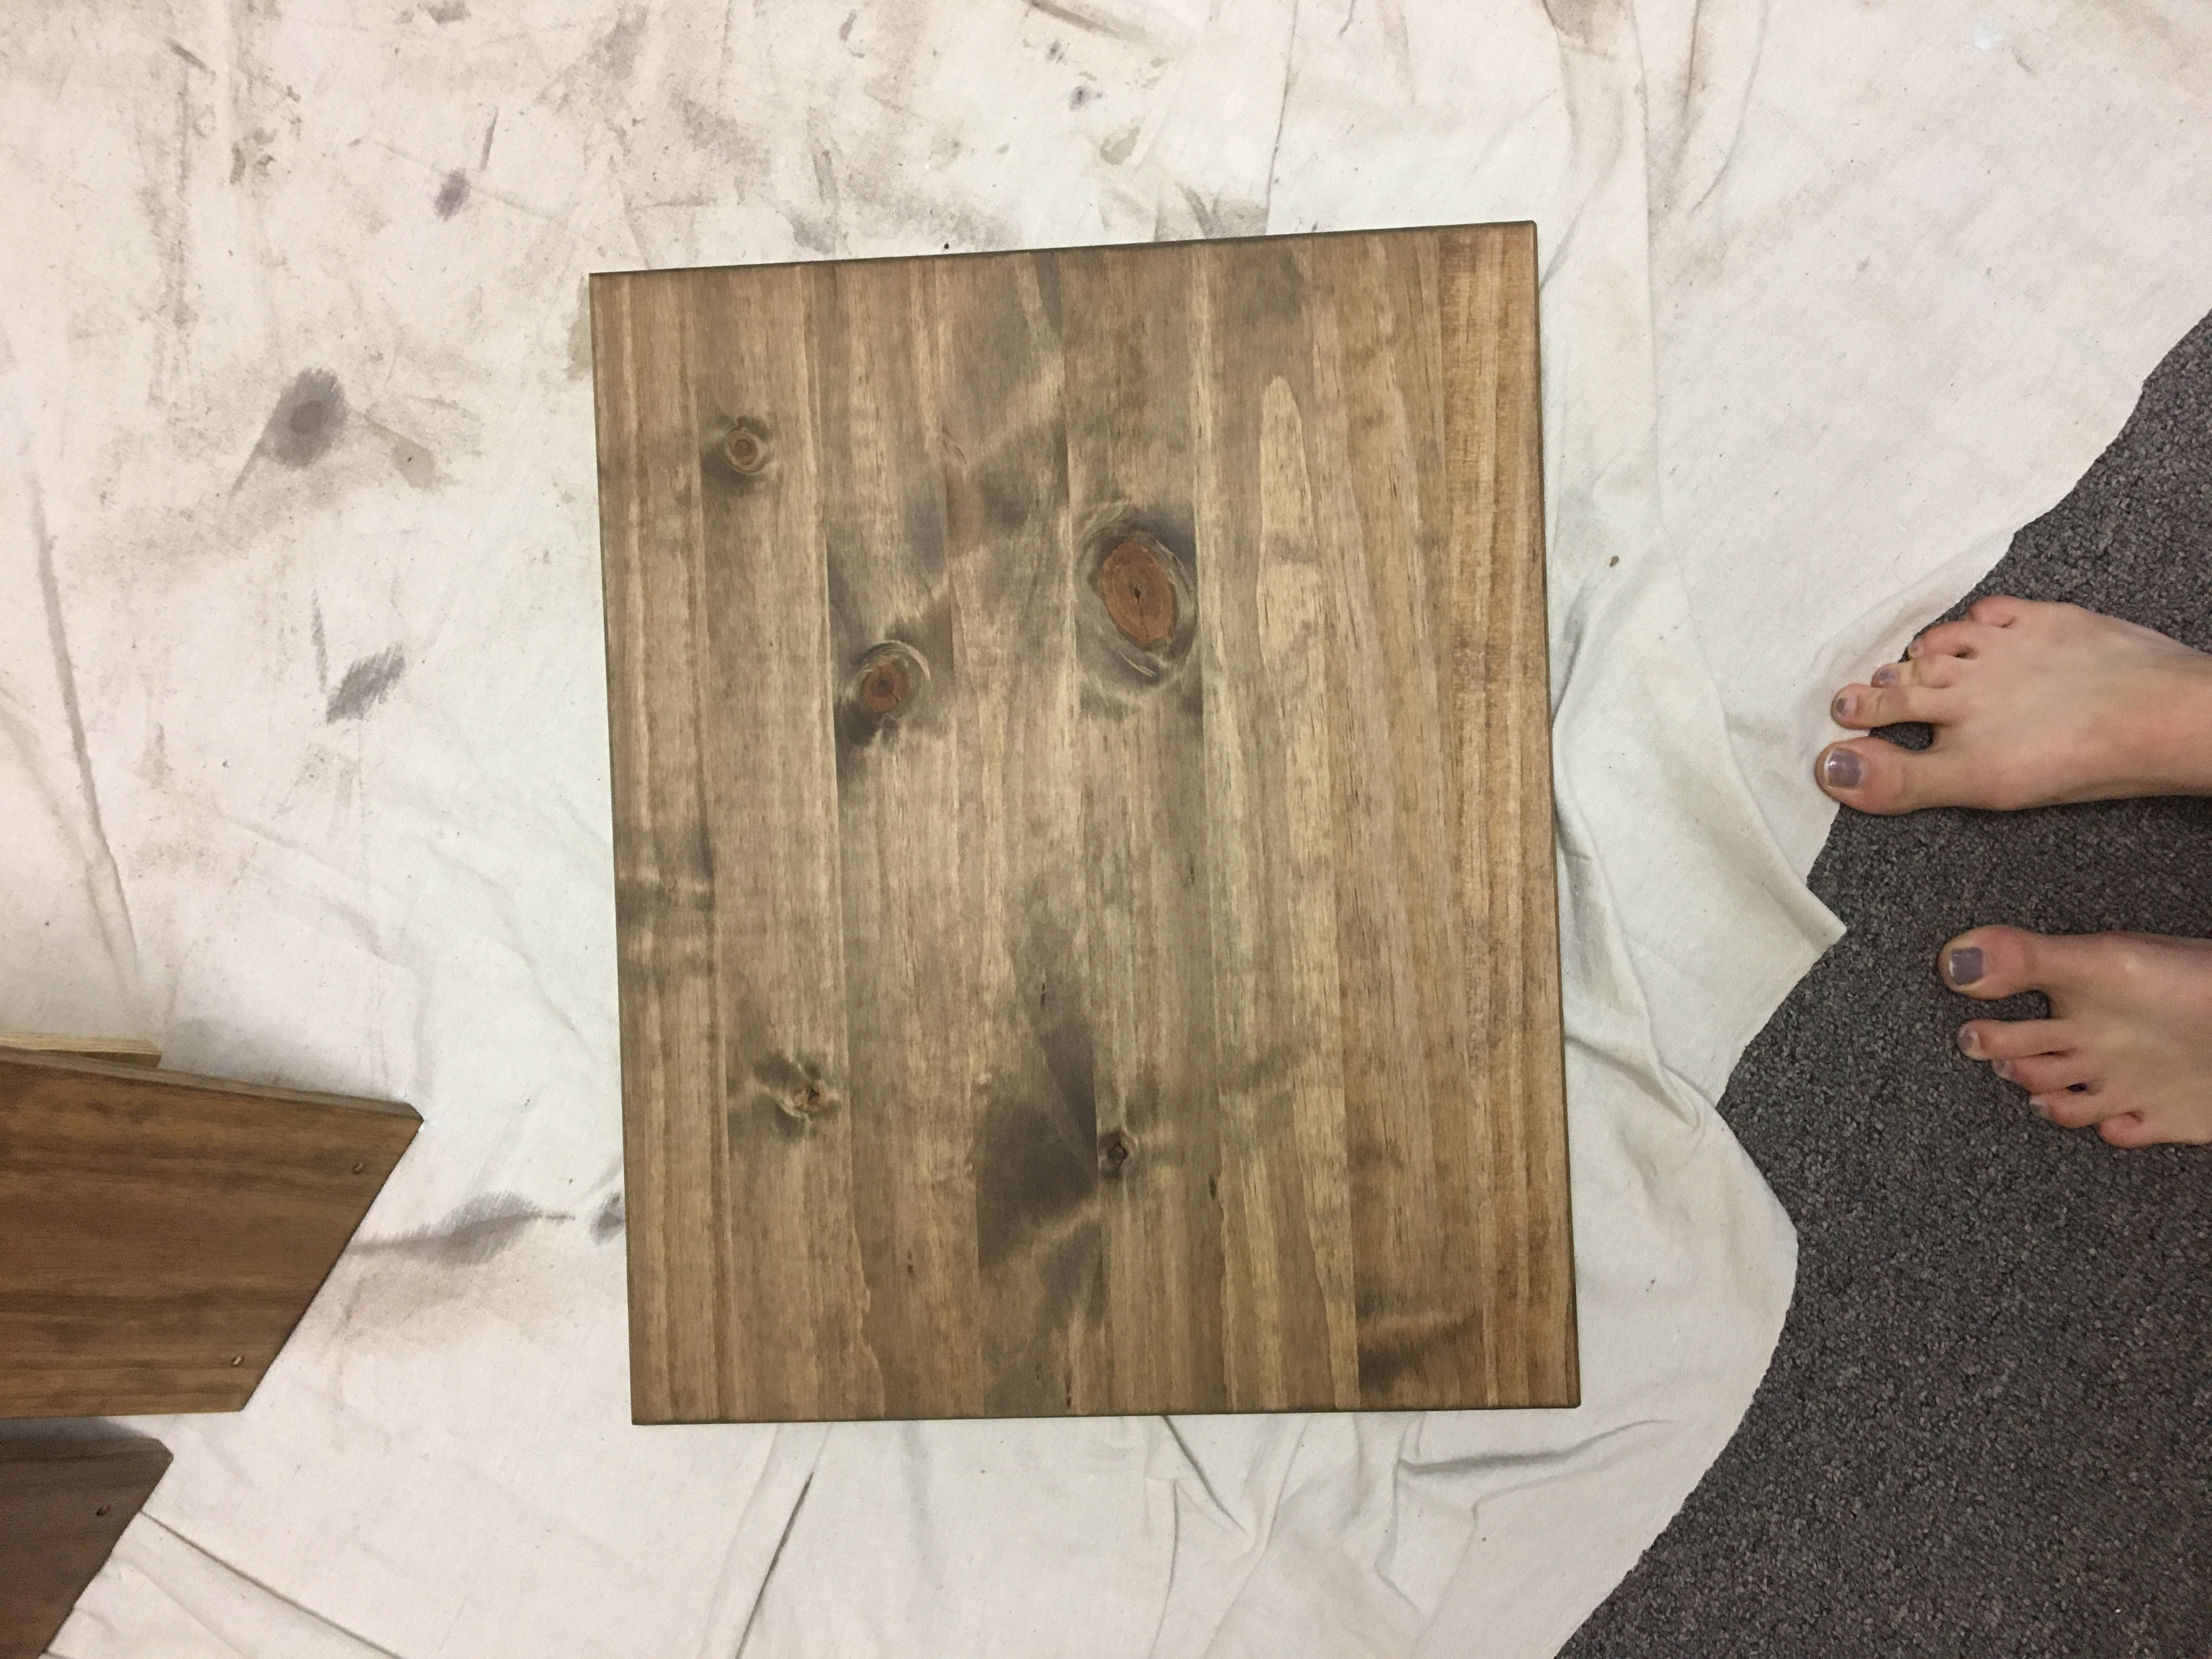
STEP 1 – Stain
You can either stain the nightstand before it’s put together or after. I chose before… that way I didn’t have to worry about staining inside the drawer in awkward spots.
I used a foam brush to apply the Minwax Special Walnut stain. Depending on how dark you want the wood to look, you can either let the stain sit for a little while or wipe it off immediately. This nightstand is made from pine wood and it’s one of the softer woods that absorbs very quickly. So, I just wiped the stain off immediately with a lint free rag.
STEP 2 – Assemble
Once you let the stain dry, you can go ahead and assemble it. This is always the most interesting part for me especially with IKEA products. LOL
STEP 3 – Varnish
Now that the nightstand is put together you can go ahead and varnish it with the Minwax Polycrylic protective finish using a foam brush. I did 1 coat on the sides of the nightstand and 2 thicker coats on the top and outside drawer. These are the highest traffic areas, so you want them to be the most durable.
– tip –
Make sure you let each coat fully dry before adding another coat.
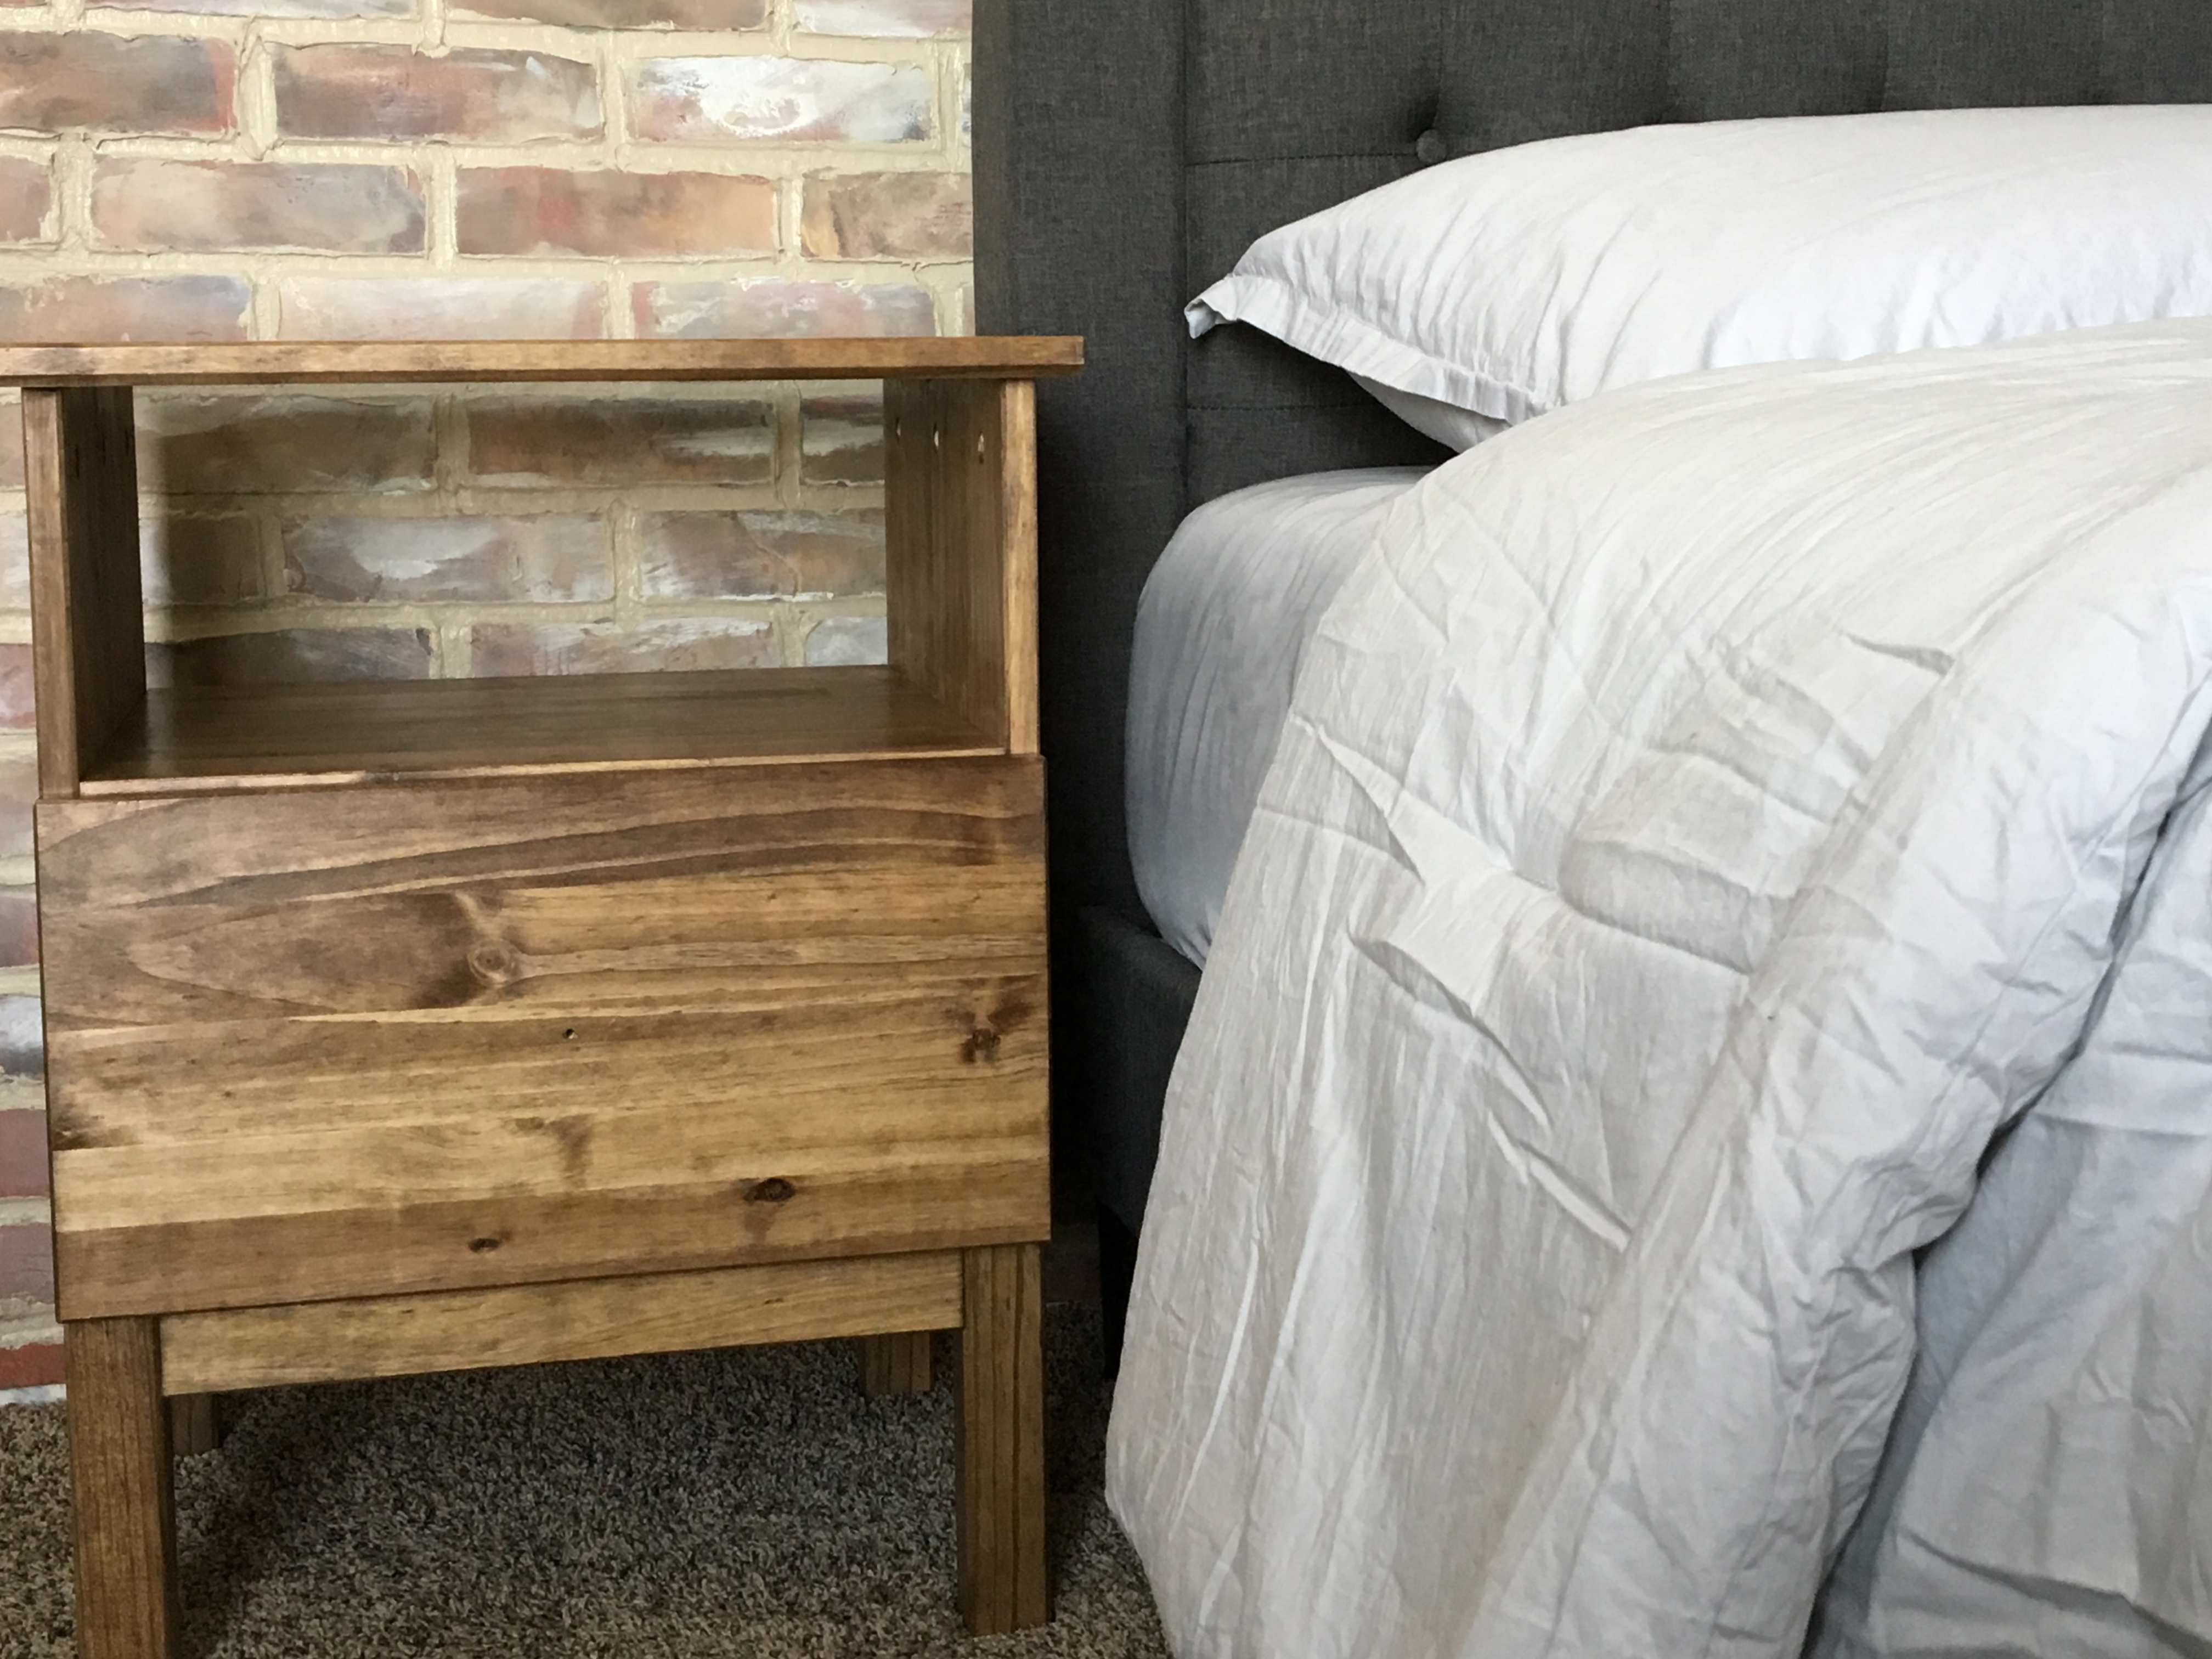
STEP 4 – Final Touches
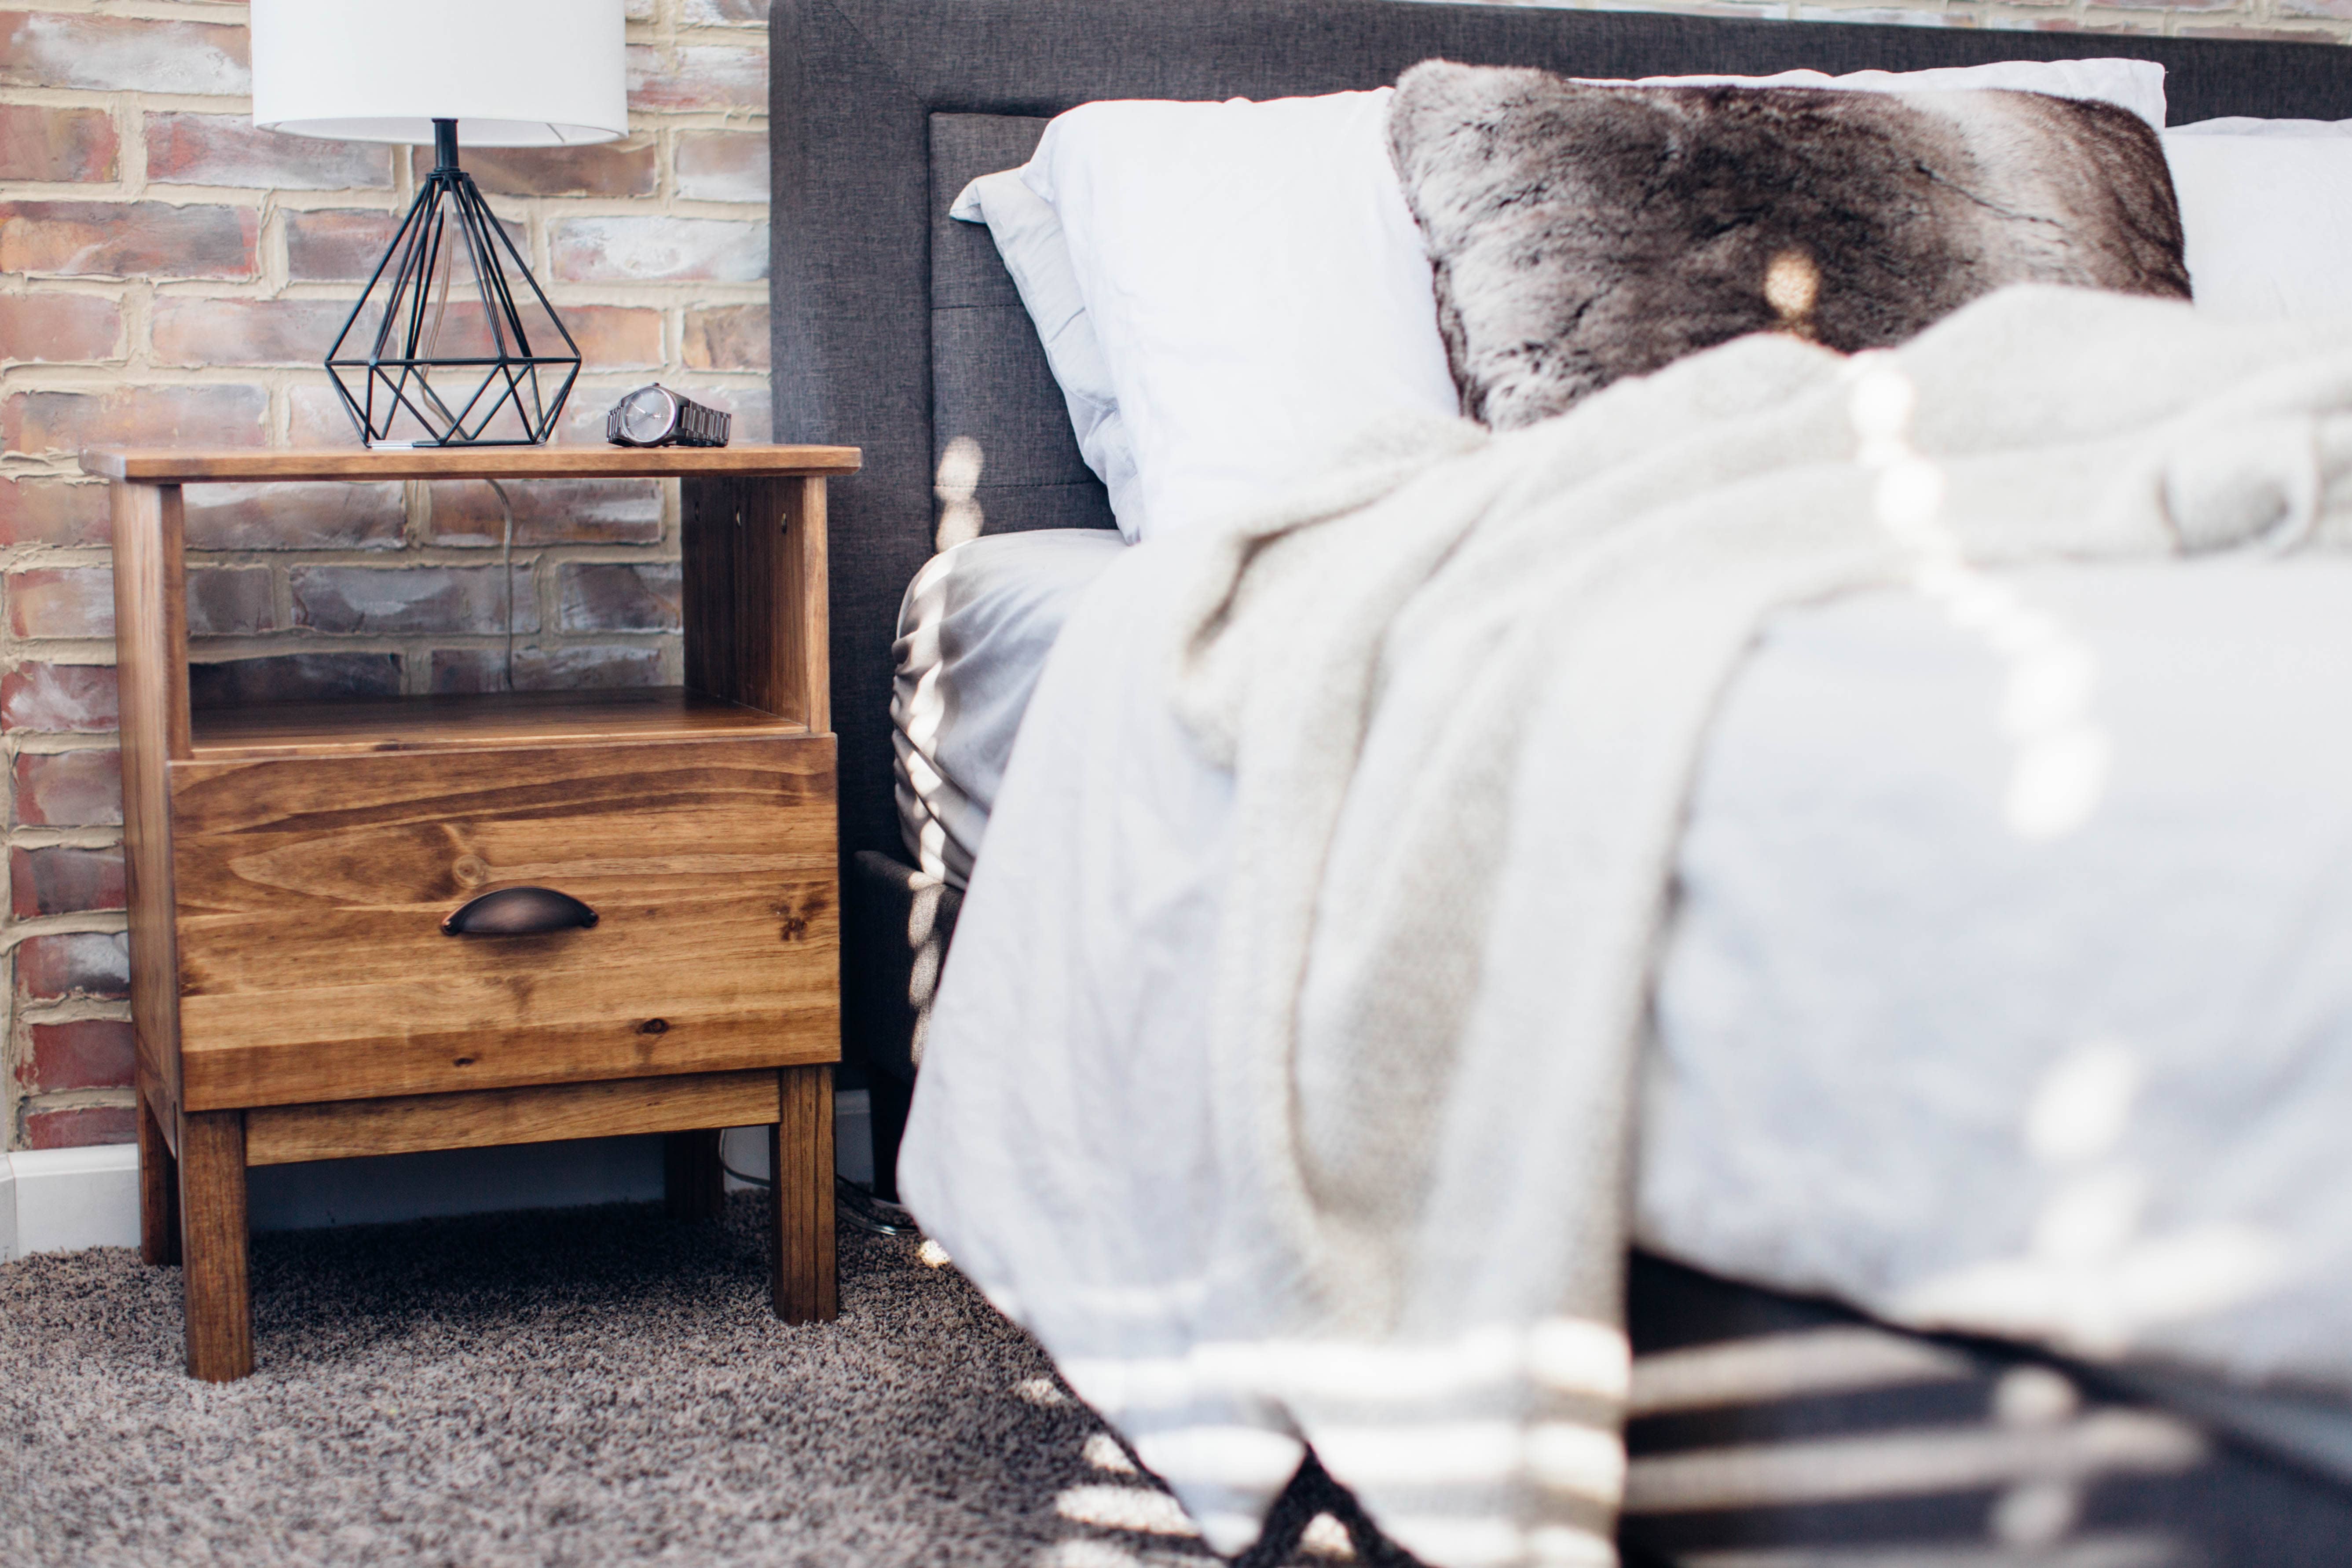
It’s looking soooo goooddd!
Now, we can add the final touches and screw on the new handle for the drawer. Once you finish, you are all set and have yourself a fresh lookin’ piece of furniture!

IKEA FOR THE WIN!