Time sure flys when you’re having fun tiling! ? This week flew by, and we really did put in a lot of work for the One Room Challenge this week, but it seems like we don’t have much to show for it, but then we do. Maybe I just think that because I just wish it was completed already!
Floor Tile
WOW. What a wild ride. ? A ride that seemed to never end too.
We absolutely love how the floors turned out. They’re perfect (but not physically perfect, there’s definitely flaws!).
Would we ever install/lay down this tile again? Never. Not ourselves. Soooo much work!
I don’t really know what to say about the tiling other than, my entire body is sore, and my hands will have mortar on them probably for the rest of the summer!
Funny story – Brad couldn’t get into his iPhone with his thumbprint the next day – even though all the mortar was cleaned off that we could see. THAT’s how much work we put into these floors. His thumbprint… gone! ??
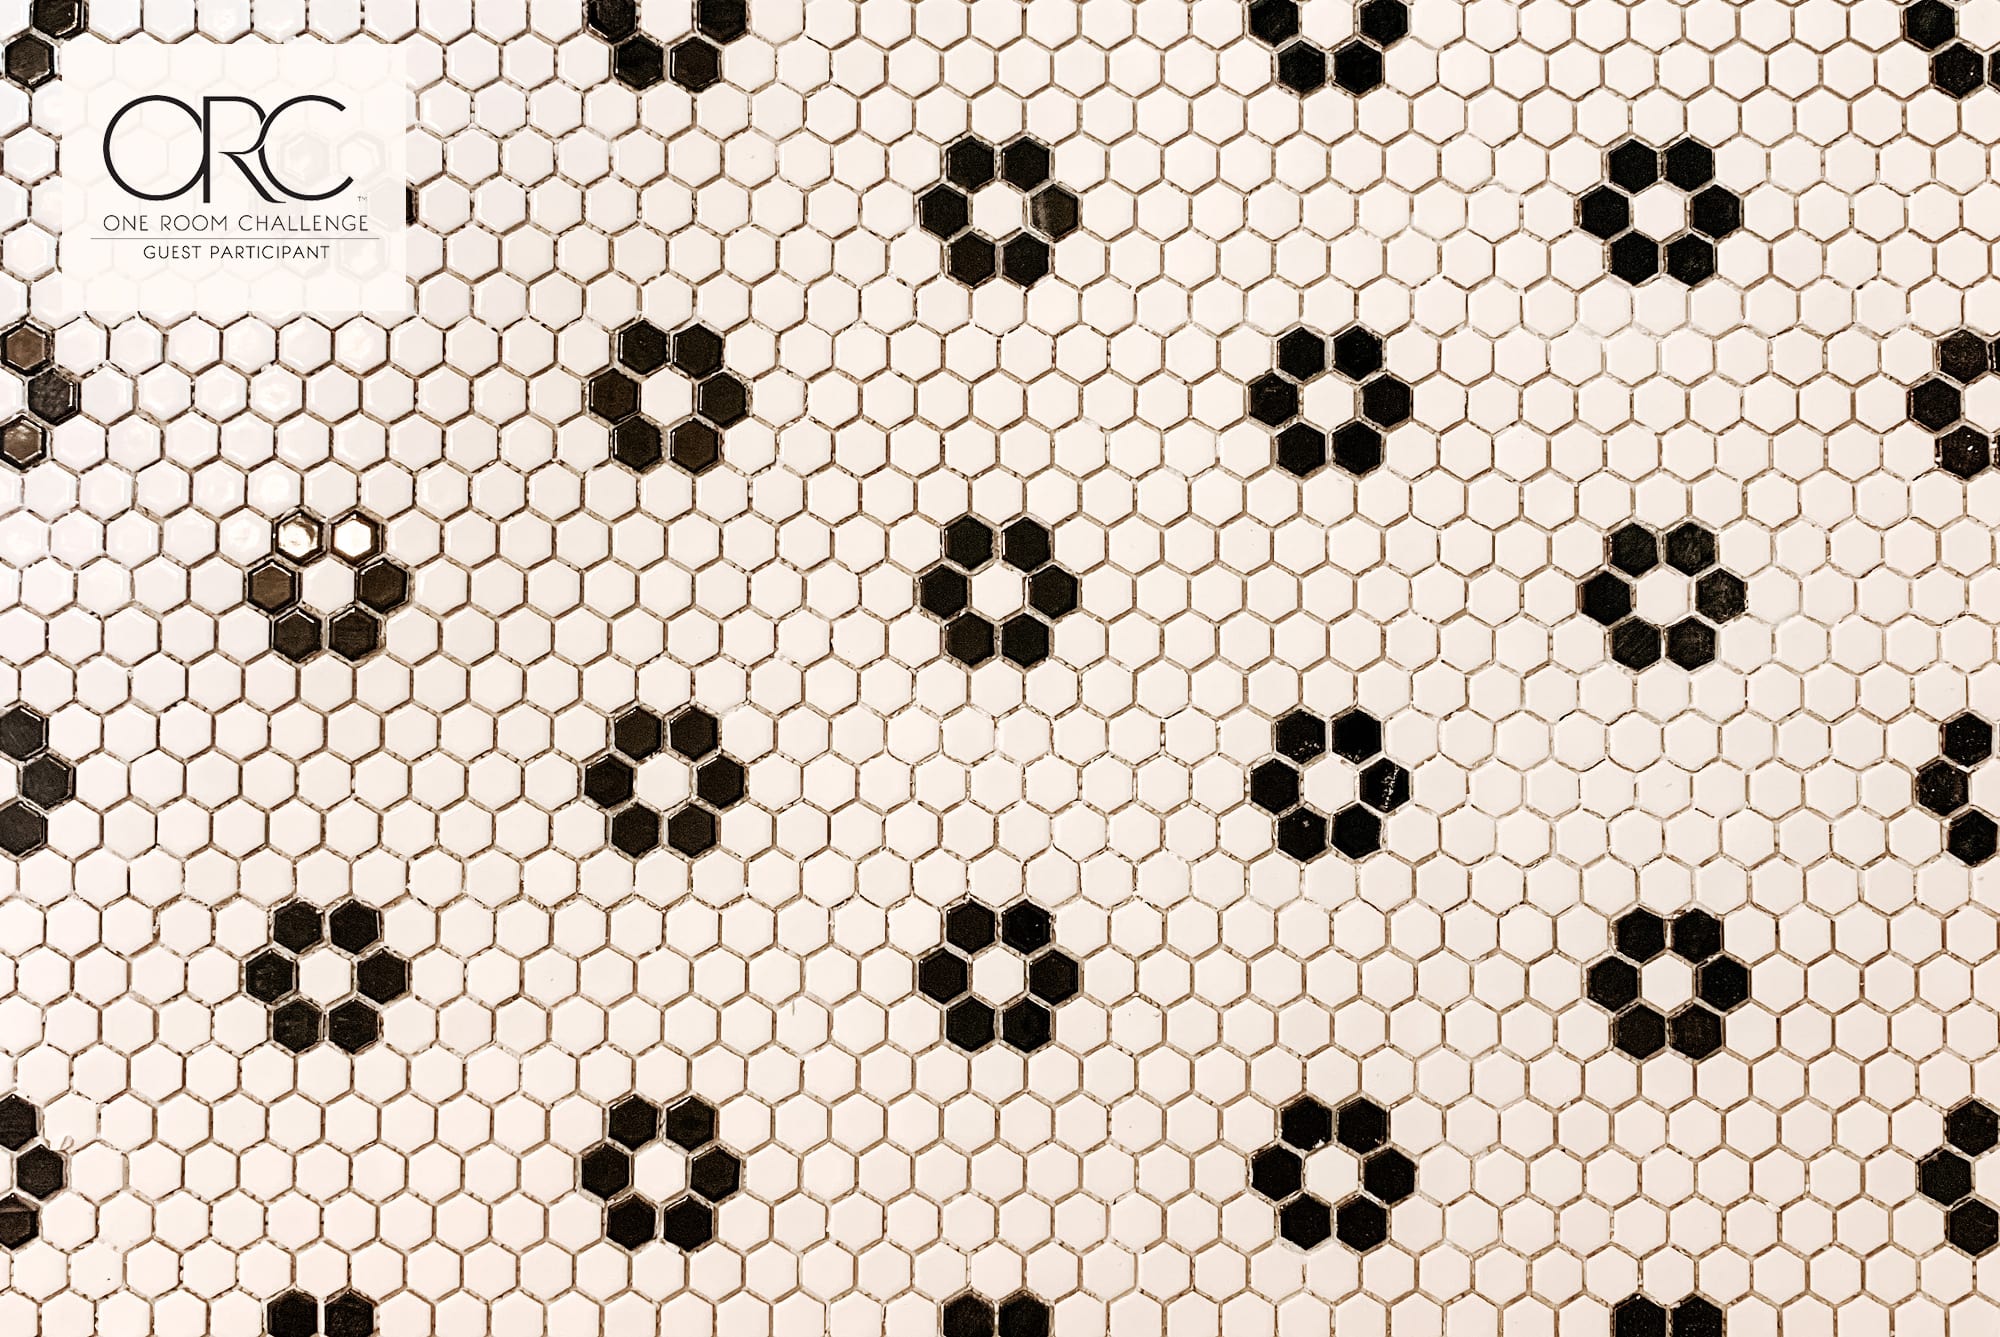
The Retro Tile Flower Pattern
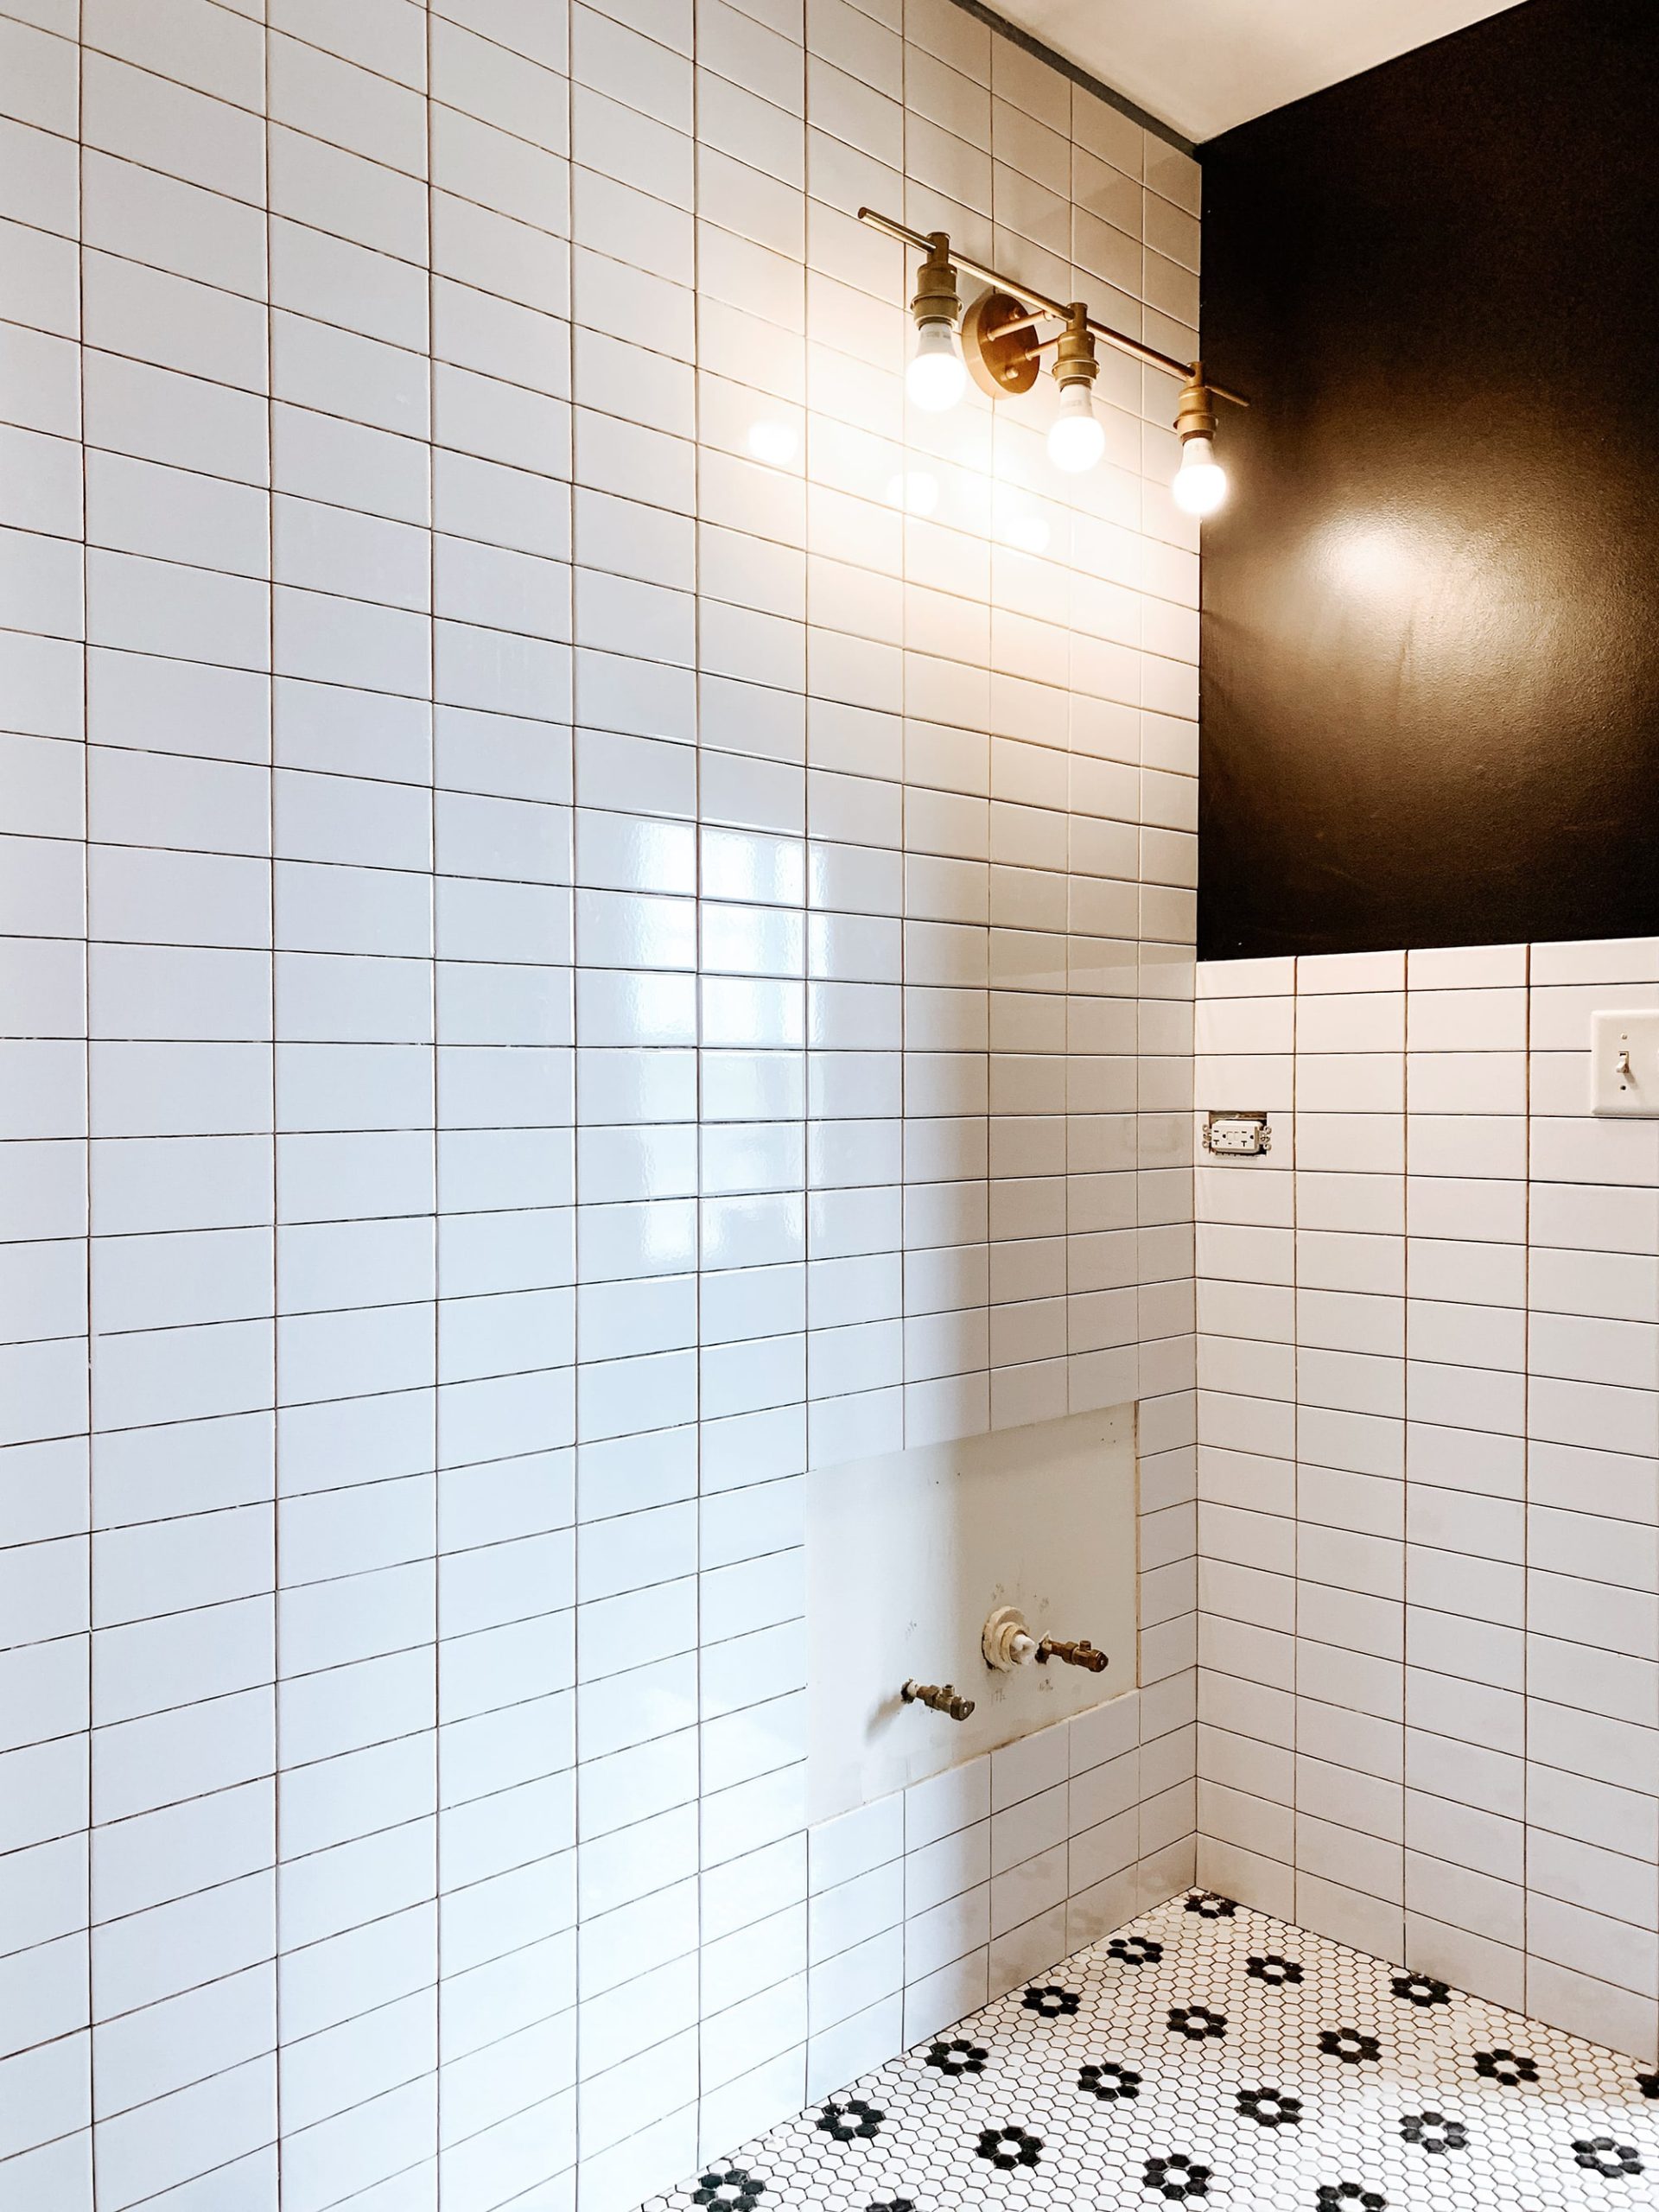
Soooo pretty! We’ve had cardboard over the tile as we’ve been working on the wall tile, but the little bit we can see, we just stare. When I say we, I really mean just me. ? When Brad stares at it, I think he has flashbacks, maybe nightmares. LOL.
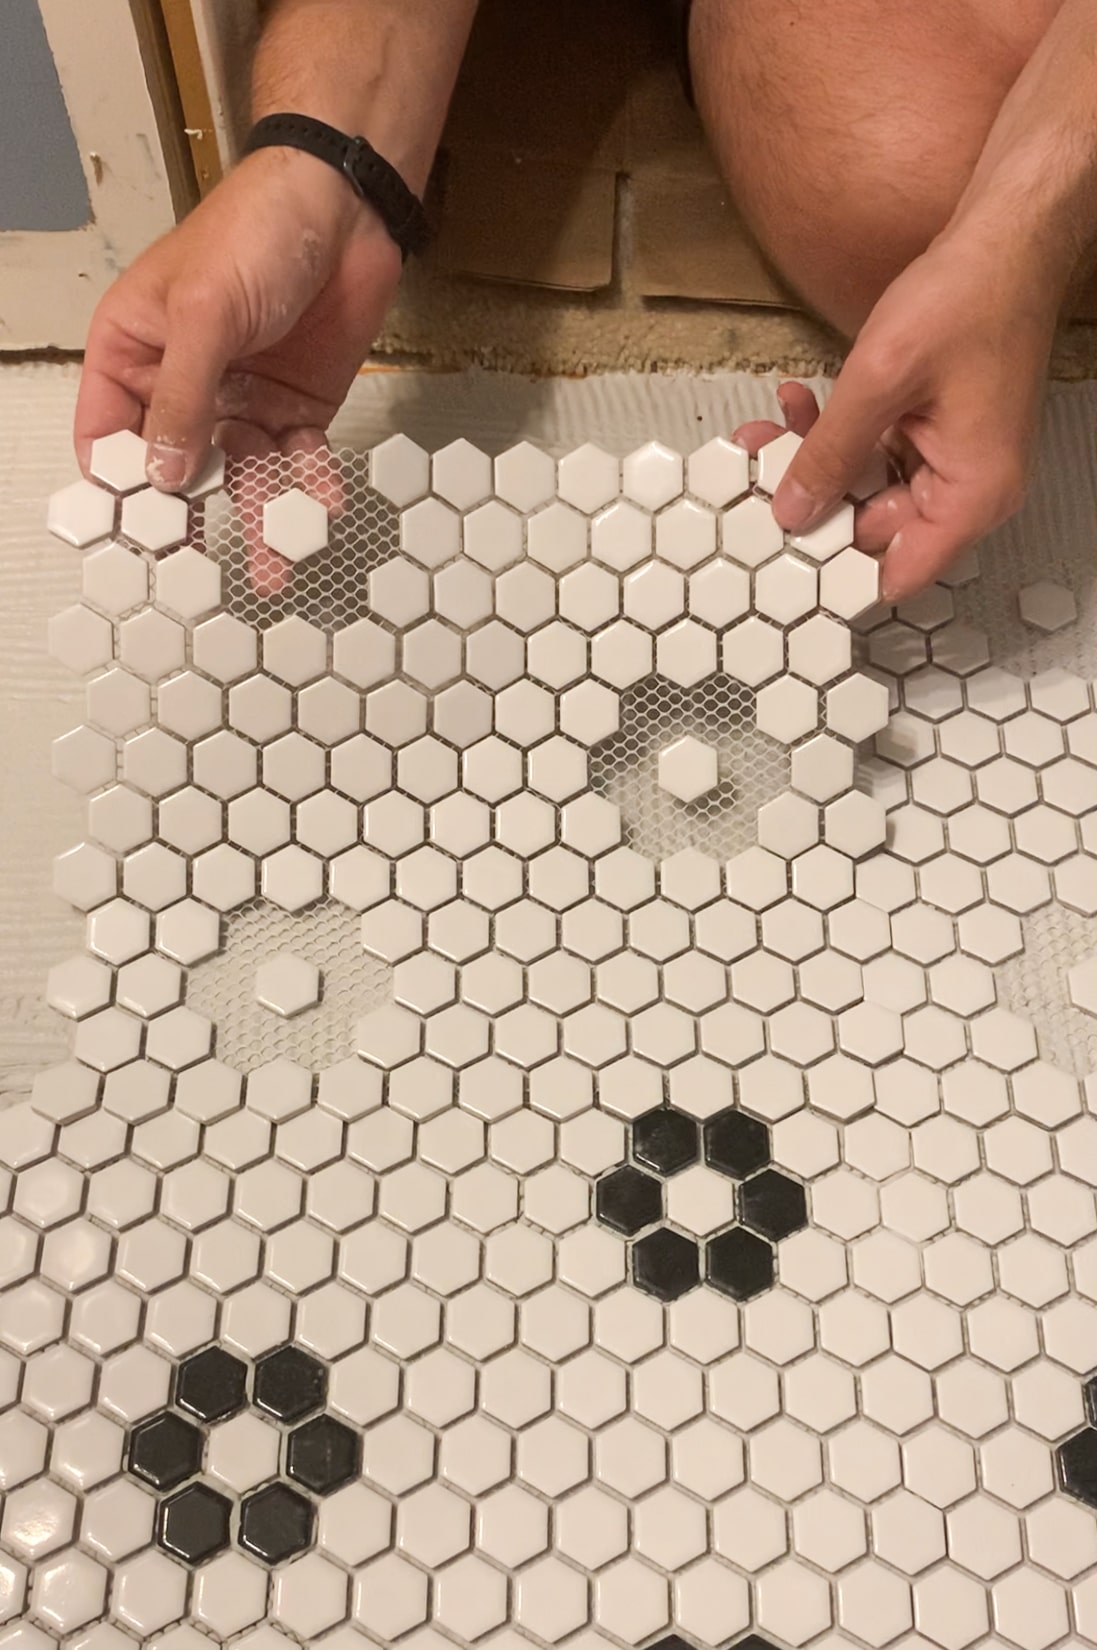
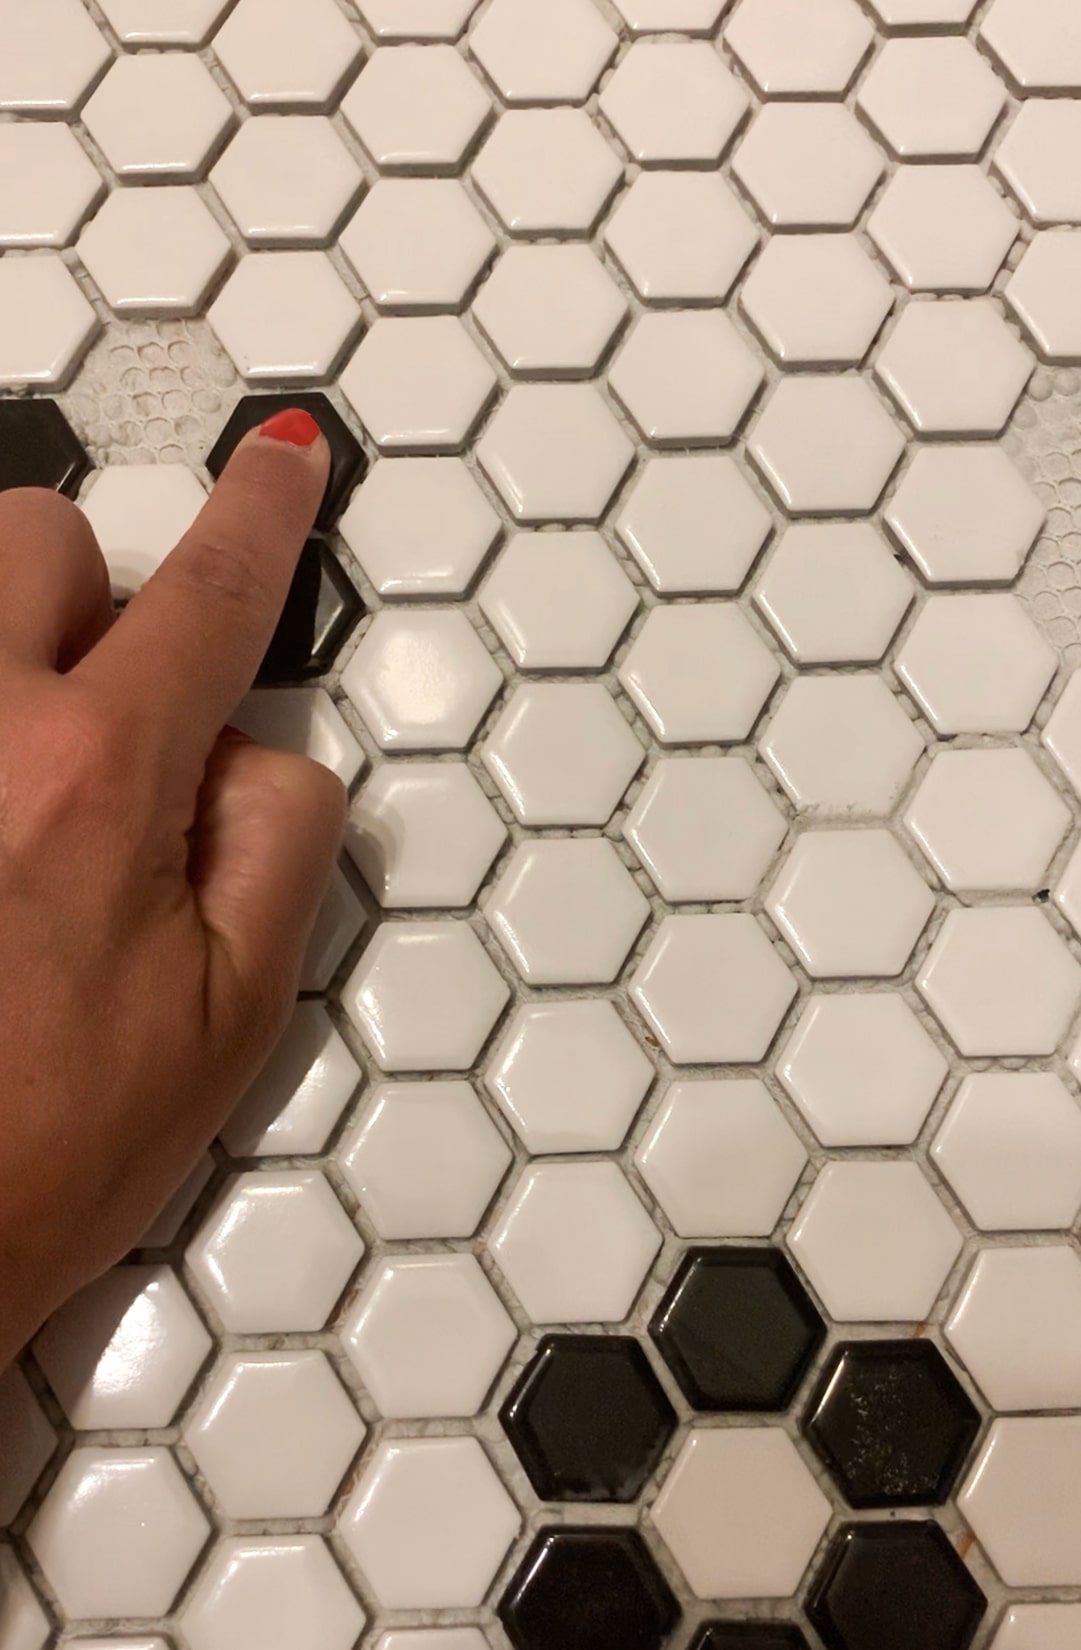
When we were looking for that tile pattern, we couldn’t find it. It was either out of stock or triple in price. So, we decided we would just create the tile pattern ourselves. We bought all white hexagon sheets and then a couple of black sheets. Figured out the pattern spacing we wanted, marked the white tiles we needed to take out, pulled them out, and there we have it!
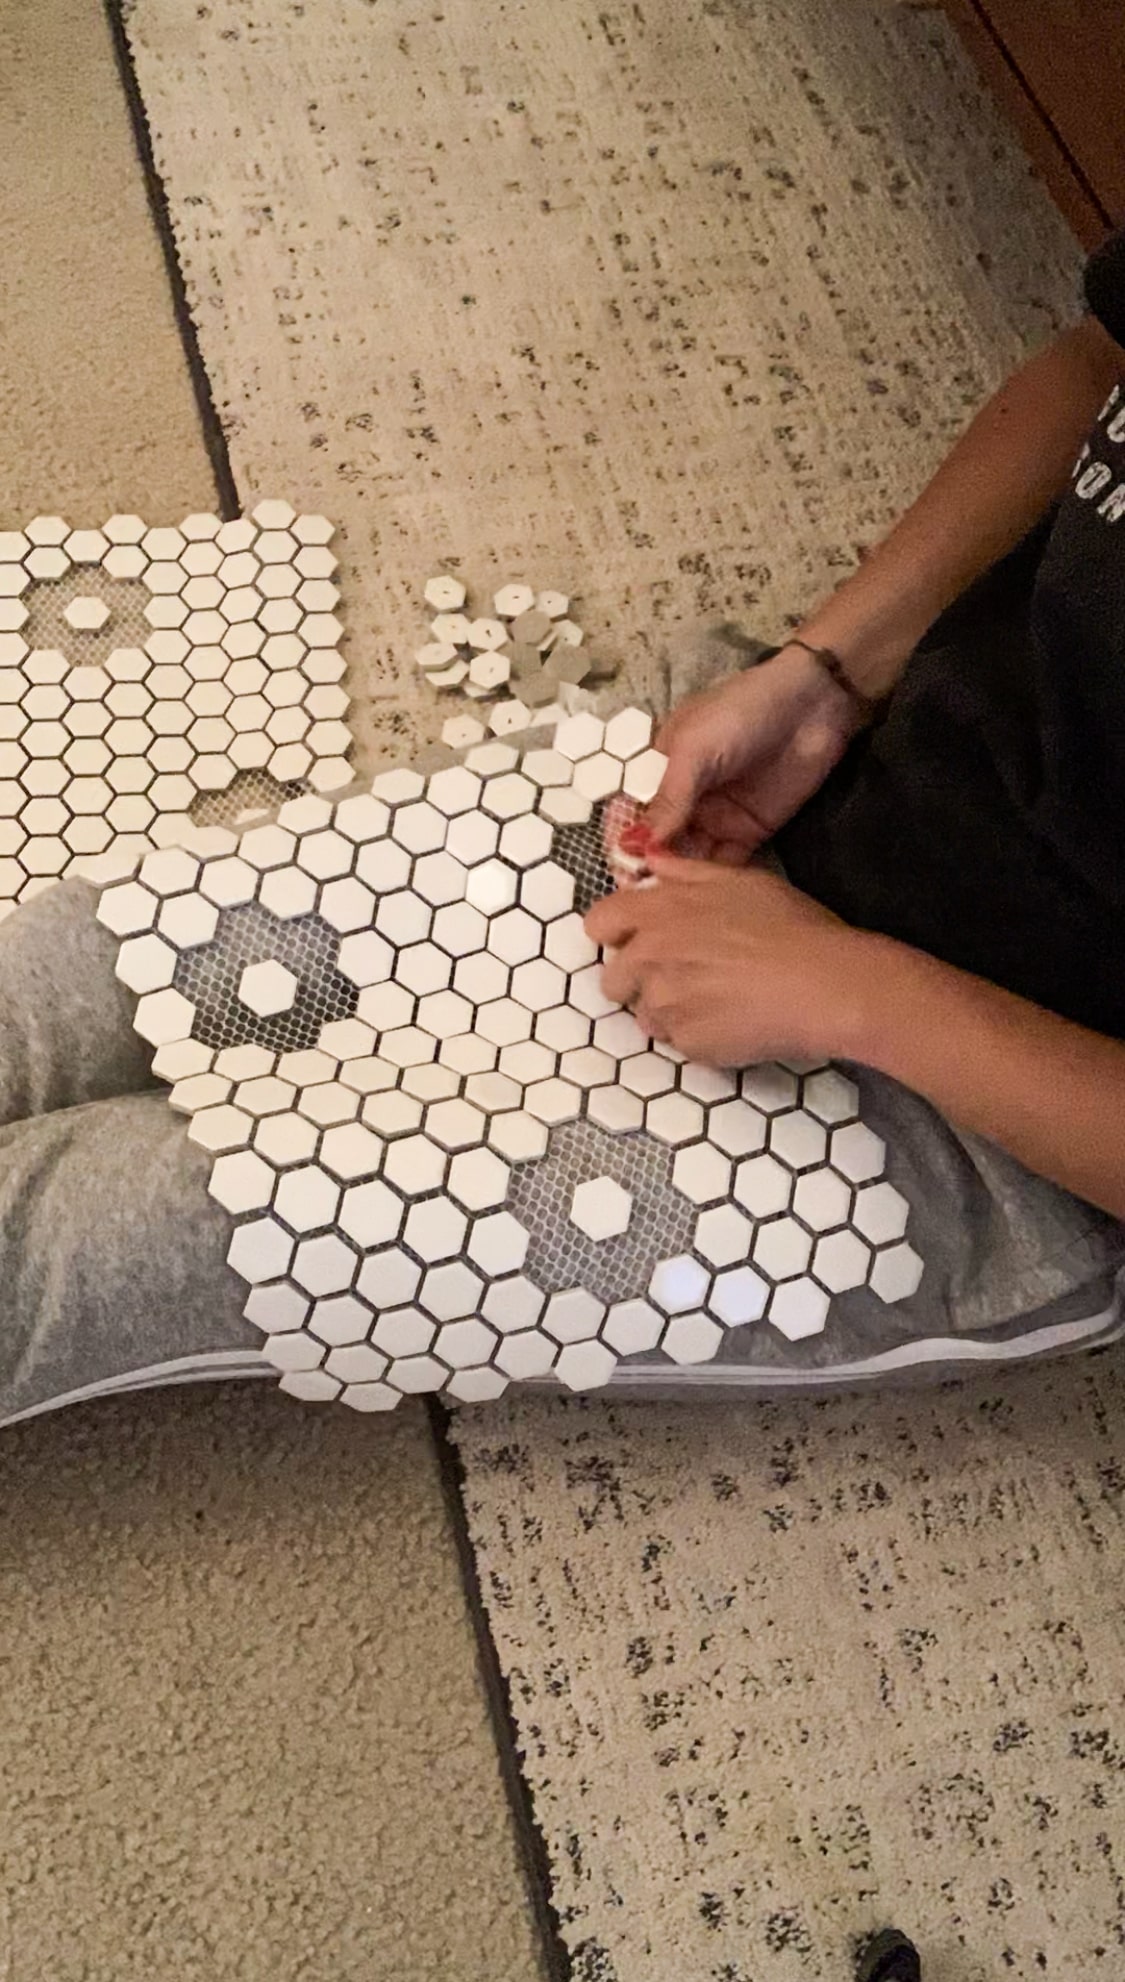
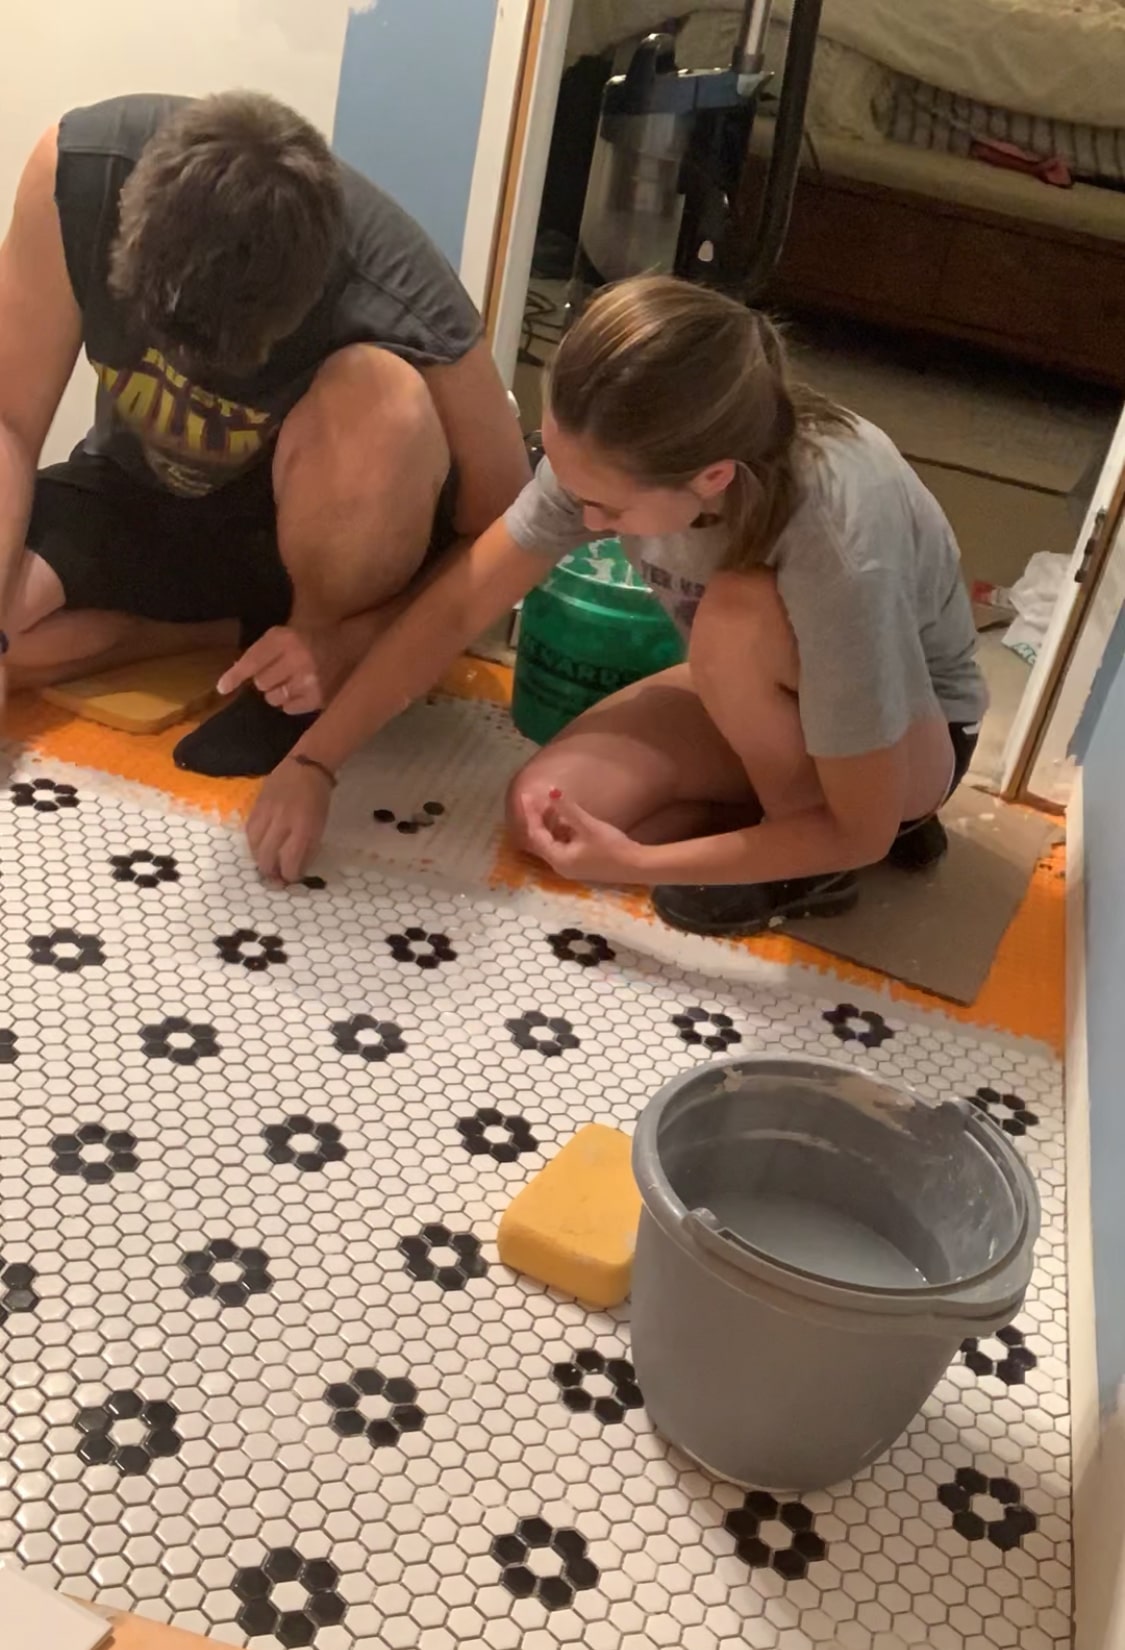
During installation is when we added the black ones into place… by hand. Again, I probably wouldn’t do it again. But then again, when I look at it, it really does seem worth it!
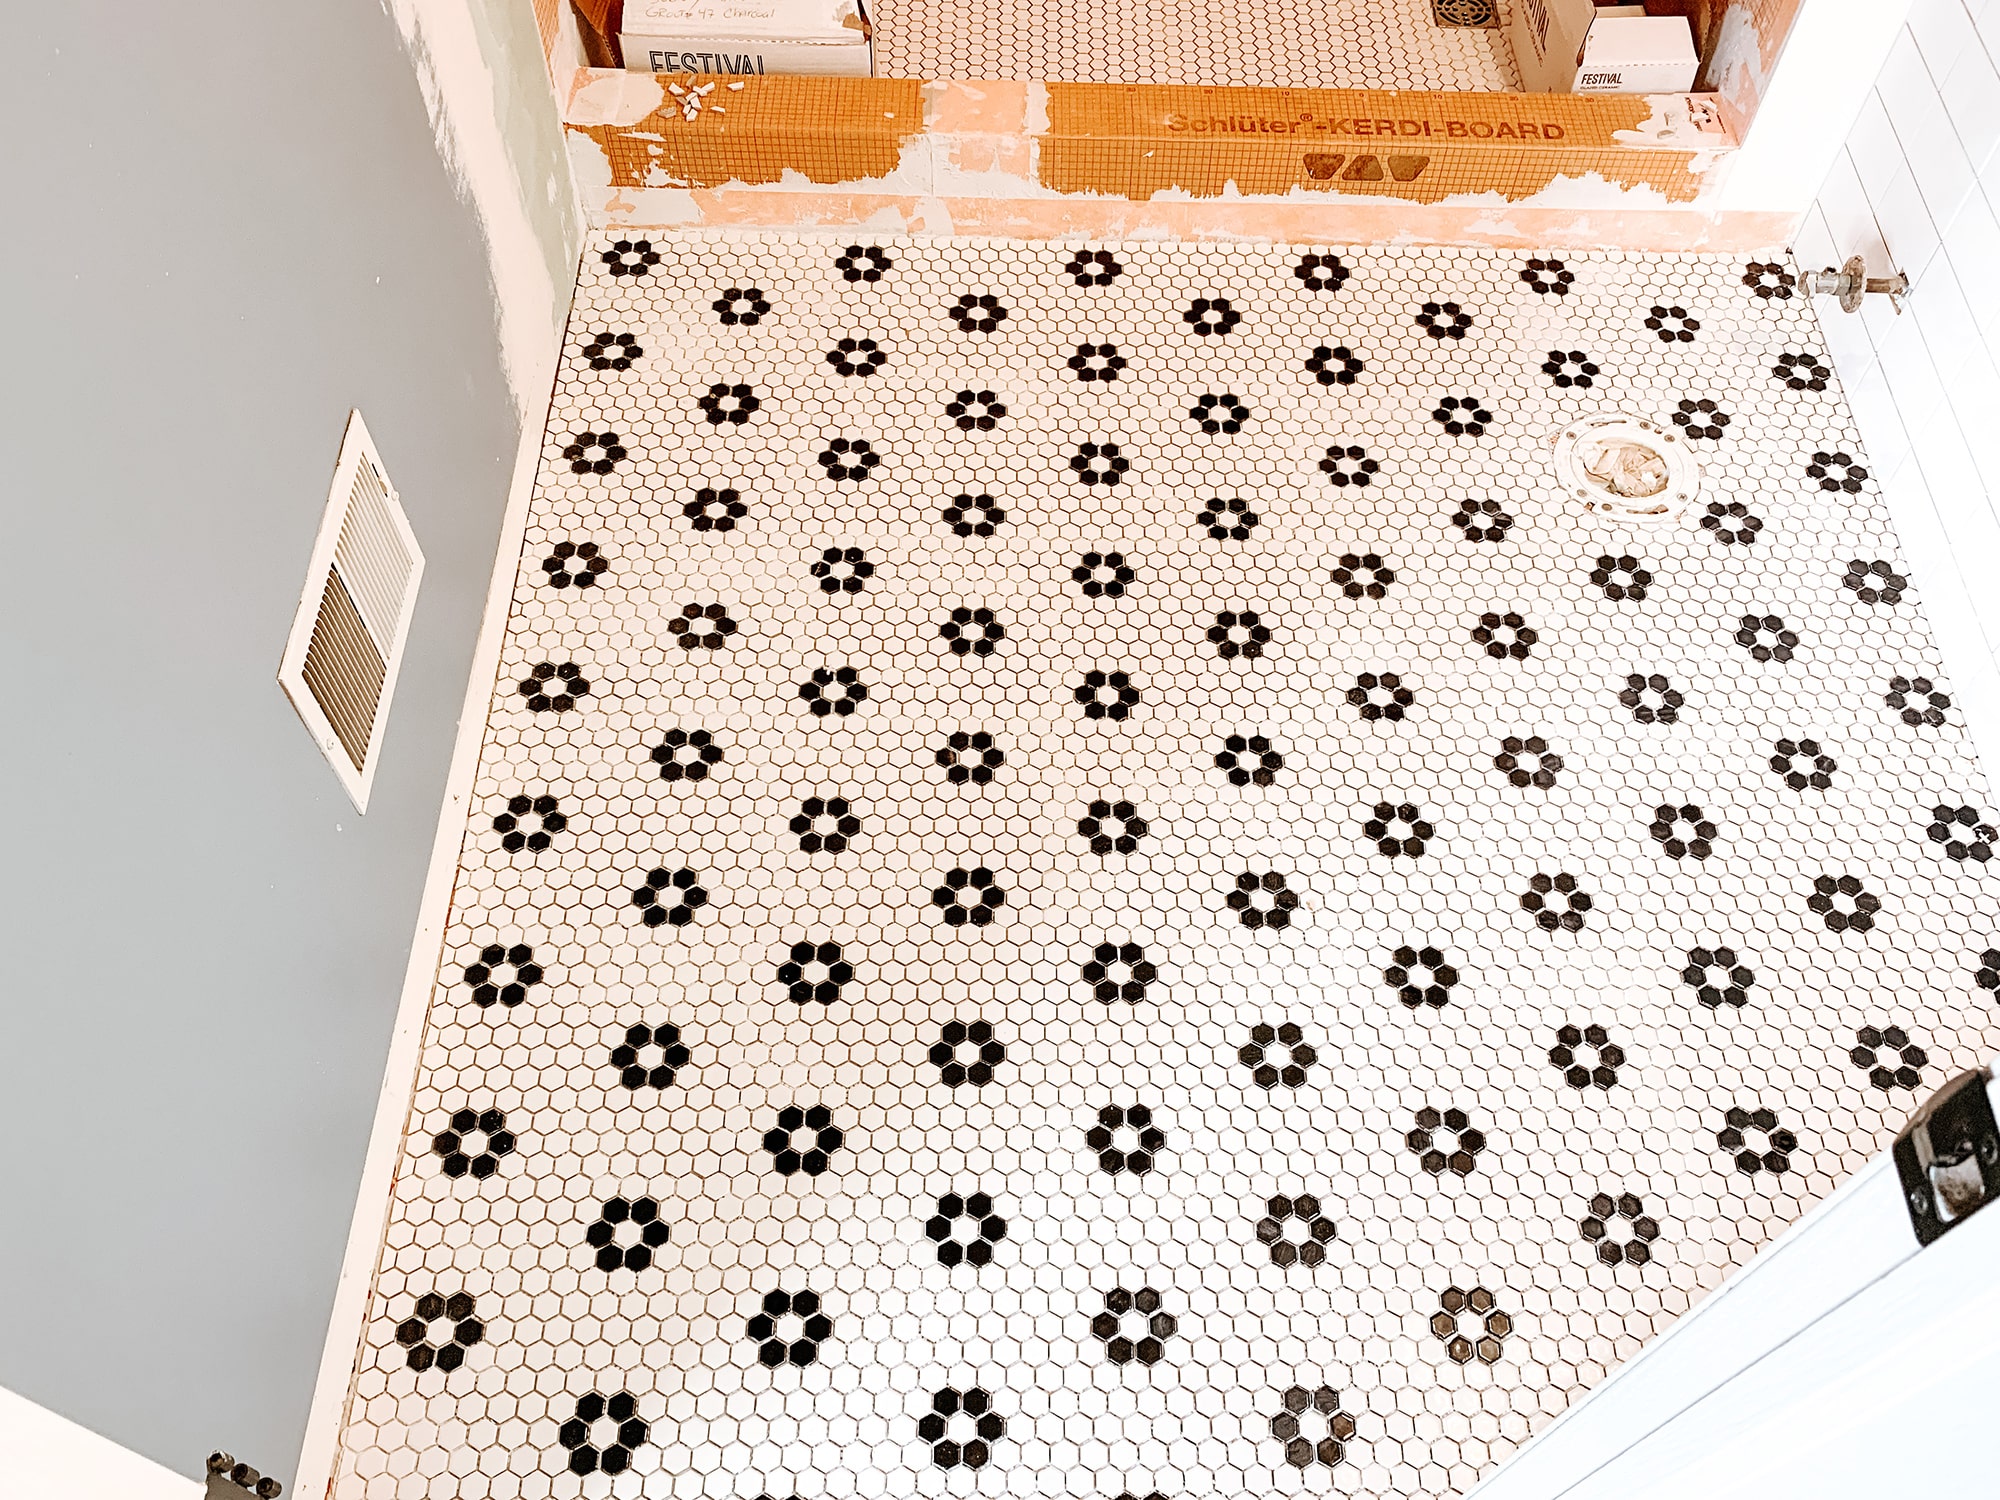
Laying The Tile Down
What helped the tiling process the most, was dry fitting it all first! That was a huge help. It ensured that everything was in place and that it all would fit properly. Also, that meant everything would already be cut too! All we had to do was focus on laying it down. We had a couple of friends come over on the weekend to help us with this part (thanks Katelyn & Kevin!).
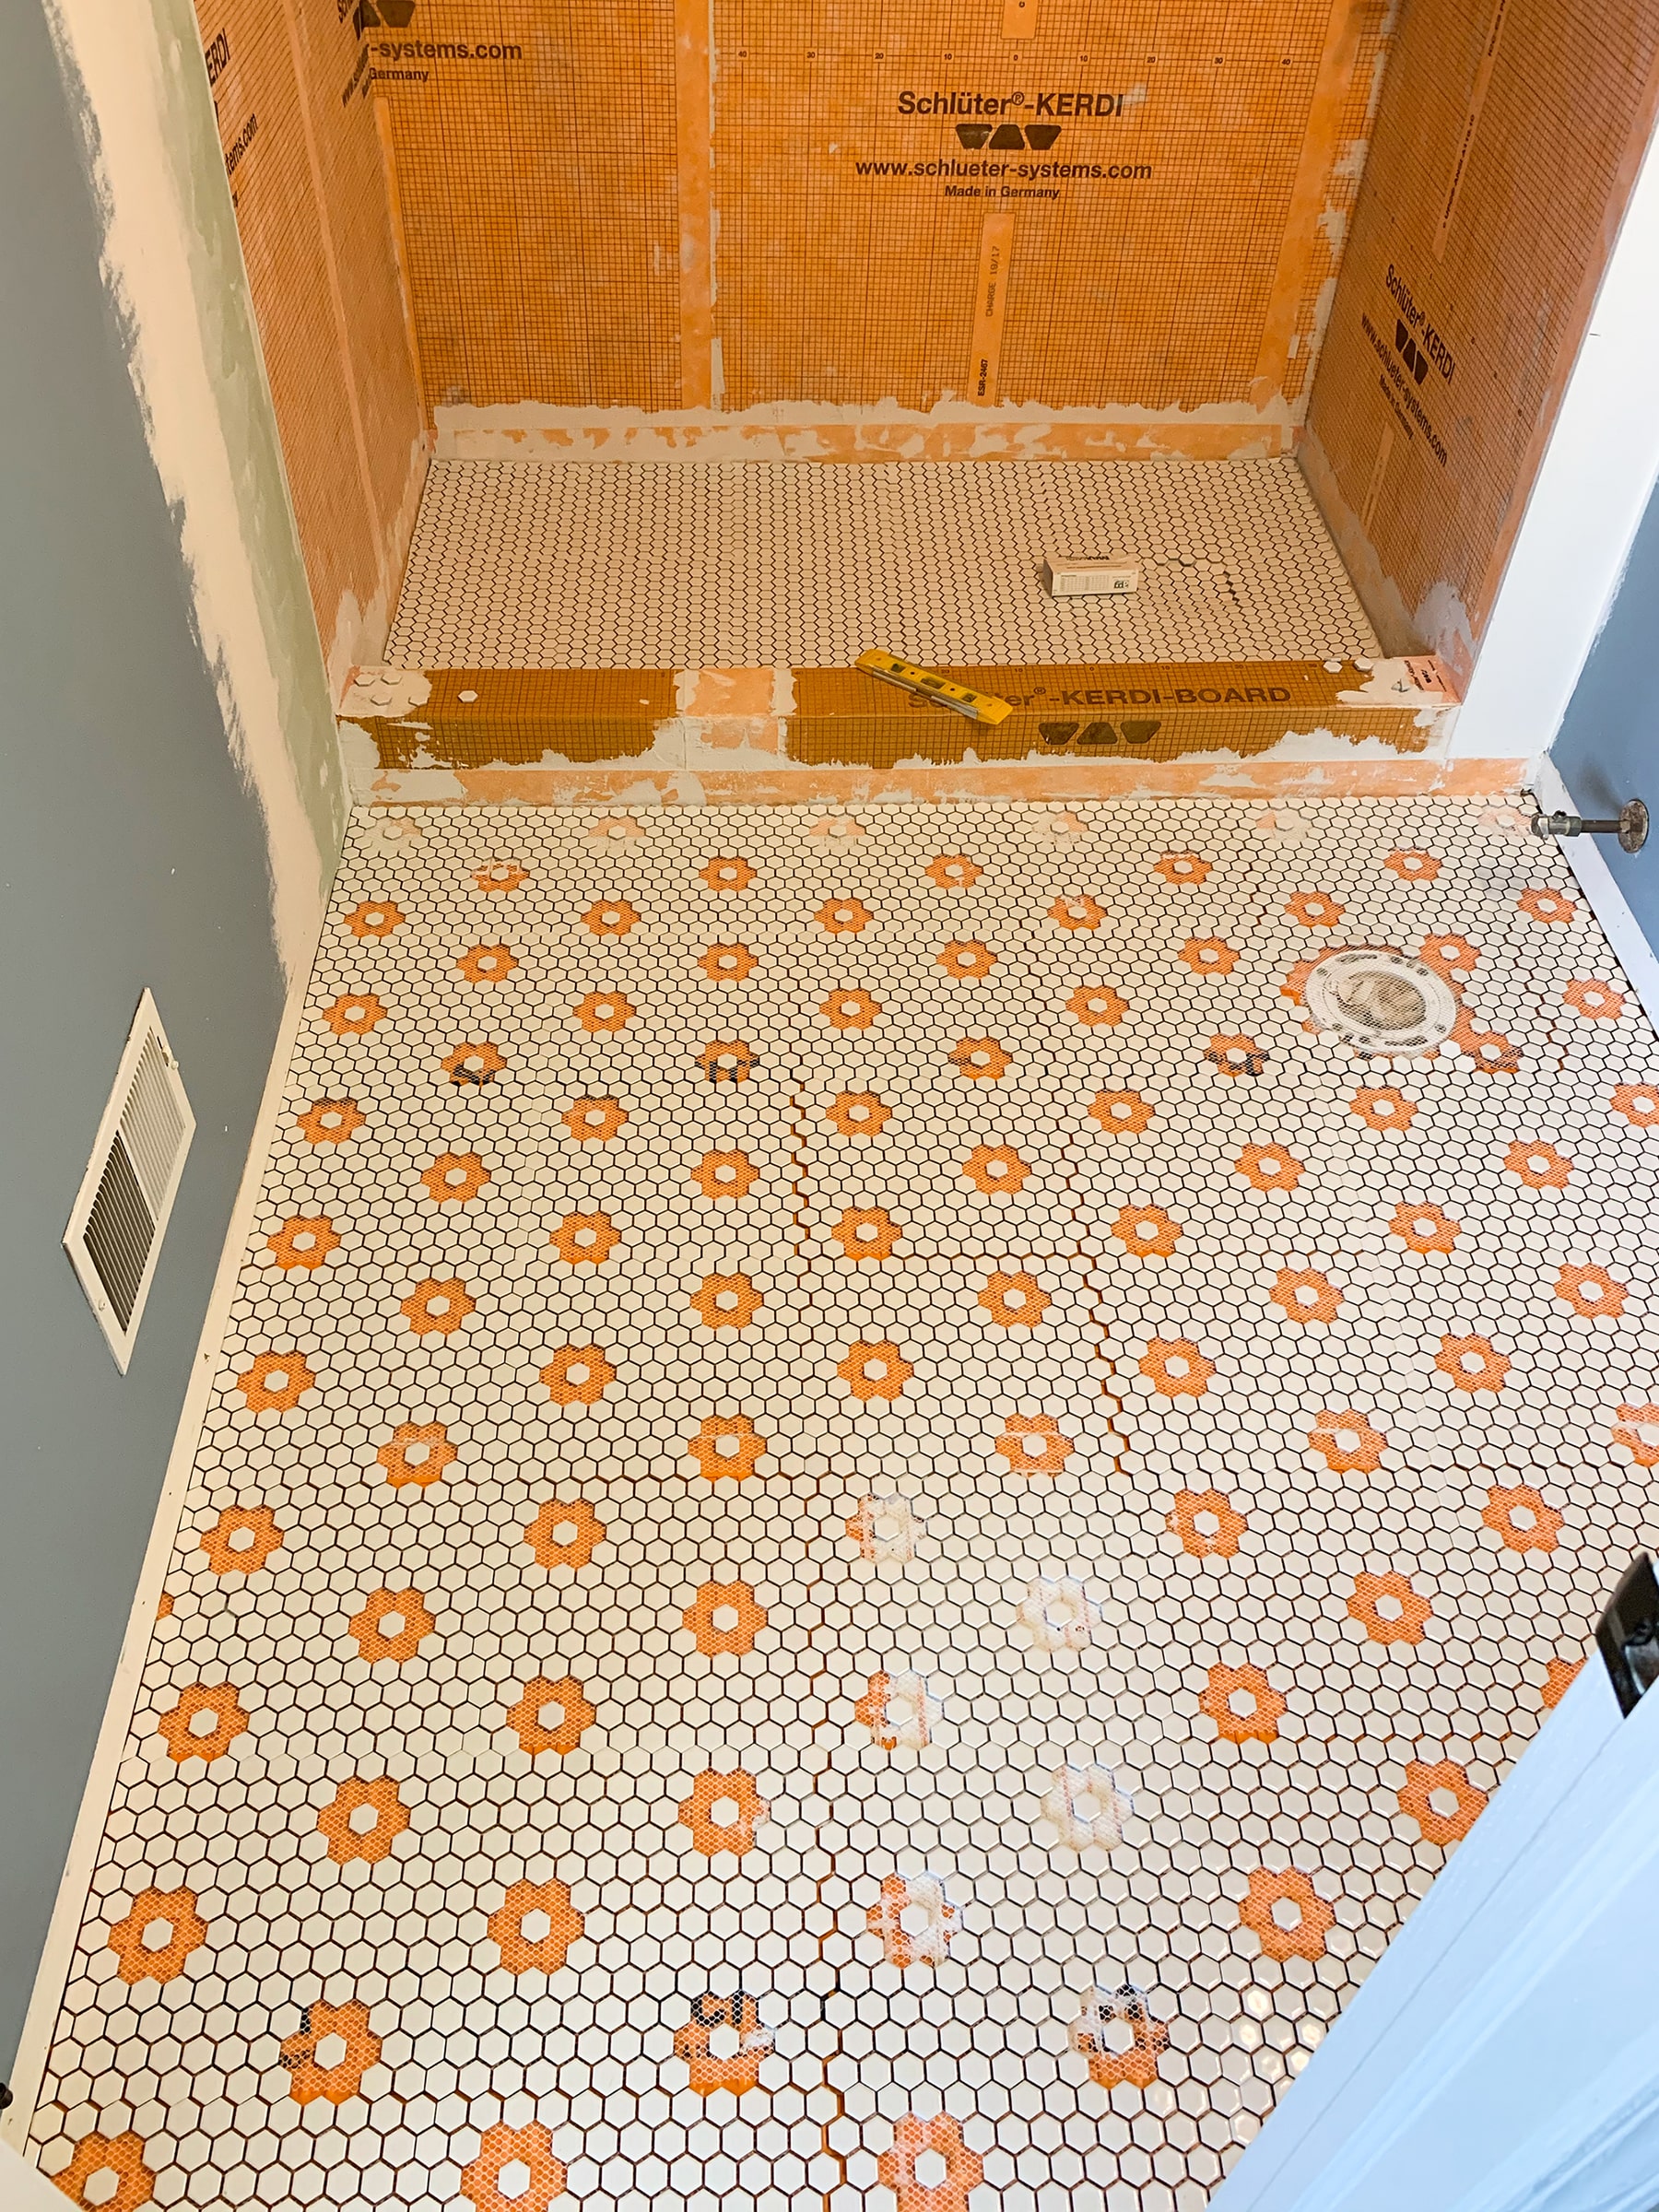
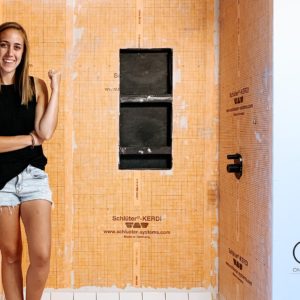
Again, we used Schulter’s All Set mortar to apply the tile to the underlayment. We’ll be using this as well for the shower walls. Since we did the Ditra underlayment flooring, we did have to put in a little more effort when laying down the tiles. Schulter does not warranty their product if you use tiles under 2″ x 2″ in size…
The hexagon tiles we used are 1″ x 1″. They say this because if you don’t fill those waffle squares (that’s what I call them), full with mortar, down the road if I were to possibly walk on the floor with a pointy heel (which we know what won’t be happening!), it could hit the tile in the perfect spot, where it falls down into the waffle area and pops the tile out.
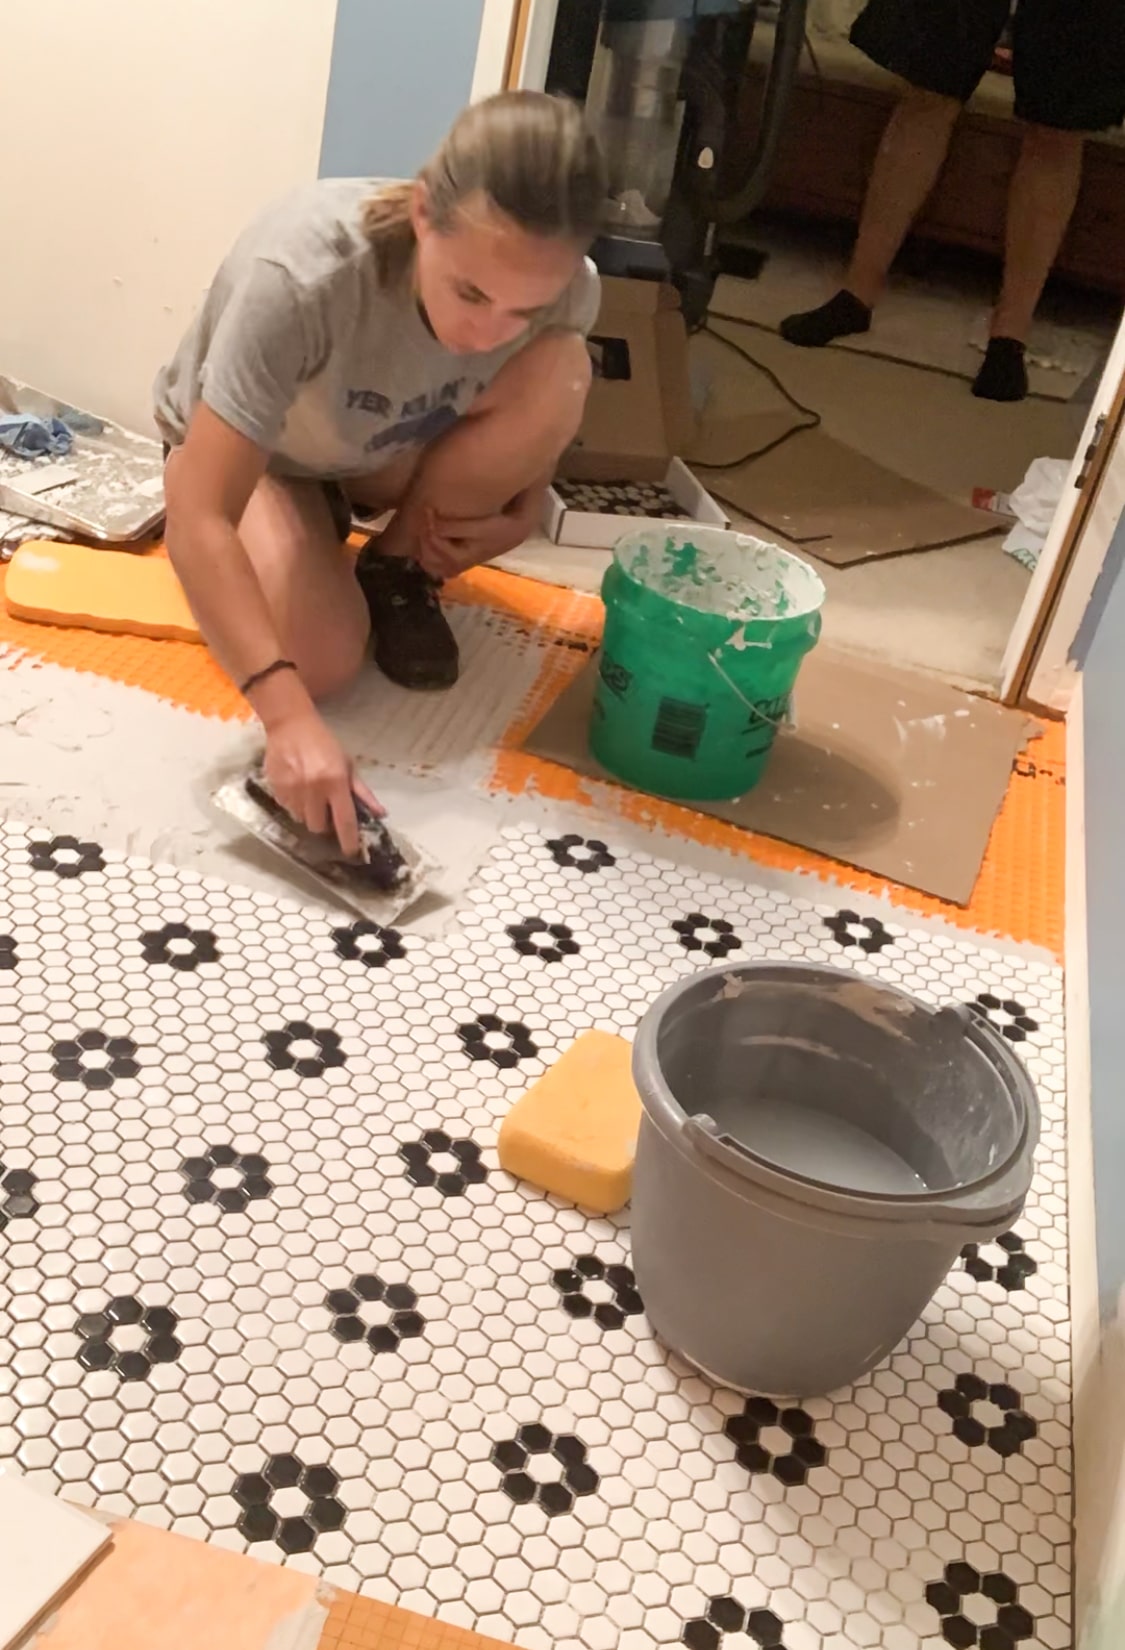
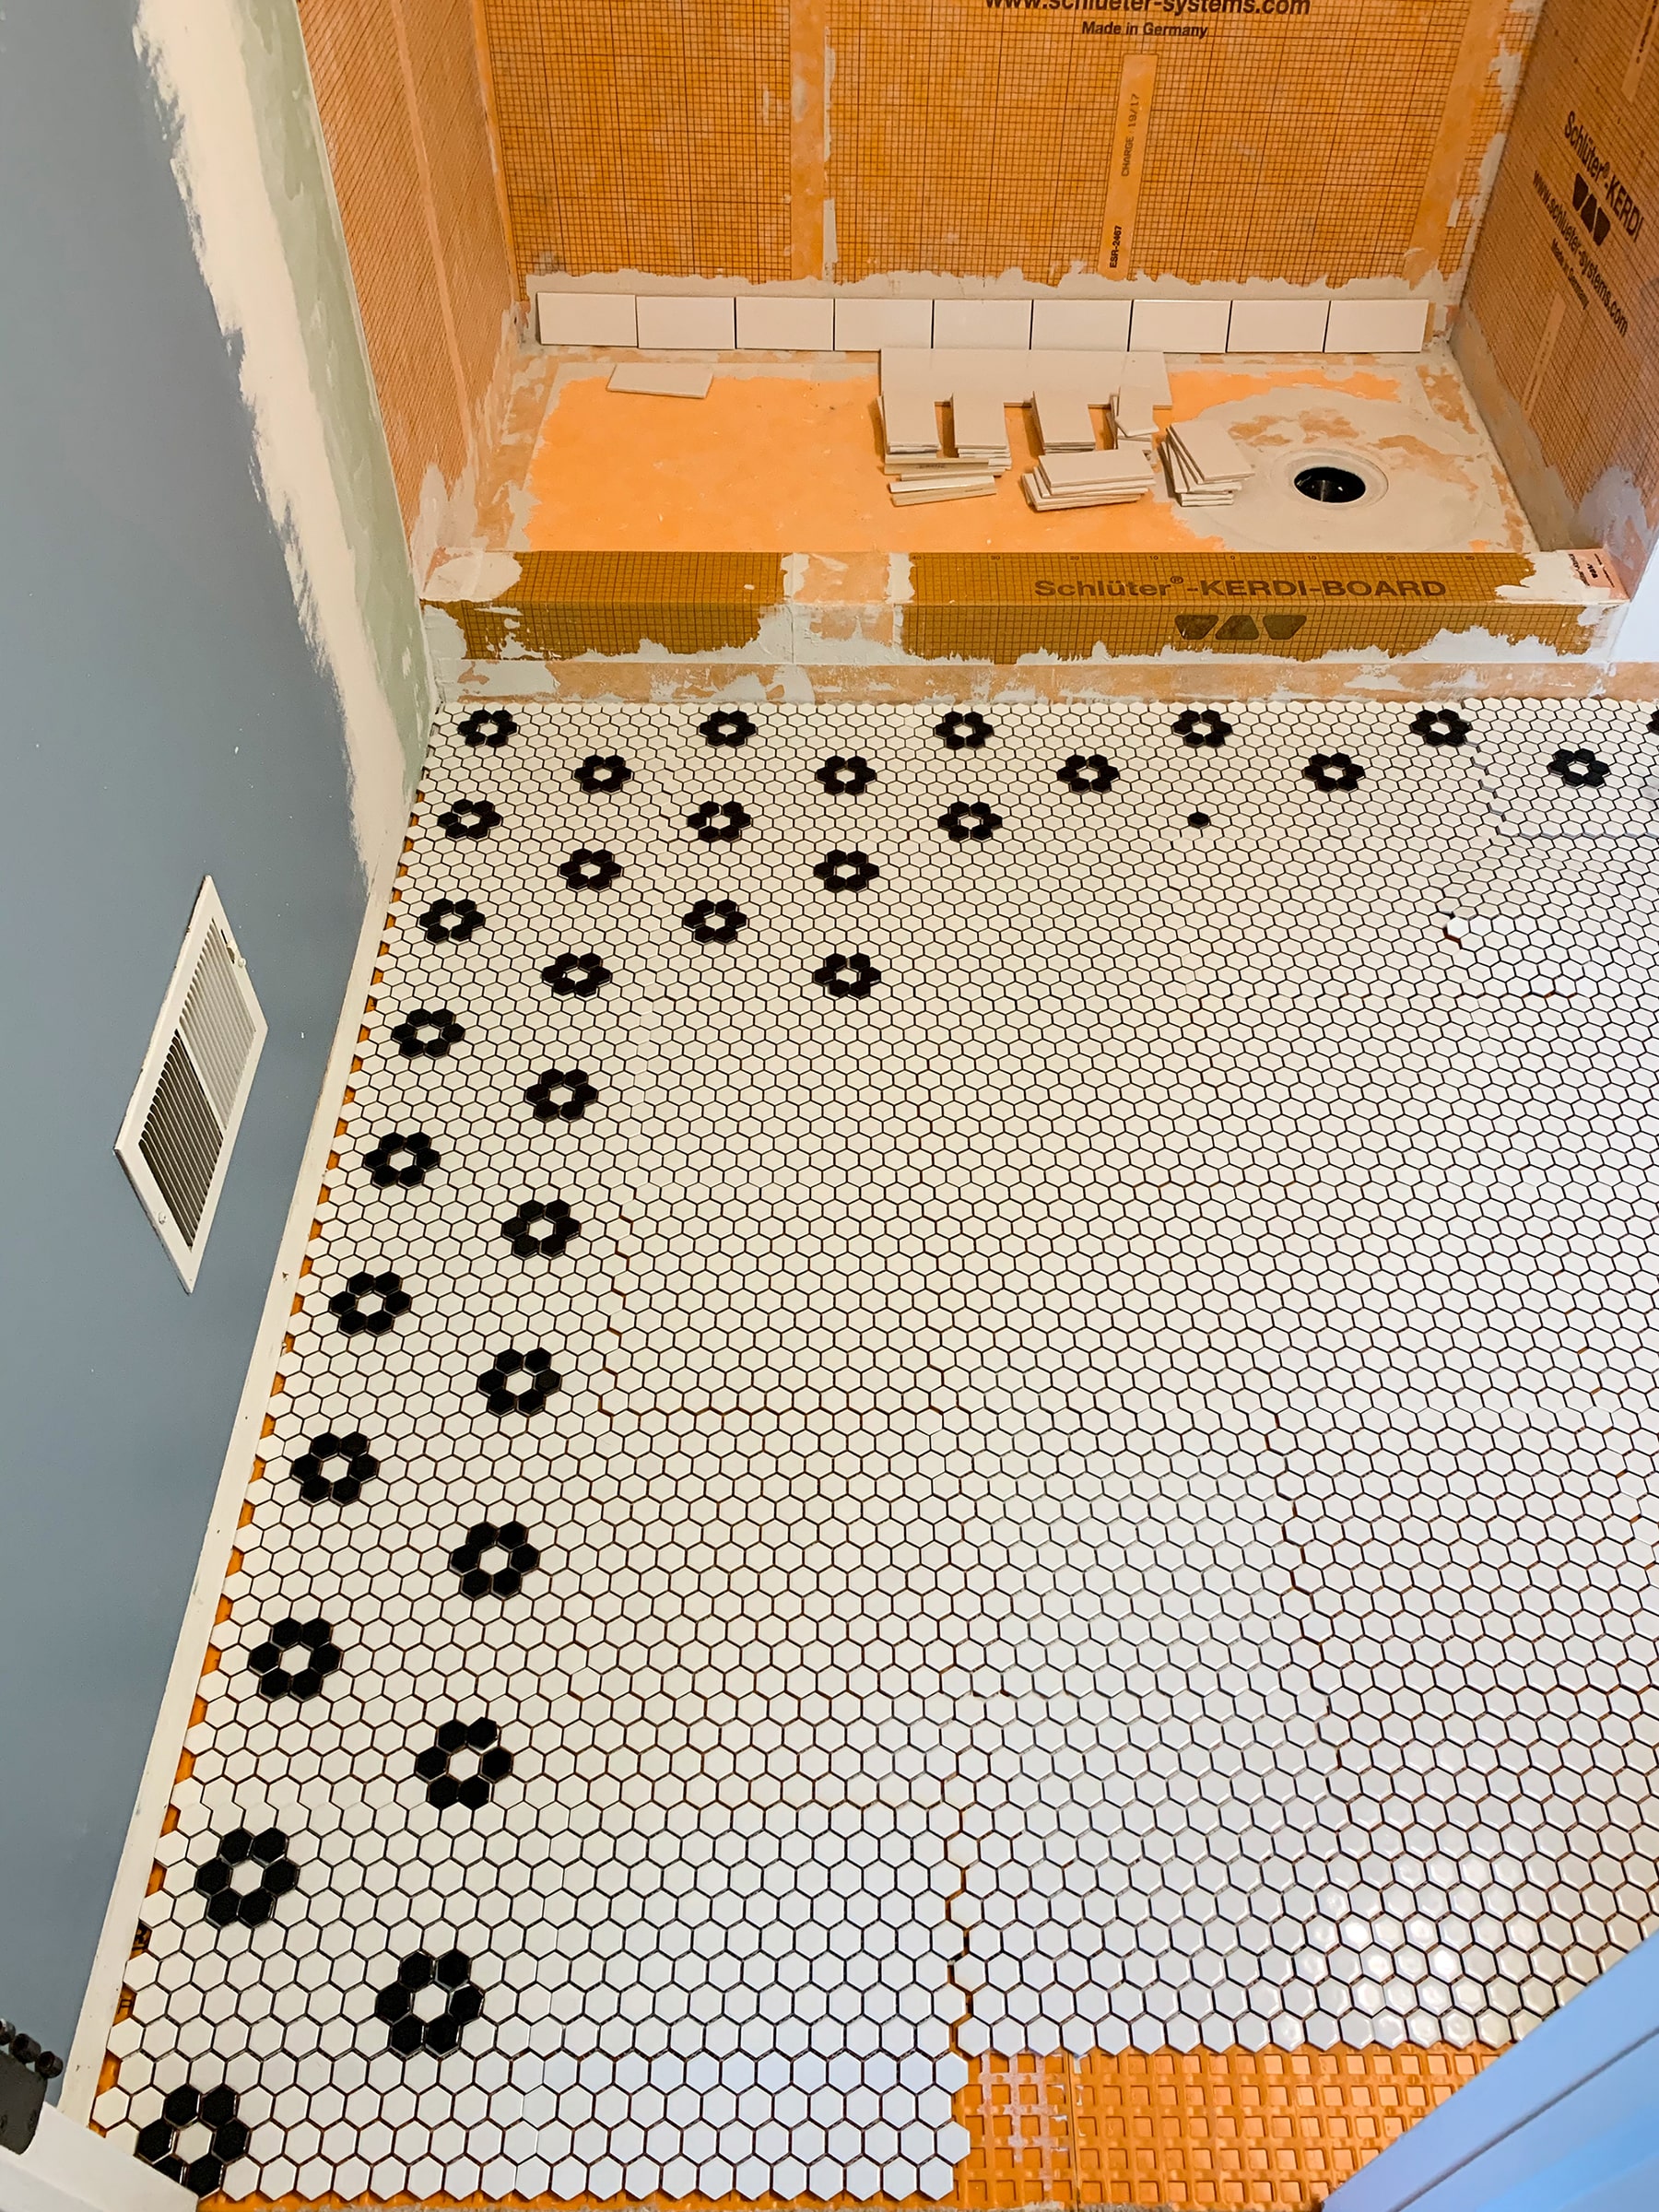
Schulter did suggest for us to do a skim coat first to fill in all the waffle squares, but we decided that we don’t have enough time to do that. We just needed to do a really good job of packing the waffle with mortar. Which we did! That was my main concern while laying the flooring down.
Another issue we had to deal with, was the mortar popping up between the tiles. Which, obviously means we were using too much in those specific spots. It didn’t happen often (for the number of tiles we put down), but it just made for extra work, that took forever.
After Thoughts…
After laying down this flooring on the Ditra, my thoughts are that the two don’t mesh well together. If we were to lay down mosaic tiles again (which we won’t be, ha!), we would use cement backer boards. A nice, smooth surface to work with, knowing how much mortar you’re putting on. Having to fill those waffle grooves so much, made for a messy job when laying down the small tiles. Maybe that’s another reason why they suggest skim coating. Hmmm. Yeah, probably. Well! Learn from our mistake on that!
Stacked Subway Tile
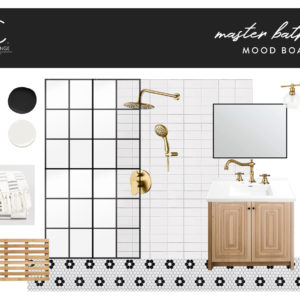
I am so happy that I convinced Brad to do stacked subway tile! He originally wanted to do traditional, offset tile, but I really wanted to put a modern twist into this space. Especially since we have the retro flower-patterned floors and the black paned shower glass door.
This was my first time tiling subway tile and I found it pretty easy to do – and kind of fun! Once you get that first bottom row all leveled out and on the wall, the rest of the pattern and applying go pretty smoothly!
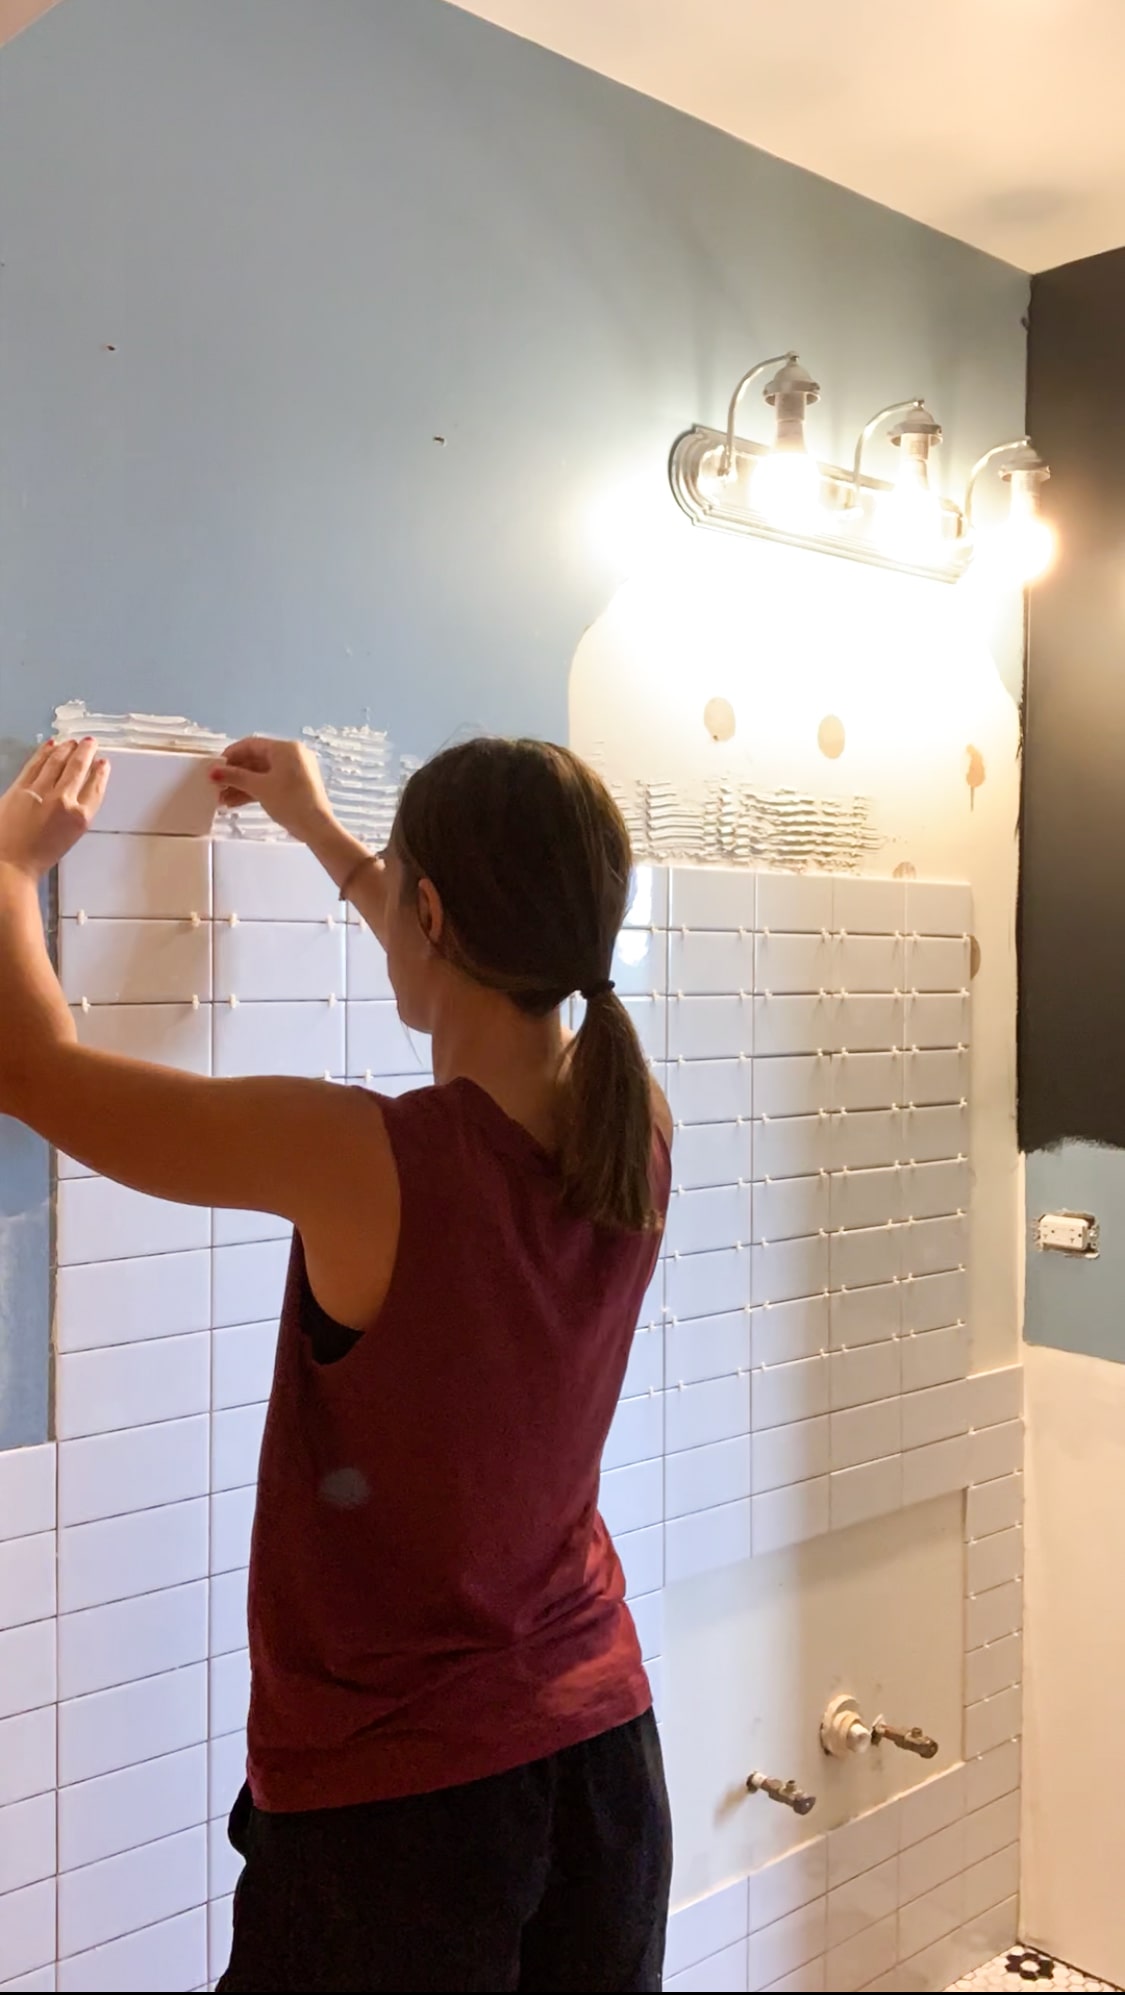
Since this tile is not inside the shower, we were able to just use tile adhesive to apply the tiles on the wall. It’s already premixed, so you just trowel it onto the wall and stick the tile to it. Easy enough!
We shared our process on both the flooring and the subway tile on our Instagram stories. If you want more details on how we tiled the wall and tips on tiling, we have them saved under the ‘ORC’ highlight!
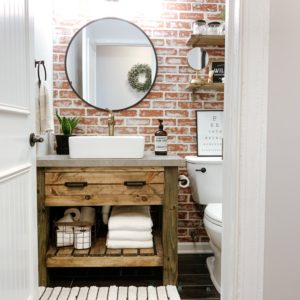
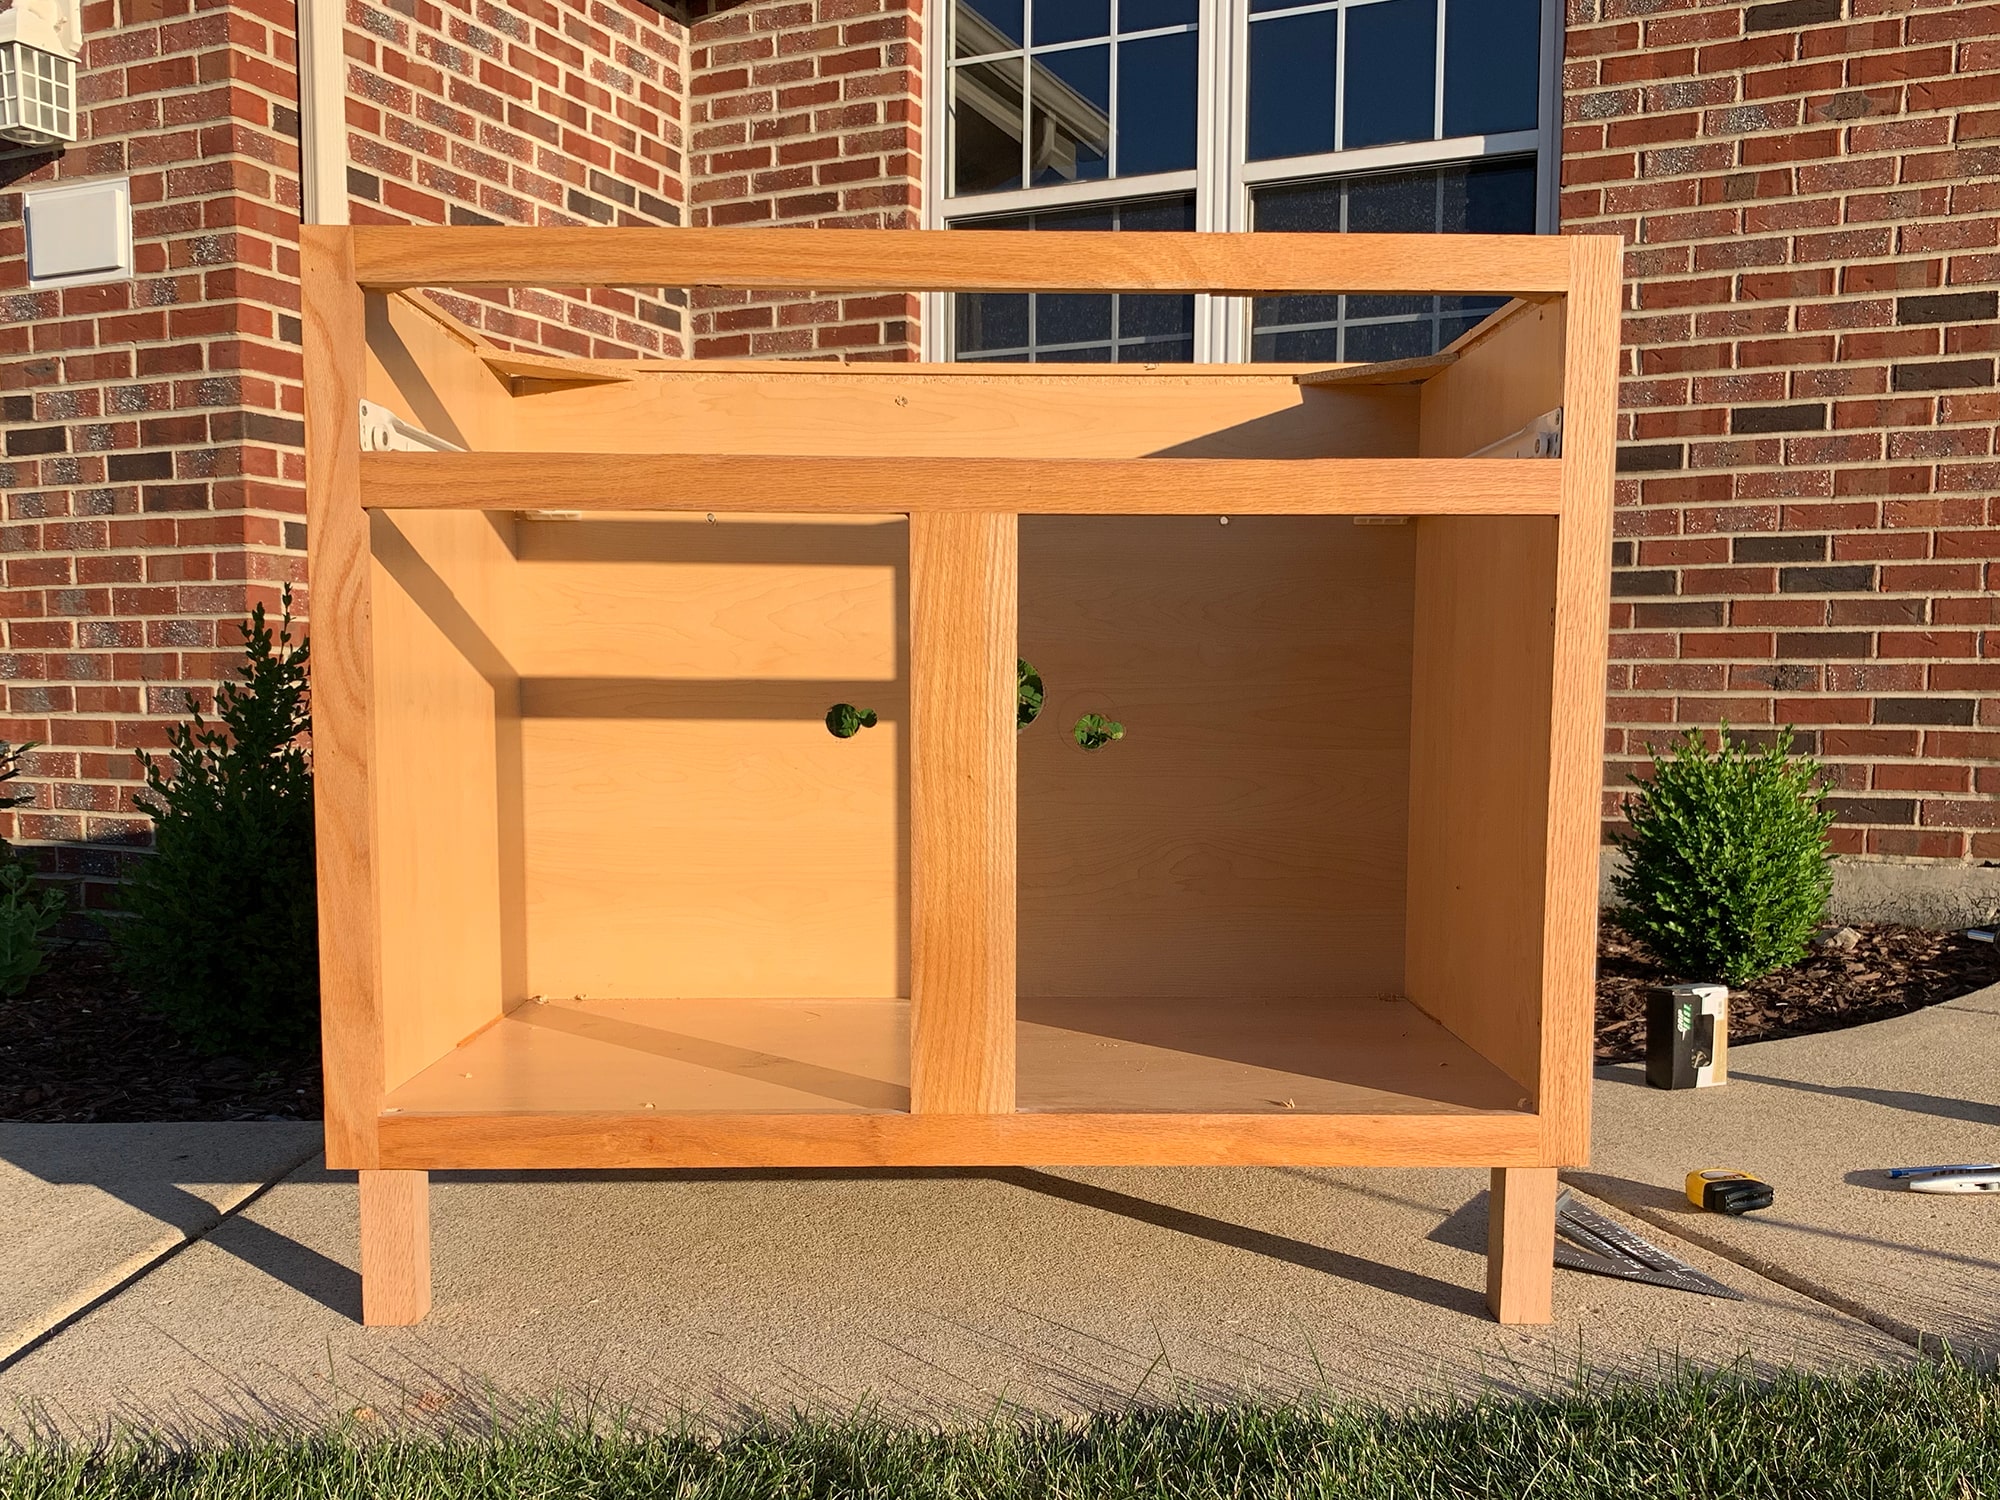
Upgrading A Builder Grade Vanity
I was able to make some progress on the vanity this week as well! I removed the toe kick and drawer separators from our builder-grade vanity. Then, I made my own frame and legs.

Again, I added the entire process to our Instagram stories if you’re looking for more details as of now! I will most likely be making a separate blog post for the vanity transformation, going into all the details. I know the most difficult part of this is yet to come, and that will need a lot of measuring and explaining!
Our One Room Challenge To-Do List
Unfortunately, I can’t cross anything off our main to-do list, because we didn’t fully complete any of the to-dos. I think I might make a sub, to-do bullet list under the tile to-do since there is so much! That’ll make our progress look a little bit better 😉
Convert our bathtub into a showerInstall plumbing for a new shower systemAdd shower niches- Install our black window pane shower door
Paint- Tile, tile & more tile!
Shower floorBathroom floorVanity walls- 1/2 wall
- Shower Walls (we did get a few rows done on the back wall!)
- Grout
Install vanity light- Give existing vanity a major facelift
- Add legs
- Build the new drawer
- Create new doors
DIY wood bath mat(If you missed our week 2 post, I have the entire DIY for this! You can read about it here.)- DIY bath bottles with labels
DIY wood shower stool(this was going to be a bonus if we had time… which we won’t)
Look at that, I even created a sub list for the vanity to-do! See, we made some good progress 😉
Next Week’s Plan
- Complete everything.
HA! We’ll see. Thankfully we have until July 1st to submit the bathroom for the One Room Challenge!
You definitely should check out the other guest participant’s rooms this week! They’re looking amazing and I can’t wait to see the final look for them all. If you are curious, head on over to the One Room Challenge Blog to see their transformations so far!
Well, back to tiling we go!