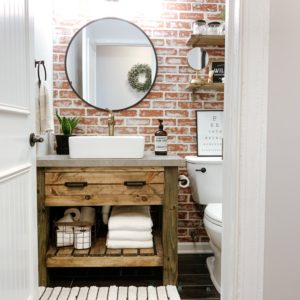
It’s already week 2 of the One Room Challenge! Anddd we’ve made little progress in our master bathroom ?. But, that’s okay – we still have plenty of time! We were waiting this past week on some key items to come in the mail in order to get started on the renovation. We didn’t want to start gutting the bathroom if we could still use it for a week. Thankfully, all the items came in this week!
With that being said, I decided to knock out one of the smaller DIYs we have planned for this week. A DIY wood bath mat! Yes, I know it’s kinda backwards to knock out a decor item when the space isn’t even put together yet. So, if I don’t like it, I’ll have one for sale ;). Jk.
Also, just in case you missed last week’s post with all the plans for this space, you can read about it here!
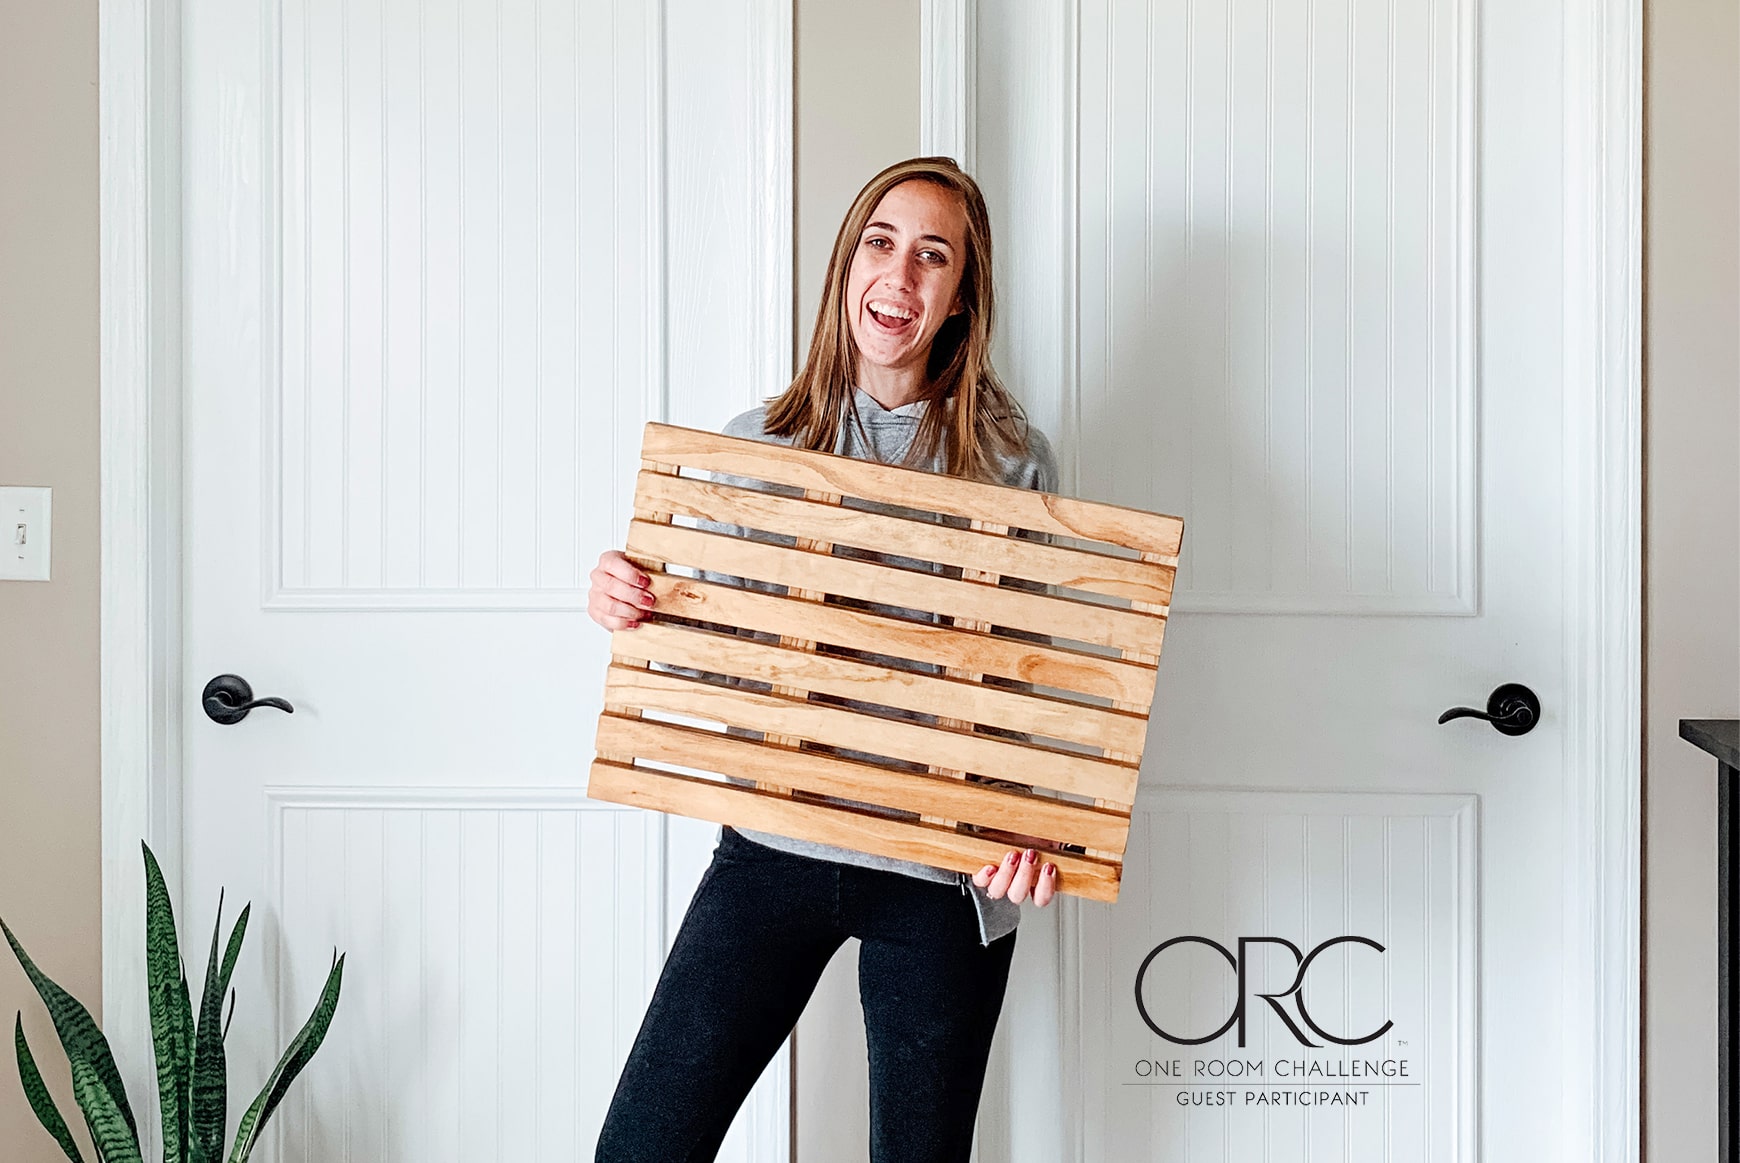
DIY Wood Bath Mat
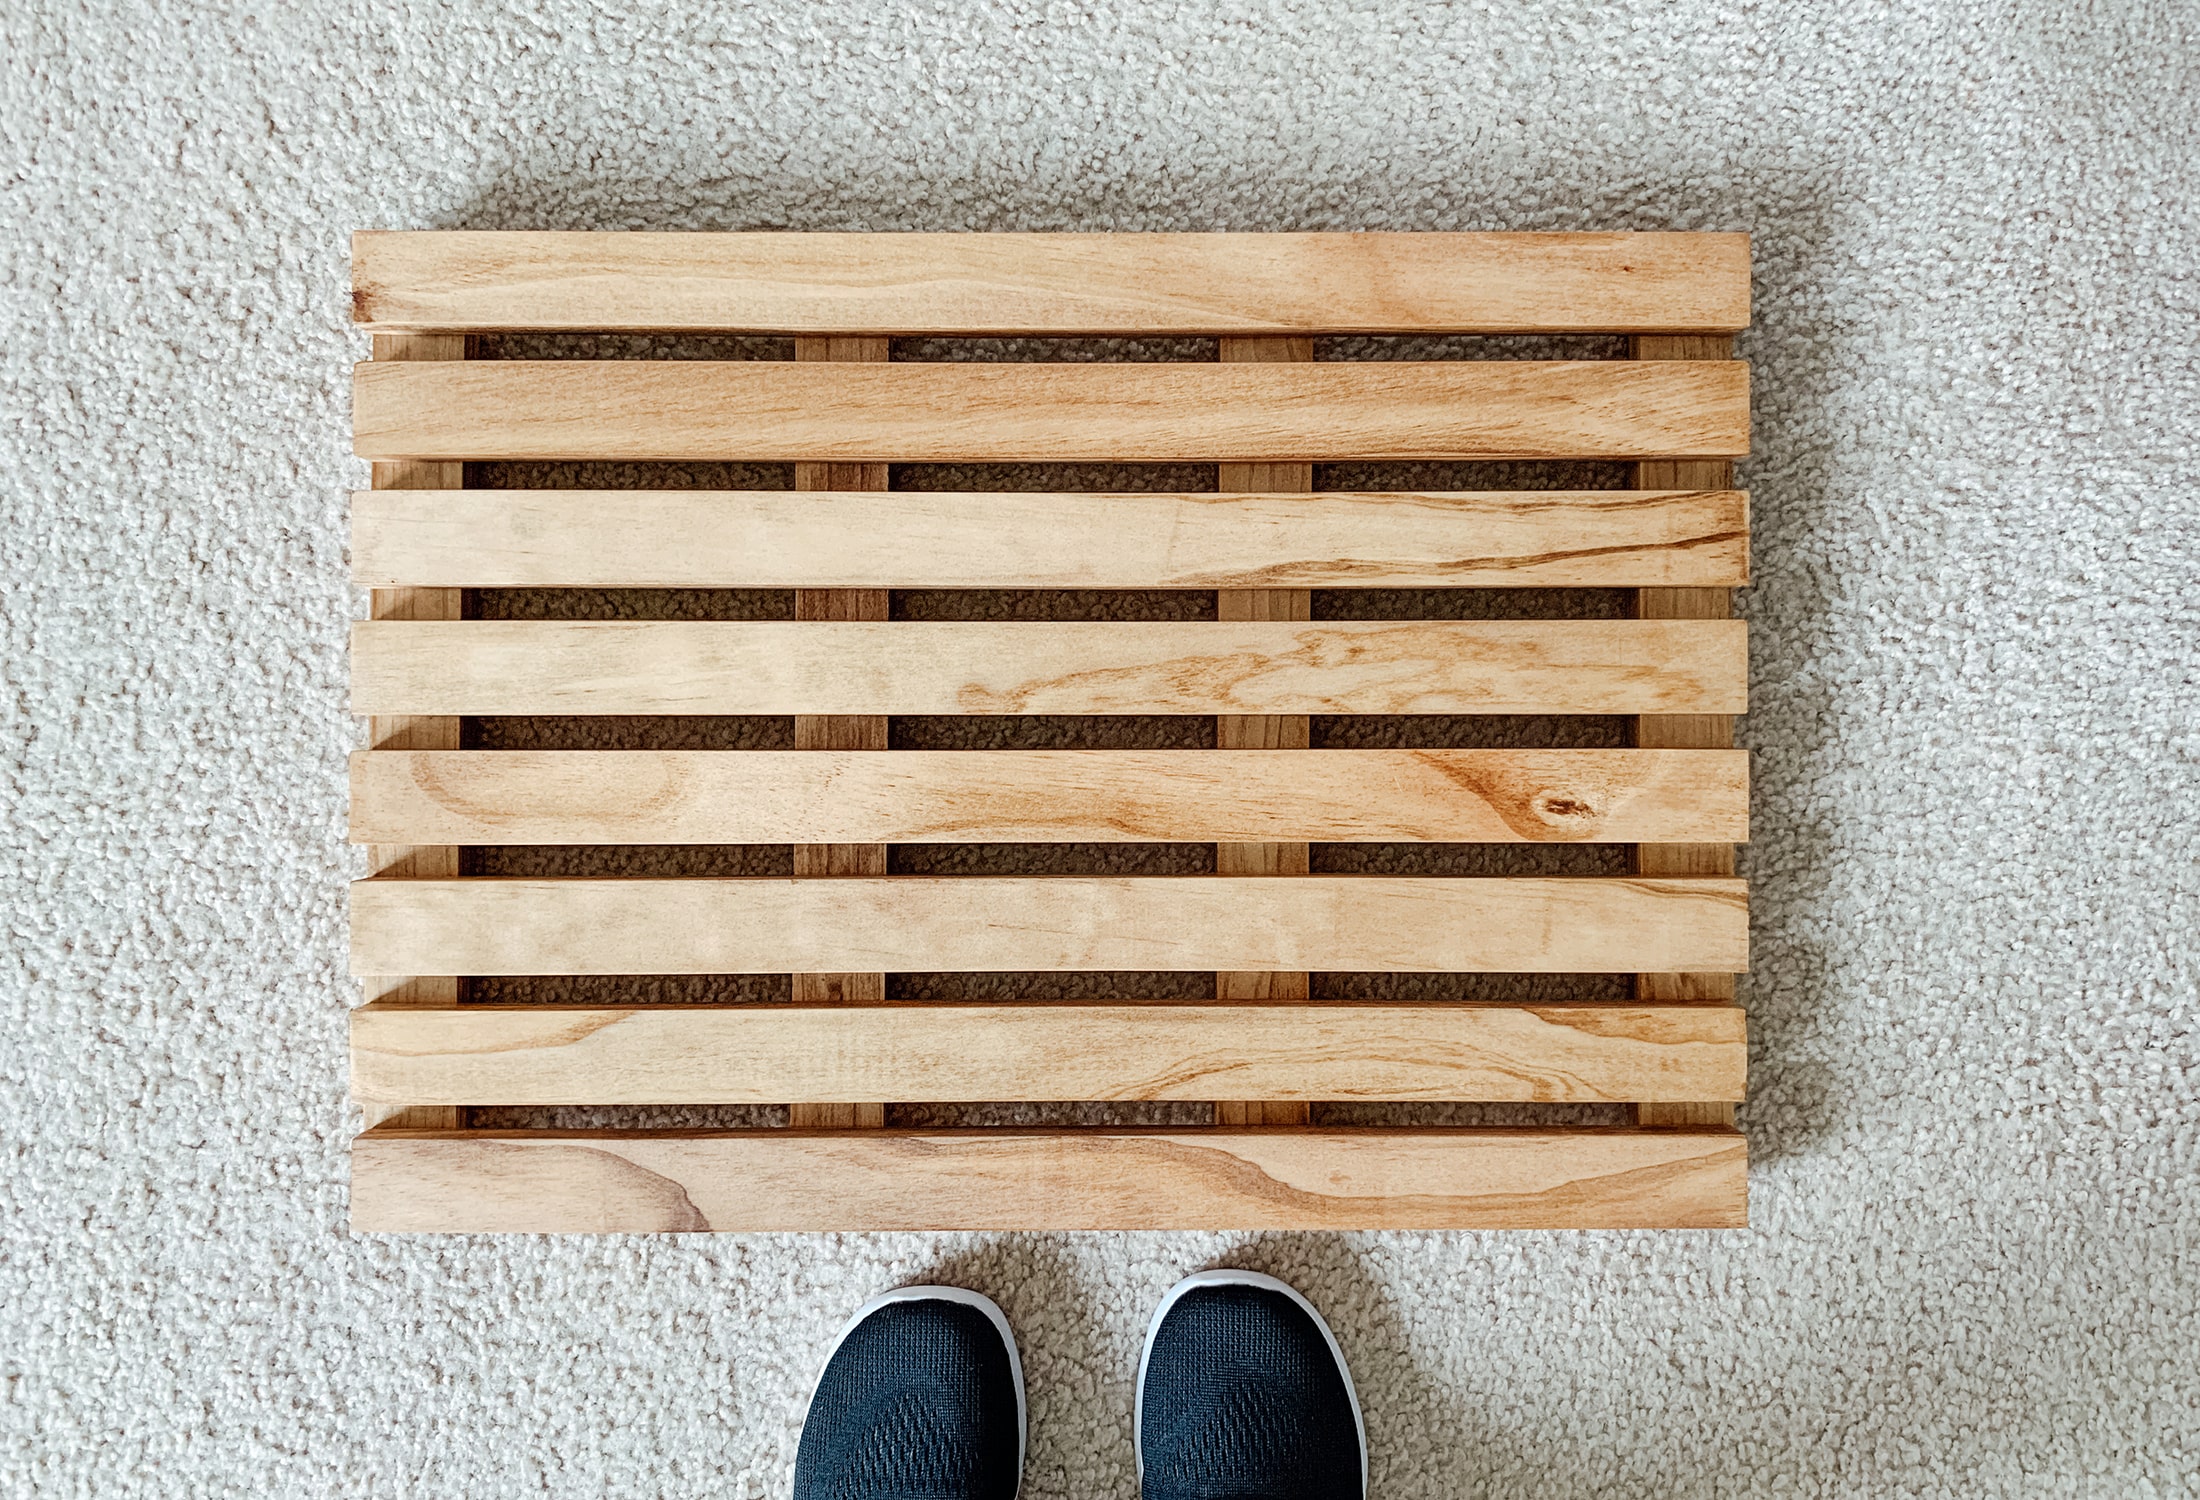
This wood bath mat will be 22 inches by 15 ½ inches in size, with ½ inch gaps. You can easily change these specs, but make sure you have enough supplies for your size adjustments!
Also, it’s typically common to use wood species that are best for water exposure. For example – teak, bamboo, or cedar wood. However, if you don’t have those as an option, you can always use a different wood species and just be sure to use a sealer best for water exposure. Which, is what I did for this DIY wood bath mat.
THE SUPPLIES
- 3 – 1x2x8′. I decided to use select pine boards.
- Stain (optional)
- Wood sealer. We had this sealer on hand, so this is what I’ll be using. You could use teak oil too!
- Wood glue
- 1 1/4″ brad nails
- 220 grit sandpaper
THE TOOLS
- Miter saw
- Tape measure
- Speed square
- Pencil
- Safety glasses
- Sander
- Brad nailer
- Foam brushes (optional)
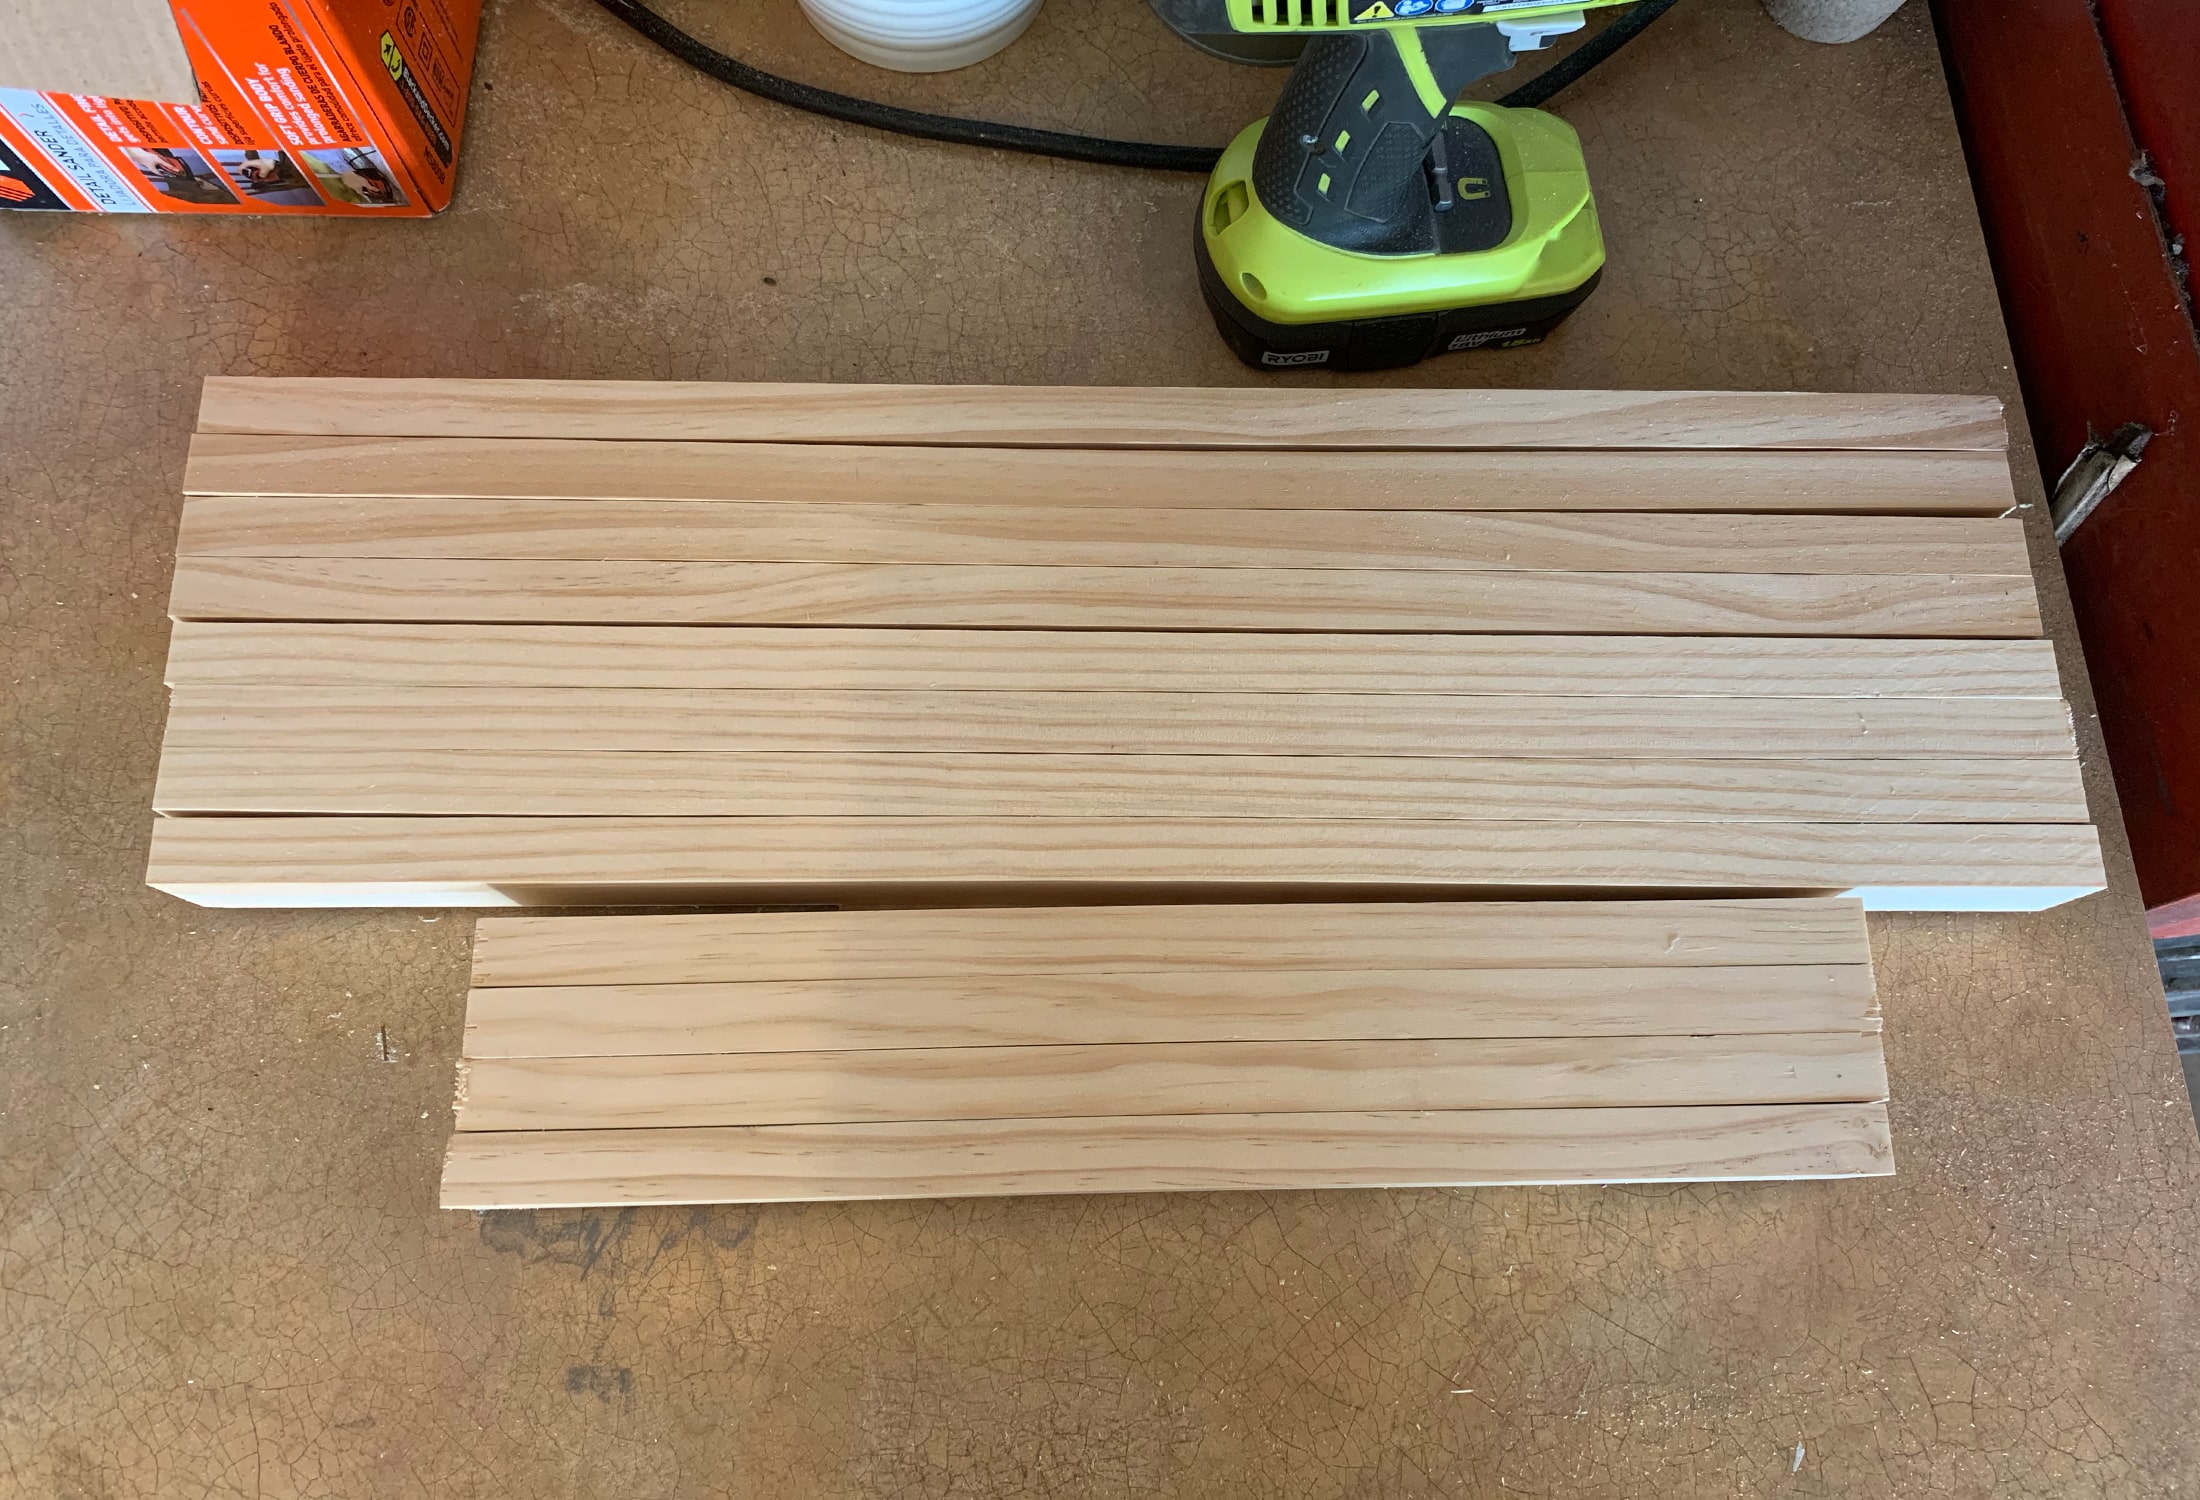
STEP 1 – Cut Wood Pieces
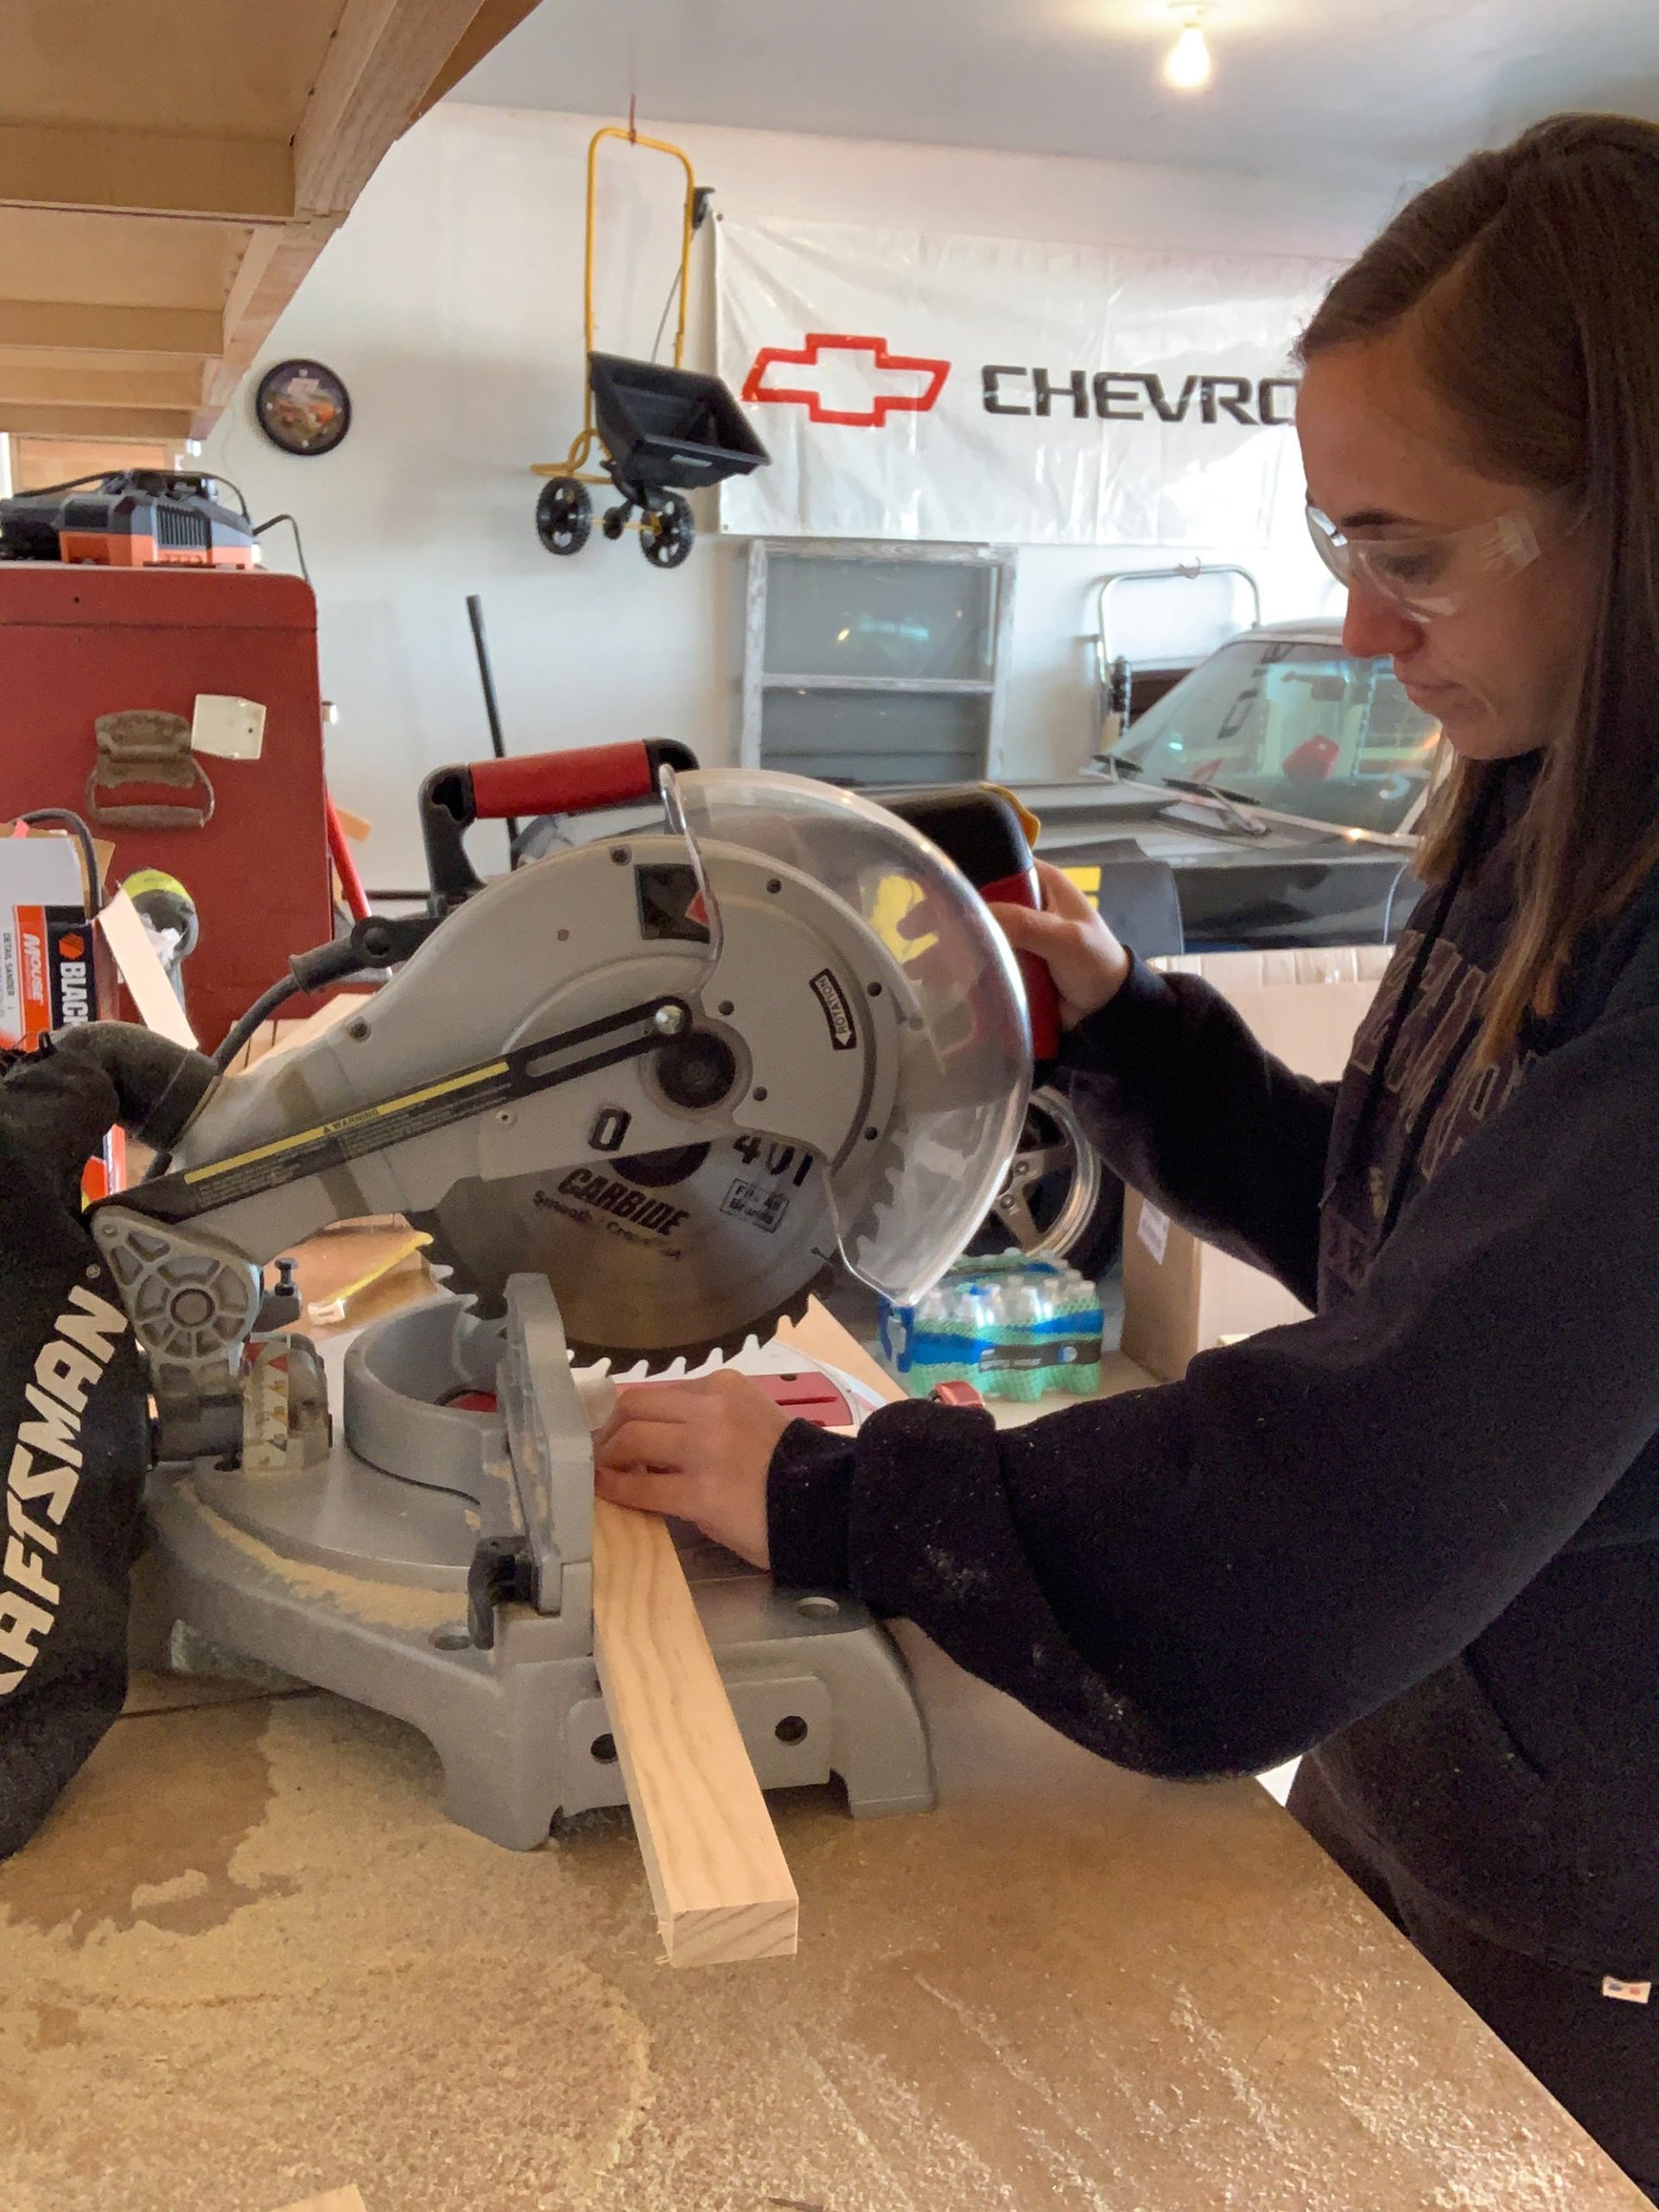
Using a miter saw, cut 8 pieces at 22″ length. Then cut 4 more pieces at 15 ½” pieces. Which tallies up to 12 pieces in total.
STEP 2 – Sand Pieces
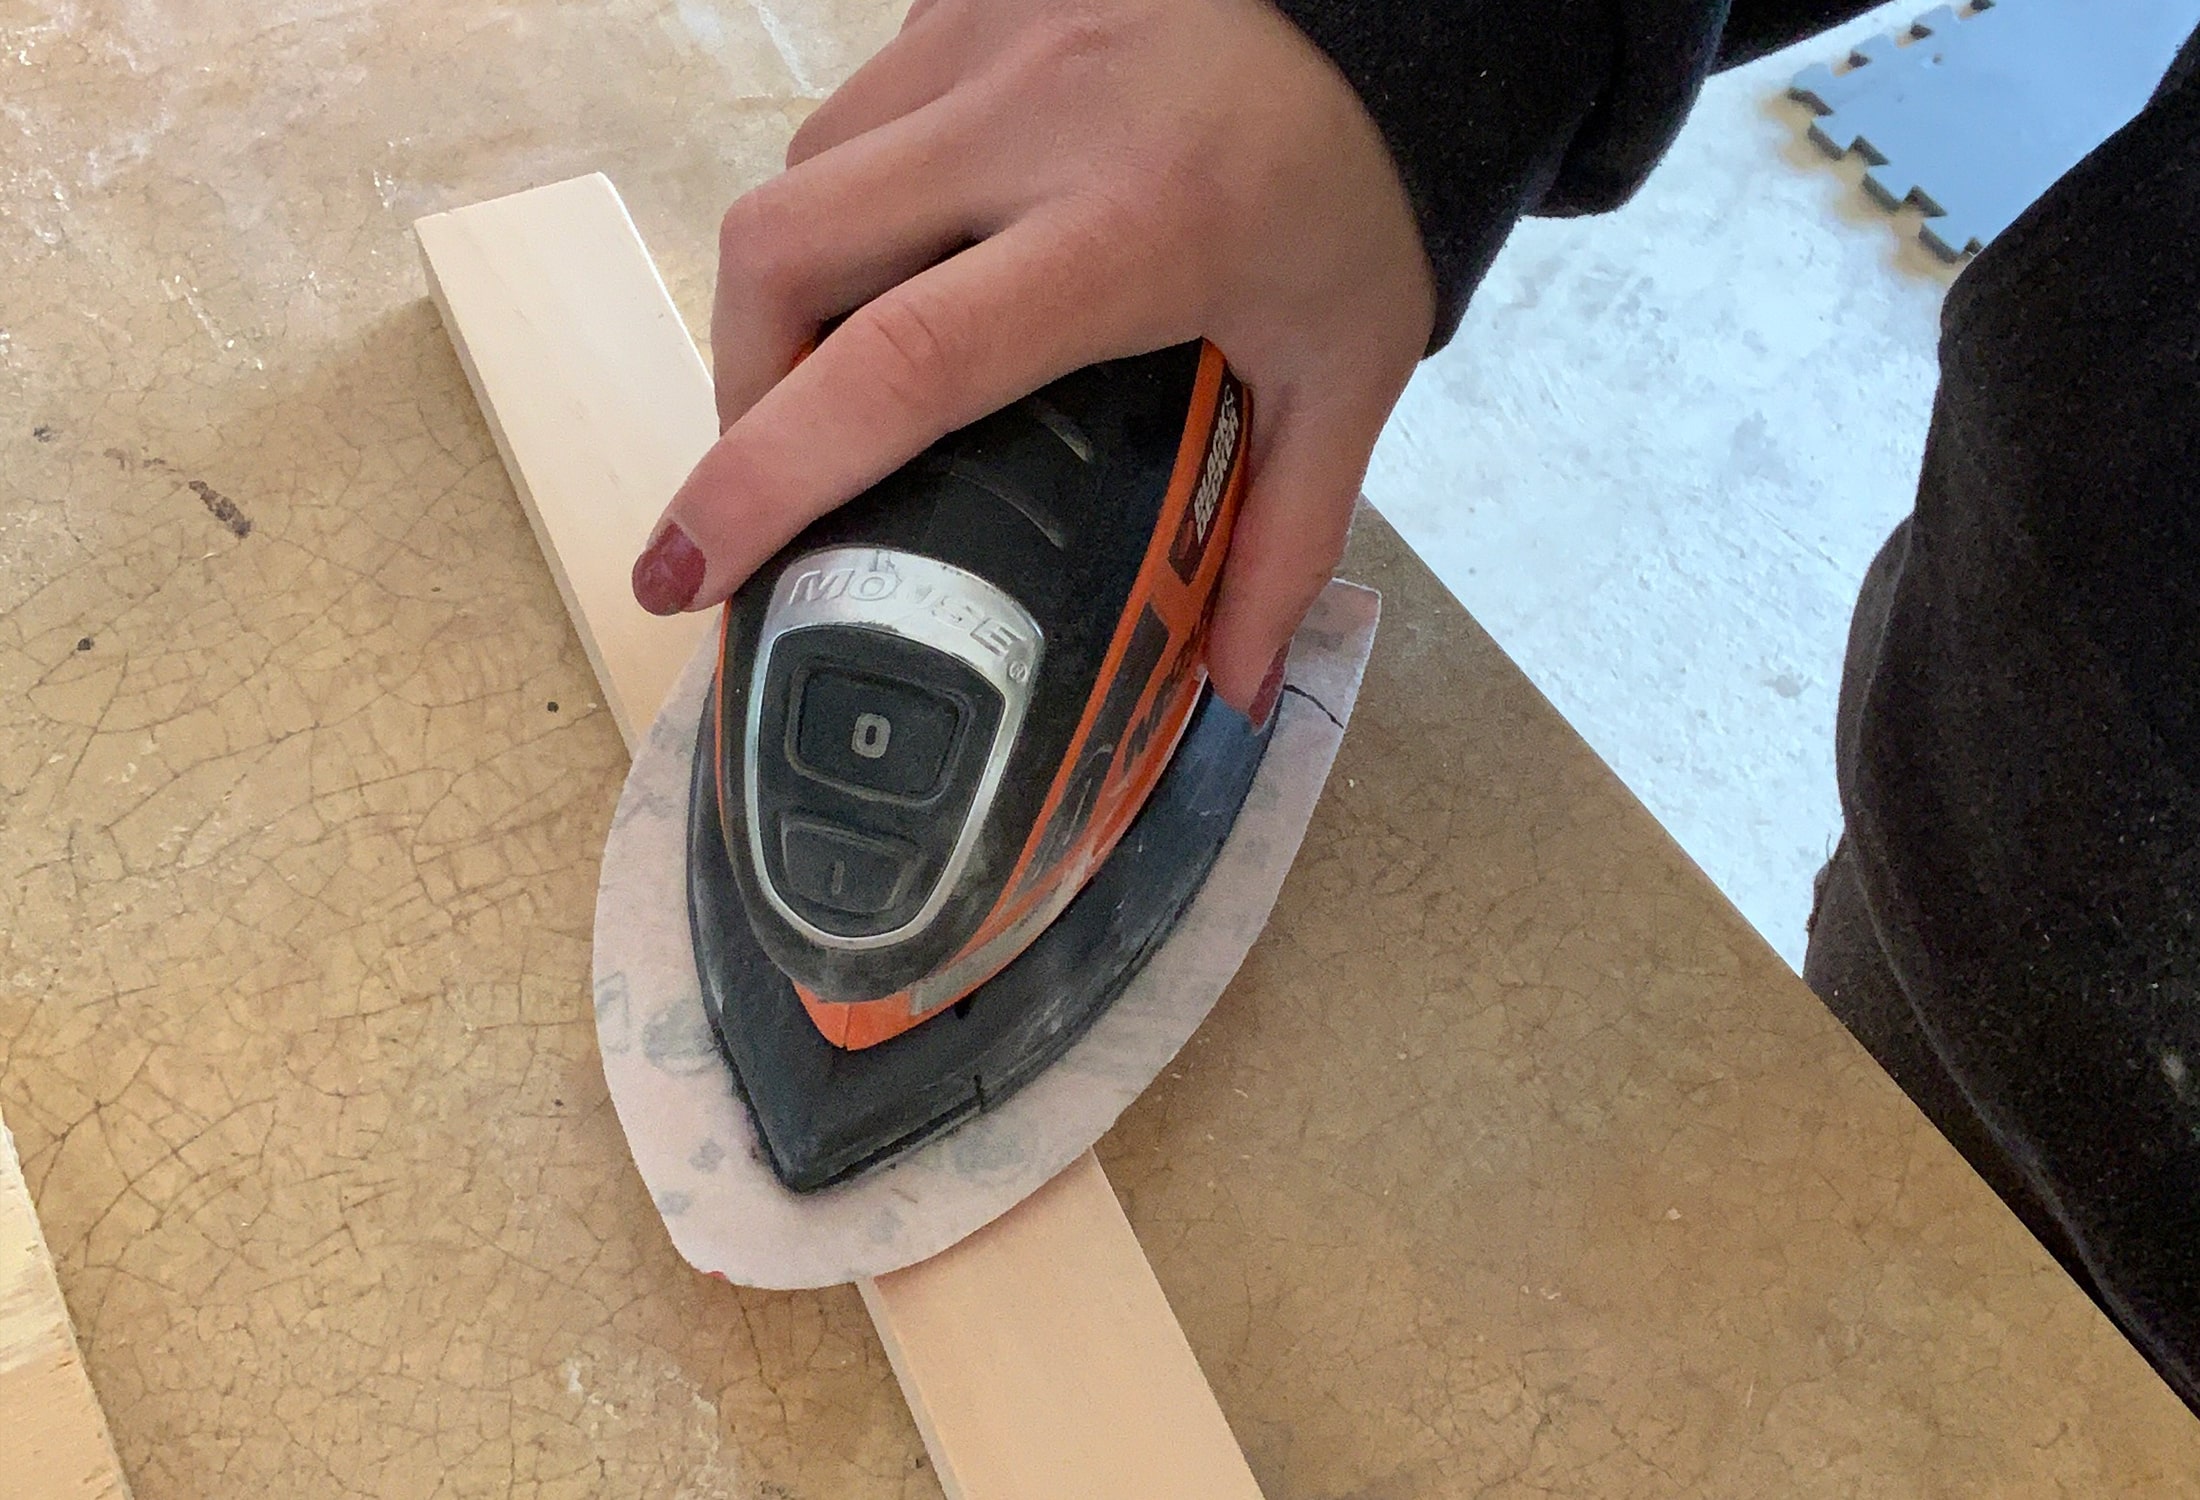
When working on any wood project, sanding is always a must especially if you are staining! Sand down all sides and edges of the wood pieces.
Since this is a bath mat, and we’ll be stepping on it with bare feet, I wanted to give all of the edges a good sand down. This way, the edges are a bit more round.
STEP 3 – Stain & Seal Wood
You can skip the staining step if you are looking for that lighter, more natural yellow wood look. Especially if you plan to use teak oil. You can skip the staining and go right to sealing the wood!
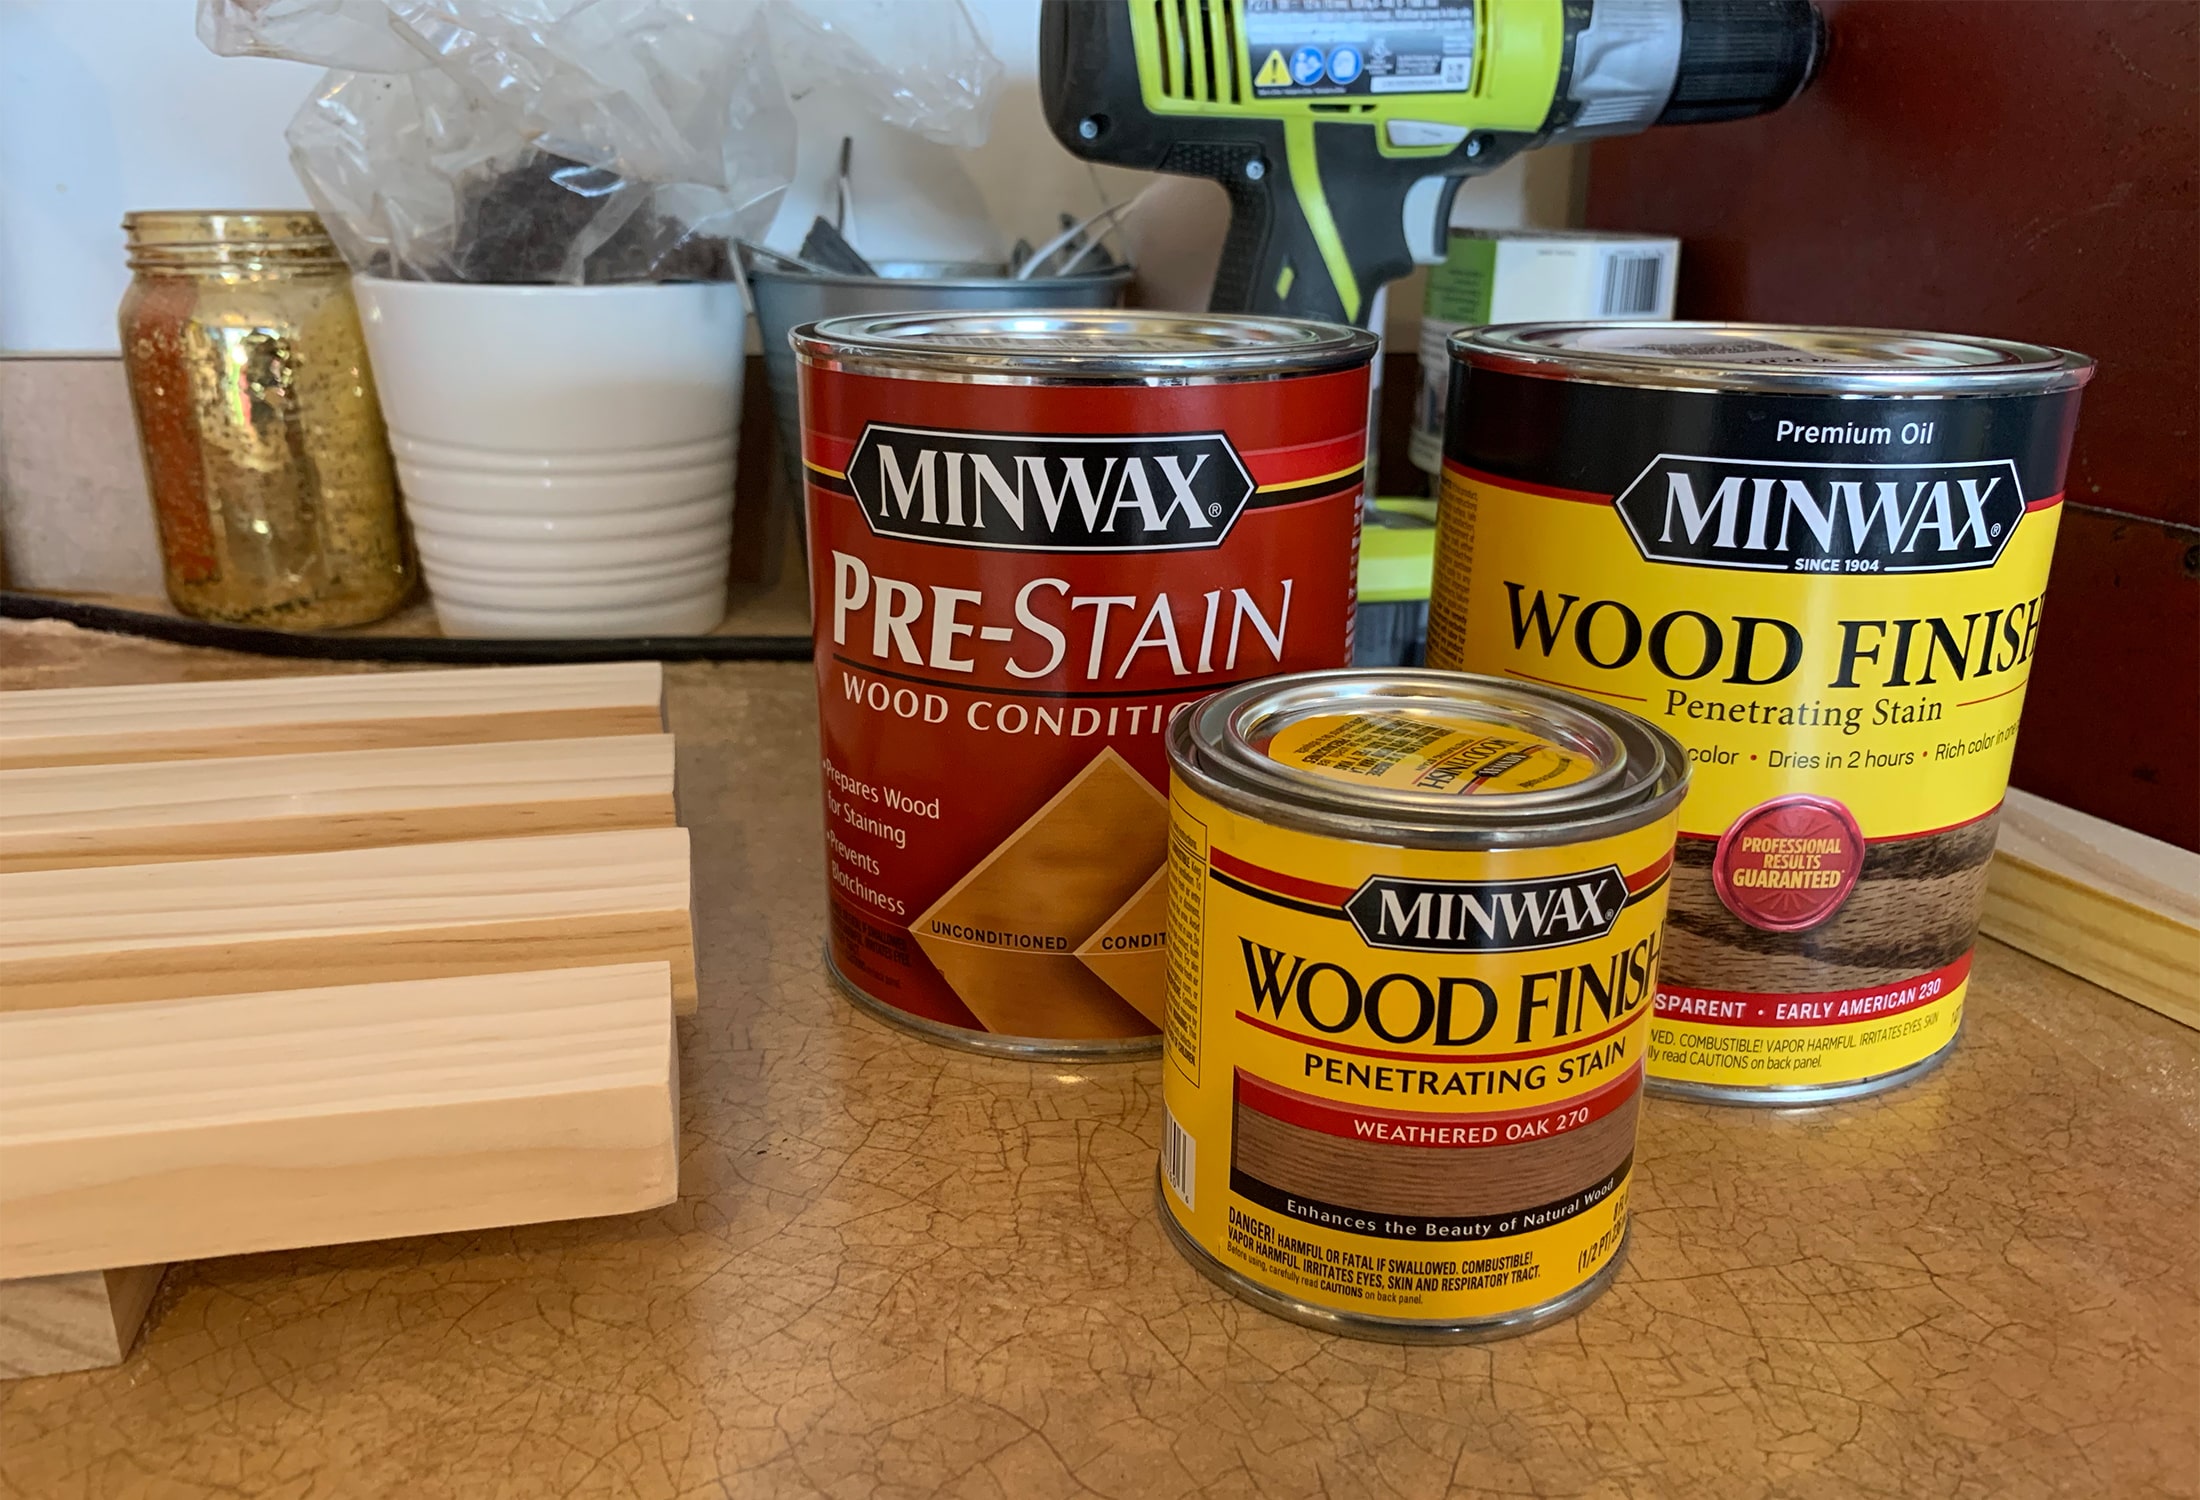
My go-to stain lately has been Minwax Early American. In the past, I’ve mixed Early American with classic grey to give it a washed look. But, this time, I decided to change things up and try Weathered Oak on top, instead of the classic grey.
However, before I applied my stain, I pre-conditioned all the wood pieces. I’ve skipped this step before on numerous other projects and regretted it! So this time, I didn’t cut any corners and made sure to pre-condition all the wood pieces.
I LOVE how the stain color turned out! Just the perfect amount of warmth I was looking for. I plan to carry out this wood color tone throughout the rest of the bathroom.
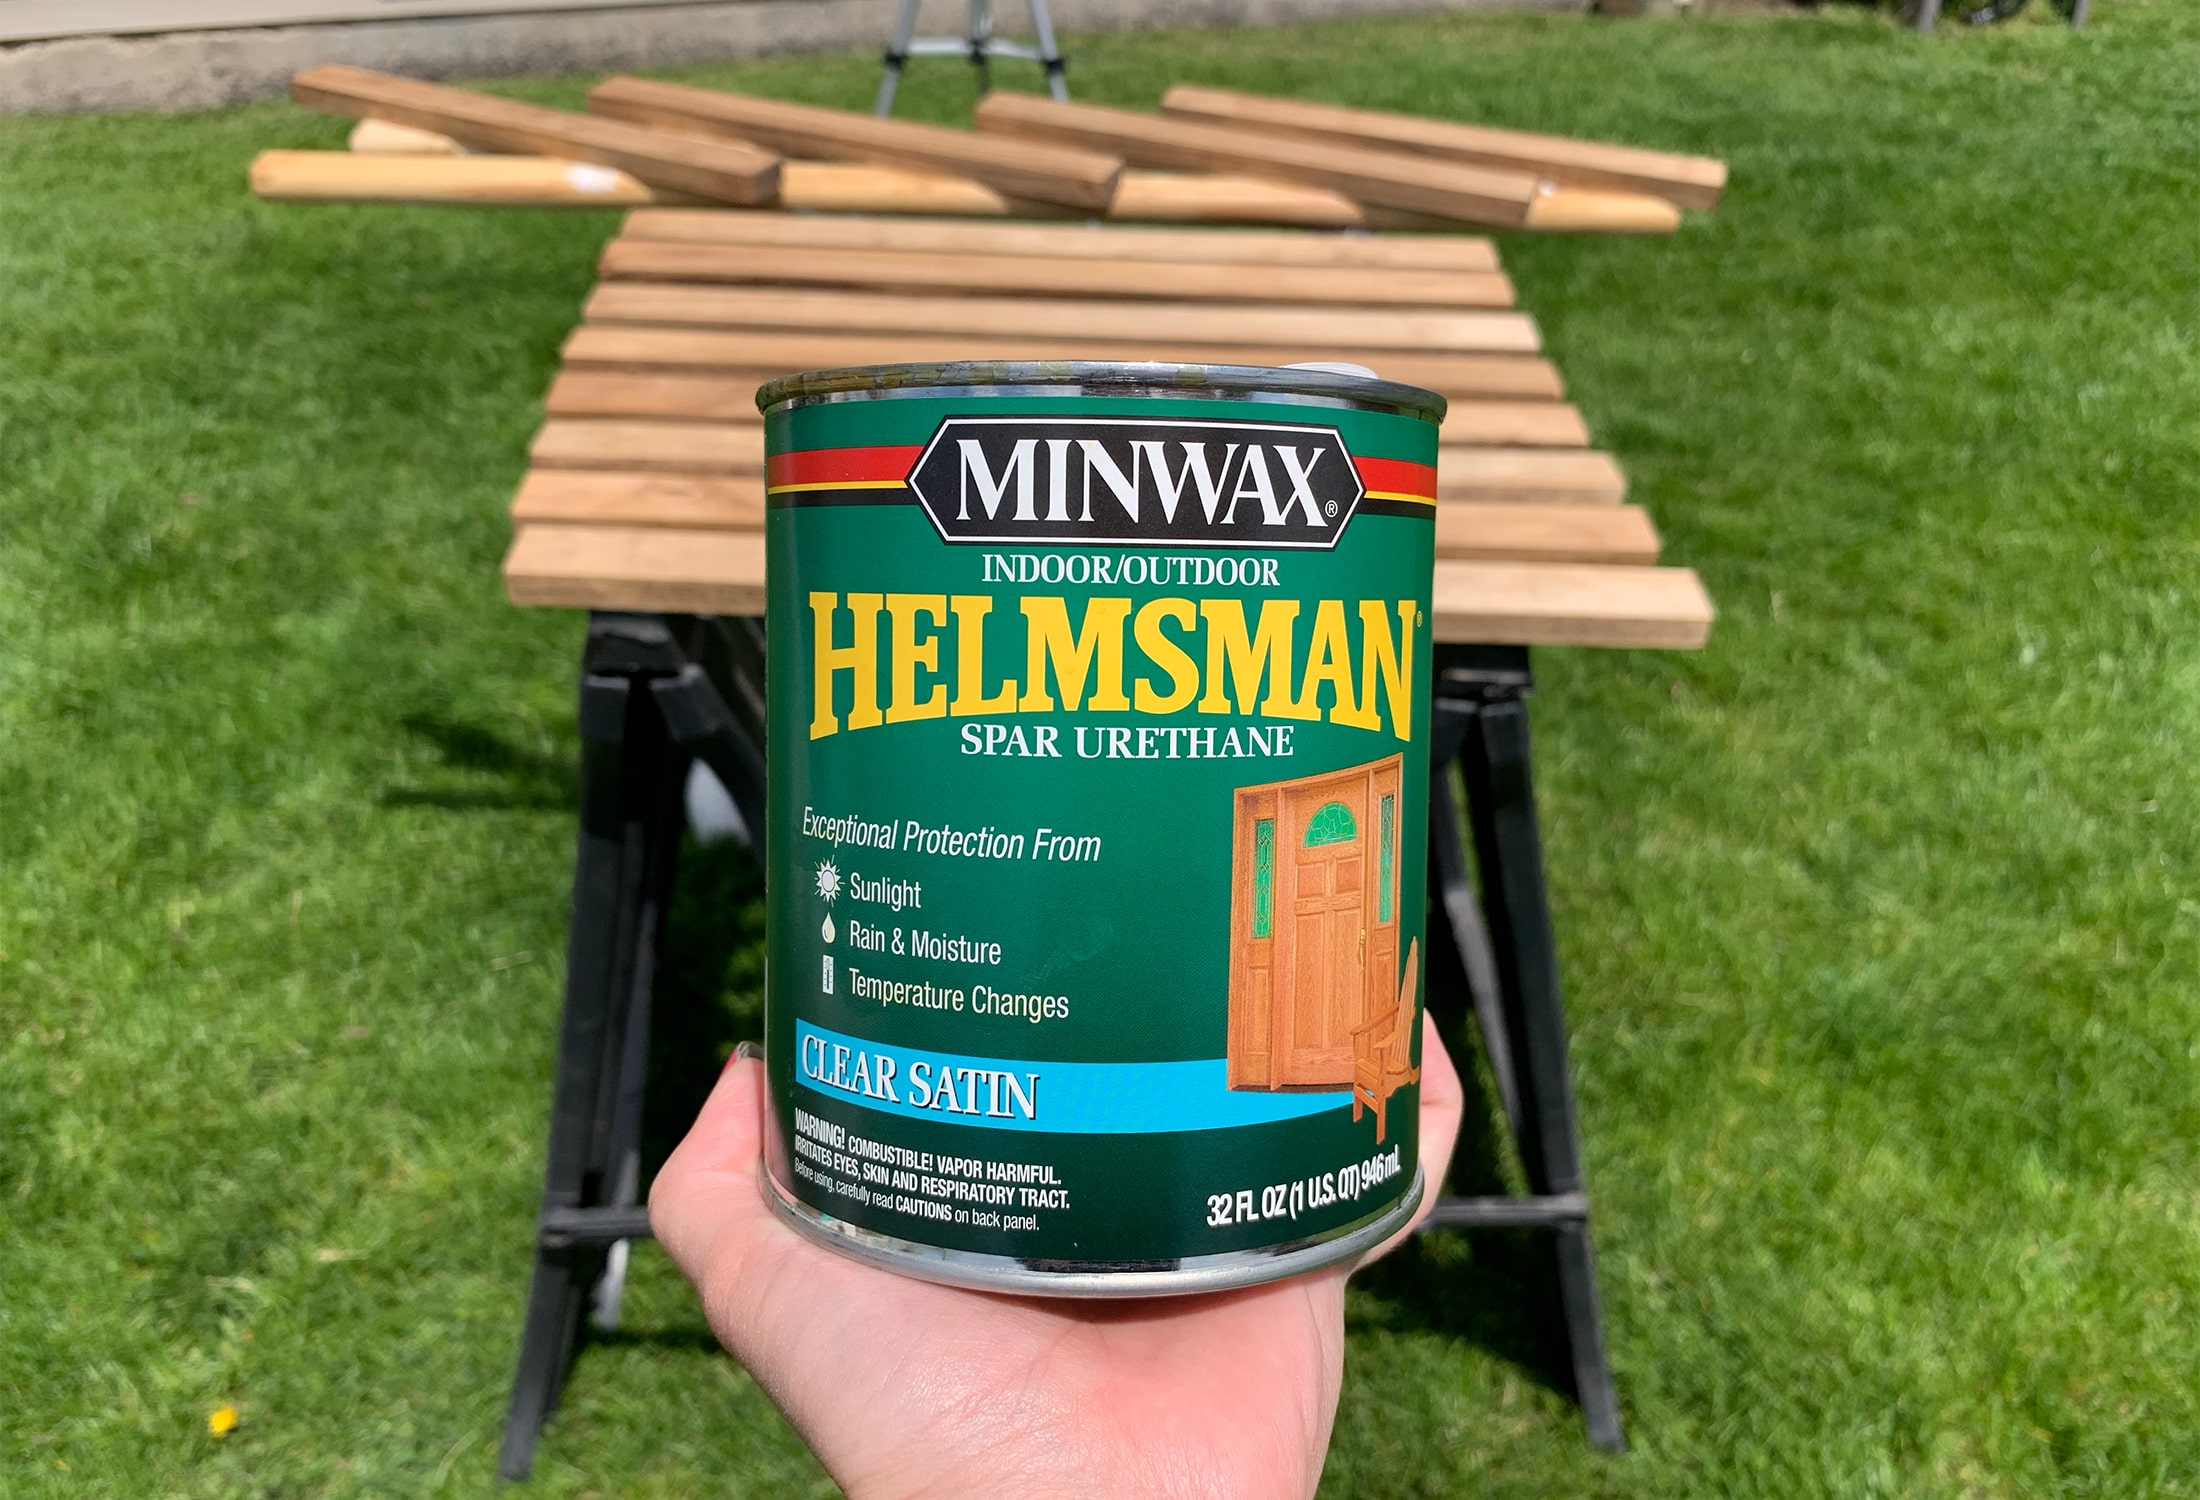
I let the stain dry overnight, and the next day I applied 2 coats of Minwax’s Helmsman Spar Urethane. I had this on hand, so that is why I chose to use it. Plus, it’s perfect for indoor and outdoor wood projects that are exposed to rain or moisture!
Don’t forget to sand in between coats! It’s always best to lightly sand the wood pieces with 220 grit sandpaper in between sealant coats.
STEP 4 – Assemble Bath Mat
This is where you’ll need your brad nailer & wood glue!

First, it’s helpful to create spacers that you can place in between each slat while assembling. That way, you know your wood pieces will actually have even spacing! I took a scrap piece of wood and cut two ½” pieces. The ½” will be the size of the gap between each of the wood slats.
The 15 ½” pieces are for the bottom part of the bath mat, where the 22″ pieces will lay across on top. Let’s call them “feet” – the 15 ½” pieces. It will make this easier to explain LOL.
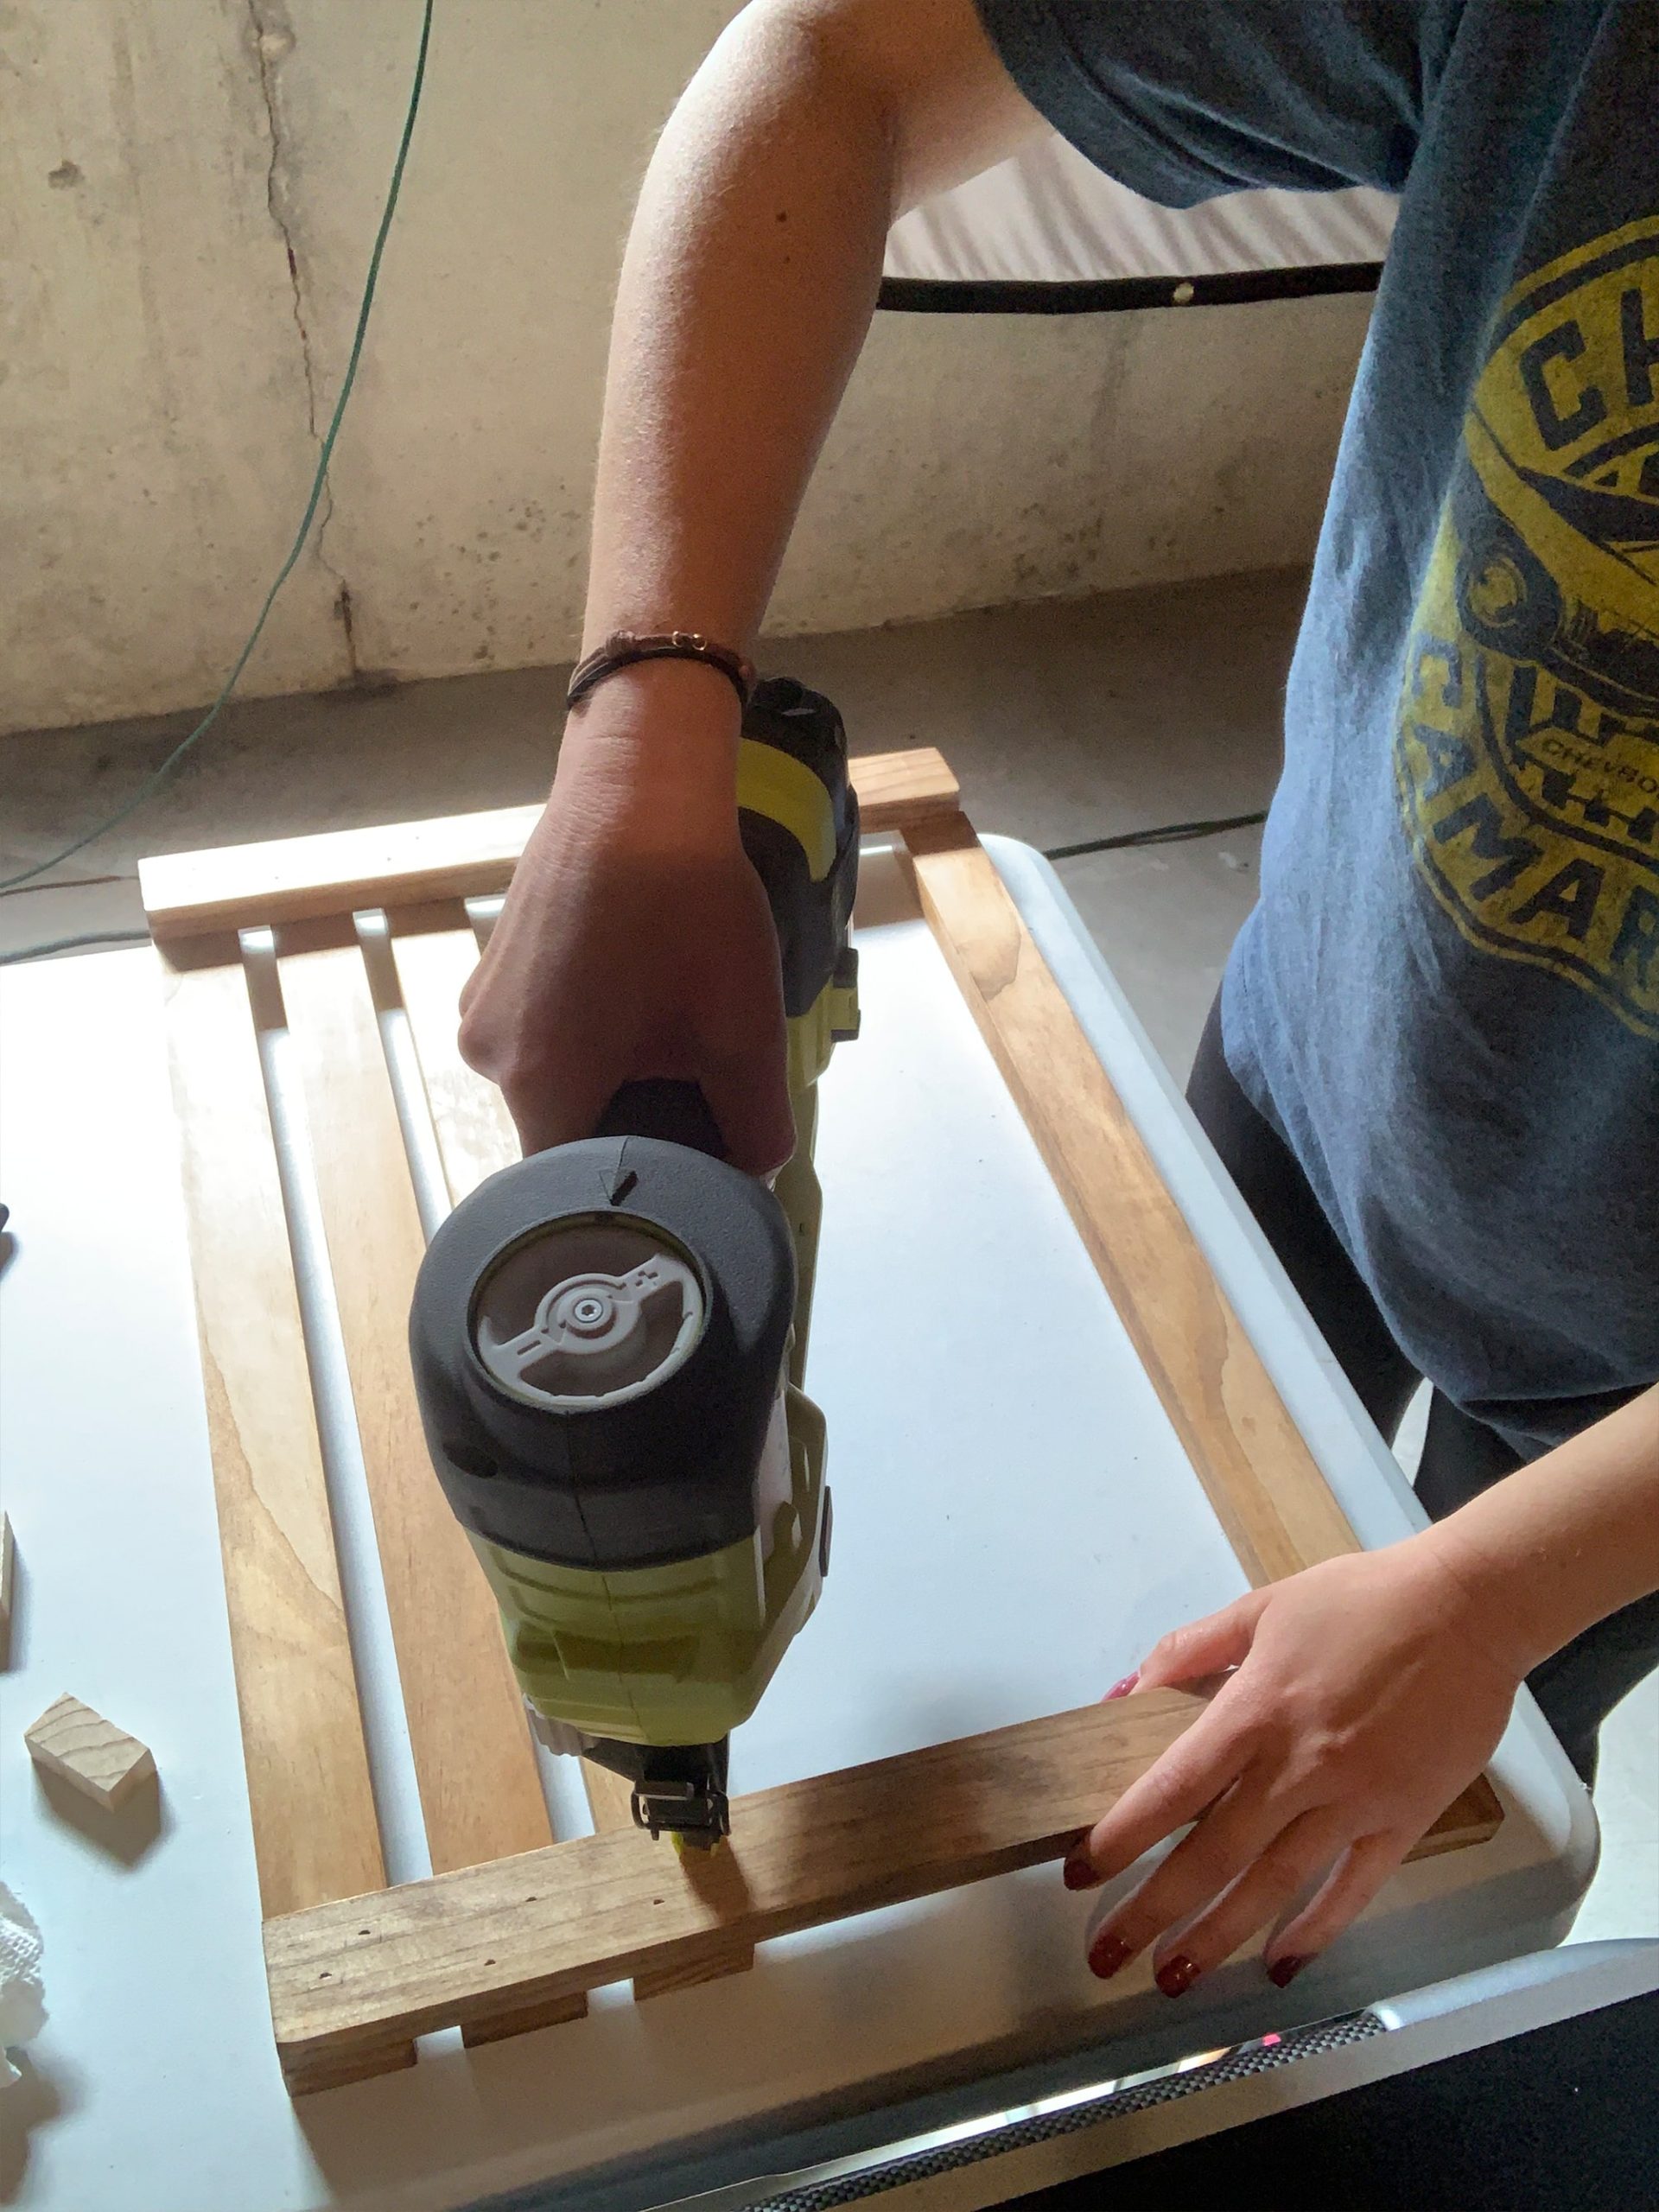
I found it easier to assemble the wood bath mat by attaching the 22″ pieces to the outer two feet pieces first. Once I had all the 22″ pieces attached to the outer two feet, I then measured and attached the inner two feet to all the 22″ pieces. This way, for me, I didn’t have 4 pieces to deal with moving around and having to remeasure to make sure they were straight as I glued and nailed down the pieces.
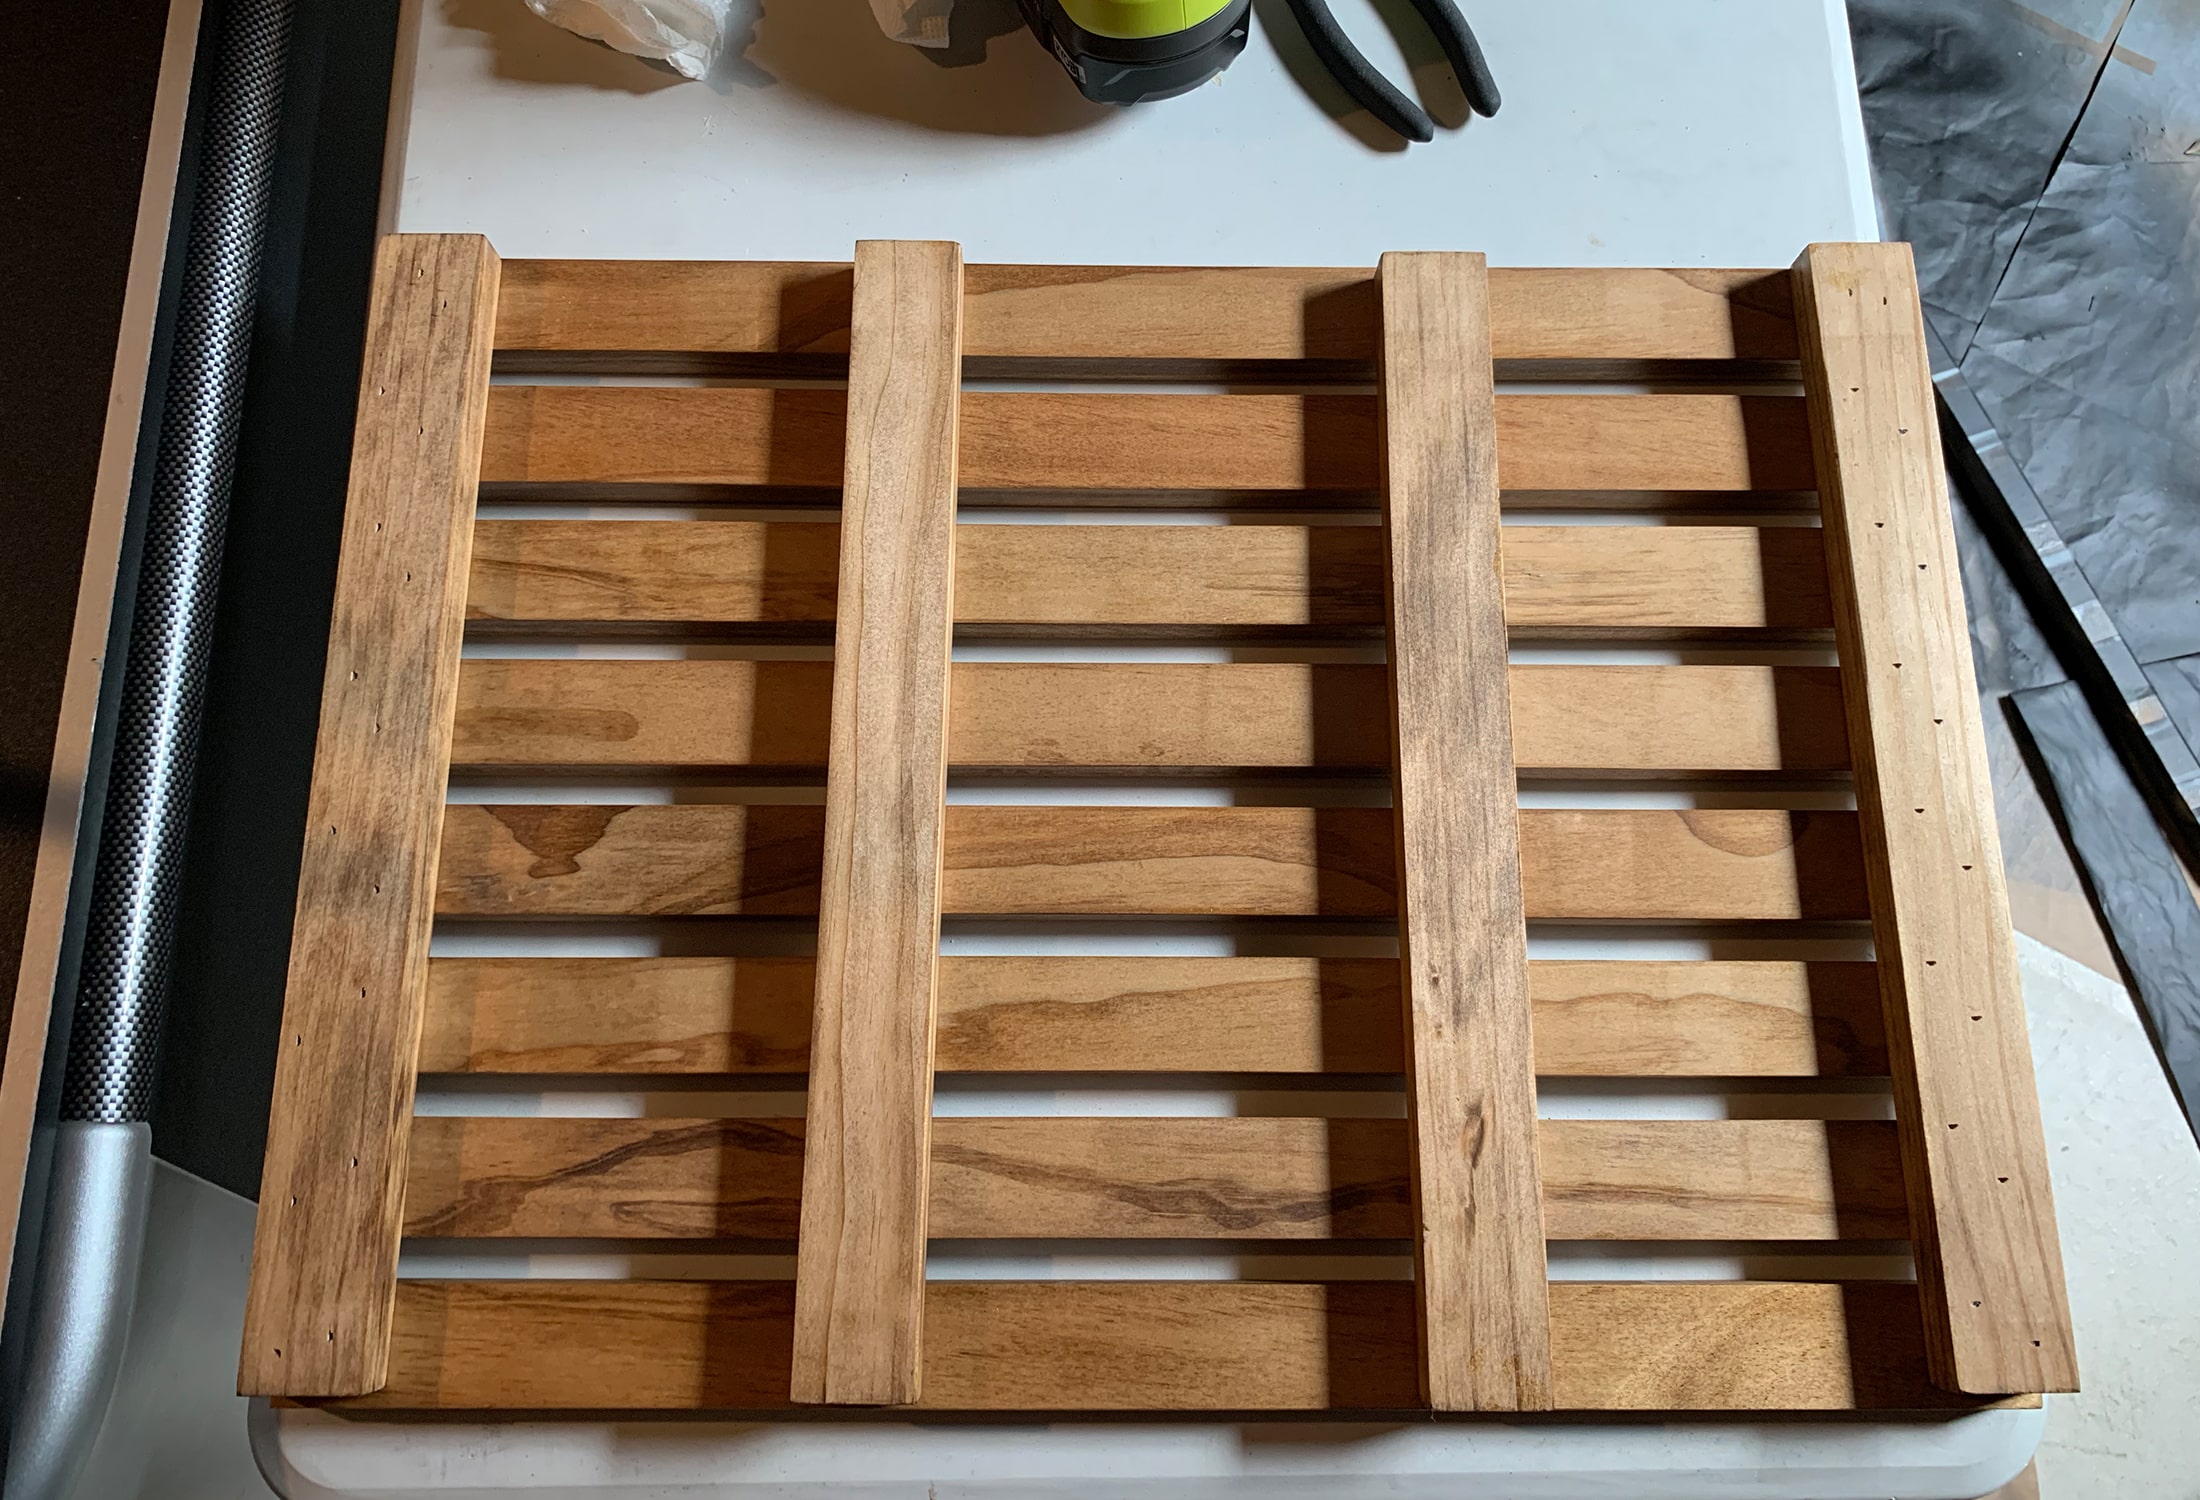
However, I did run into a small hiccup when I was attaching the last 22″ slat piece. My “feet” (the 15 ½” pieces) were a little short! This is because some of the 1×2 wood pieces were just a bit wider than the actual 1 ½” size they should be. My fault for trusting the measurement of the board and not double-checking! I will say, it’s not that big of a deal and hardly noticeable. Just one of the many perks of DIY ;).
The Finished Look!
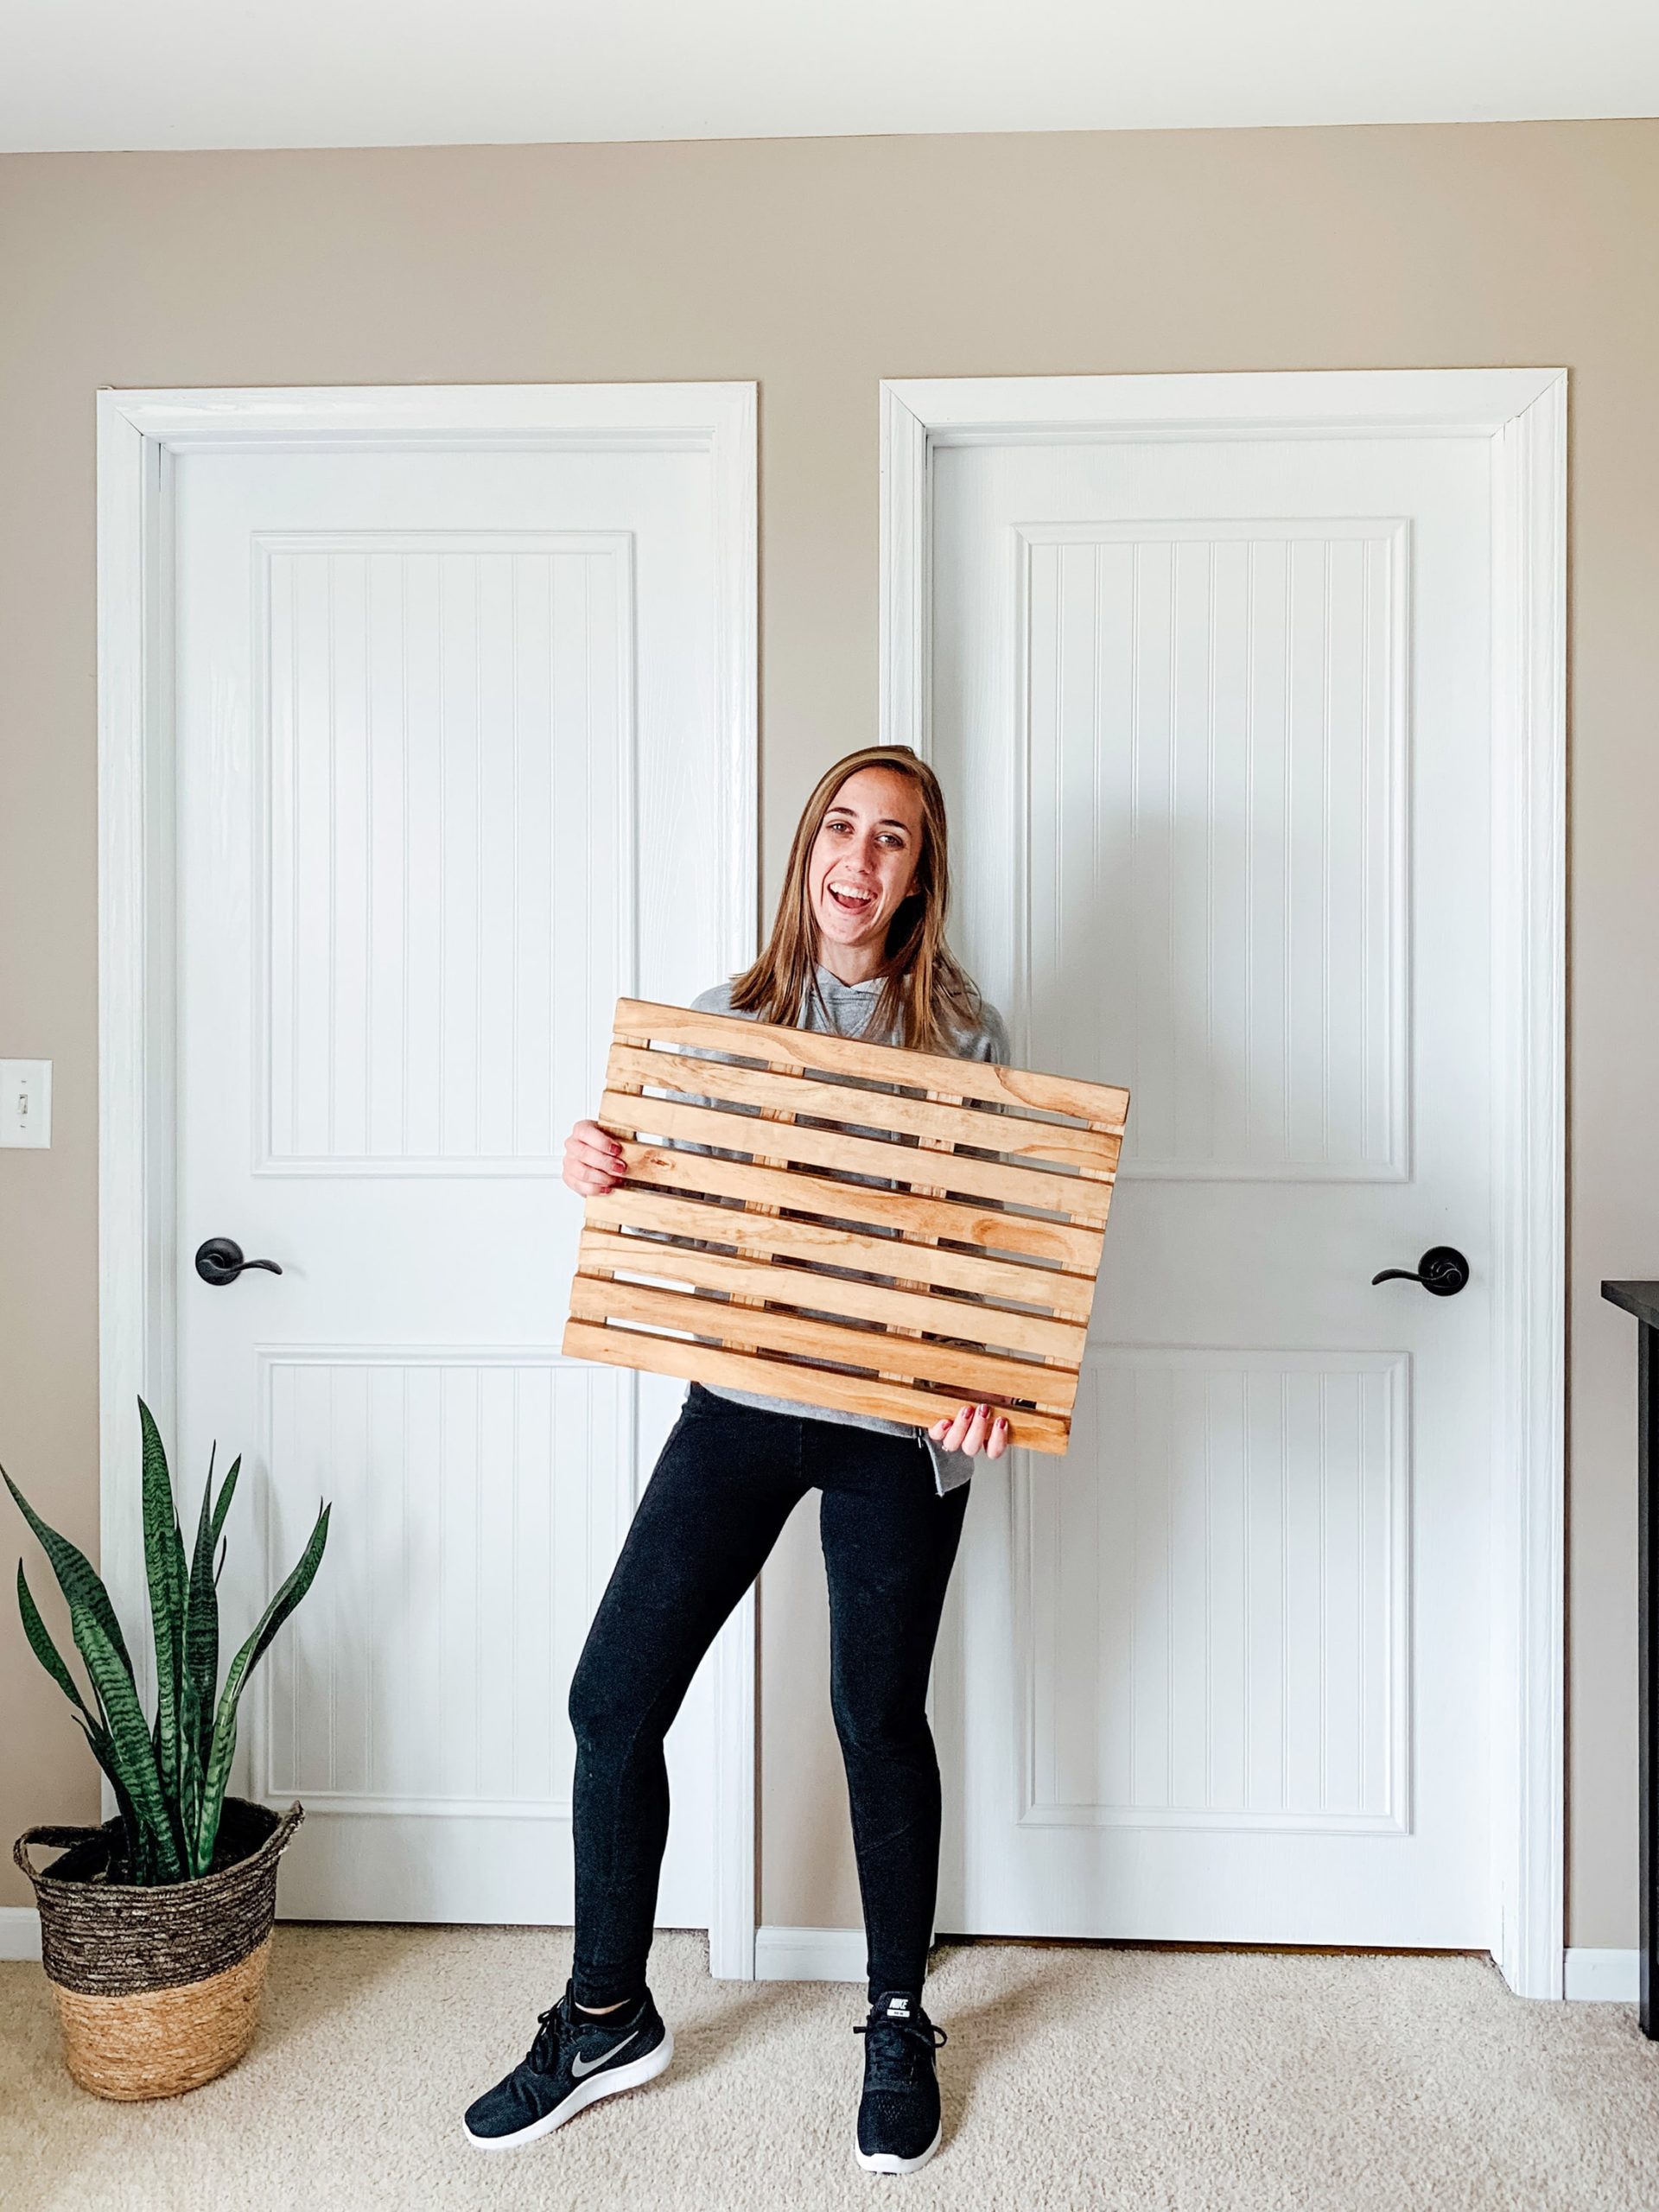
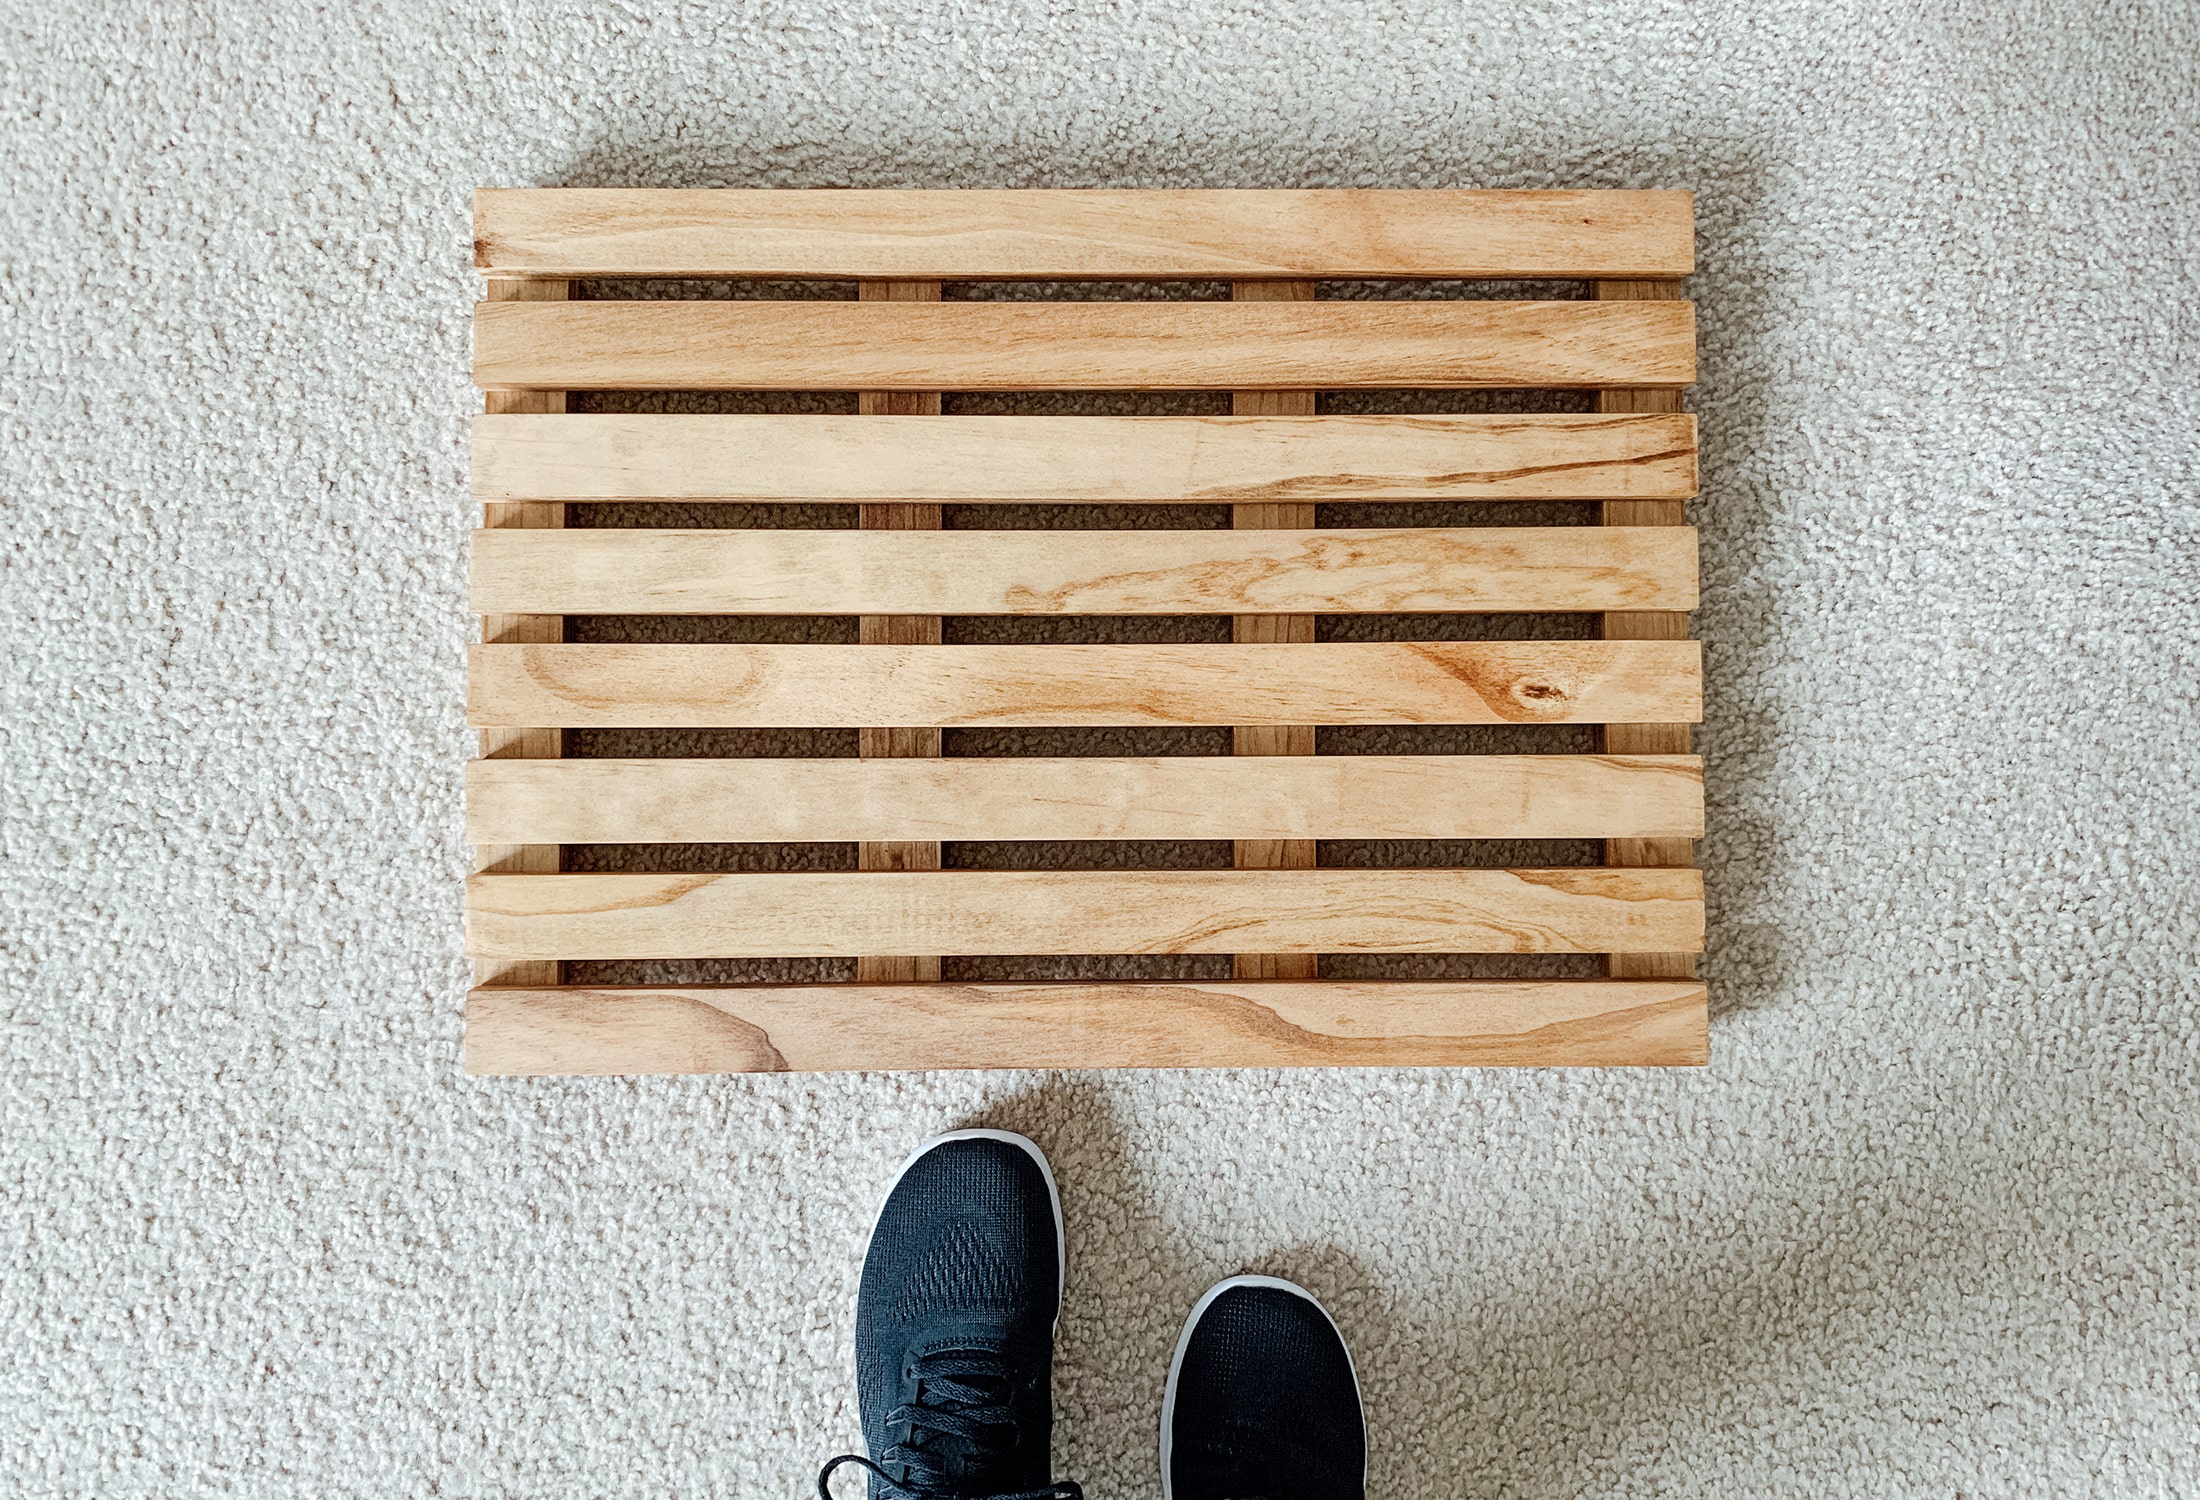
Love it! Simple and just what I had in mind. I’m honestly so happy with how the stain color turned out and I just know it’s going to look perfect for our vanity as well!
What’s Left on the To-do List
Here’s a recap of the to-do list for our ORC master bathroom. Feeling good I at least was able to check off one item this week, even if it was a small one!
- Convert our bathtub into a shower
- Install plumbing for a new shower system
- Add shower niches.
- Install our black window pane shower door.
- Paint
- Tiling the floors & walls
- Install lighting – both vanity & new recessed light
- Give our existing vanity a major facelift
DIY wood bath mat- DIY bath bottles with labels
- DIY wood shower stool (if we have time!)
If you’re interested in more details (on a daily basis), be sure to follow us on Instagram, since I’m sharing all the deets on our stories! Or, subscribe to our blog to get notifications for new posts.
Looking for more inspiration? Check out what the other participants of the ORC are up to this week. We’ve seen a ton of progress so far from fellow guest participants and let’s just say – they’re killin’ it already!


Love this DIY! It’s going to look so good in the space!
Thank you so much Julie! We’re excited to get started in the actual space!
That turned out too cute! I may need to build one for my patio