I honestly can’t imagine how we would have ever got this bathroom done within the normal 6-week One Room Challenge. With that being said… WE’RE BEHIND! Ahh!
We got the most important stuff out of the way these past two weeks, which we’re so happy we’re done with. Let’s catch up to speed!
Plumbing
I actually ended up moving and repiping the handheld PEX piping. Where we had previously placed it (which you can see in the ORC week 4 post) wasn’t going to work.
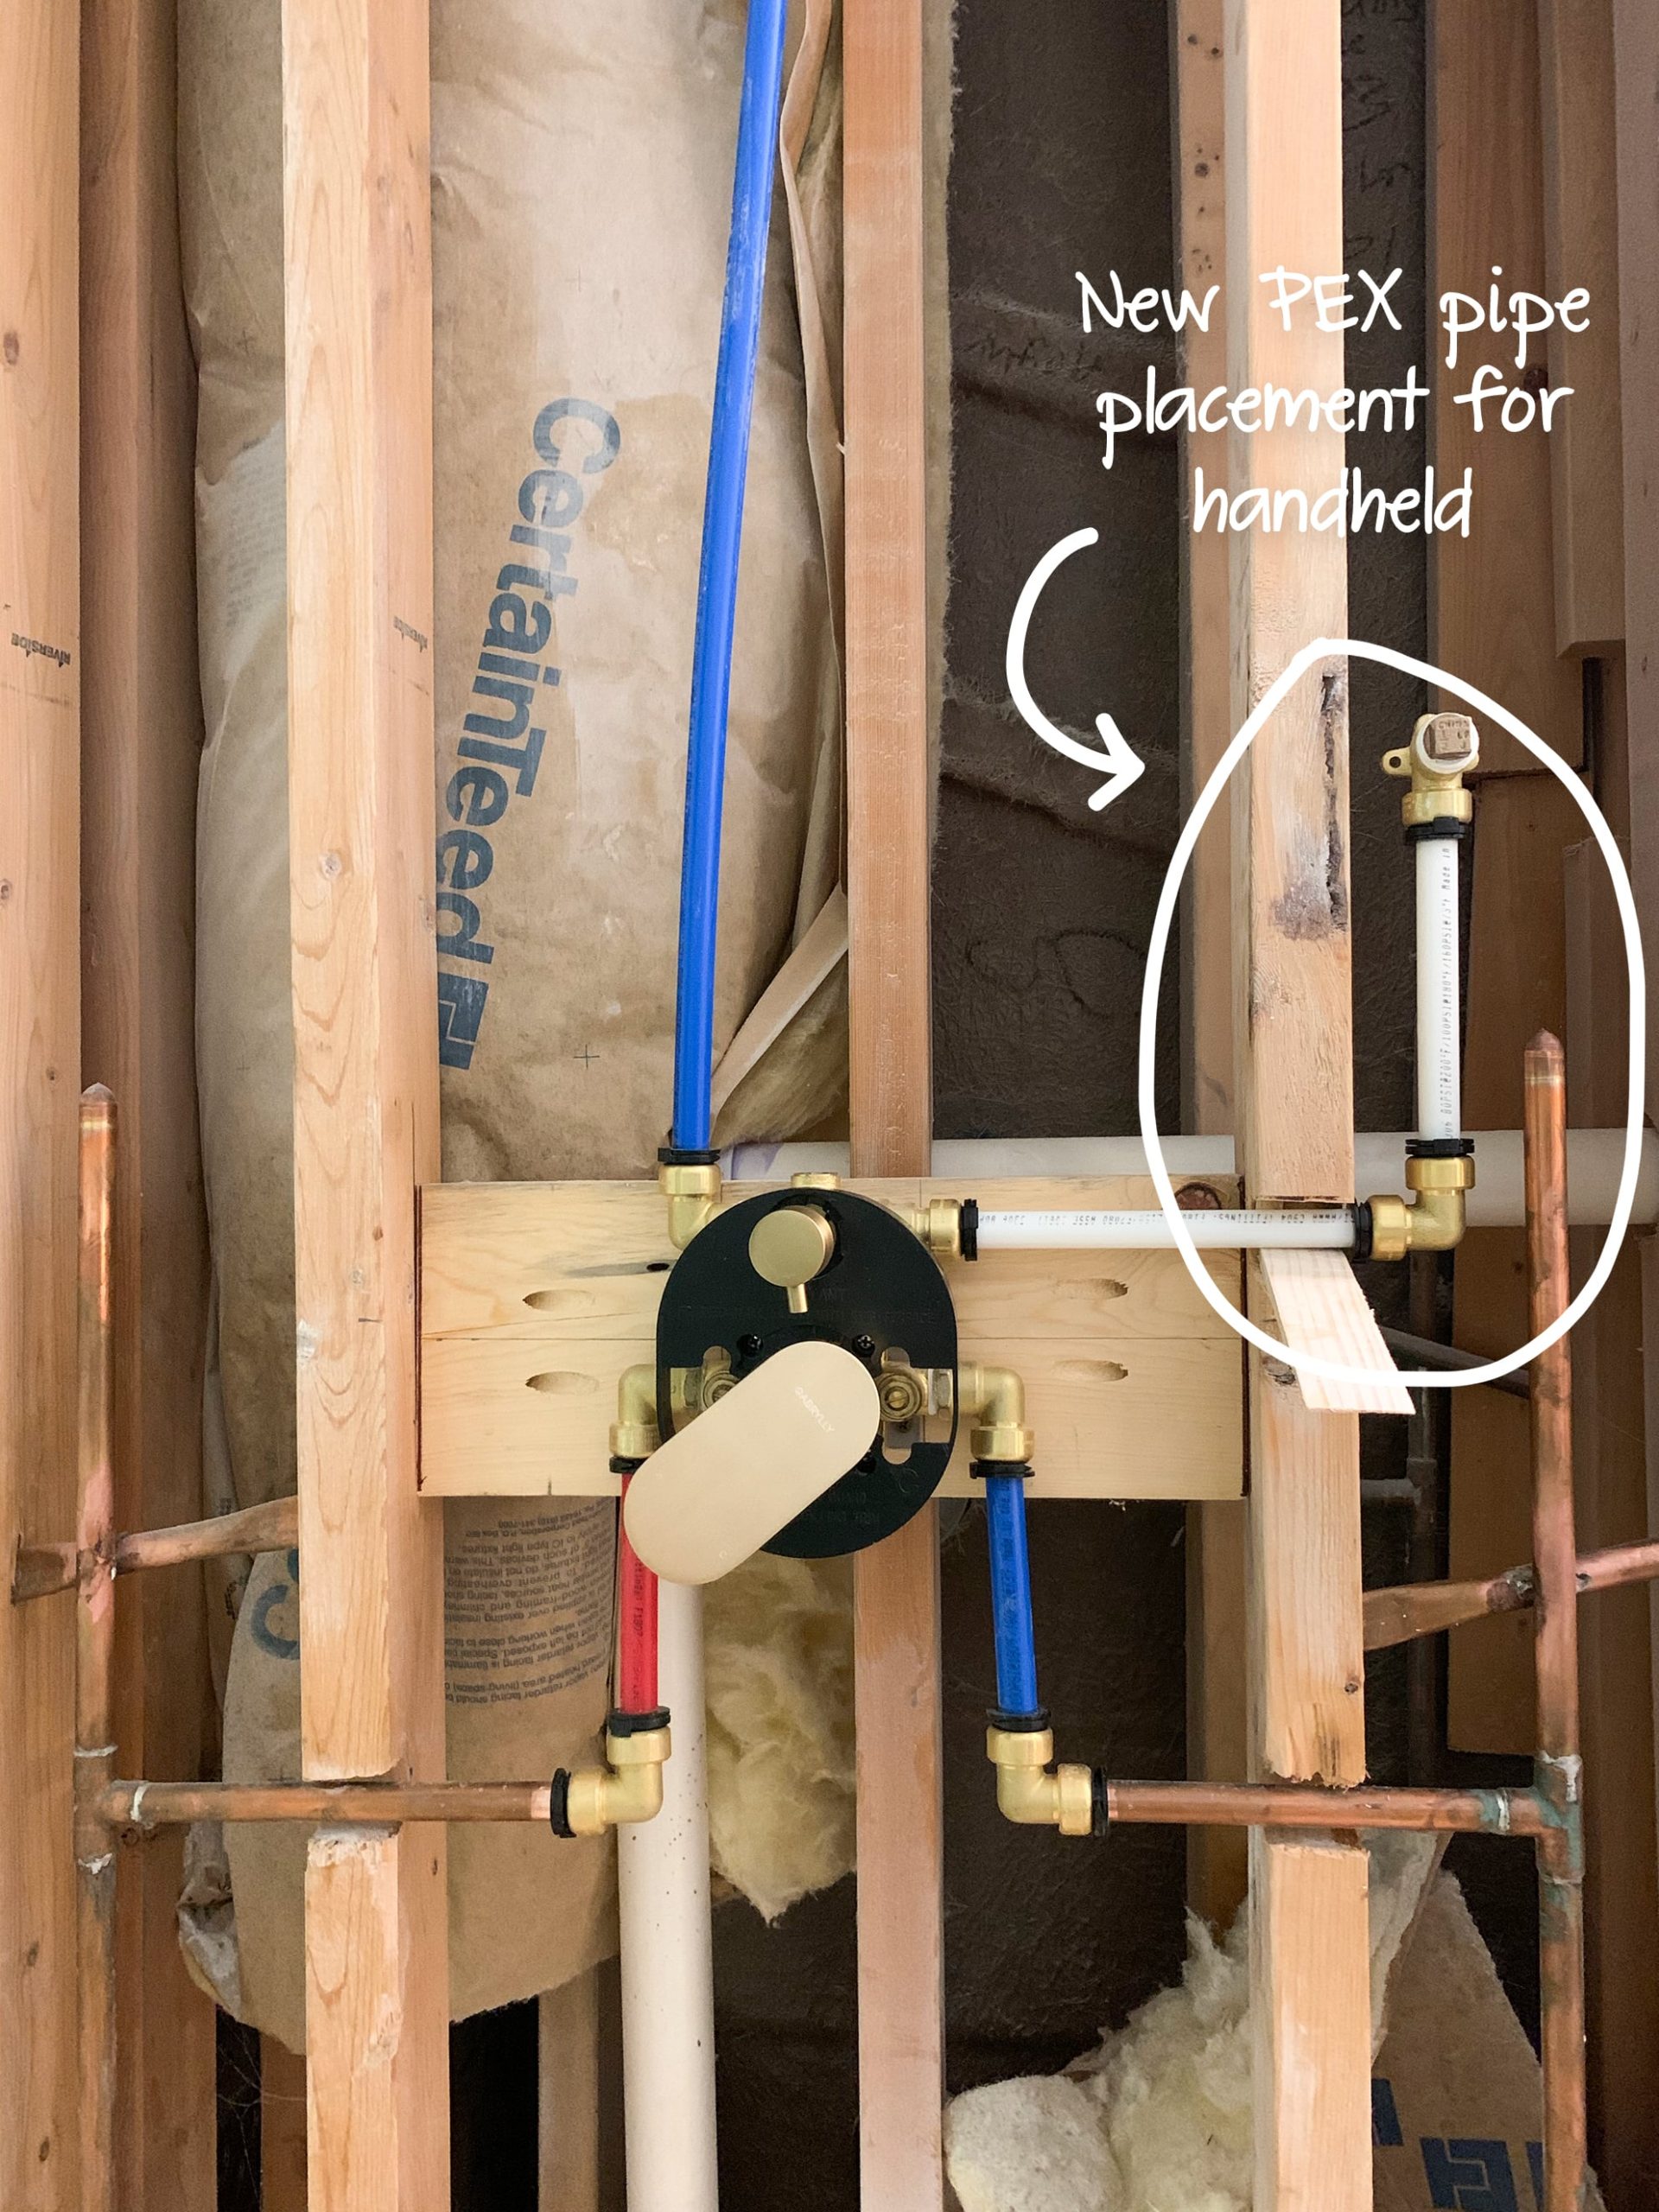
Basically, the drop ear fitting was not going to sit flush against the drywall. So, we had to move it and add more PEX to allow more room for maneuvering. That was a quick fix! After that, we tested the water (about 20 times ?) to be sure there were no leaks.
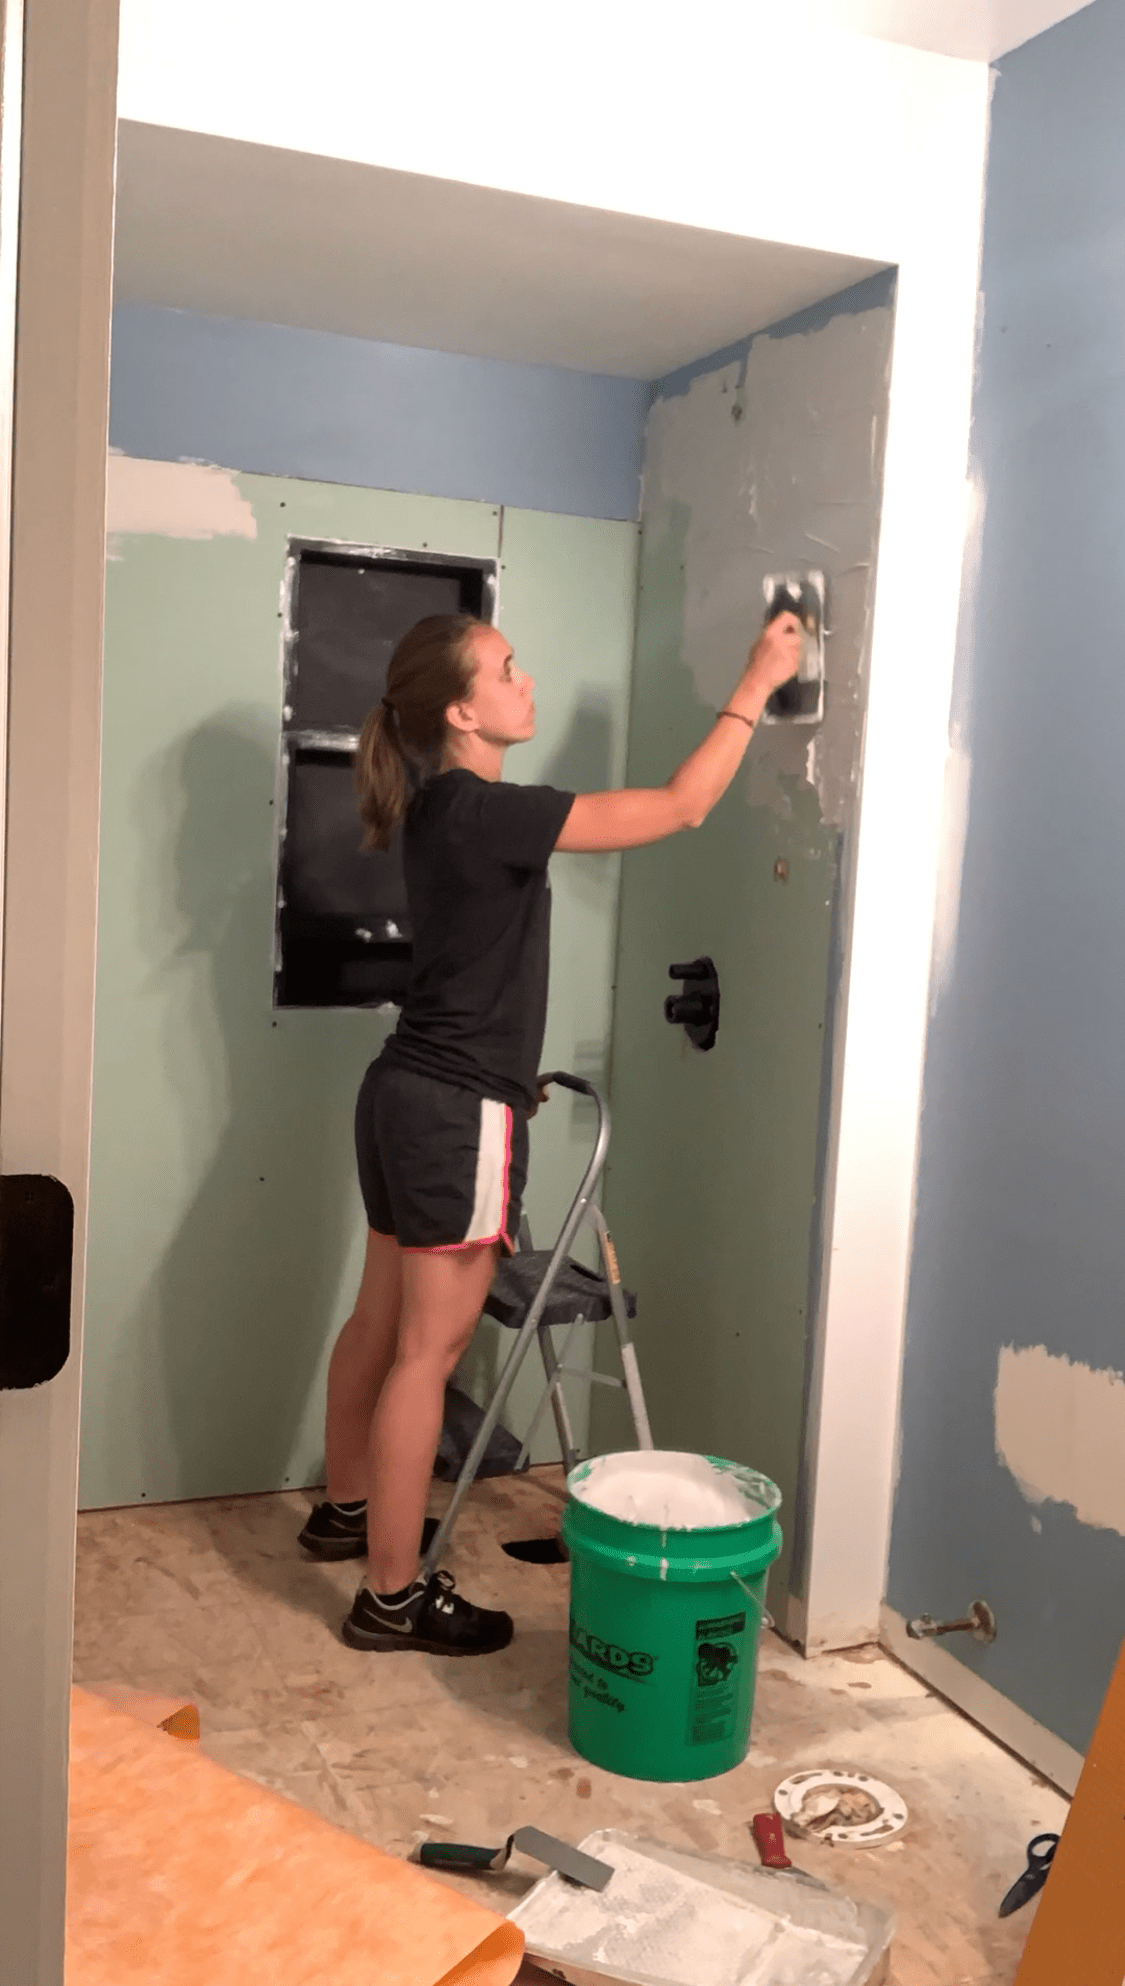
Drywall
F-I-N-A-L-L-Y! We are complete with all the drywall! Of course, we ran into a hiccup with the last piece of drywall. Ugh!
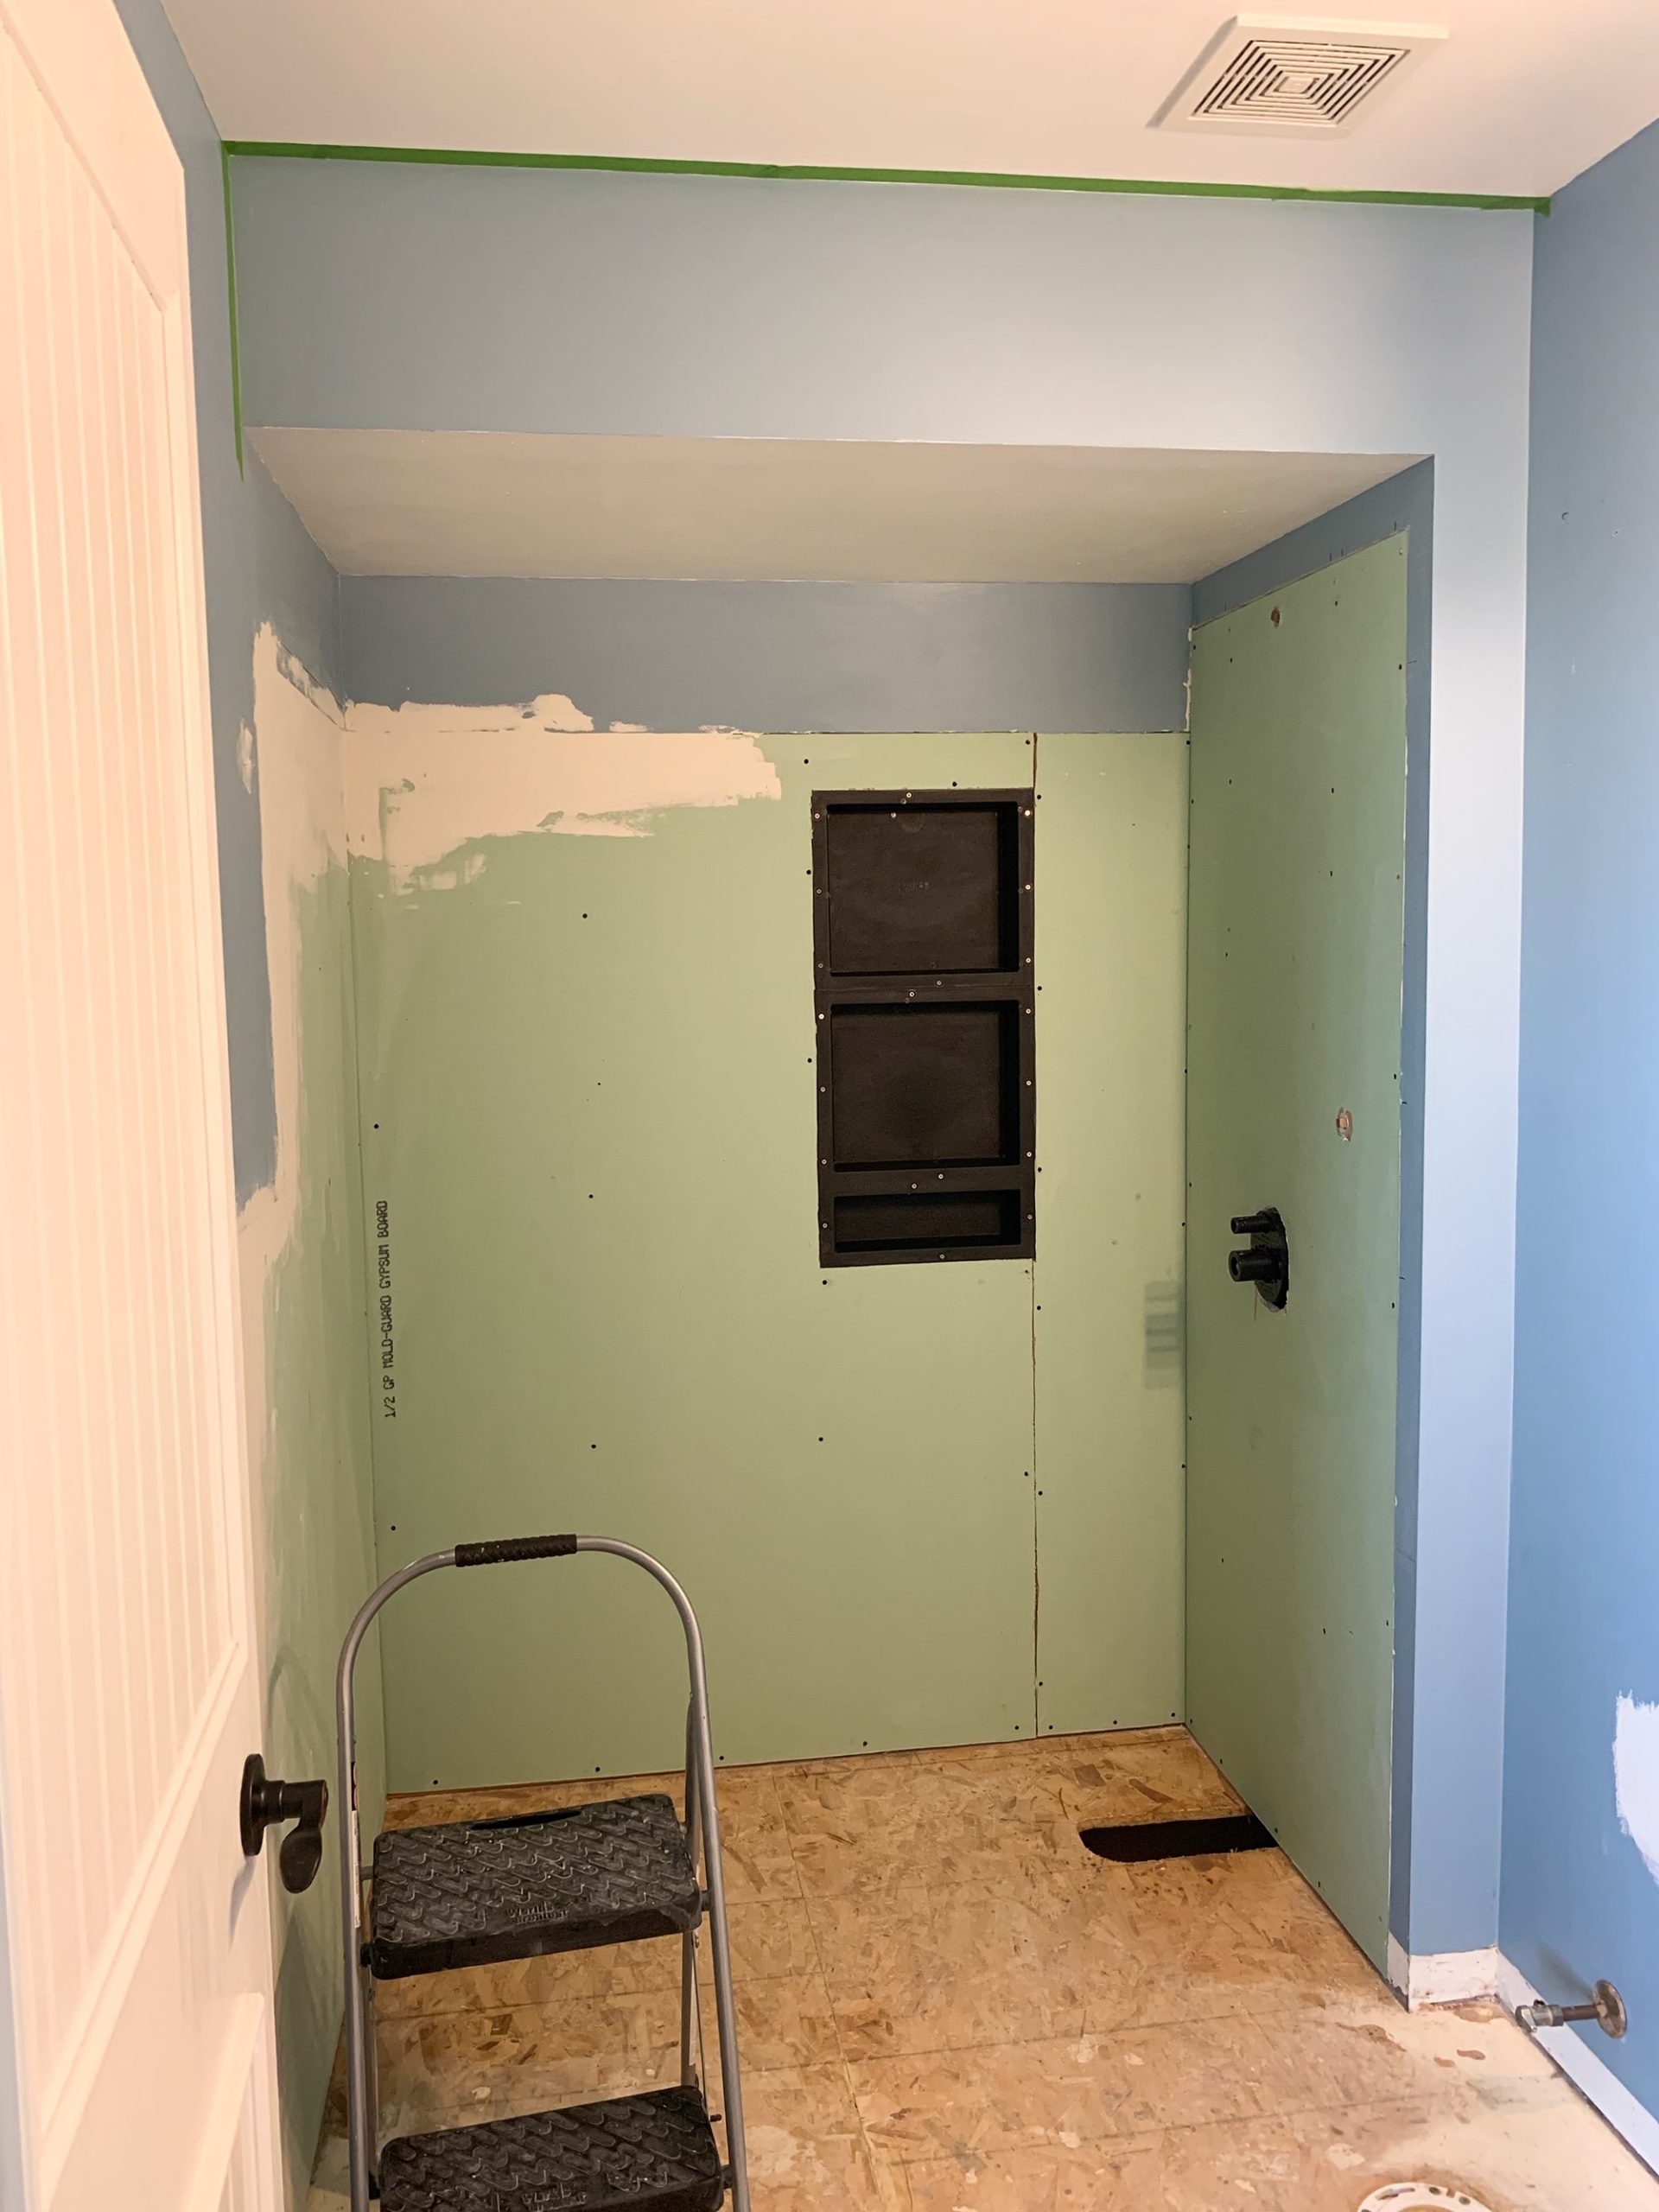
The last piece of drywall we needed to put up was for the shower plumbing wall. I am almost 95.5% sure that I measured the thickness of the drywall on this wall. Like I said, almost… 95.5%. Welp! Guess I didn’t. The drywall thickness for all the other walls in the bathroom (that we had to replace), was 1/2″ drywall. The drywall on the shower plumbing wall… 5/8″ thick. Maybe it’s a building code, but they changed the thickness. So, we had to wait to go back to the store to grab the correct drywall. That set us back a couple of days.
Paint
The painting was a breeze! I didn’t have much to paint since most of the bathroom will be tiled (which really means, more work!), so I was able to make quick work of it.
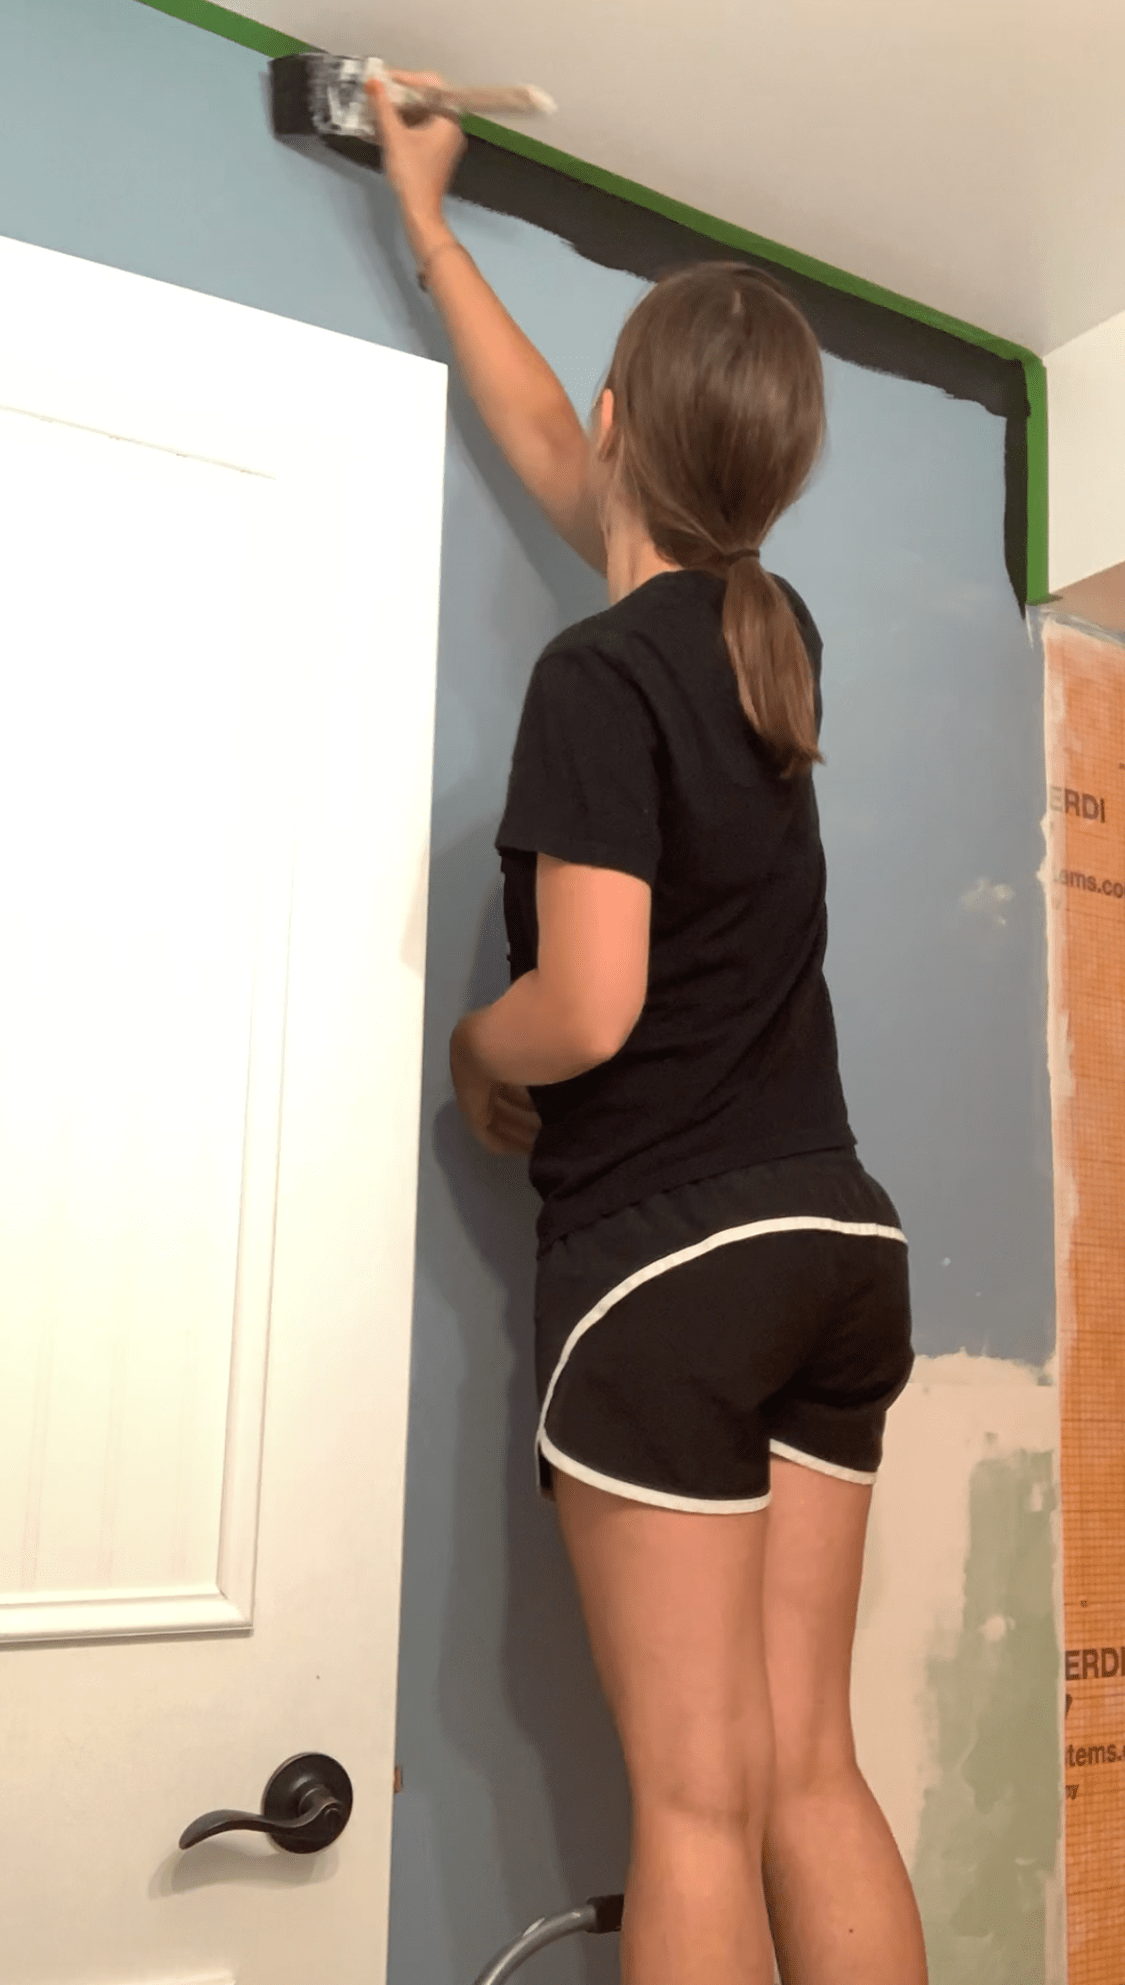
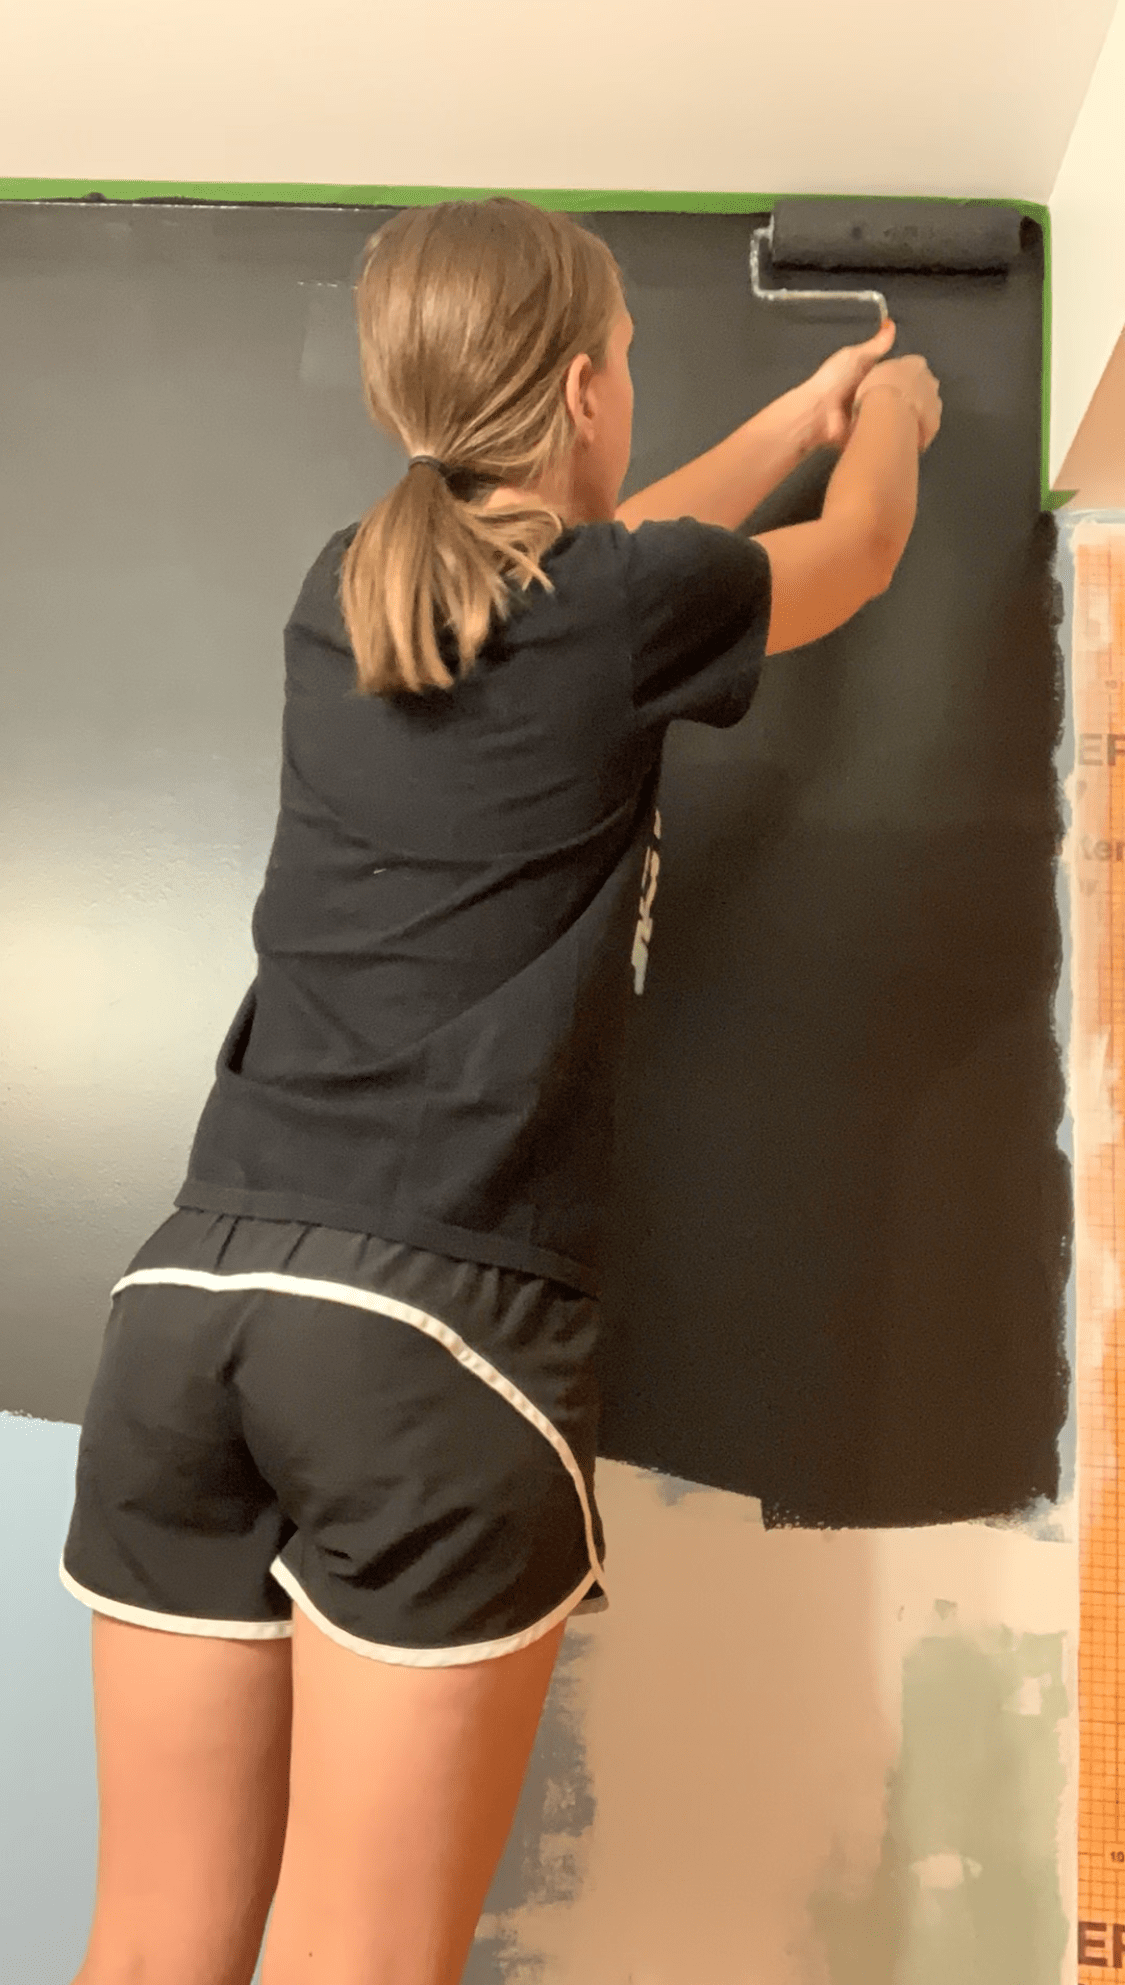
We always use Sherwin Willaims paint products and their Duration paint line is the best! Super durable and great coverage. The colors I chose for the bathroom are Sherwin Williams Black Magic (definitely my favorite black!) and Pure White.
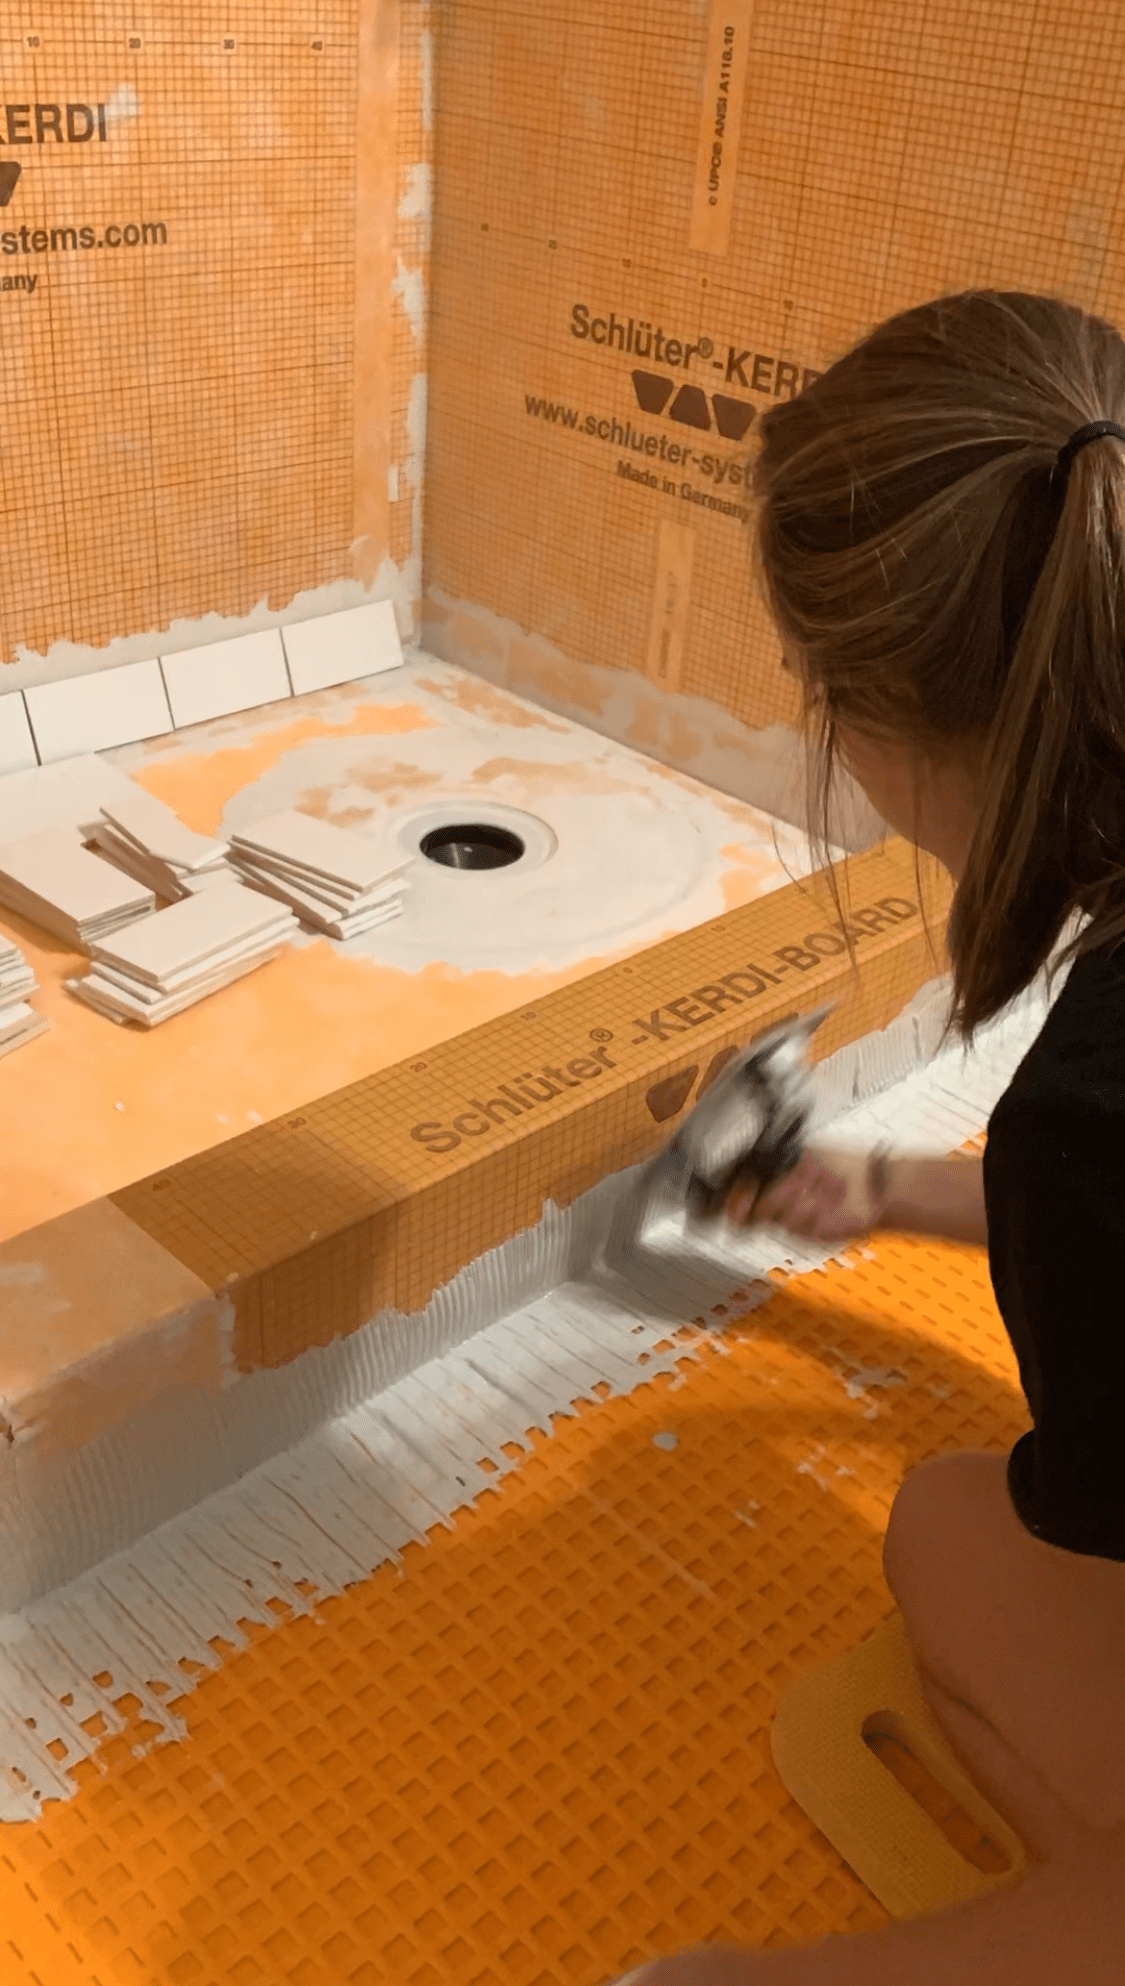
Waterproof Shower with Schulter Kerdi
We completed the waterproofing in one night, and it was a longggg night! As I’ve mentioned in the past, there are so many tasks and projects that we are new to for this ORC bathroom! Including working with mortar and waterproof membrane.
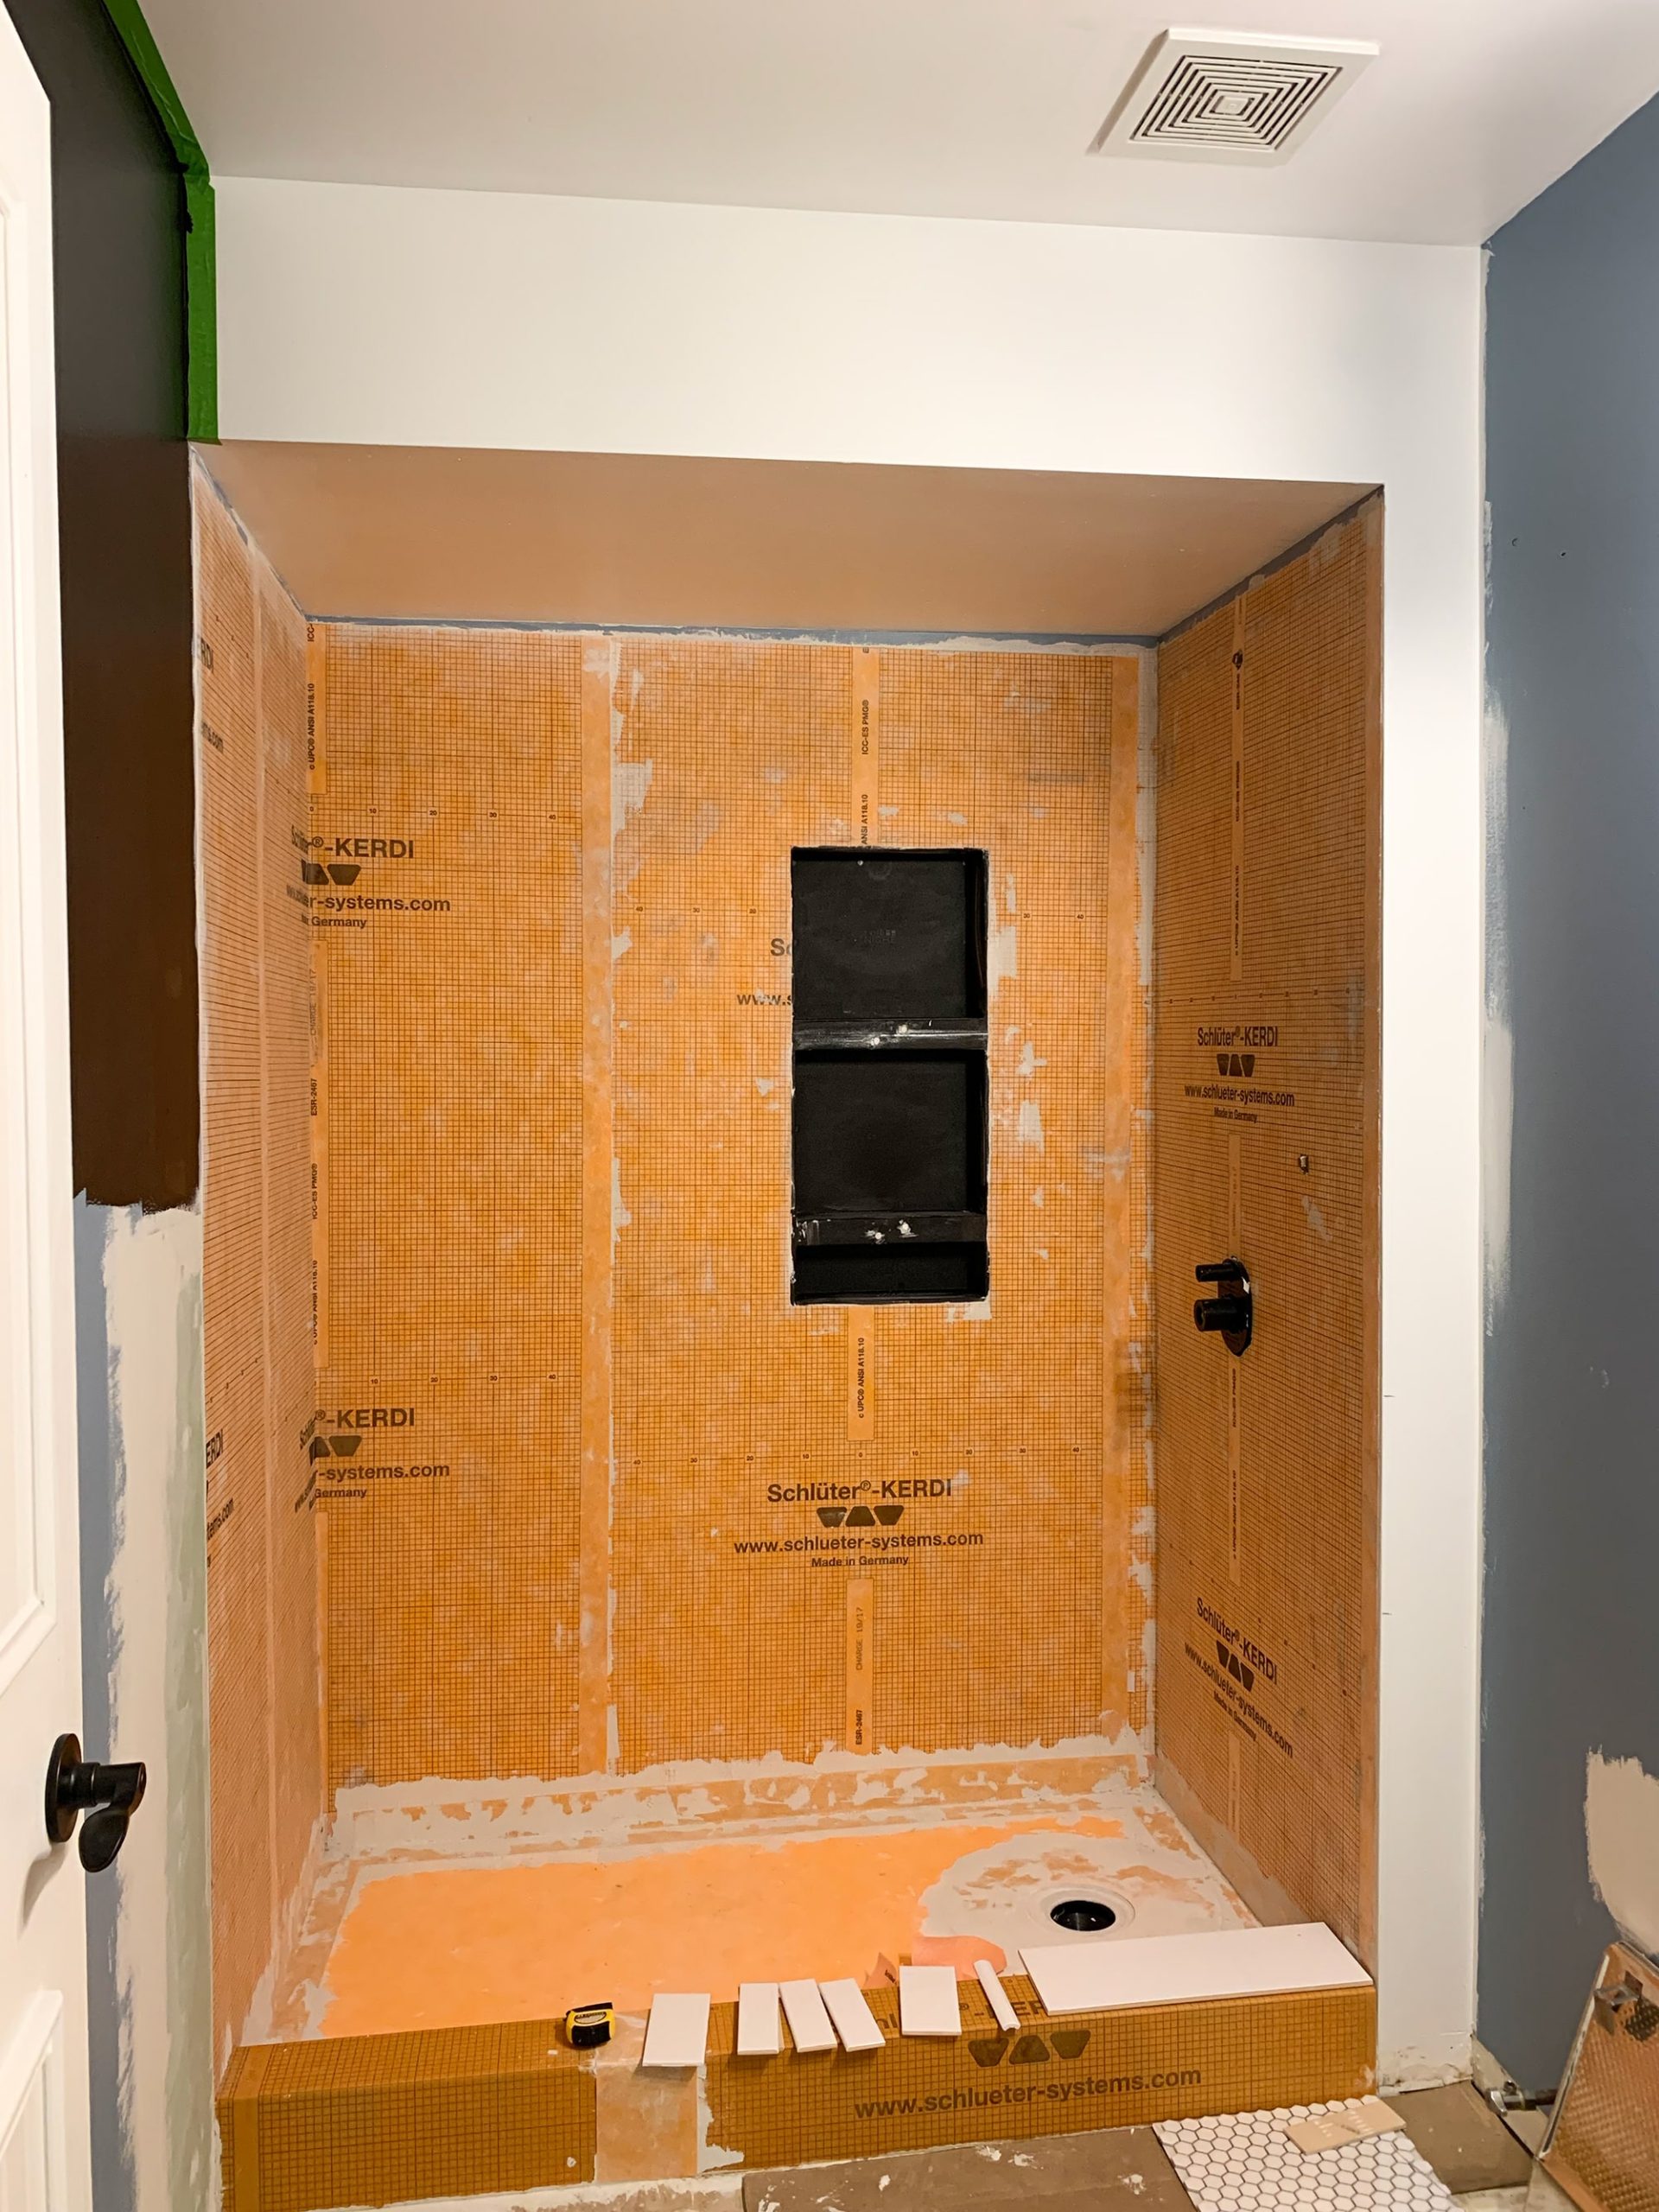
The most important part of using a waterproof membrane is the type of mortar you use, and the consistency of it. I had NO idea that there were so many types of mortars out there. We decided to play it safe and just use Schulter’s own brand of mortar – Schulter’s All Set mortar. We used it for the entire waterproofing process (the membrane, shower pan, the drain, and the curb!), and we’ll also end up using this mortar when tiling the shower and floor.
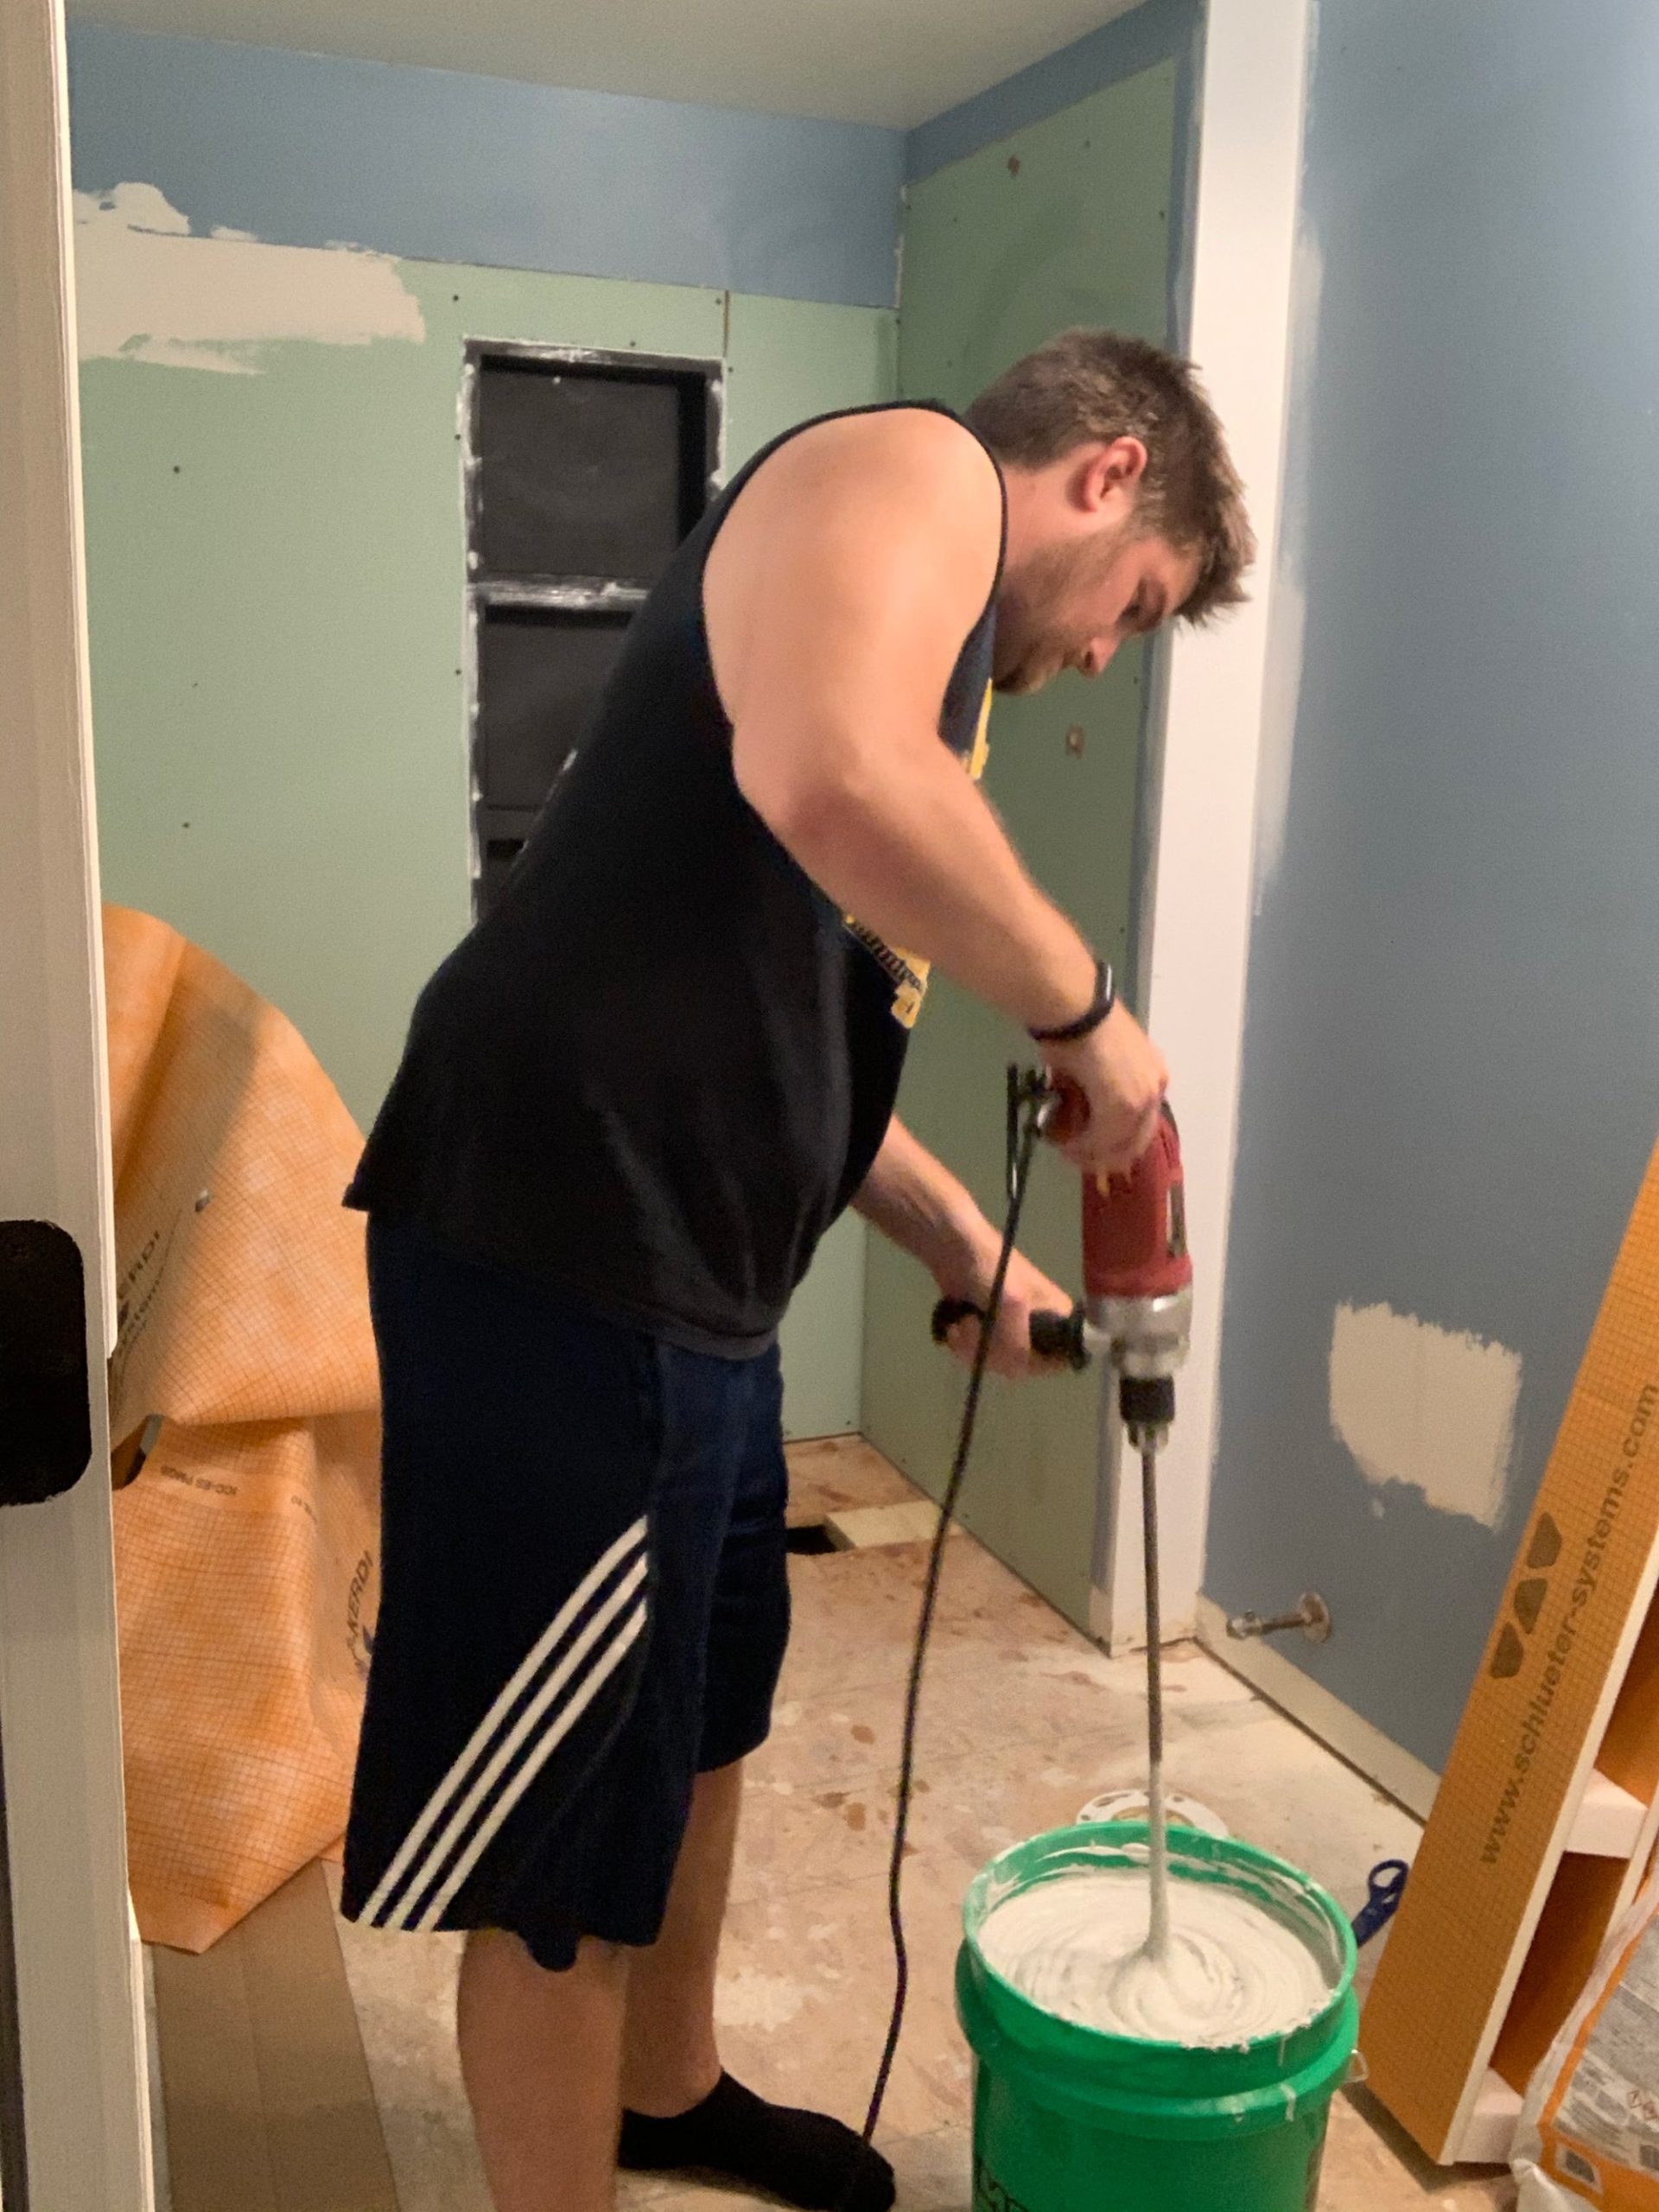
We both thought this part was going to be quick and smooth sailing, but like anything else, it took longer than we expected. When working with mortar, you only have so long to complete your task/project before the mortar becomes unworkable. So we were moving quickly at the end!
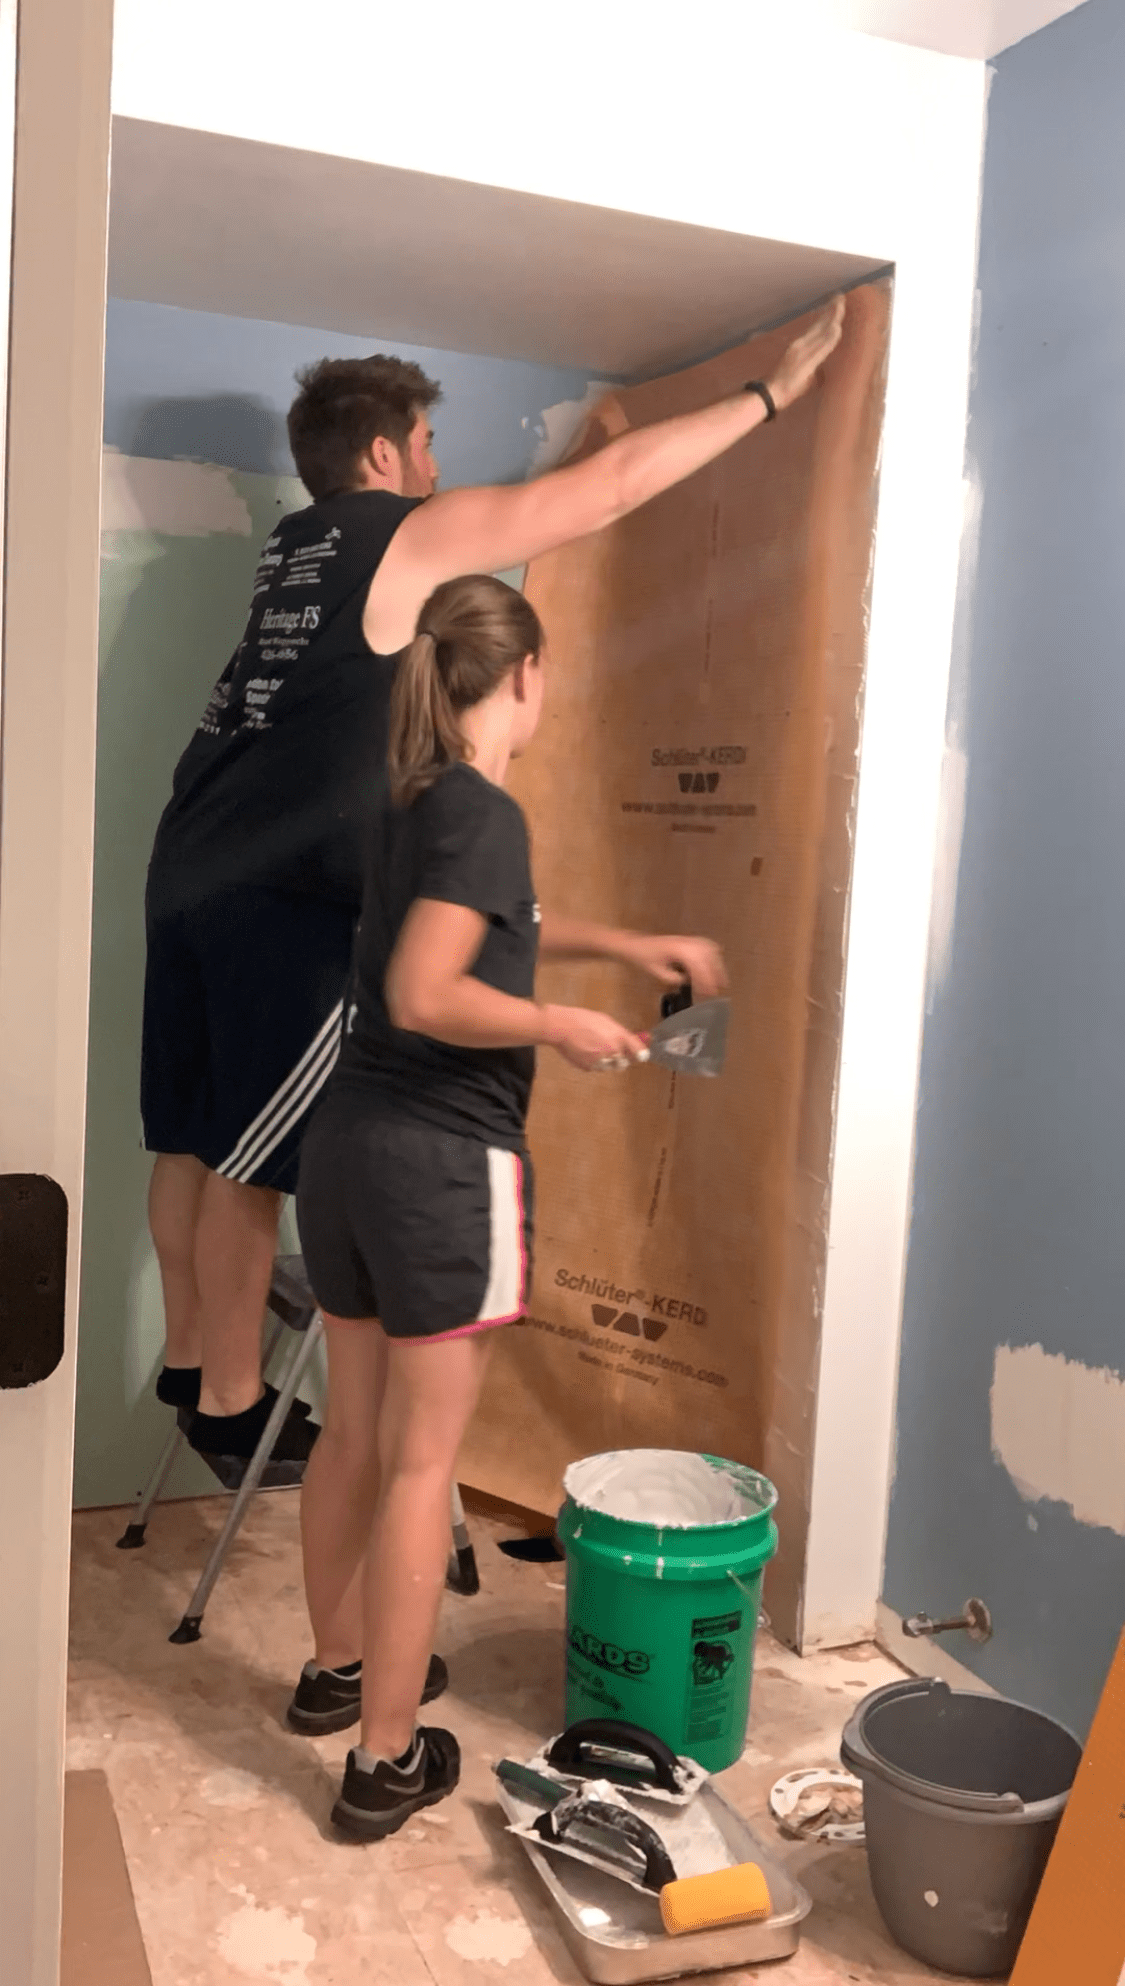
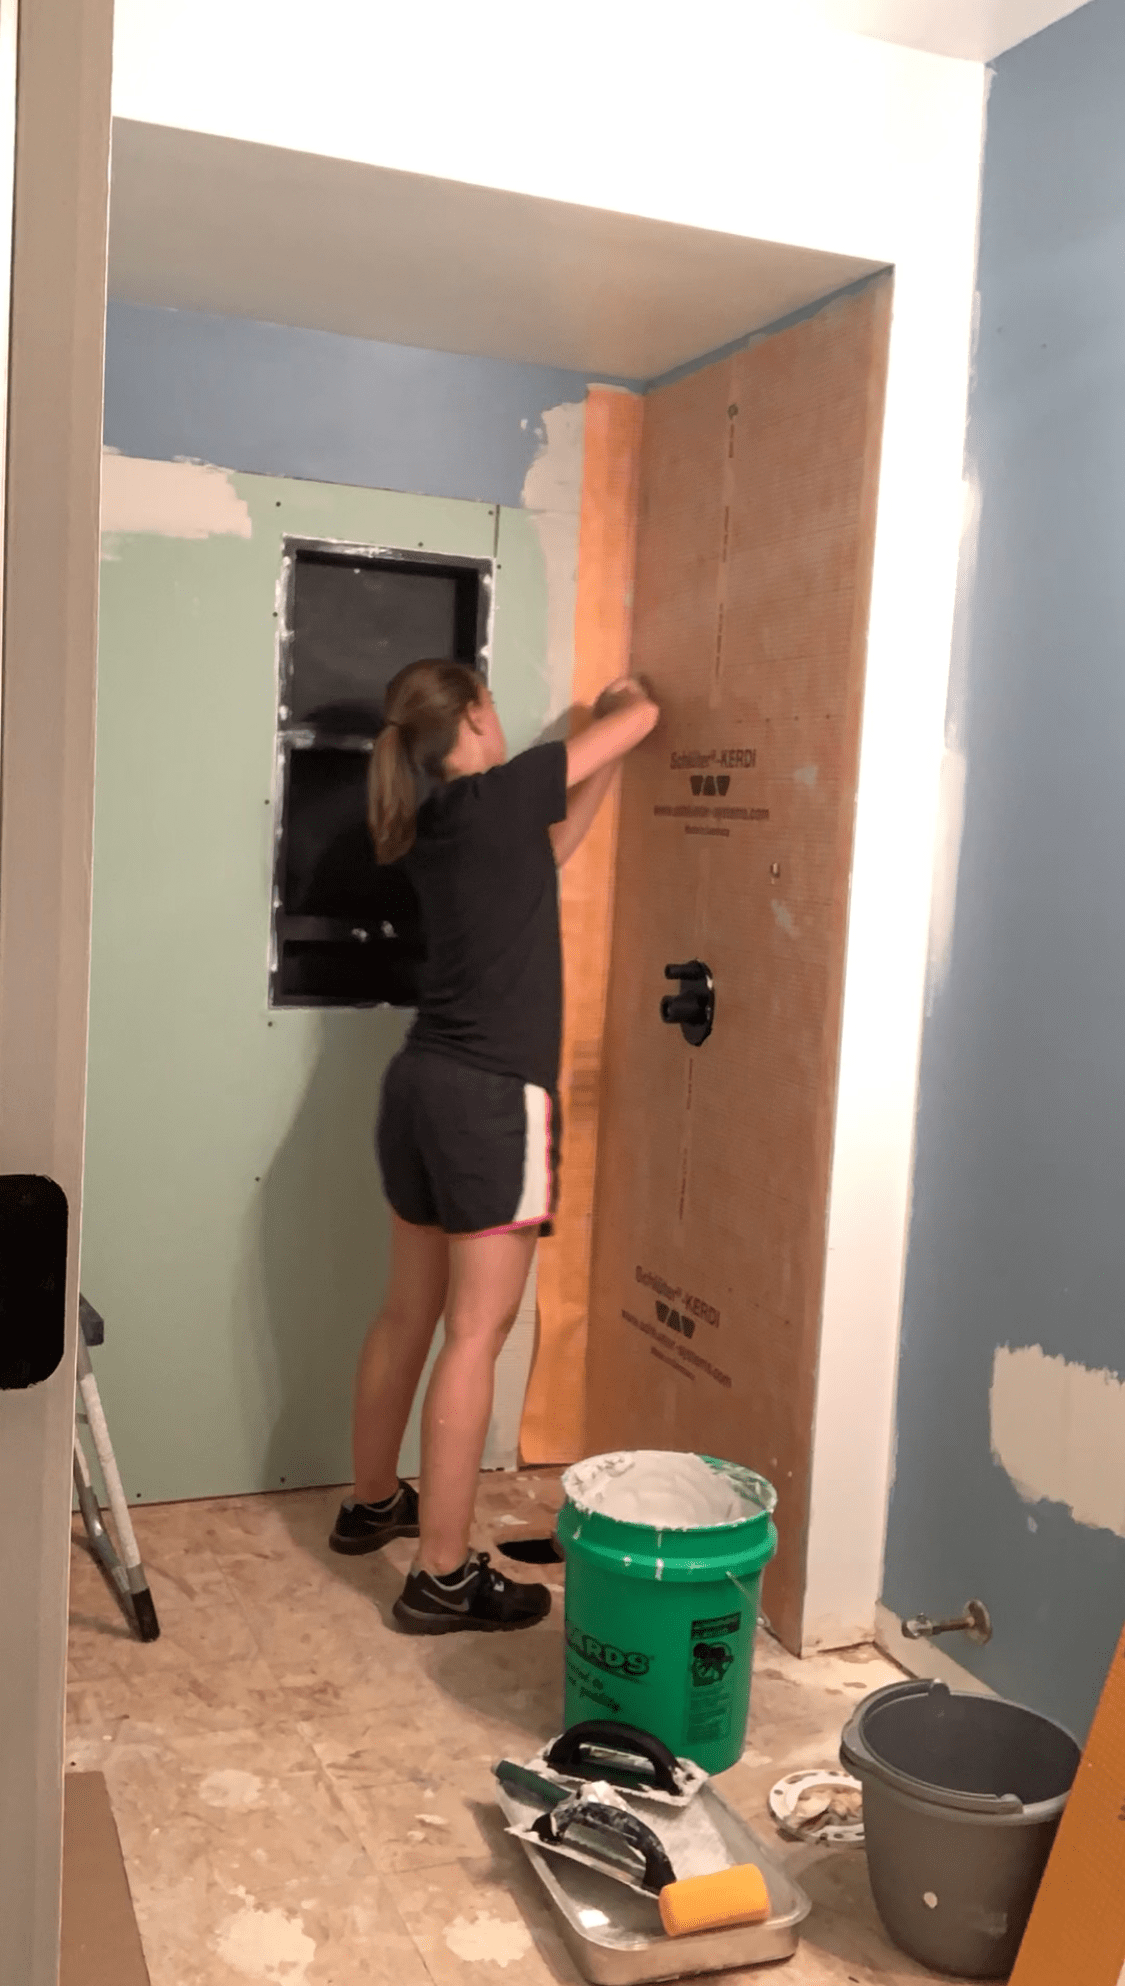
The Schulter Kerdi Shower kit honestly is awesome and easy to follow along. I’d even say it’s foolproof! Obviously, with it being our first time working with it, we just had to figure out the perfect technique to apply the mortar and to move quickly at the same time.
Waterproof Floors with Schulter Ditra
The Ditra floor membrane is a great alternative to cement board or any other type of backer board for floor tile. Yes, it is quite a bit more money than the usual cement board, but as the saying goes – time is money! And seeing that we’re behind for the ORC, we can use all the extra time we can get! It took less than two hours to put down from start to finish.
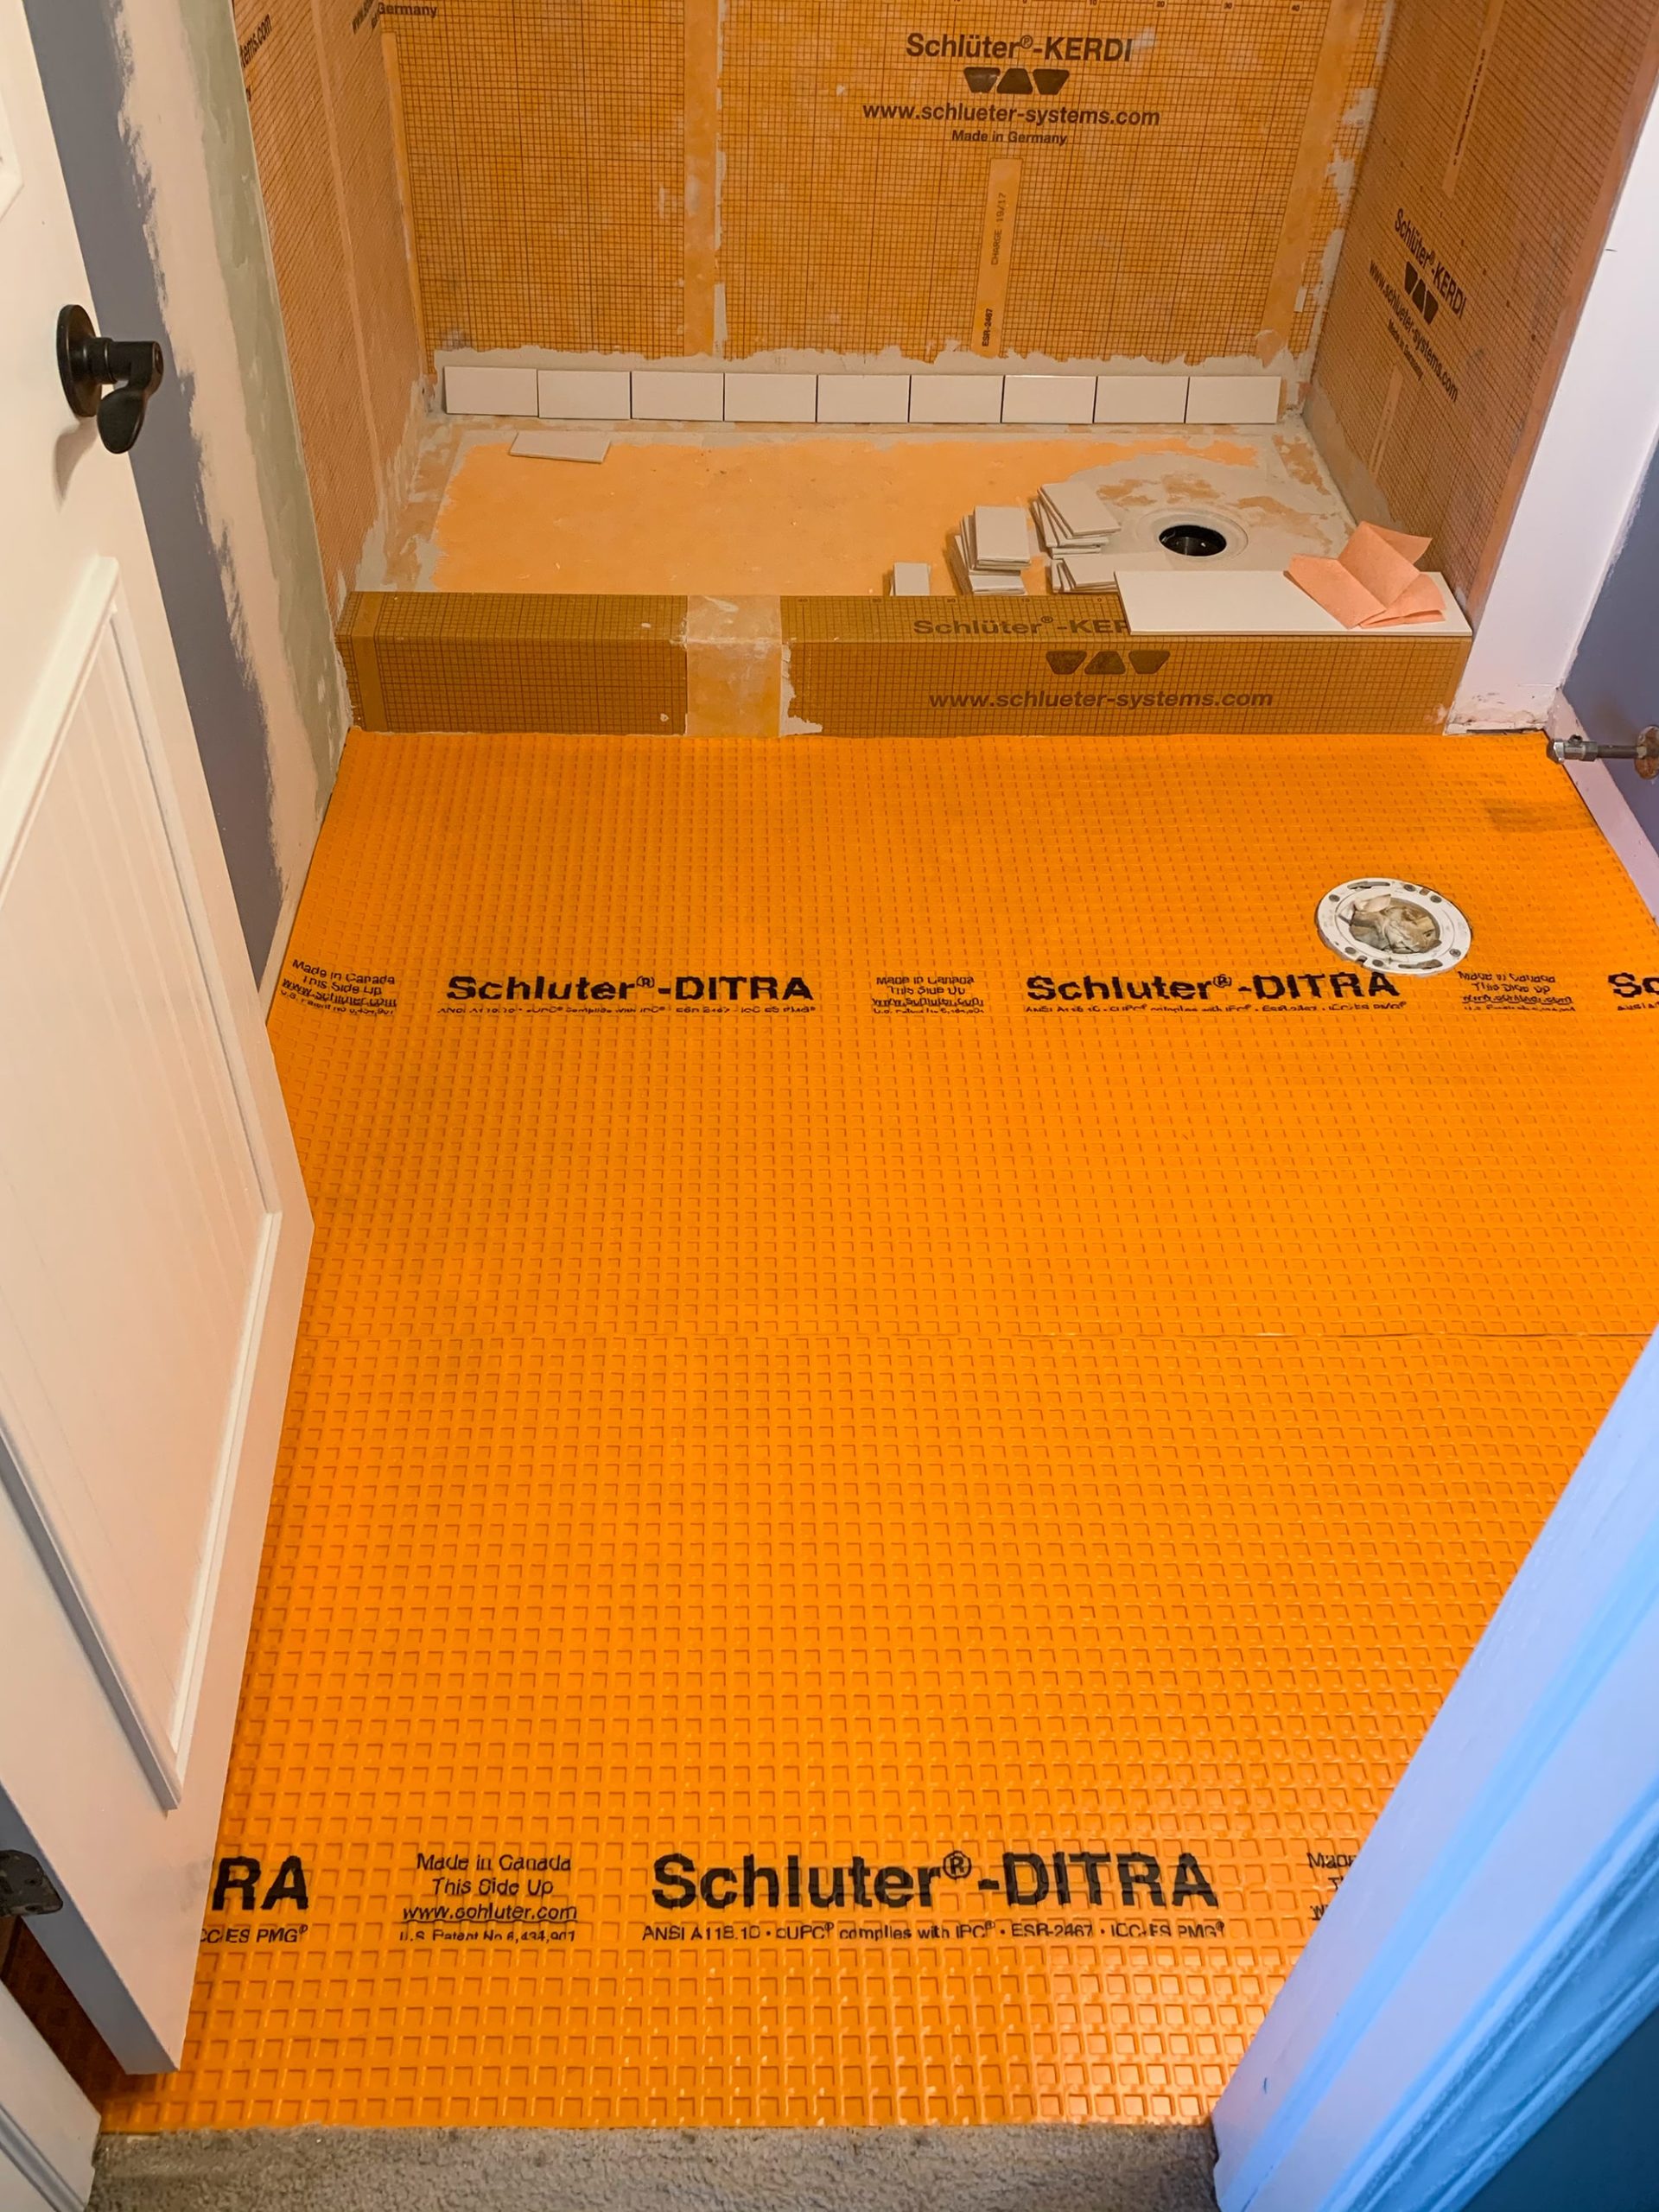
It’s very easy to install and to work with! If you’ve ever worked with cement board before, you know that it’s heavy and difficult to cut! With Ditra, it’s flexible (it comes in a roll) and you can cut it with a utility knife, or better yet, scissors!
Once it’s all cut, you apply a thin layer of mortar to the substrate and then lay it down on top of that, pressing it into the mortar to ensure a good coverage, with no air bubbles. Easy enough! Especially after just waterproofing the shower, this seemed too easy!
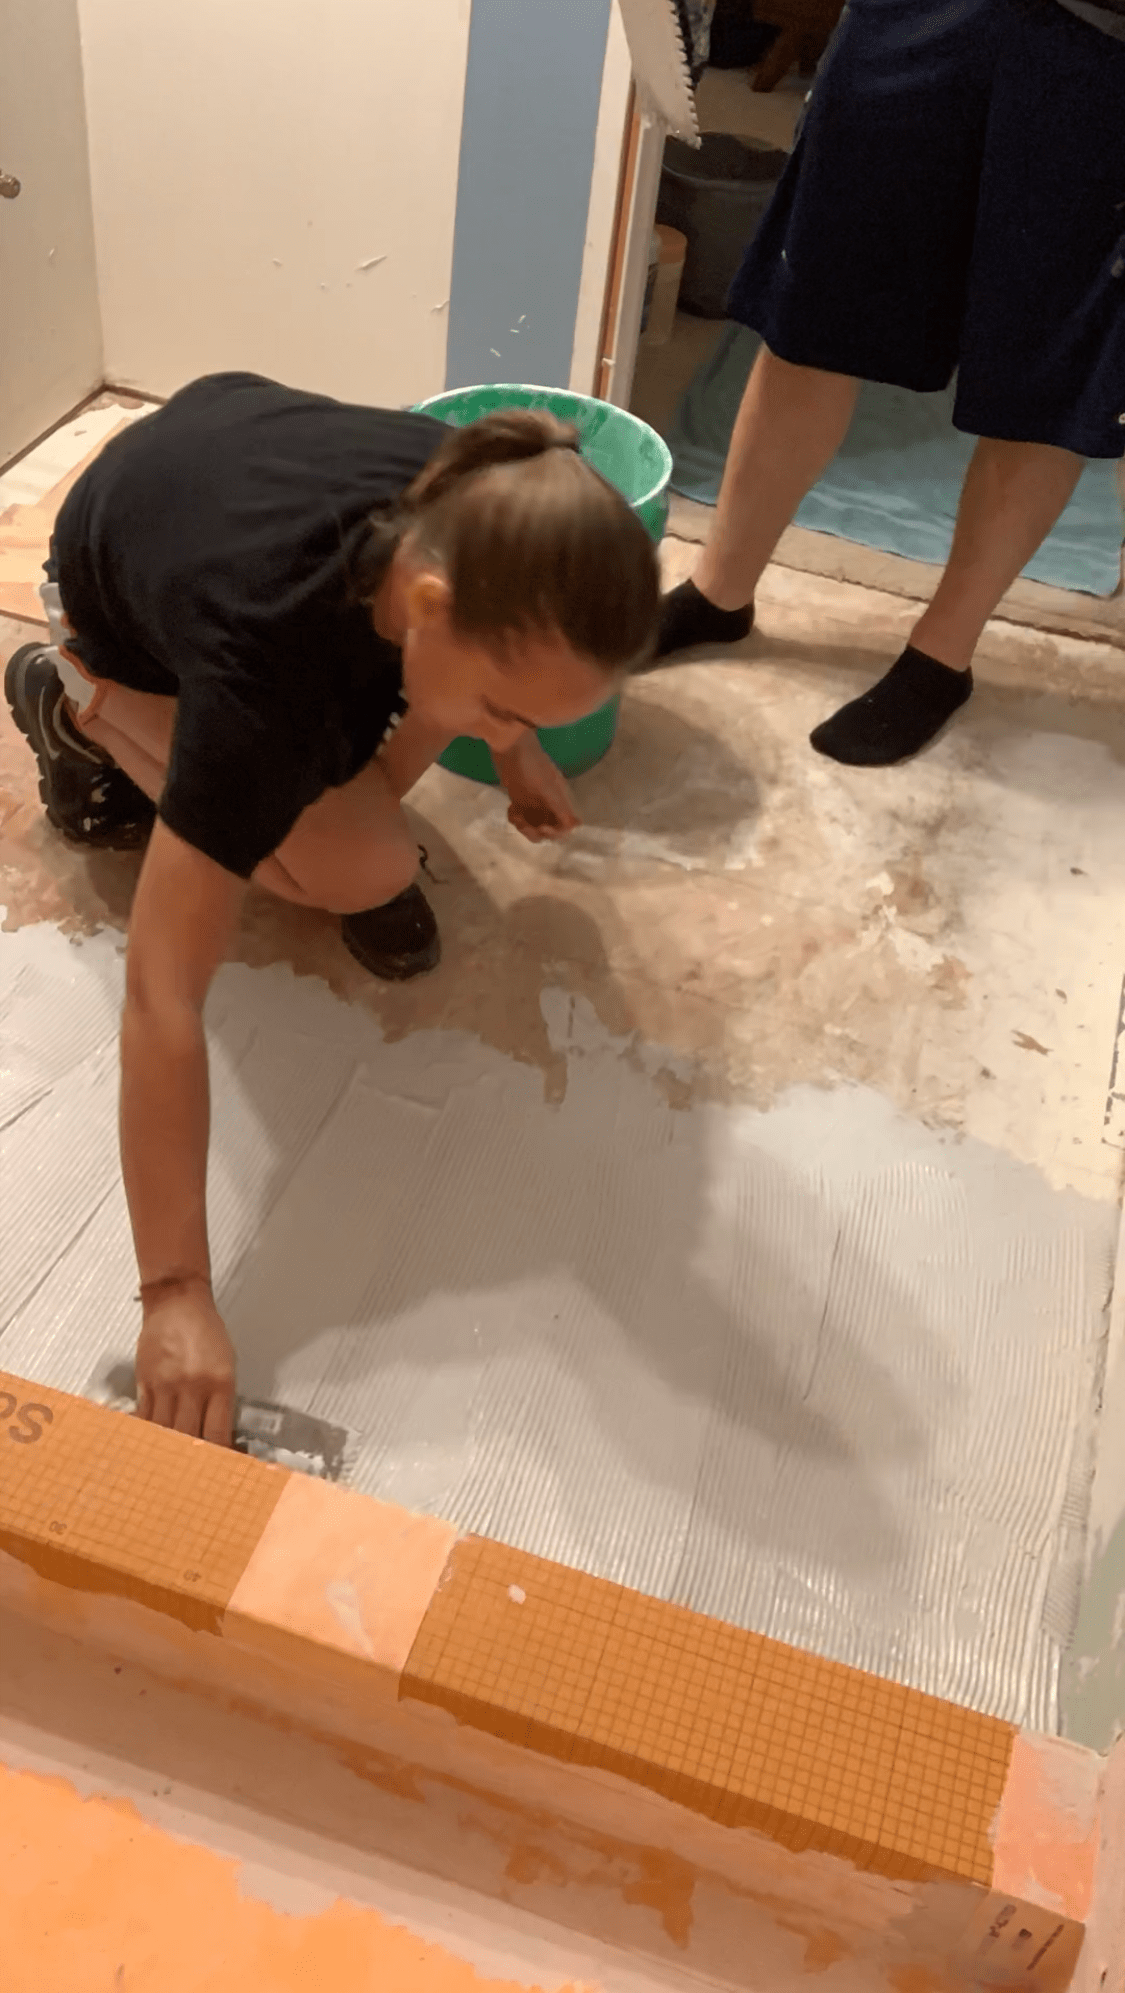

Lastly, for good measure, we added a piece of Kerdi-band from the shower curb to the floor to ensure maximum waterproofing, with no seems showing from the shower to the floor. You could also use this method around the bottoms of each wall (outside the shower), but we figured that was overkill, especially since we will be tiling the walls anyways.
What’s left on the To-do List & Next Week’s Plan
It looks like we completed a lot when you look at the list, but we really have so much to do it feels like!
Our One Room Challenge To-Do List
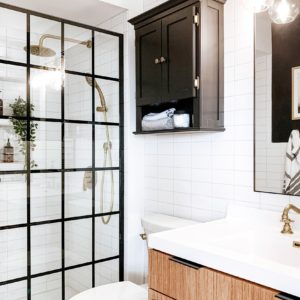
Convert our bathtub into a showerInstall plumbing for a new shower systemAdd shower niches- Install our black window pane shower door
Paint- Tile, tile & more tile!
- Install vanity light (We decided to skip the recessed light in the shower – we don’t really need one since we will now have a glass door)
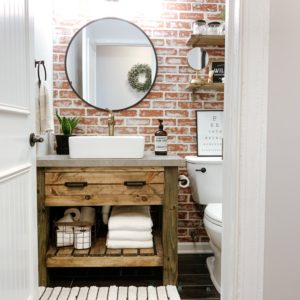
- Give existing vanity a major facelift
DIY wood bath mat- DIY bath bottles with labels
DIY wood shower stool(this was going to be a bonus if we had time… which we won’t)
Next Week’s Plan
- Complete all the tiling – shower, walls & floors
- Vanity facelift
- Install the new light
I swear I’m typing faster after just writing out that to-do list and see what we have left ?. Fingers crossed we can actually get this room completed by week 8!!
I promise you’ll find way more inspiration and progress from the other guest participants of the One Room Challenge this spring. If you’re interested to see what they’re up to, head on over to the One Room Challenge Blog to see what they’re up to!


It’s coming along great! Looking forward to following along over these last few weeks!