Well, as you know, this is the final week of the One Room Challenge… and we did not finish the bathroom. *Sigh*. We are disappointed that we didn’t get it done in time, but we both know that it wasn’t the lack of motivation or work. We worked so hard and so much on it, but we just couldn’t get it done in time. We really only need one more week! (I think. haha)
I thought we’d at least give an update on week 8 to show you how far we’ve come within the 8 weeks! All the tough work is completed, and we’re left with final touches. As I said, we were so close!
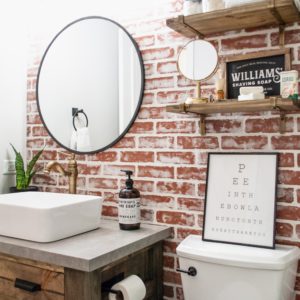
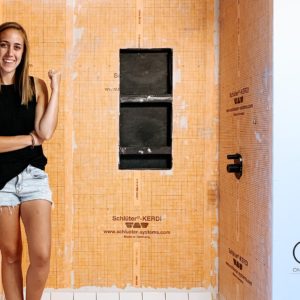
The Before
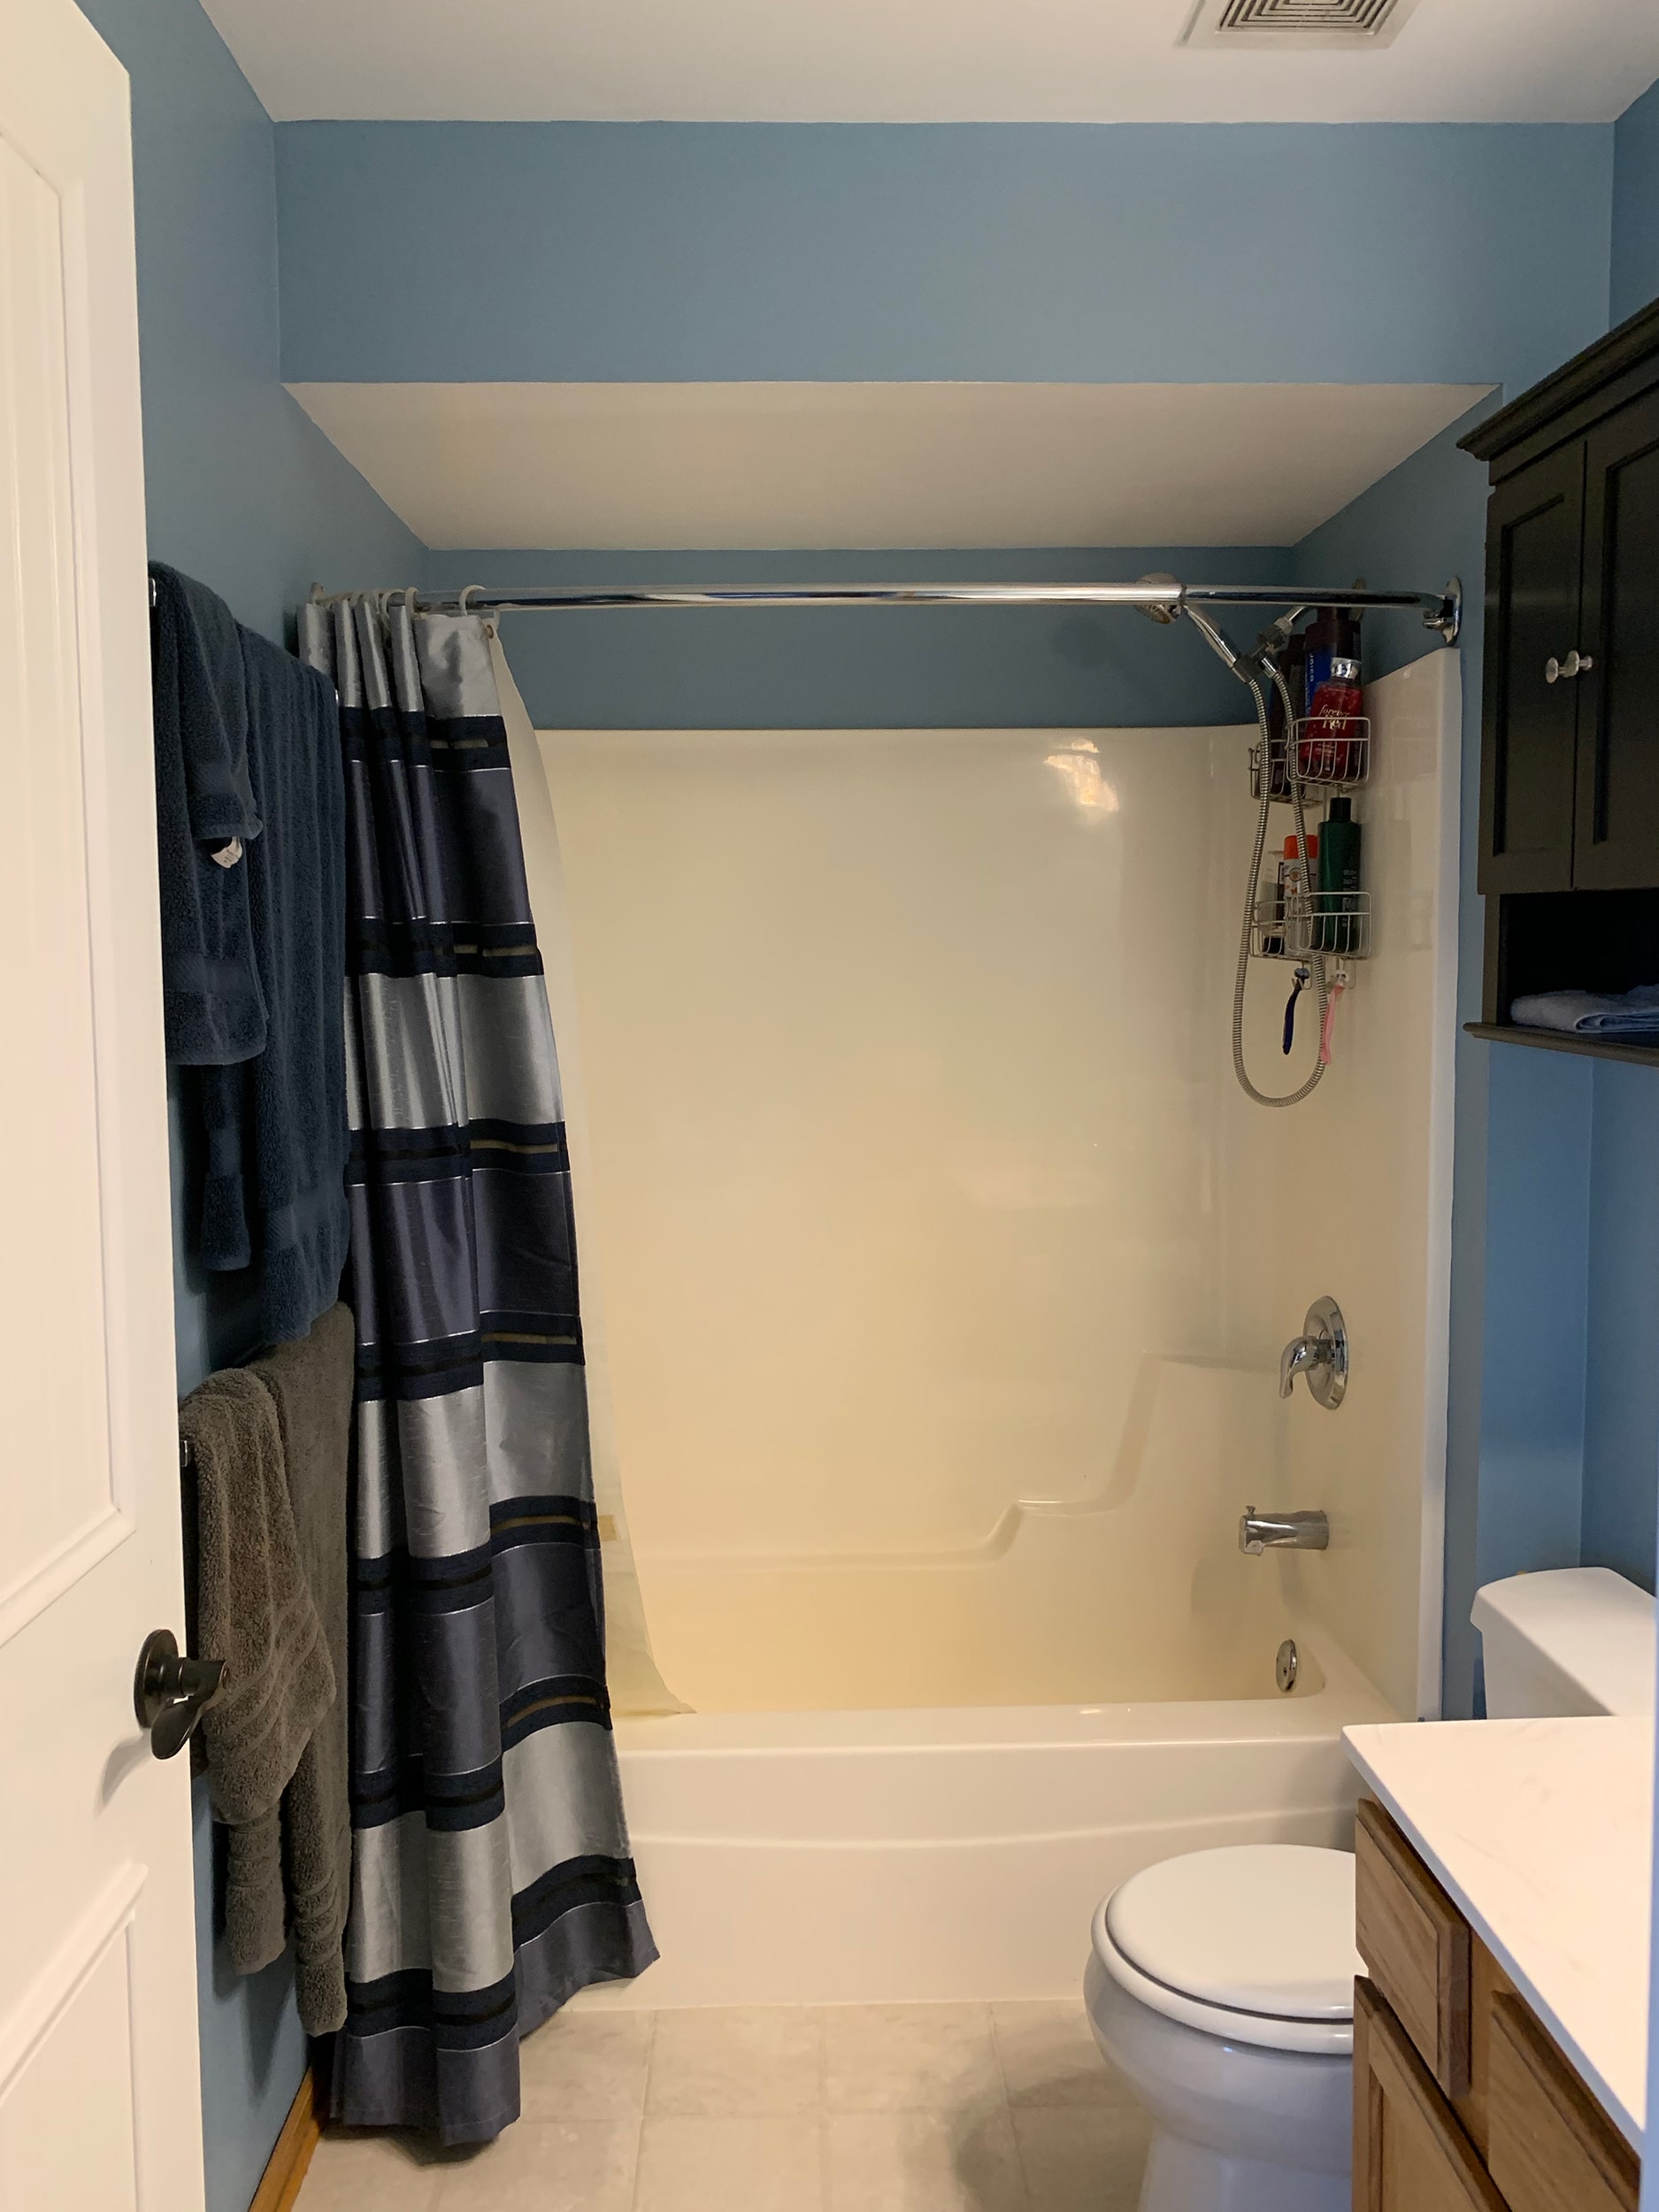
Even just looking at this before… YIKES. I can’t wait to complete the final touches! Because it looks SO GOOD just where we are at now.
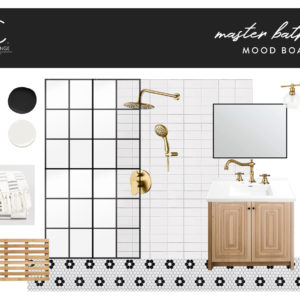
If you are interested in seeing more before photos, our mood board, and what we have planned for our final plans, check out our first One Room Challenge post!
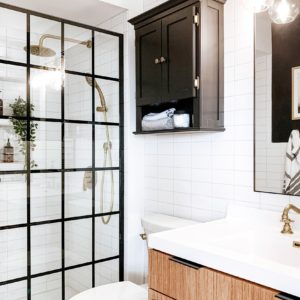
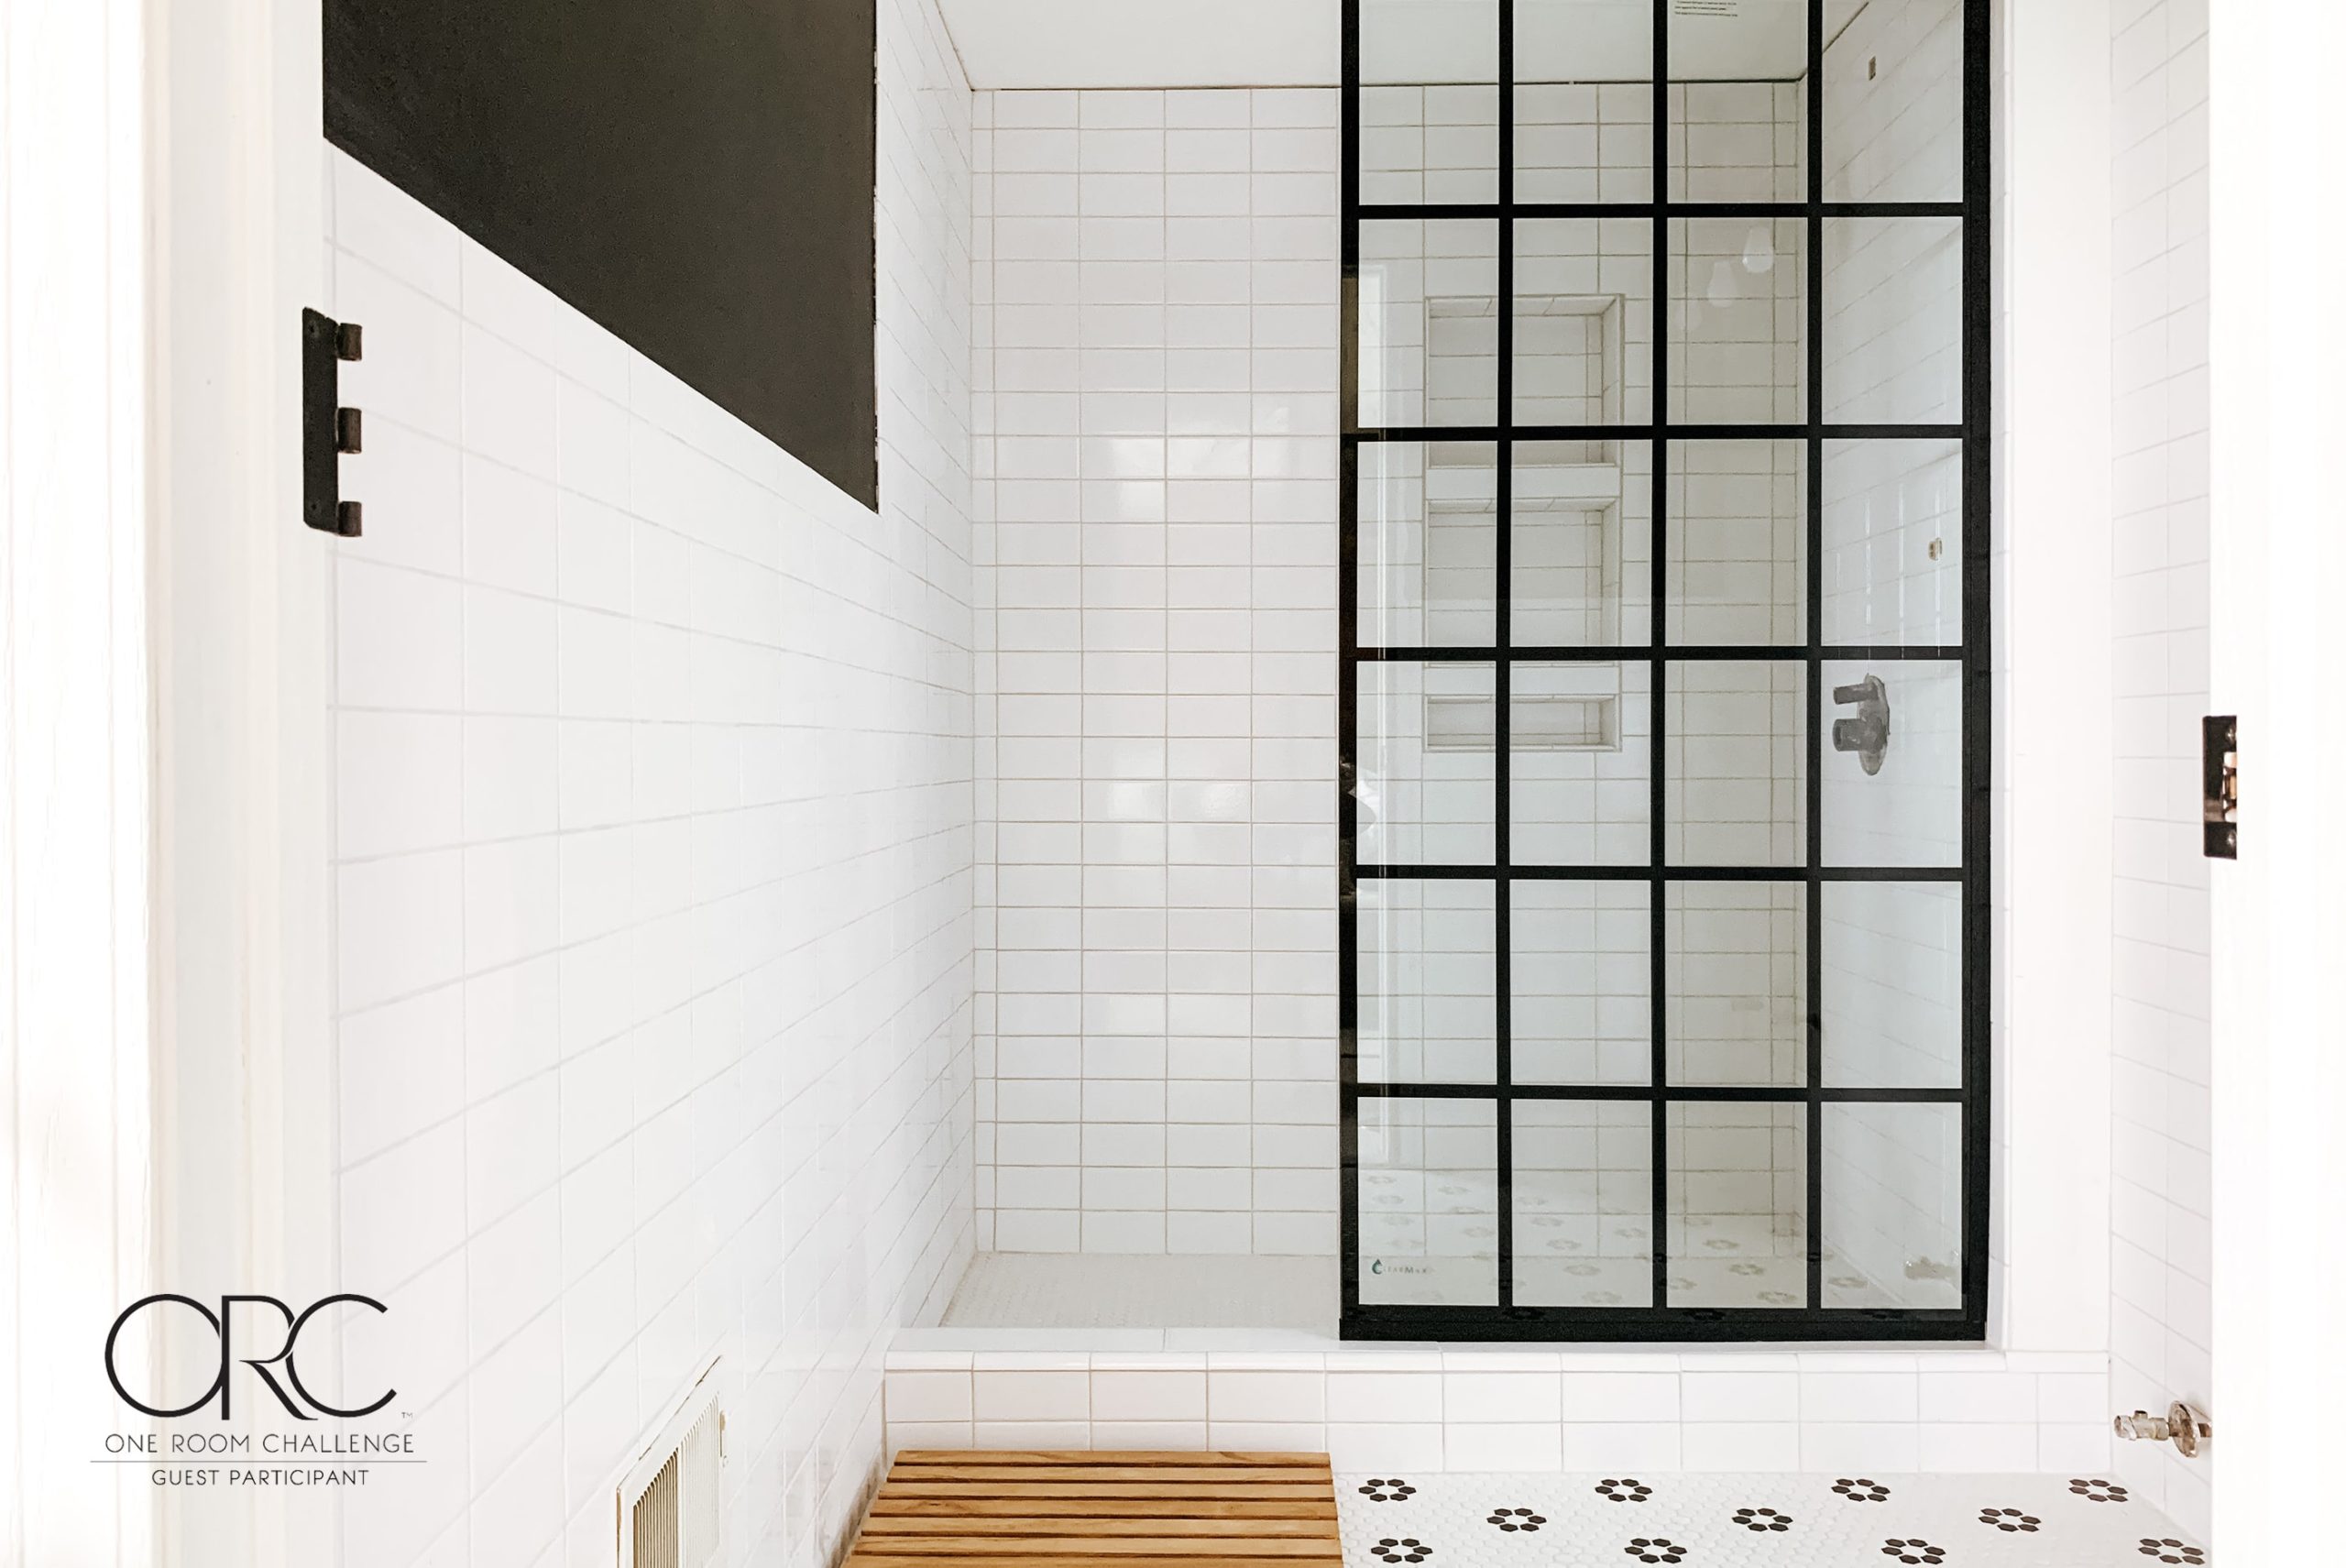
Week 8 Progress

When we completed all of the tiling, we pretty much looked at each other and said “Well, what do we do now?” ? We’ve been tiling for three weeks pretty much, and never thought it would end. We bought 1320 pieces of 3×6 subway tile. Out of all that tile, we have 120 pieces left. That’s 1200 tiles… TWELVE Hundred. That’s not even including the 2×6 bullnose tiles! Or the floor tiles!
The funny thing about tiling, you could work for a couple of hours on it, and step back to look at it, and it doesn’t look like you got anywhere! Ugh, so frustrating. But that final step back, to see that last tile piece go in, it’s totally worth it!
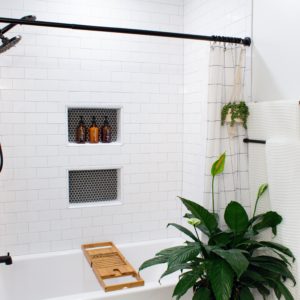
One thing I do want to show/go into a little bit of detail is the shower niche & shower curb. I did a lot of research online and on Pinterest in regards to ways to tile niches and curbs. What type of tiles do you use? Which ones do you start first? So many questions, yet couldn’t find any answers! So, I’ll add up-close photos of each, with the tile we used in hopes that someone down the road will find this information helpful!
Shower Niches
I’ll first start by saying, our niches are not perfect. However, for not knowing what we were doing, they don’t look too horrible. Also, another reason why tiling took so long – so many pieces to cut! Every piece (aside from a few) all needed to be cut to fit the niches.
We wanted the shower niches to be “seamless” with the tile. What I mean by seamless is the same tile and pattern that follows the shower. We bought our tile from Floor and Decor and unfortunately, at the store, they only had one type of “finishing” piece for the tile, which is a 2×6 bullnose subway tile. So, we knew we had to use those on the edges of the niches.
If you’re not familiar with subway tile, standard 3×6 subway tiles (or any size subway tile) do not have finished edges, so you can’t use them on the outer edges of anything. Which is where finished tile pieces come in handy.
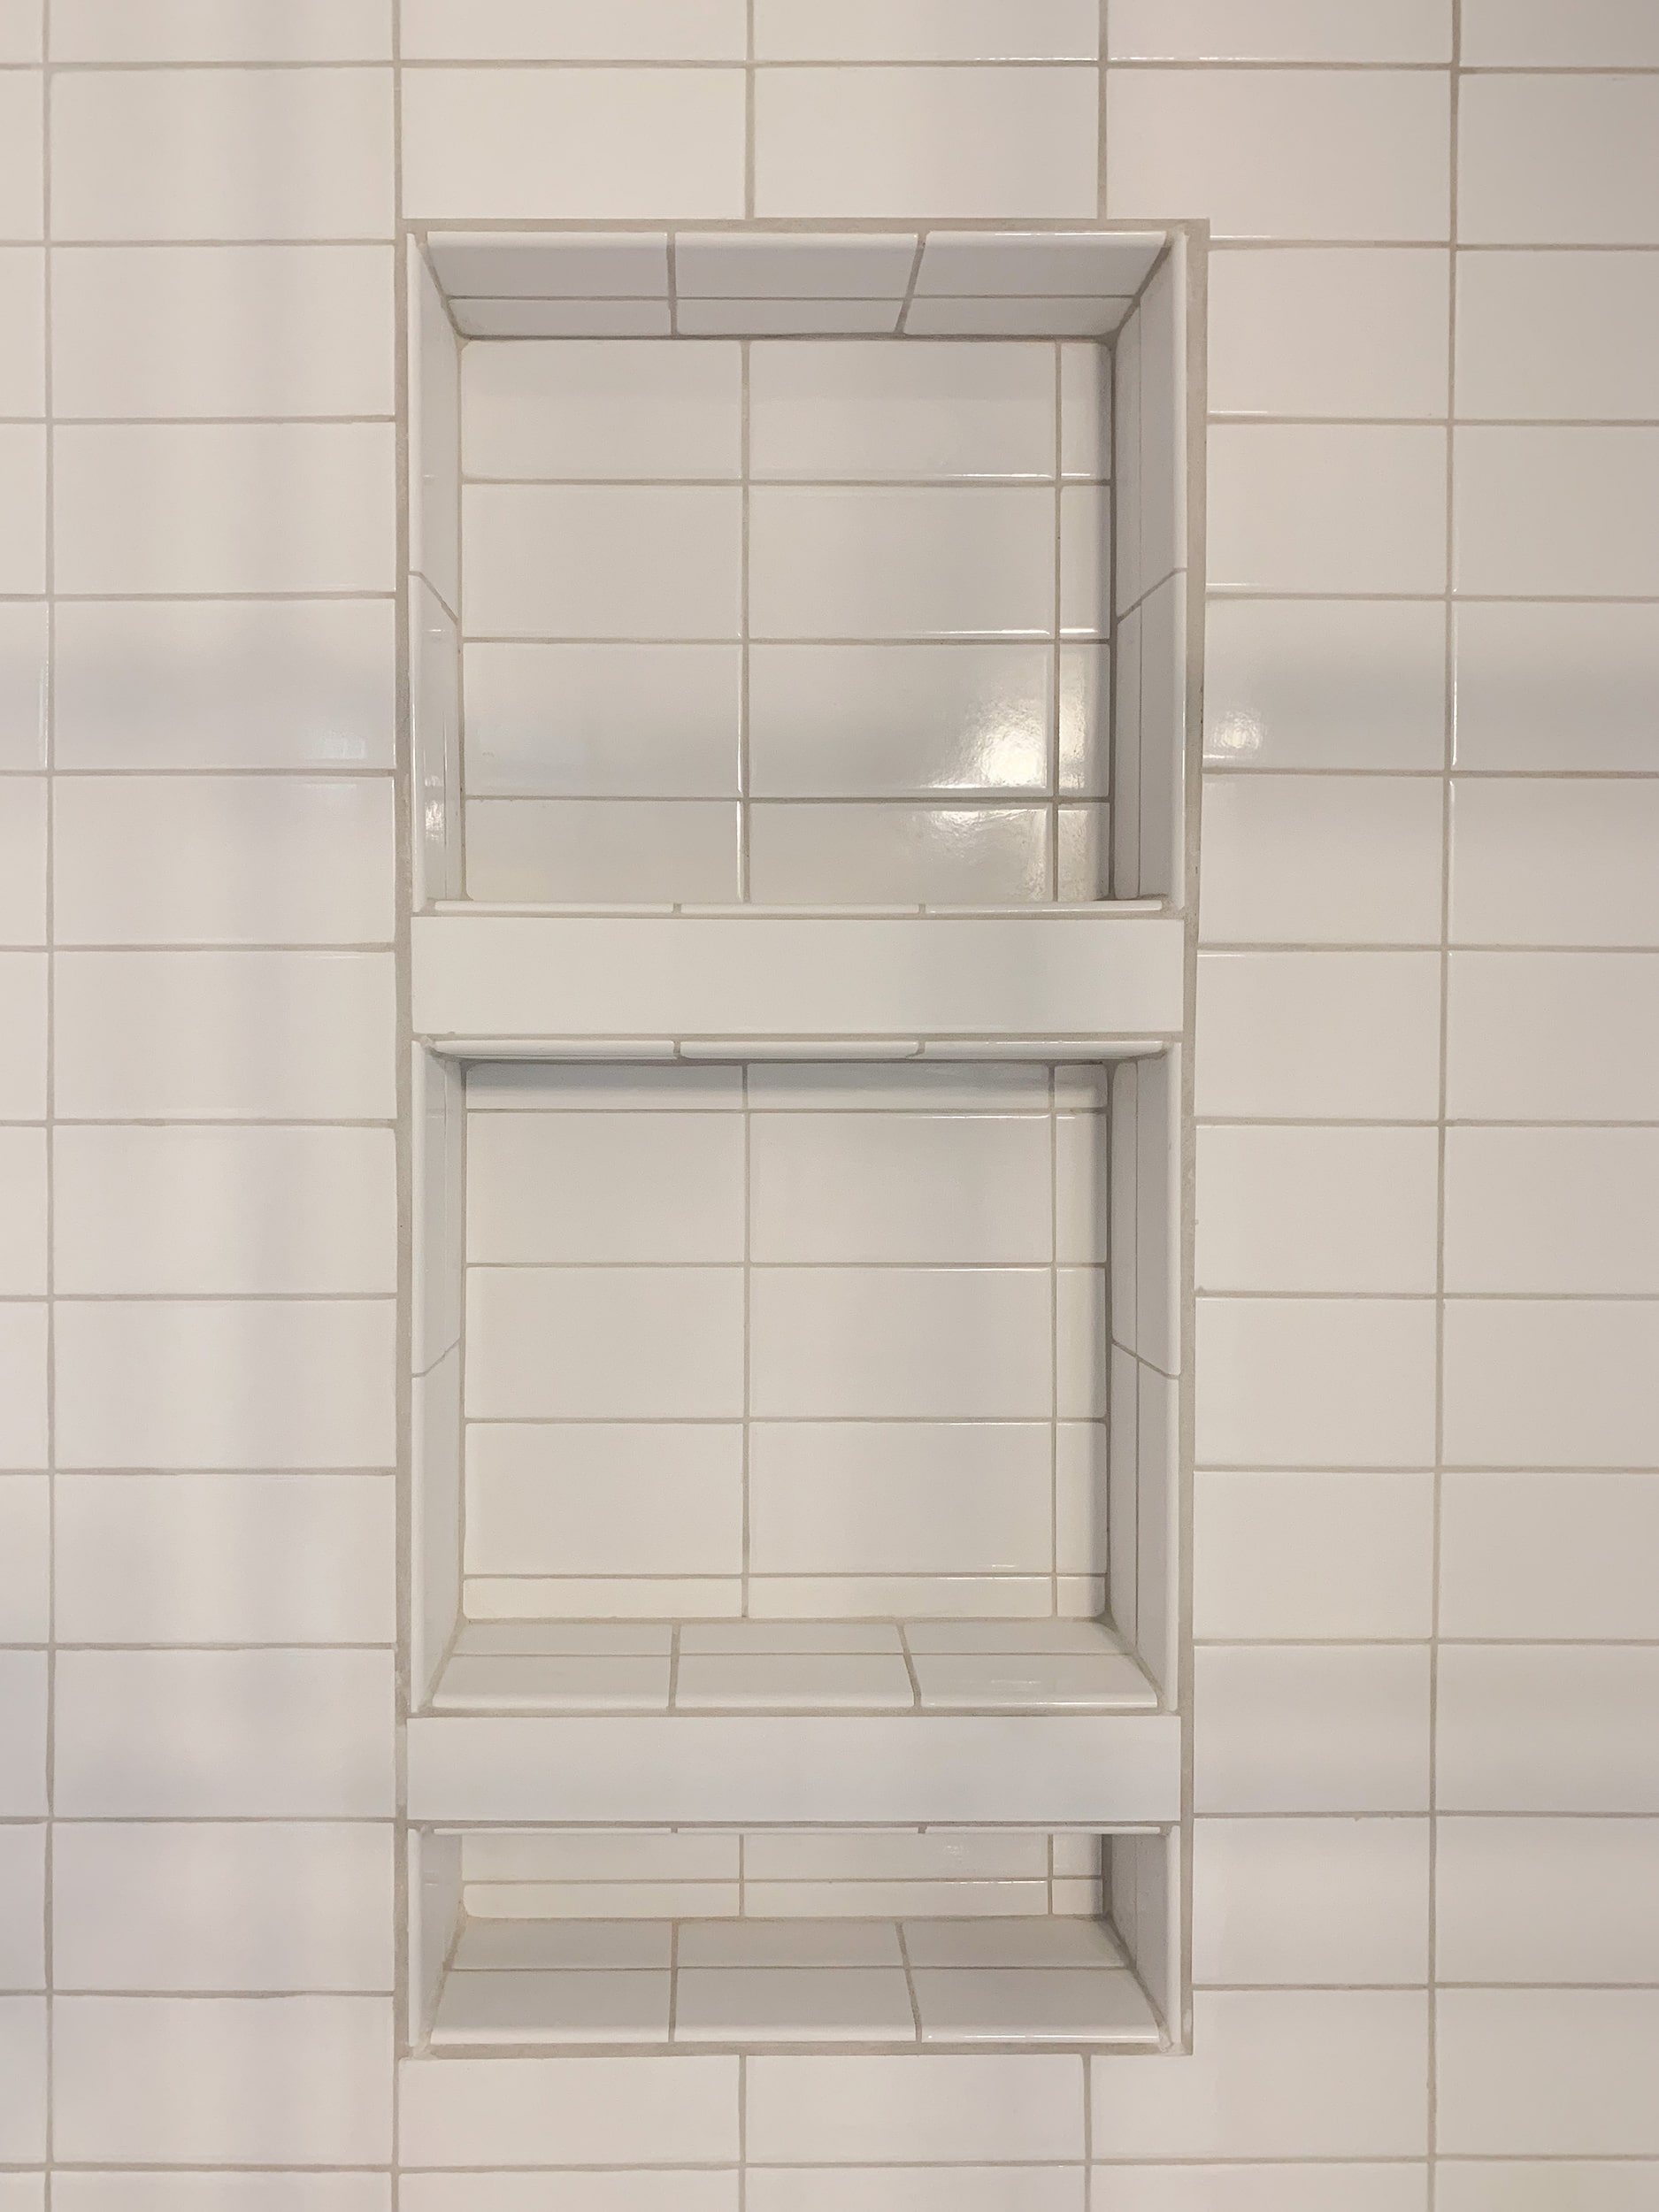
Here’s an up-close photo of our shower niches, so you can see how we did it. We tiled the side walls first, then the top and bottom walls, and finishing with the back wall tiles. We did it this way so those tiles were in front/covered the edges of the side tiles. If that makes any sense. LOL
Shower Curb
Shower curb was another place we were unsure of what type of finishing pieces to use! We really wanted to go with a modern look – with seamless, squared edges. But, in order to do that, you need to cut the edges of your tiles at a 45 degree angle. Basically, a mitered edge. However, after looking up on how to do that, we realized that since the edge would be very thin. If we were ever to drop something on the edge of the curb, it could possibly chip, since the edge is super thin, from cutting it at an angle. Do I want to take that chance? No thanks!
Then, we considered doing a marble, or glass slab top. Which, I really loved the look of! However, those are definitely not cheap. You either have to custom order those pieces or buy them at a pre-cut length. This meant we were going to have to cut it down ourselves, which is nerve-racking since it’s expensive and you only have one chance to cut it correctly. We did find a few options at Floor and Decor, but the colors were not right for space. I really like this white glass curb, except it was pulling a creamy white against the subway tile. That would have driven me crazy. So, we decided to stick with the subway tile.
Again, because Floor and Decor’s tile finish options were slim at the store, we decided to just use quarter round for the edges. Does it kind of look like 90s style tile, with the rounded edges? Sure does! ? It won’t be so noticeable once everything is in place, especially with the glass door in place. I mean, is anything noticeable with that glass door?! It’s GORGEOUS. But, let’s not talk about that yet 😉
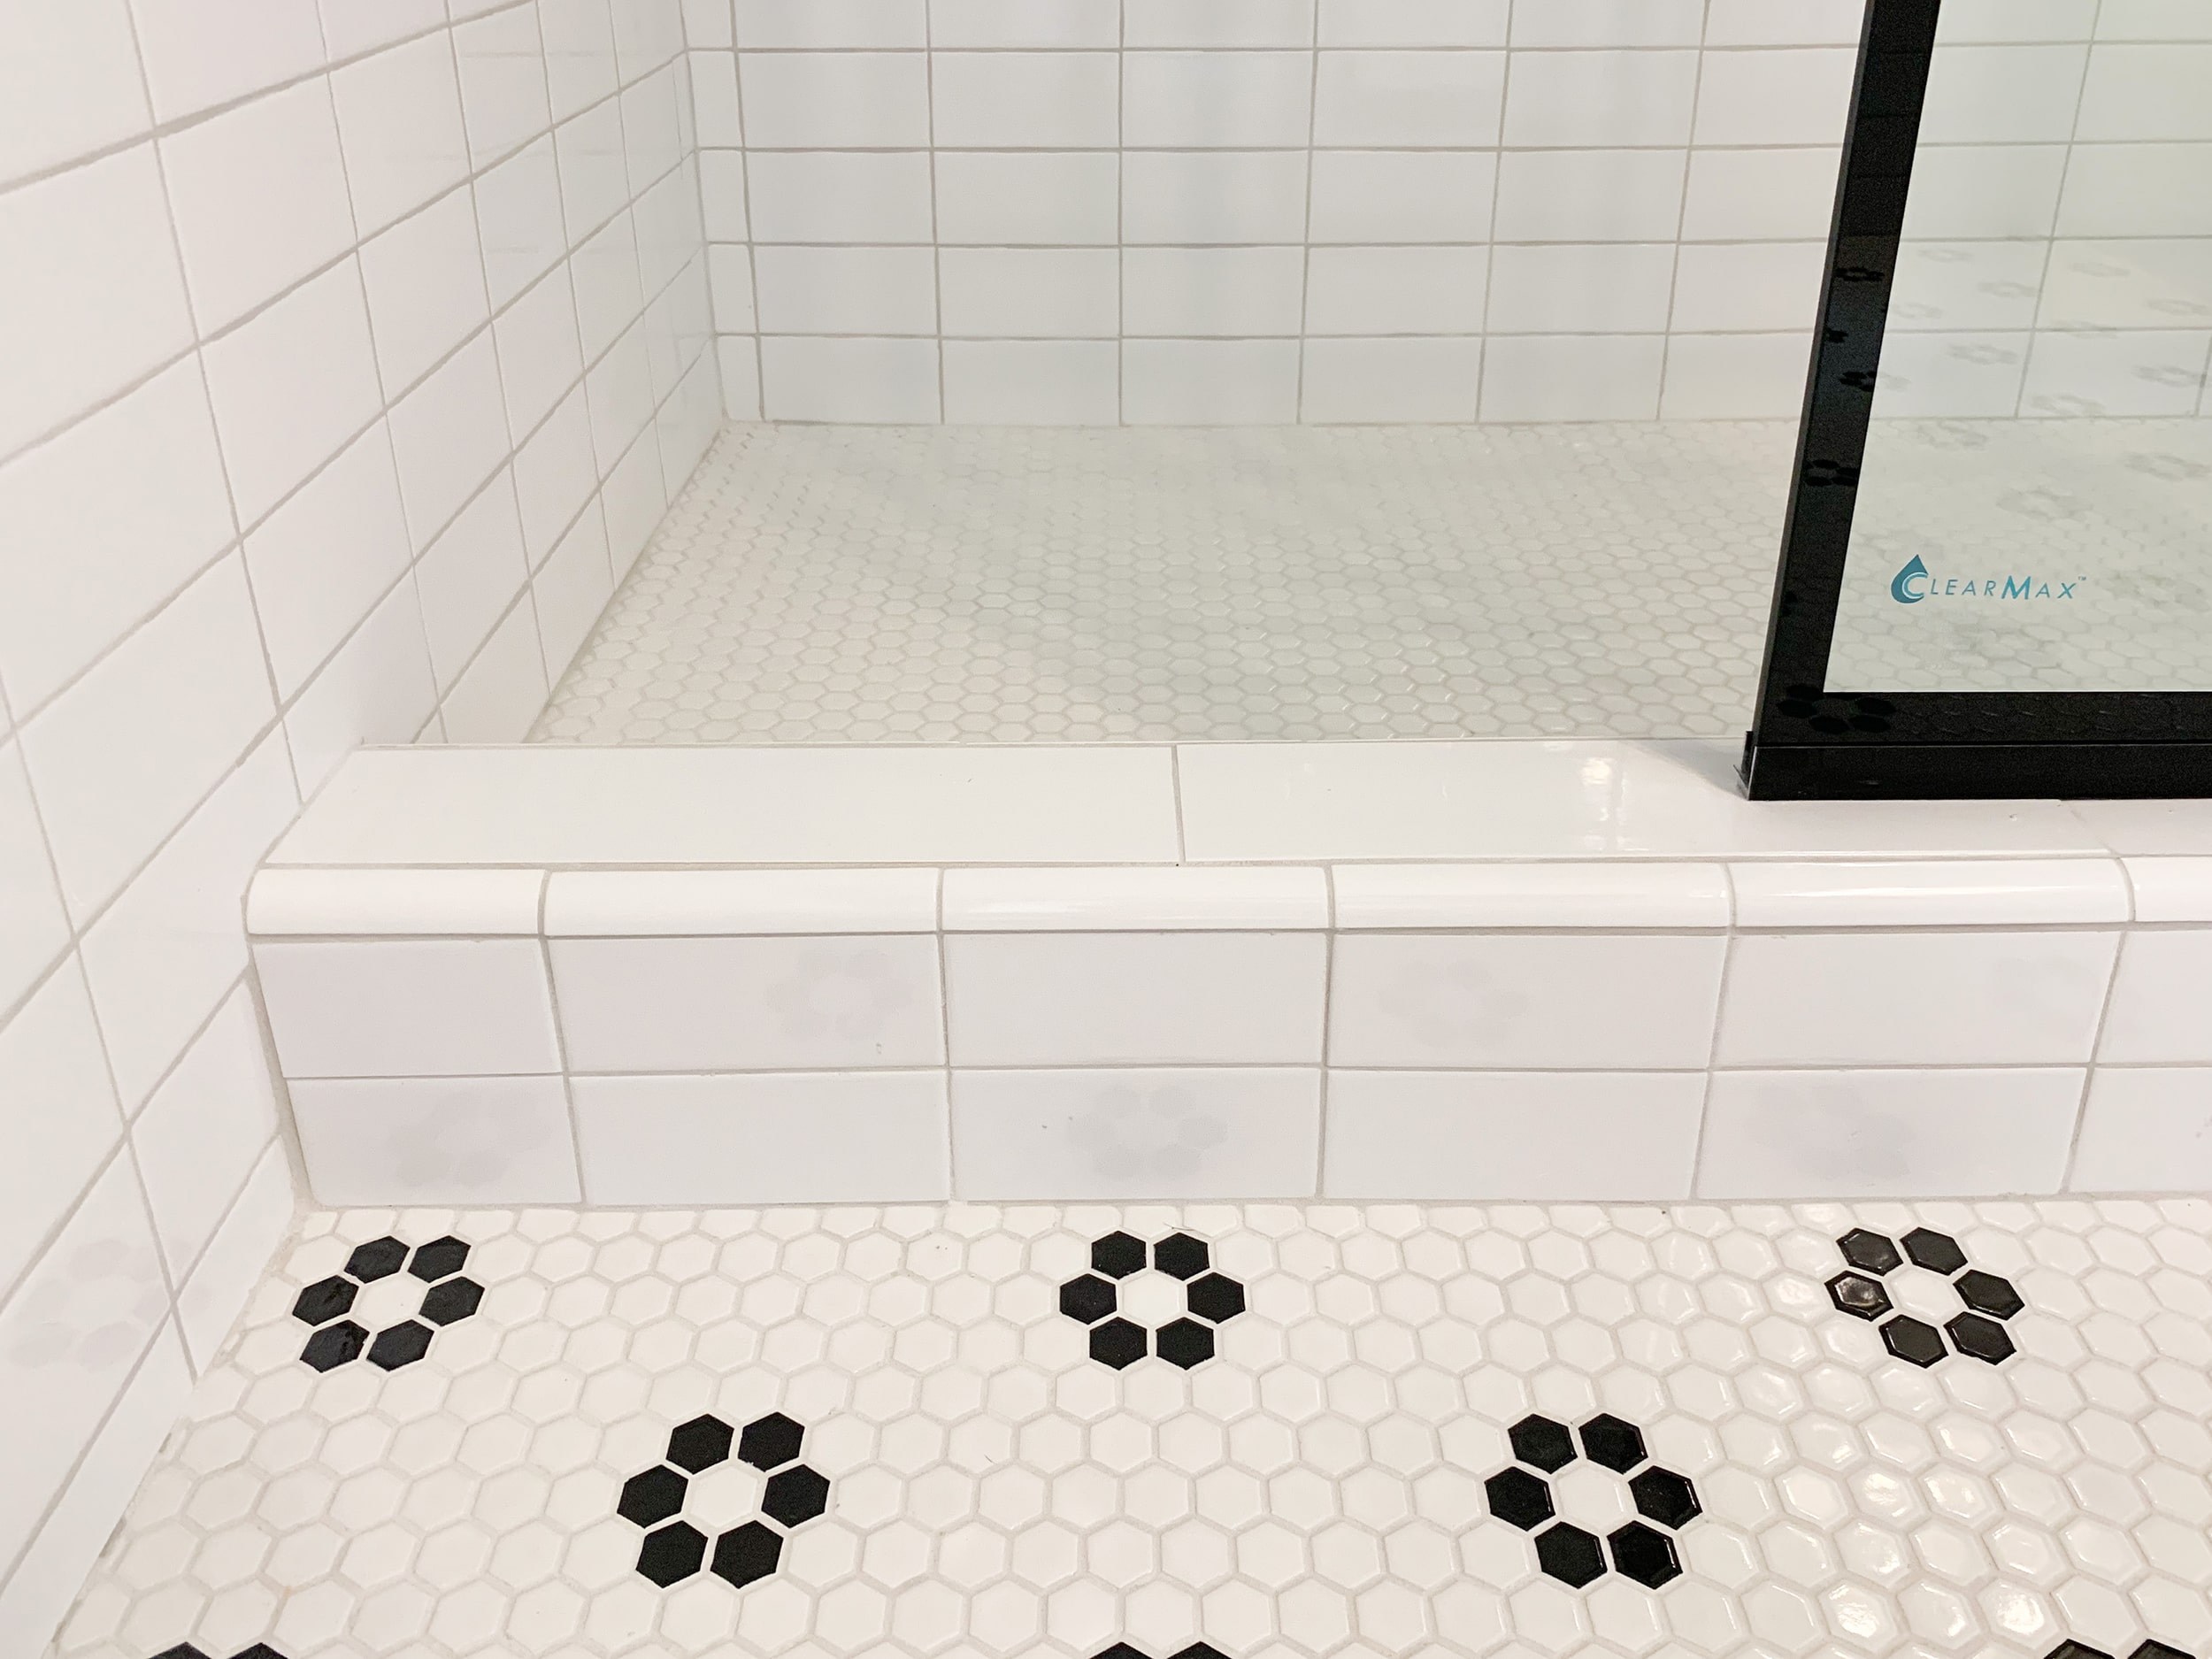
For the top part of the shower curb, we used larger tile pieces for a more seamless look and fewer grout lines. I’m happy we did that! It’s not a normal style you see, but I really didn’t want a ton of grout lines on the top of it with 3×6 subway tiles. Plus, it would have meant more cut tile pieces, and we were so over that!
One Room Challenge To-do List
Insert longggg sigh. We almost did it! There are a few things that I didn’t add on the initial list at the beginning of the challenge, that needed to be included. You know, the usual things you need to do in order to complete a bathroom. Totally left them off the list ?.
Convert our bathtub into a showerInstall plumbing for a new shower systemAdd shower nichesInstall our black window pane shower doorPaintTile, tile & more tile!Shower floorBathroom floorVanity walls1/2 wallShower Walls (we did get a few rows done on the back wall!)Grout
Install vanity light- Give existing vanity a major facelift
Add legsBuild the new drawer- Create new doors
DIY wood bath matDIY bath bottles with labelsDIY wood shower stool(this was going to be a bonus if we had time… which we won’t)
Finishing To-Dos
- Install Toilet
- Install Plumbing Fixtures (shower and sink!)
- Add bathroom hardware
- & Decorate!
Since we didn’t complete our One Room Challenge, you definitely should check out the rooms that did finish the challenge! We are blown away by some of the room transformations that were completed within the 8 weeks! Head on over to the ORC Blog to see the other guest participant’s transformations!
Also, we will be adding one more blog post with the bathroom ACTUALLY completed, with all the up-close detail shots. So be sure to either subscribe to our blog or to follow us on Instagram to get the latest updates.