Hey there!
Spring is just around the corner (hoping that it’ll come sooner rather than later) and we can’t contain our excitement. We love having lots of greenery and floral – especially peonies! – around the house. Today, we’re excited to share this project we created using scrap pieces of wood from left over projects!
This post may contain affiliate links where we earn a small commission on your purchases at no additional cost to you.
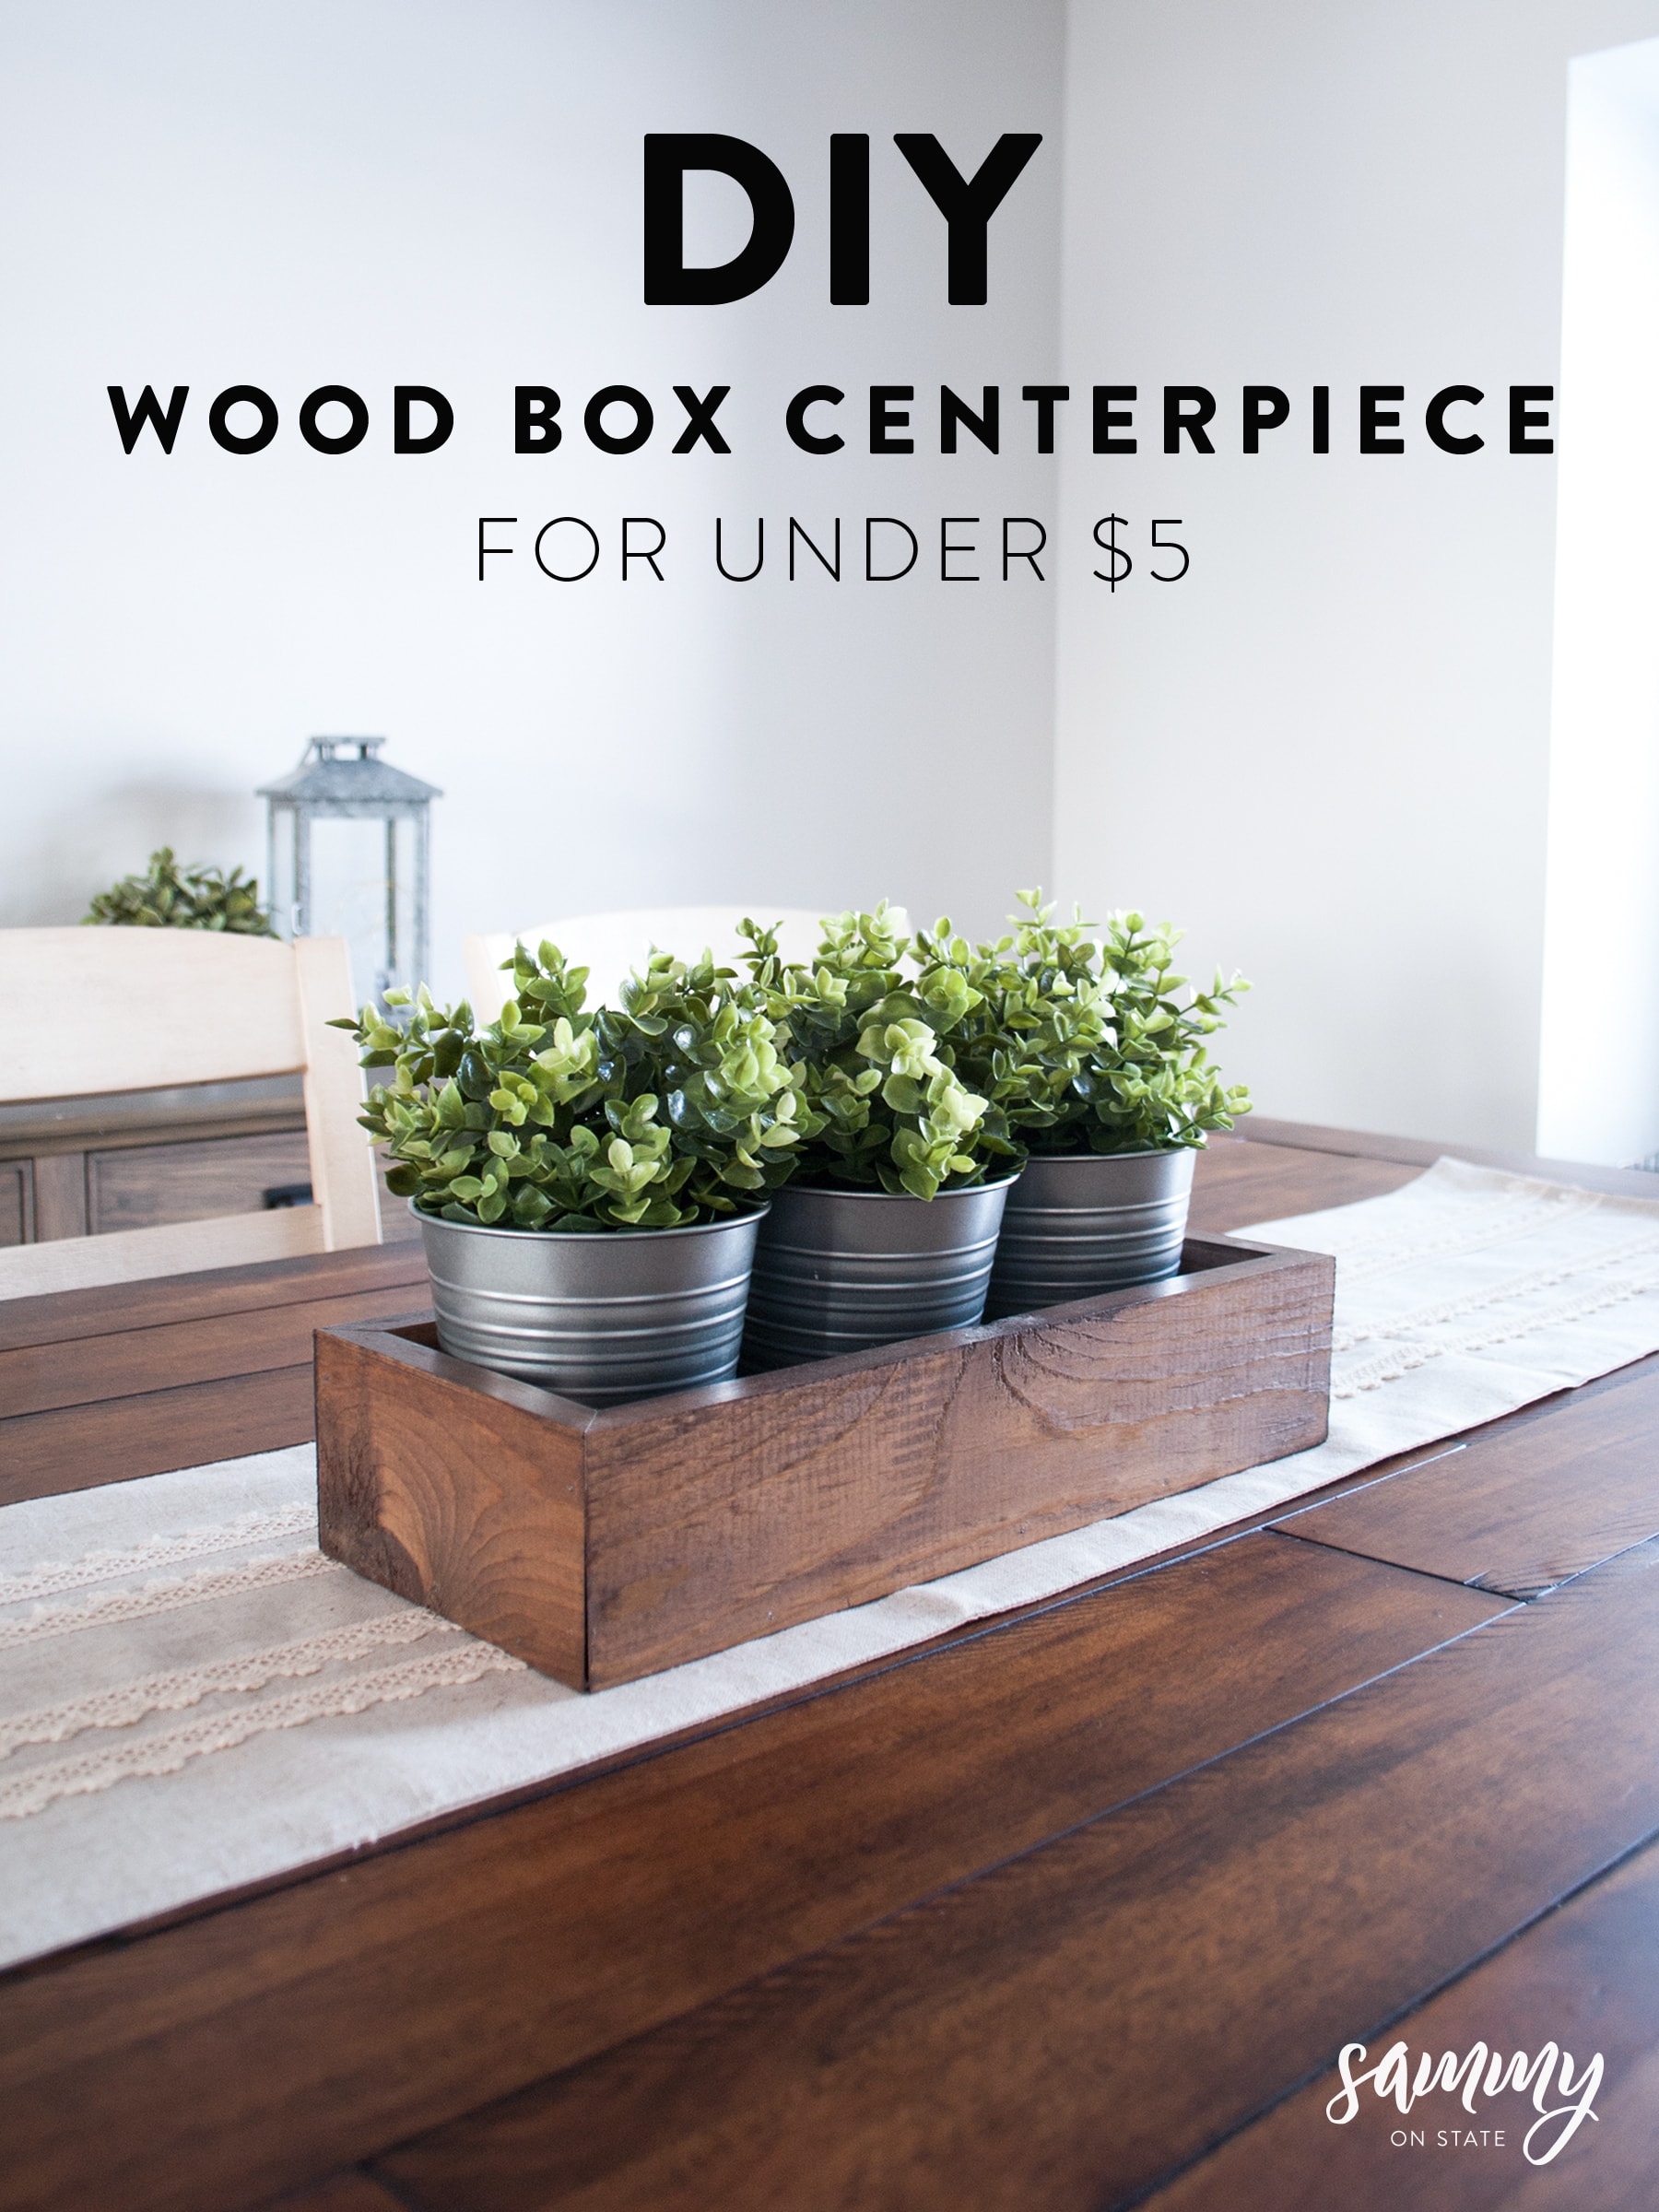
If you don’t have any scrap or leftover wood pieces, you can easily make this wood box for less than $5!
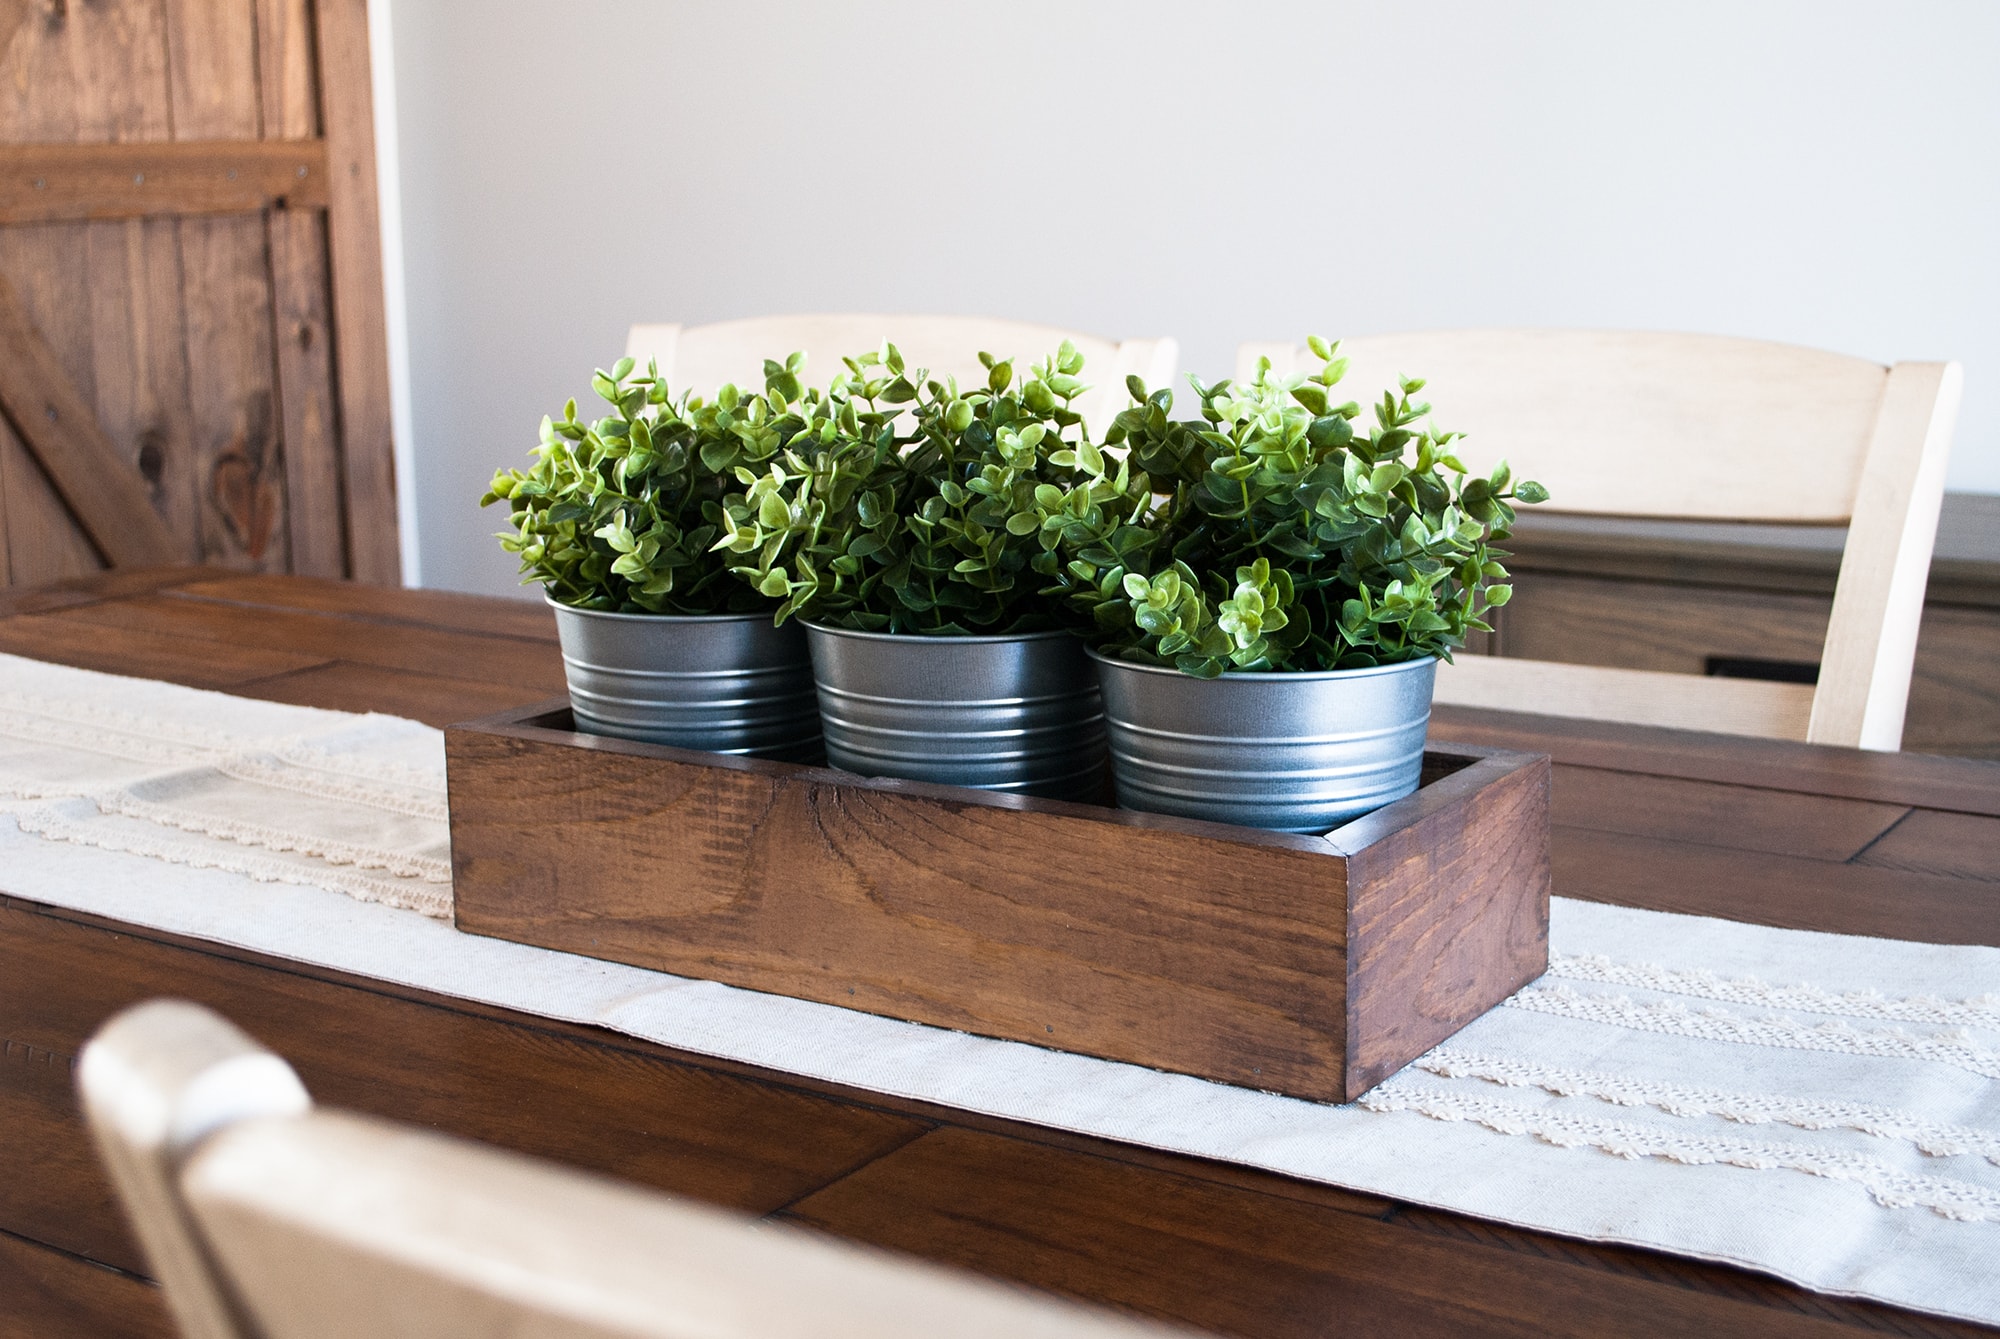
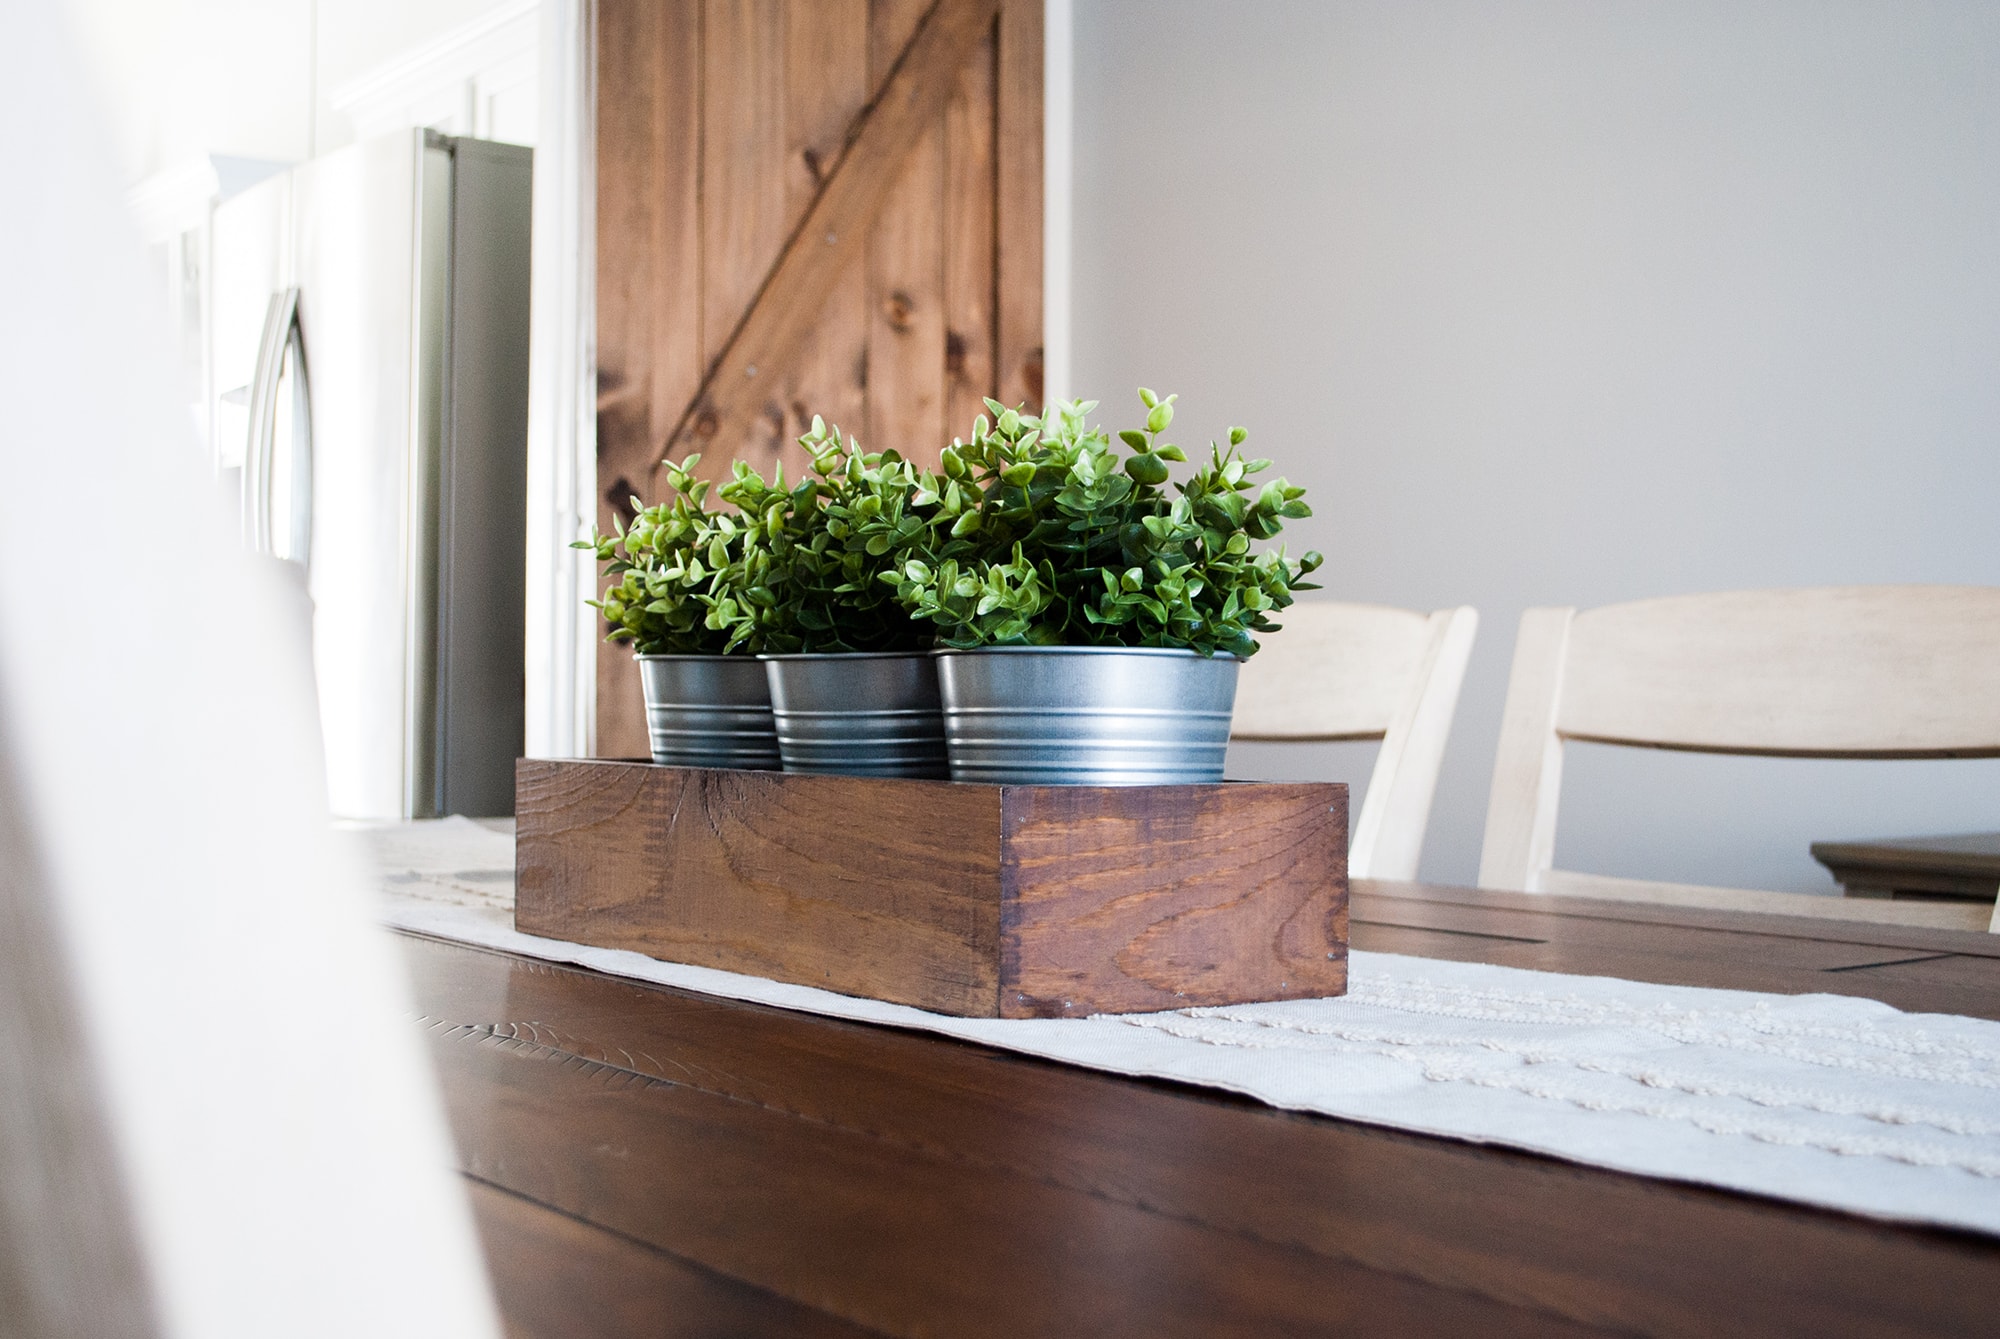
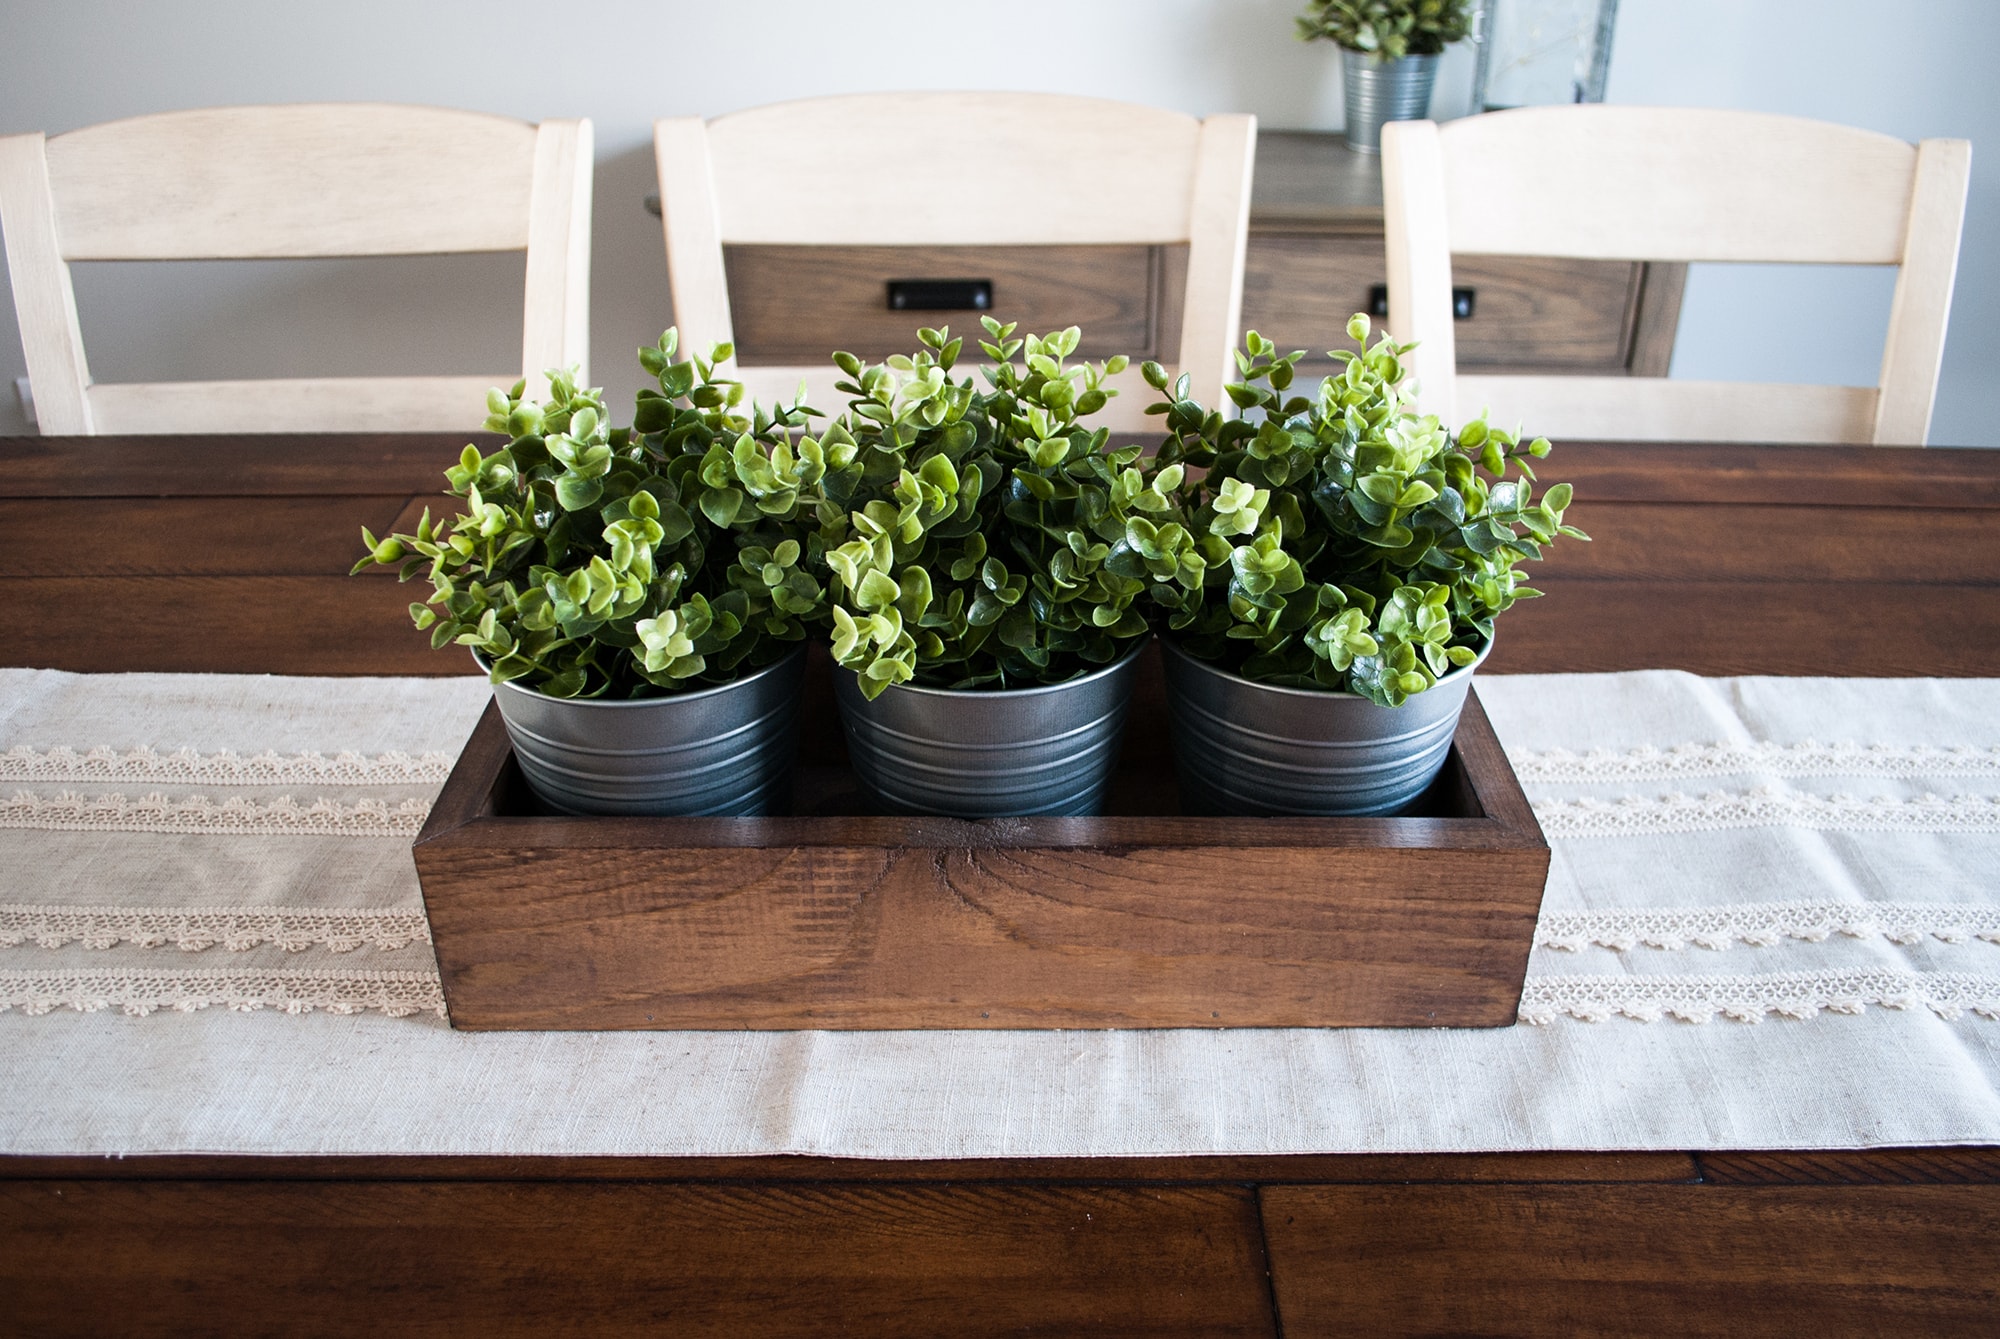
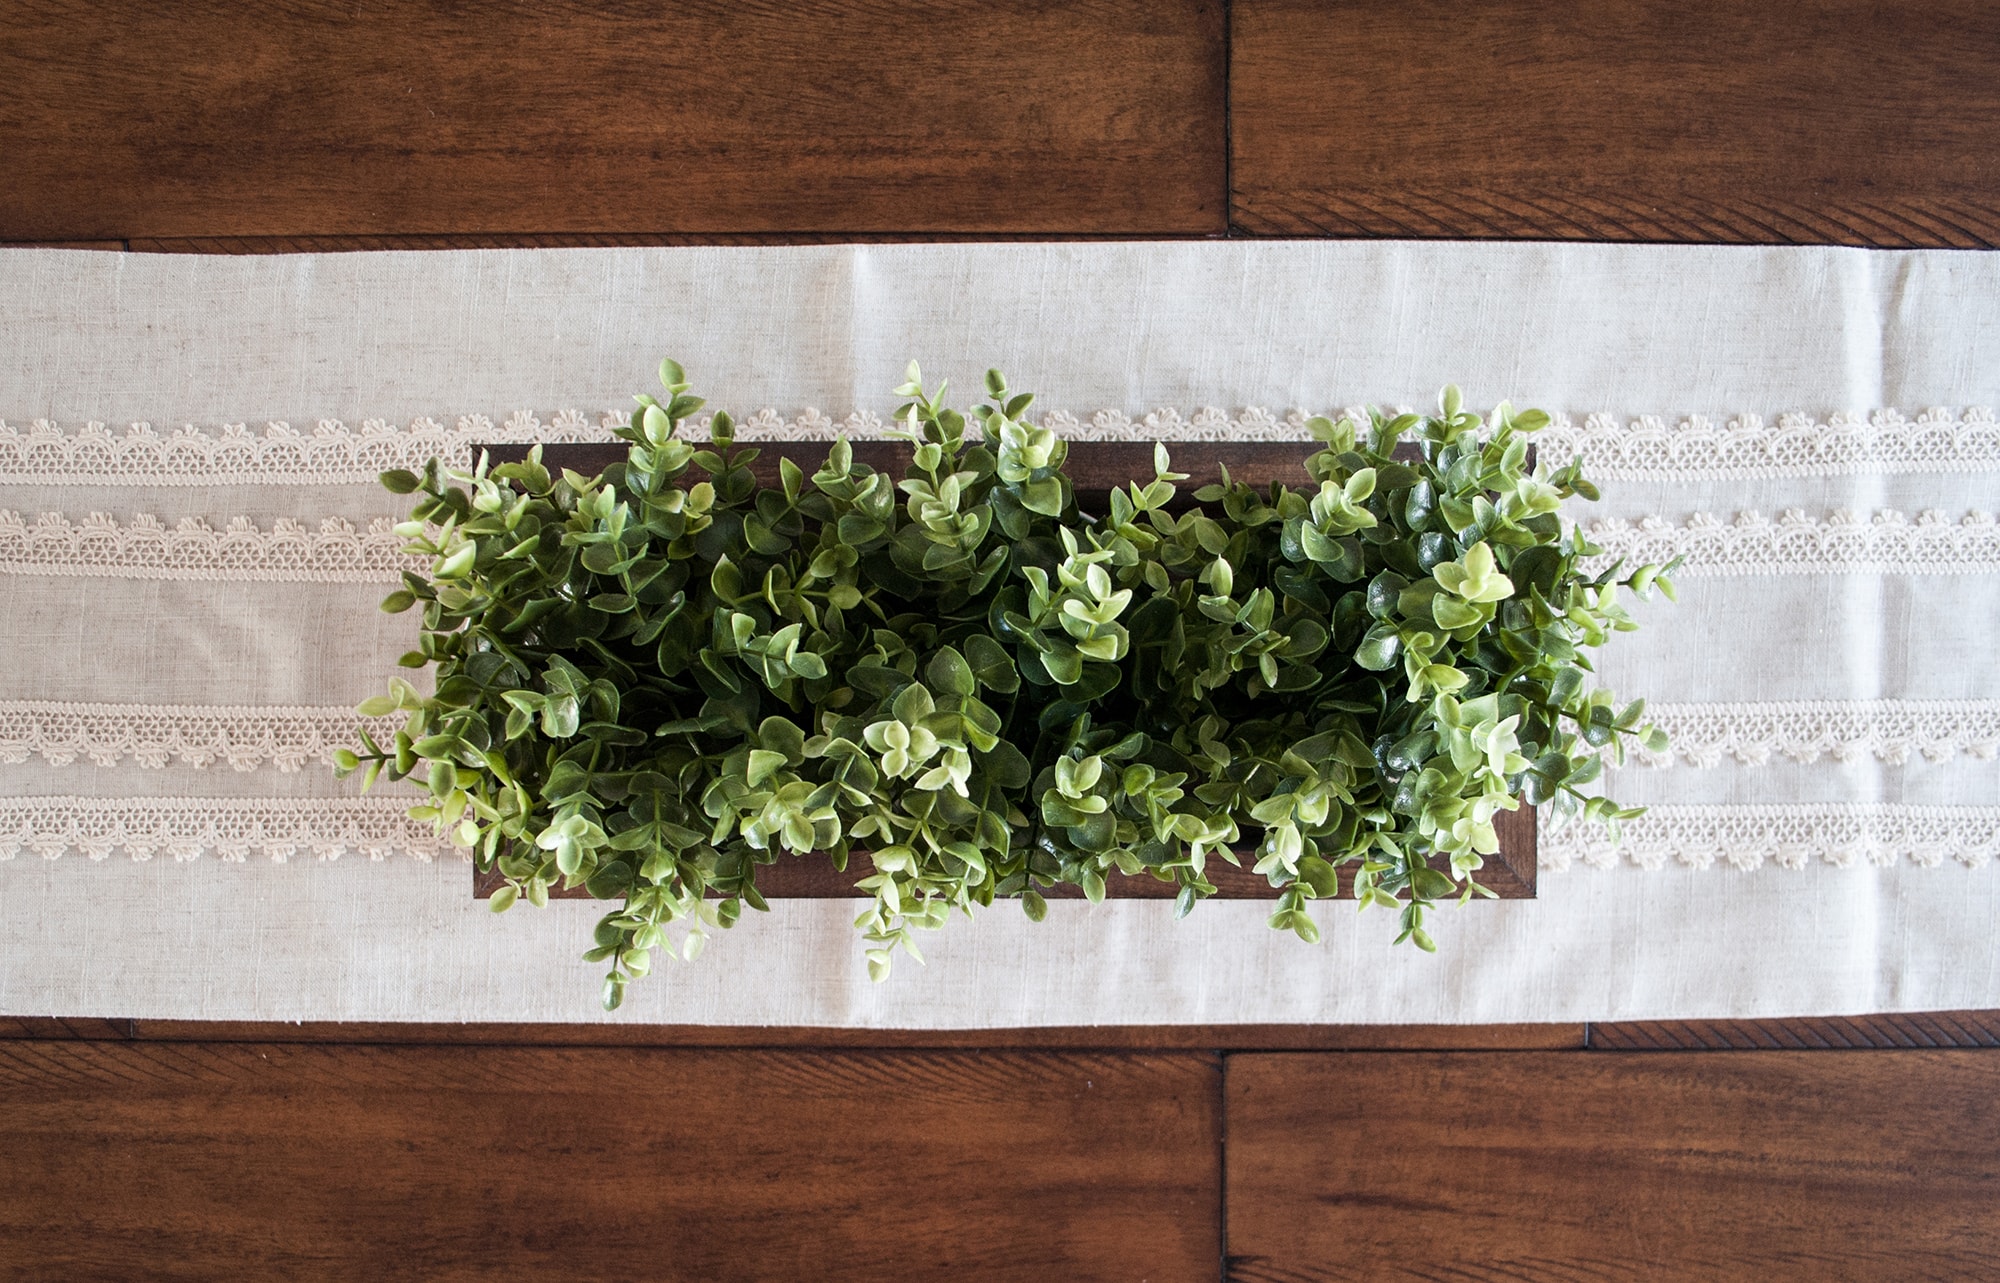
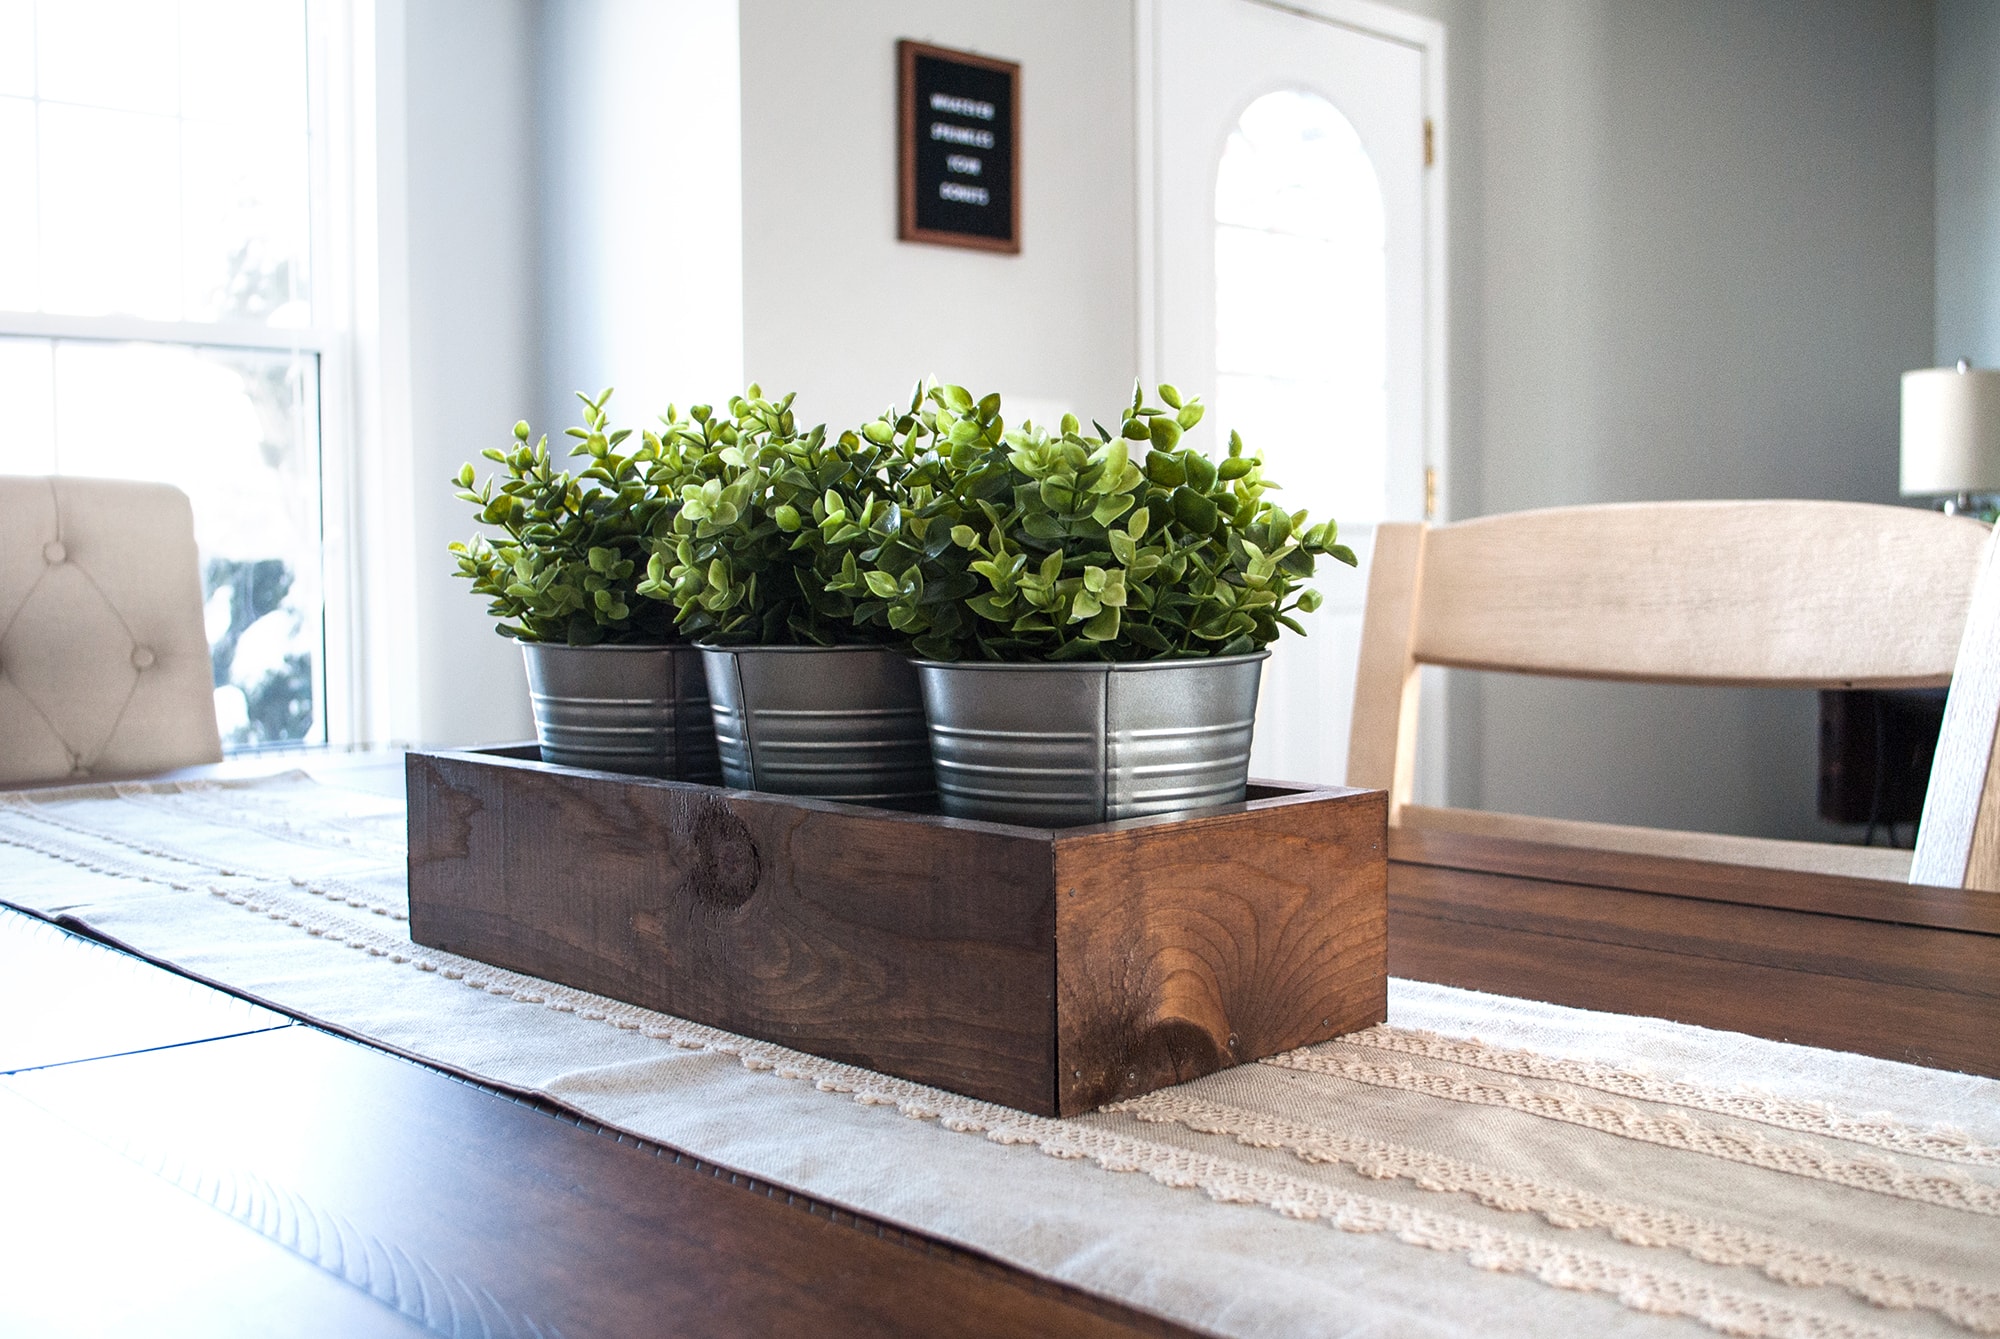
We built this wood box centerpiece to fit 3 IKEA Fejka plants and Socker pots for our dining room table centerpiece. The best part of this piece is that you can use it year around for different holidays and seasons! Around Christmas, we swapped out the plants for poinsettias and pine greenery… really, the possibilites are endless!
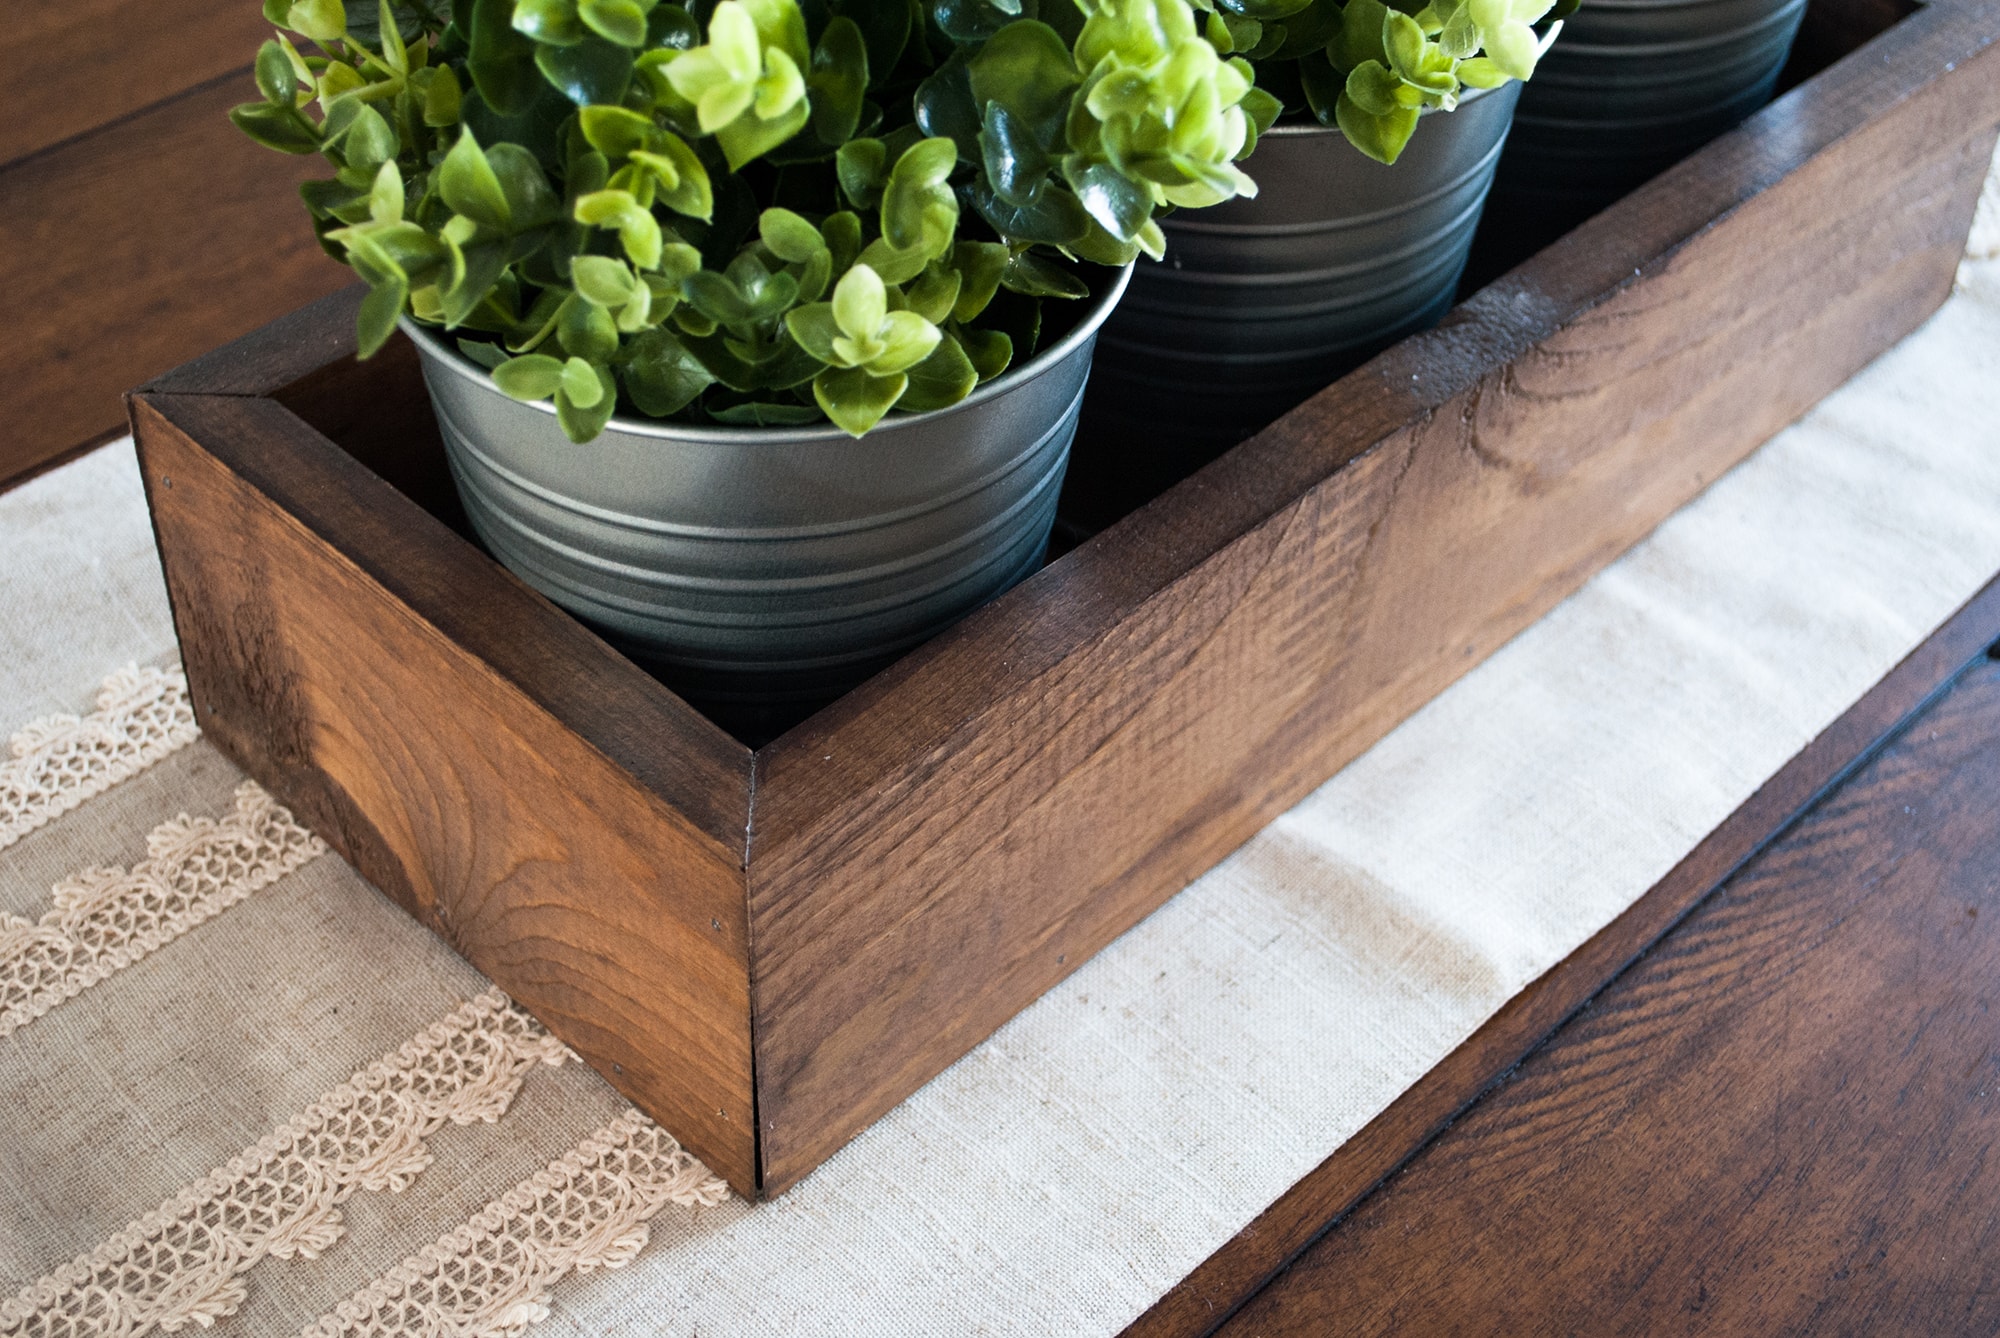
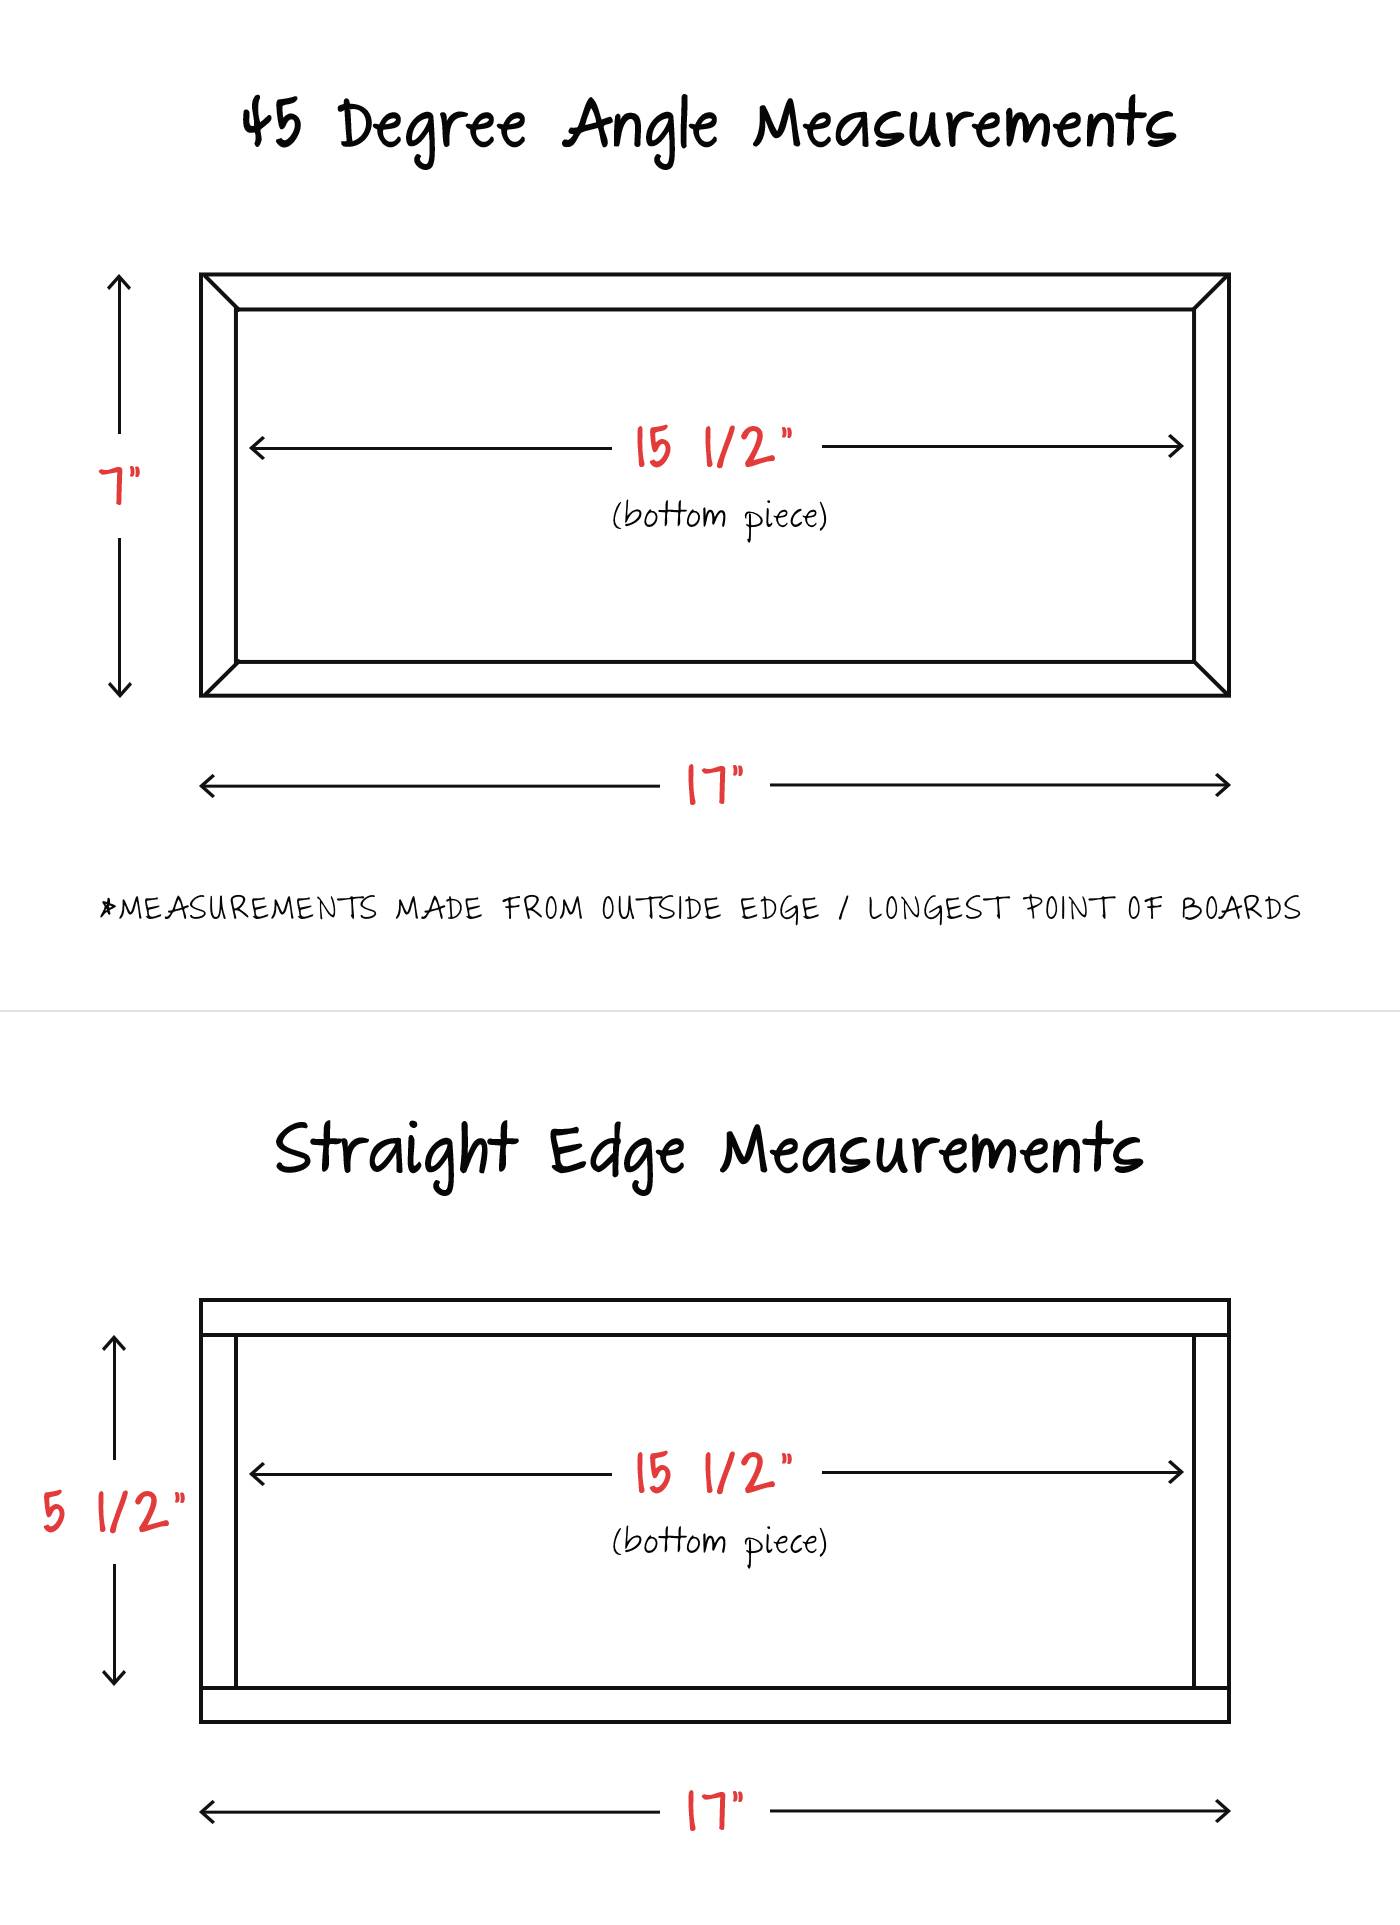
We ended up being “extra” when creating this box, and decided to make the joining pieces butt up together at 45° angles. A miter saw, or a miter box is required to make this angle cut – making this project easy to do!
Now, if you don’t have access to either of those tools, you can easily make this box without the 45° angle cuts. All you have to do is adjust your measurements to fit a straight edge box design. To be honest, it’ll be easier to make! But for this project, we decided to step out of our boundaries (a.k.a. being extra) and gave the 45° angles a shot!
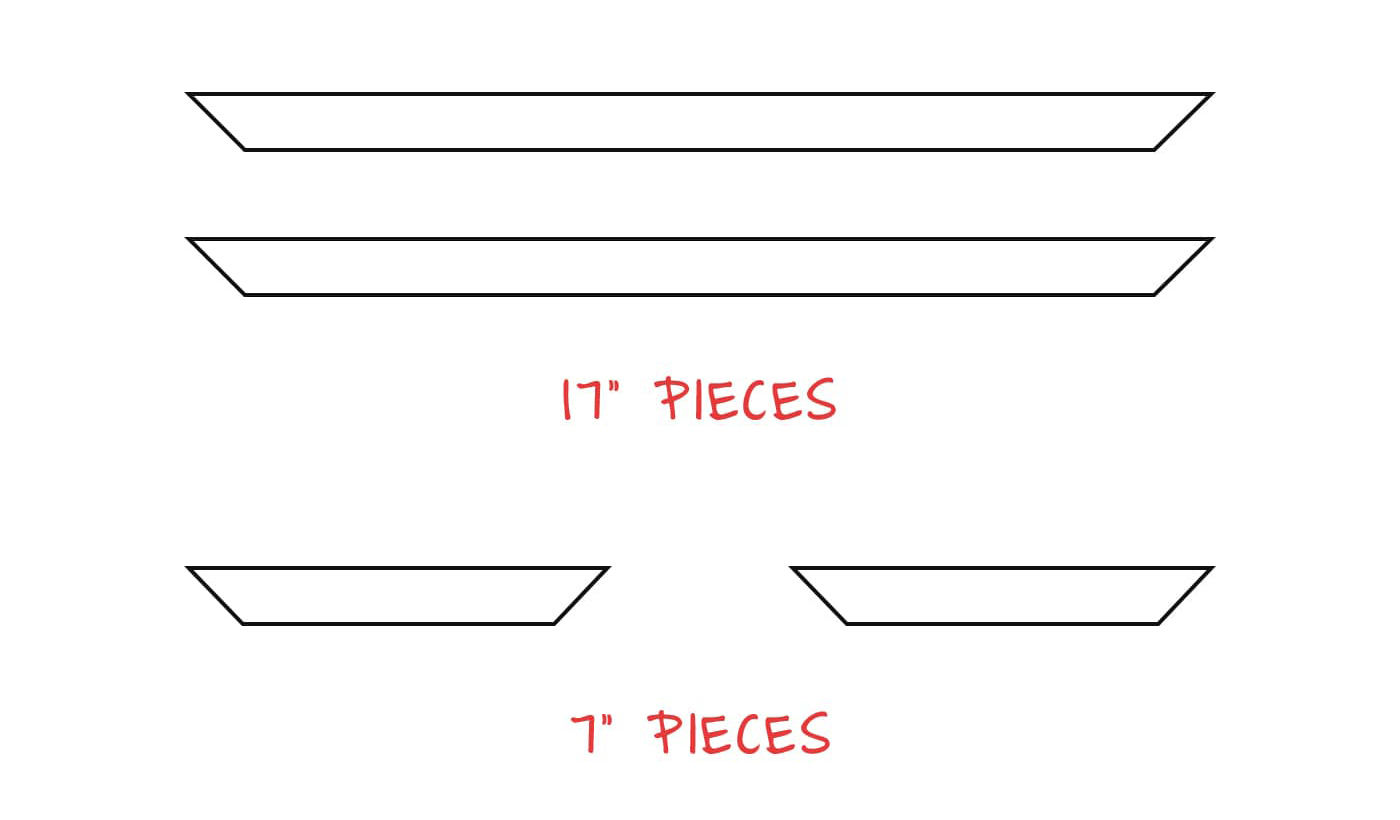
Please note – the measurements and step-by-steps listed out below are for the 45° angle cuts. If you don’t have a miter saw, you’re going to have to adjust your box side lengths to be shorter. To make things easier, we went ahead and incorporated both box style dimensions for you in the image below… You’re welcome. 😉
THE SUPPLIES
FOR THE BOX:
• (1) 6ft 1×4
• (1) 4ft 1×6
• Wood glue
• Small finishing nails
FOR THE STAIN:
• Stain (we used Minwax special walnut as our base with a very light top coat of Minwax classic gray)
• Foam brushes
• Lint-free / old rags
• Polycrylic protective finish – optional
STEP 1 – Measure & Cut Bottom Piece
The first board you are going to cut is the bottom board (1×6), since this piece does not require an angle cut. This piece should be cut down to 15 1/2″ length.
Once you have that bottom piece cut, set that aside and move onto the box side pieces (the 1x4s).
STEP 2 – Measure & Cut All 4 Side Pieces
To make things less confusing when cutting, we cut down all our side pieces first, and then cut the 45° angles later on. Because we’re not perfect, we ended up giving ourselves an extra inch to work with while cutting the angles. This way, we weren’t cutting directly off the edge of the boards for the angles – less room for error.
In the diagram we shared above, it shows that our long boards are 17″ and the short boards are 7″ in length. What we did was add one inch to each of our boards that need to be cut down to size.
These are the length of the pieces you need to cut:
• (2) 1x4s – cut down to 18″ long
• (2) 1x4s – cut down to 8″ long
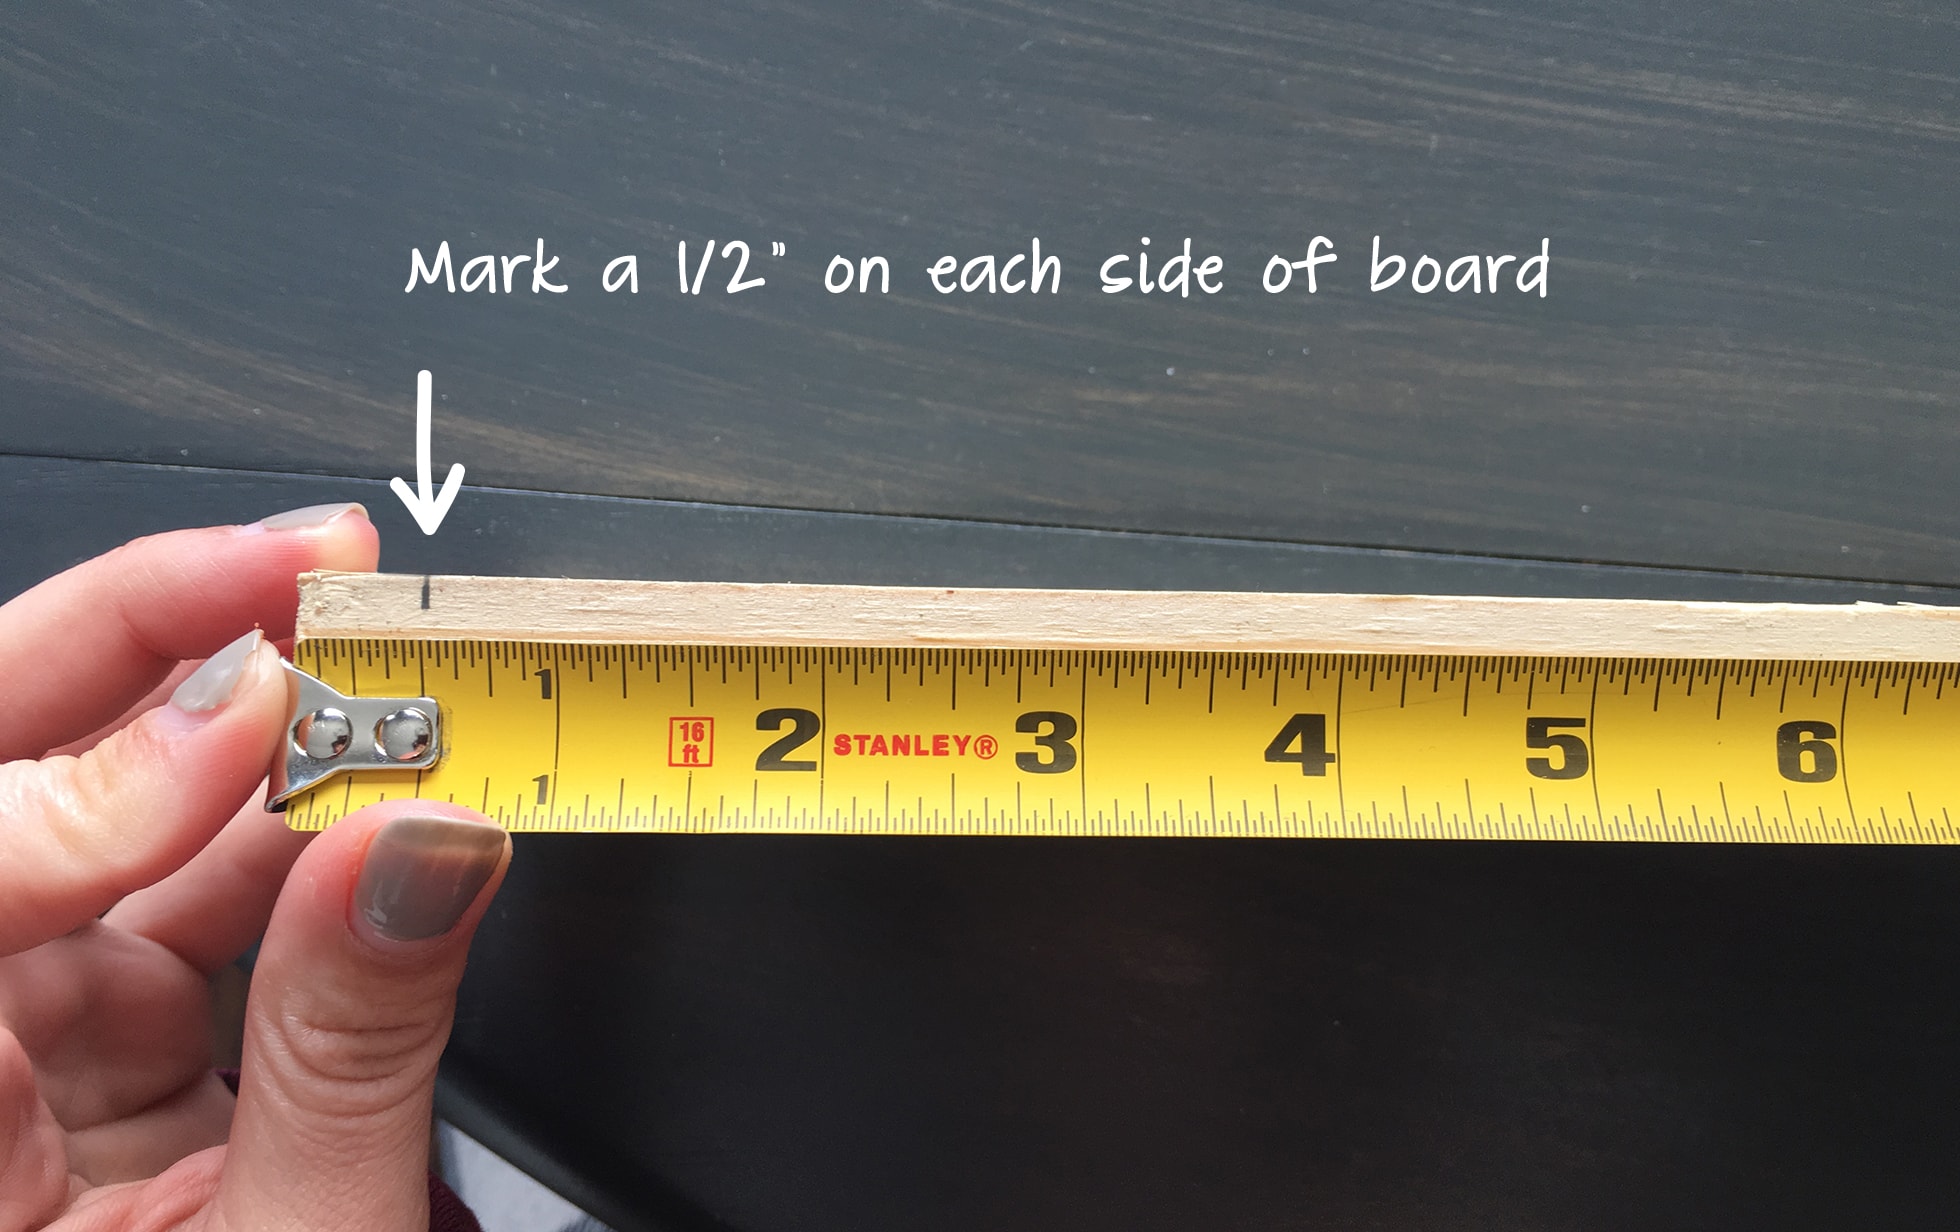
STEP 3 – Cut 45° Angles
Time to cut the angles! In the last step, we gave ourselves an extra inch of each piece to work with. We did this so we didn’t have to cut from the very edge of the piece of wood. What you’ll want to do is make your marks 1/2″ in from each side, like shown in pictures below.
Once we made all our marks, we drew a 45° line on our boards. This made it easier for us to remember what way the 45° angle needed to be when cutting.
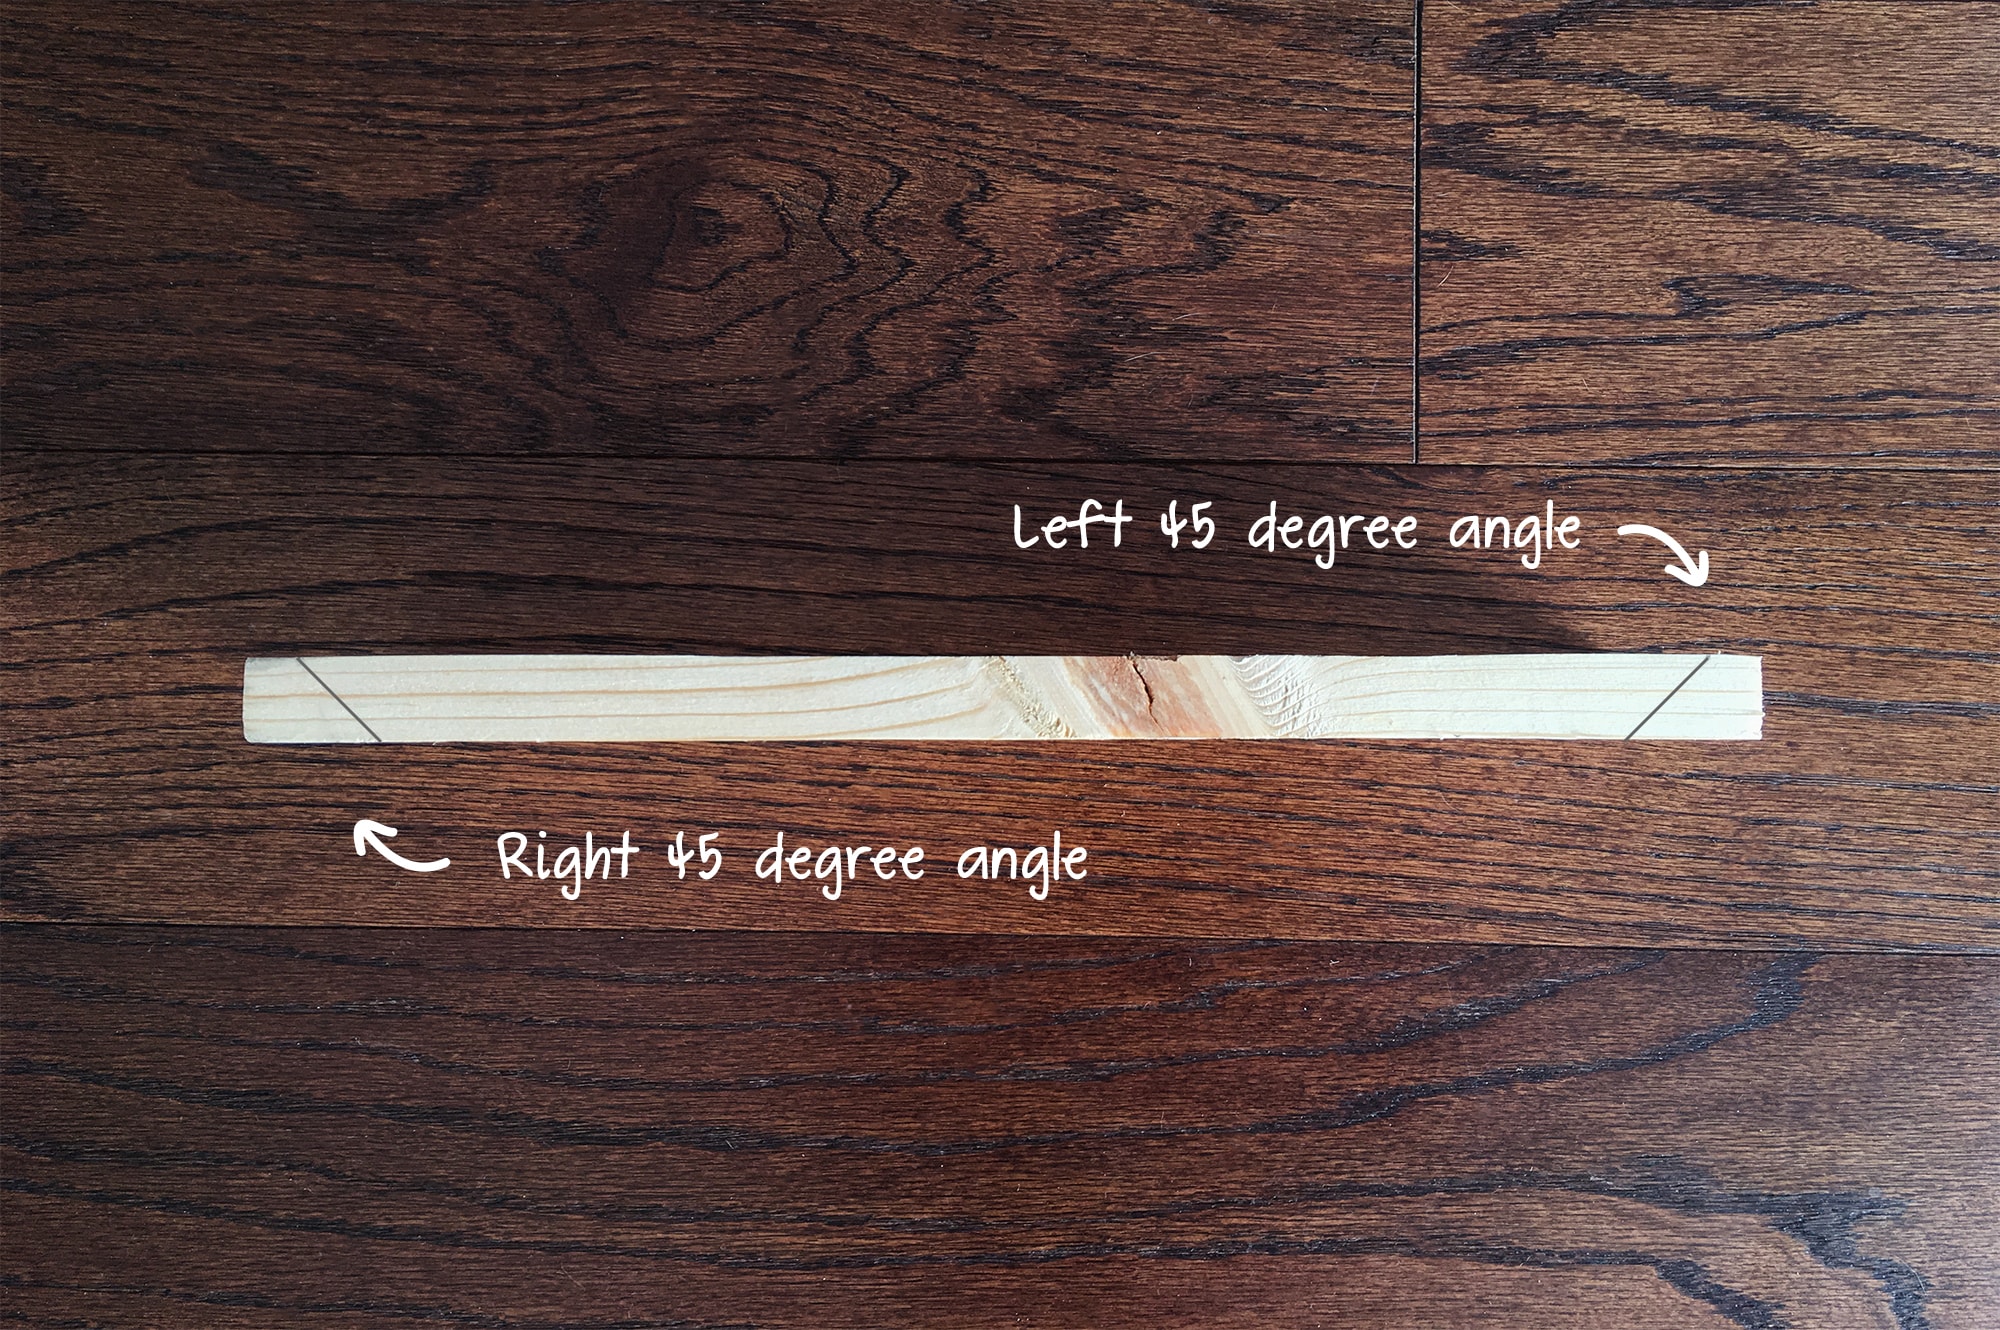
Set up your miter saw for a 45° angle cut. If you’re familiar with a miter saw, you know there are two 45° angles. One that is to the left, and one that is to the right. You’ll need to use both angles (as you can see on the board in the photo above), so you’ll be adjusting / moving your blade back and forth for each side of wood pieces.
Get to cutting! Don’t forget –you are going to want to cut on the outside of your marked lines.
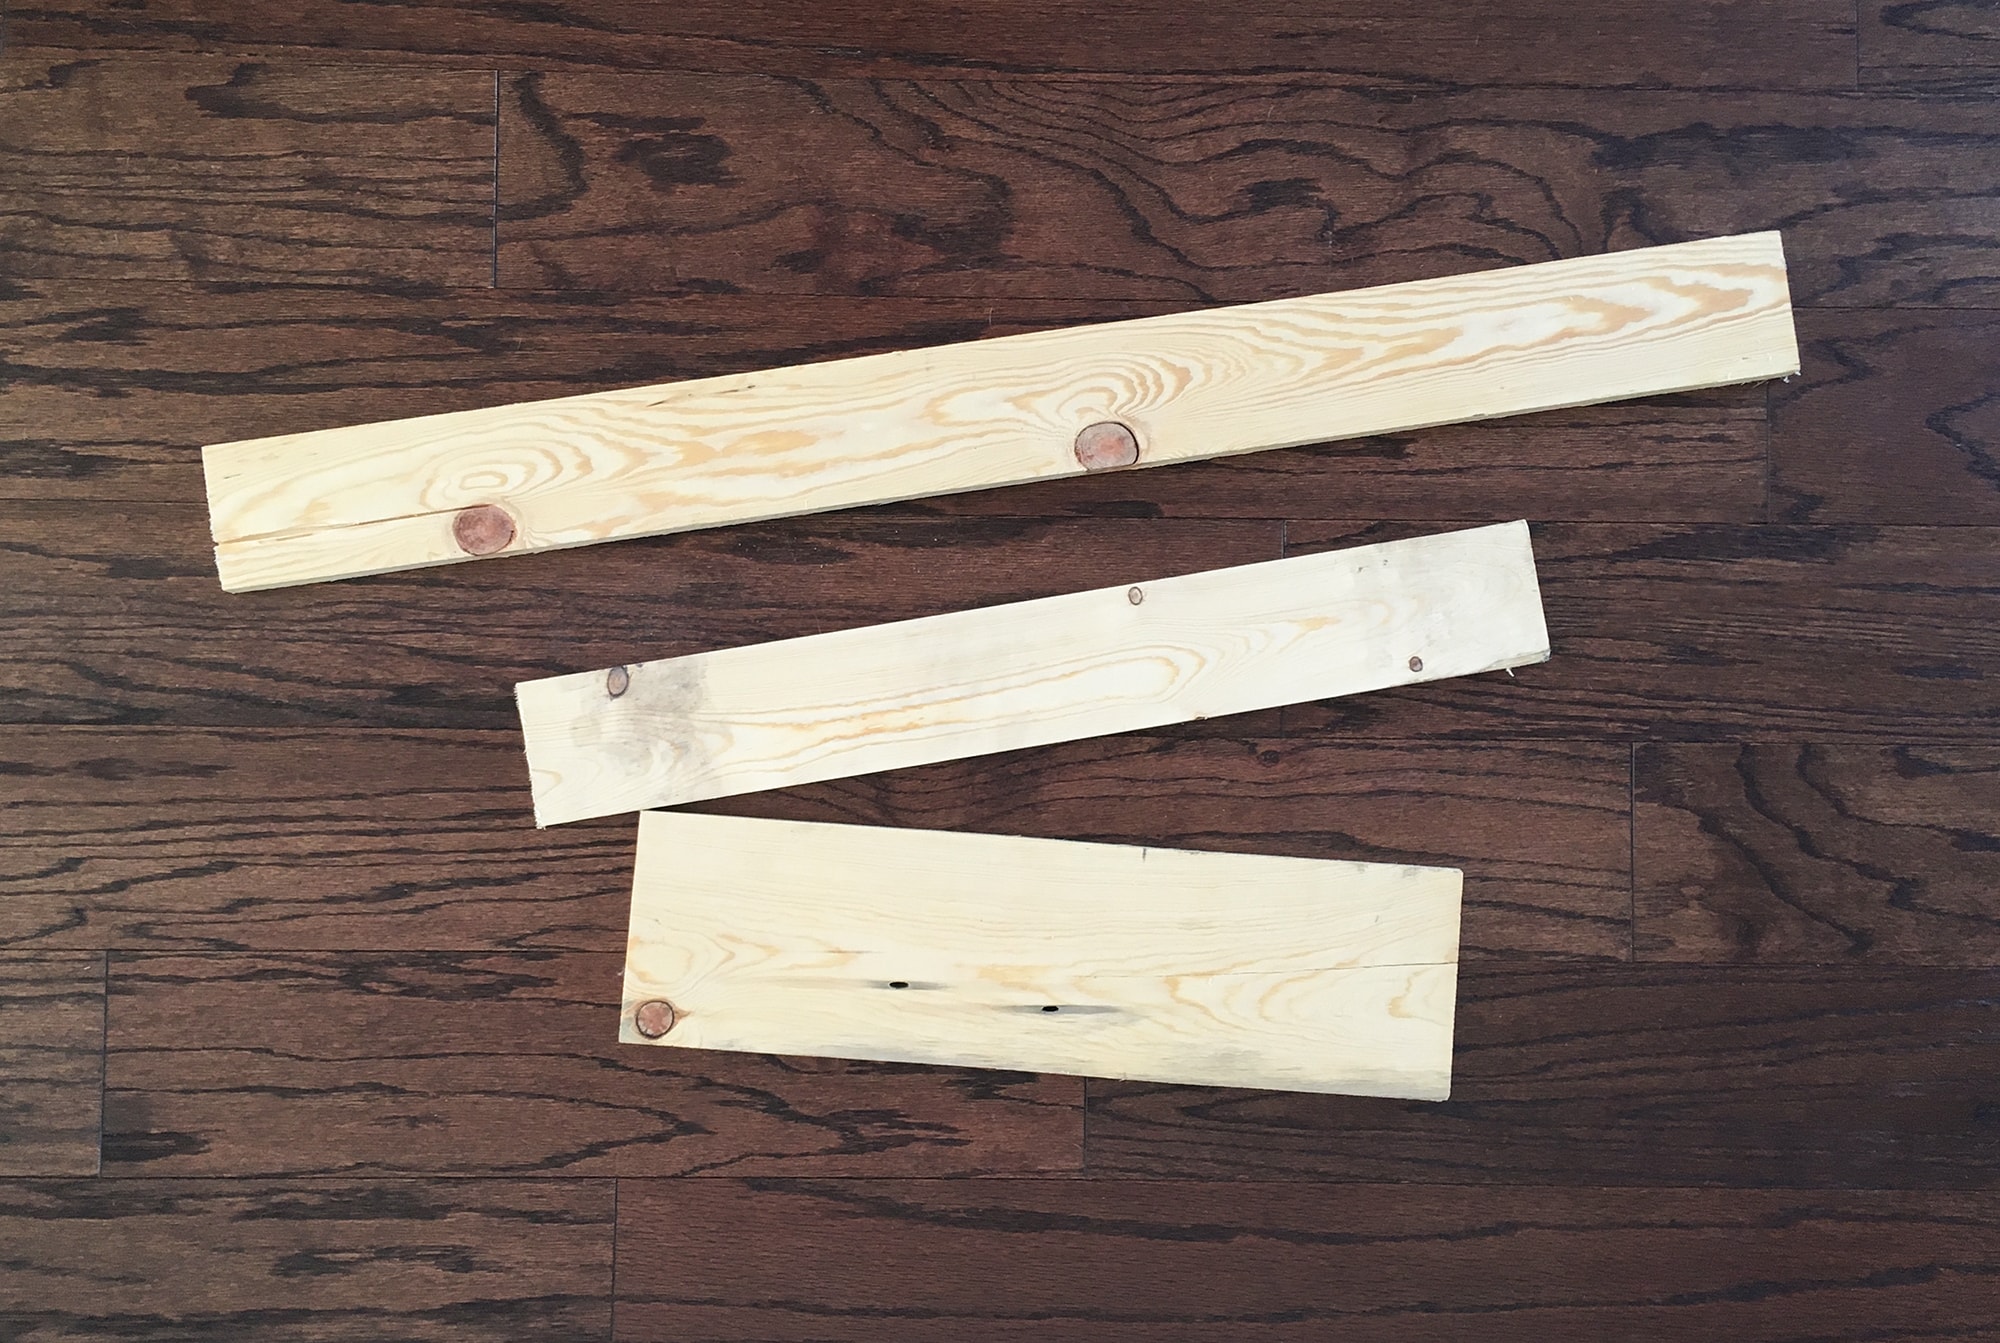
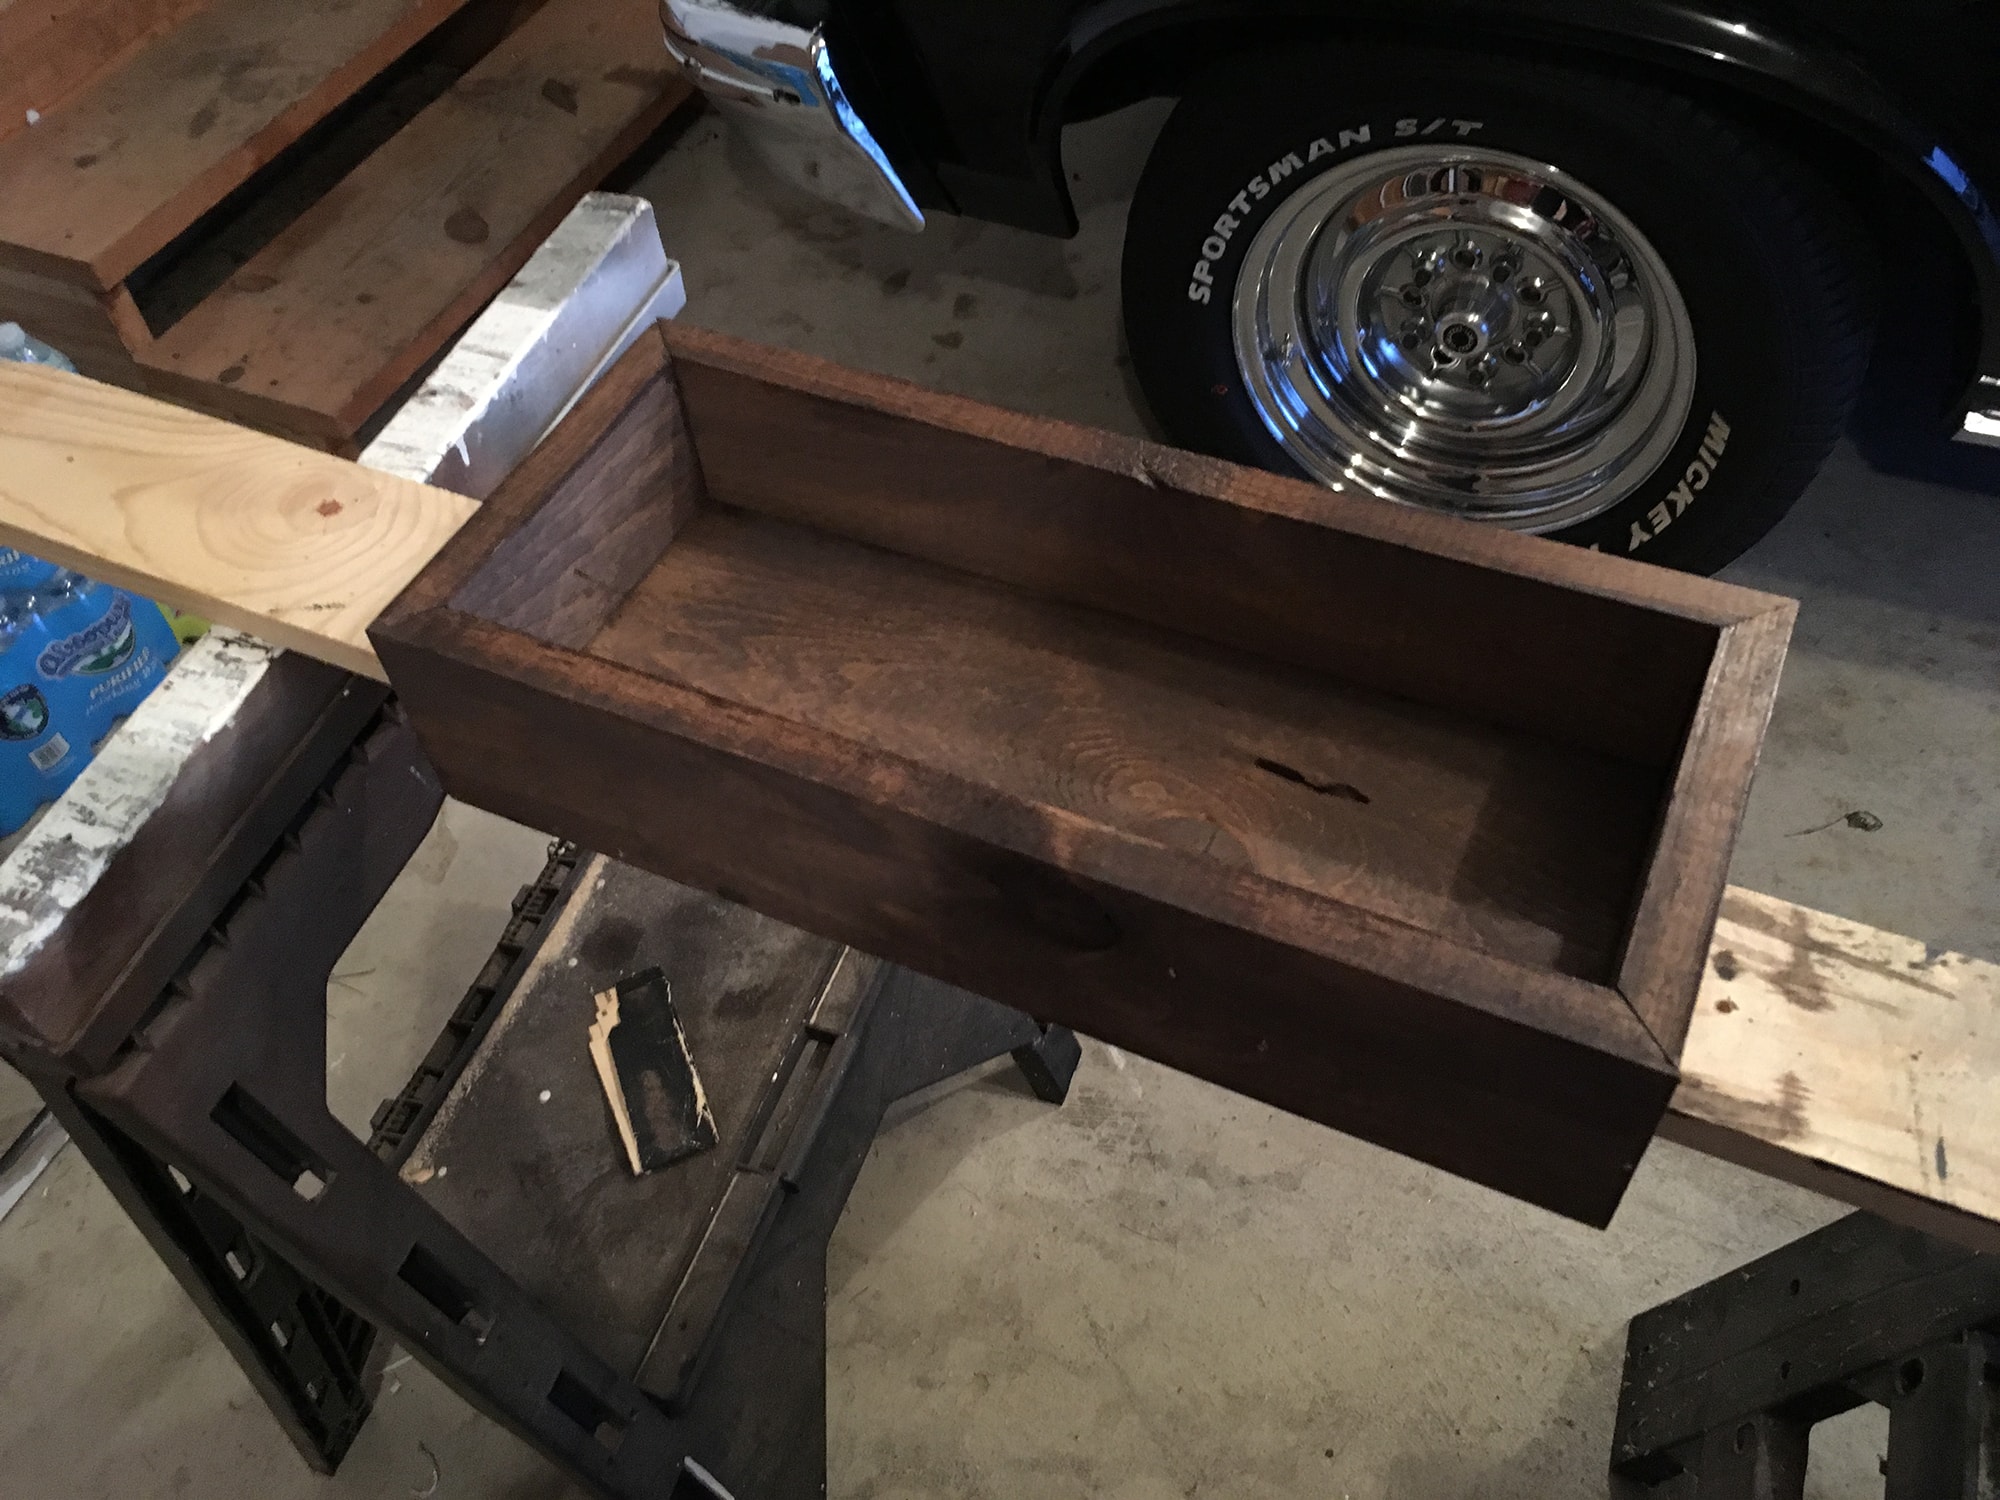
Once you’ve cut all your angles, your final wood pieces should look this this:
STEP 4 – Stain
We always like staining our pieces before the final project is put together. It makes things easier, without having to worry about getting in all the nooks and crannies.
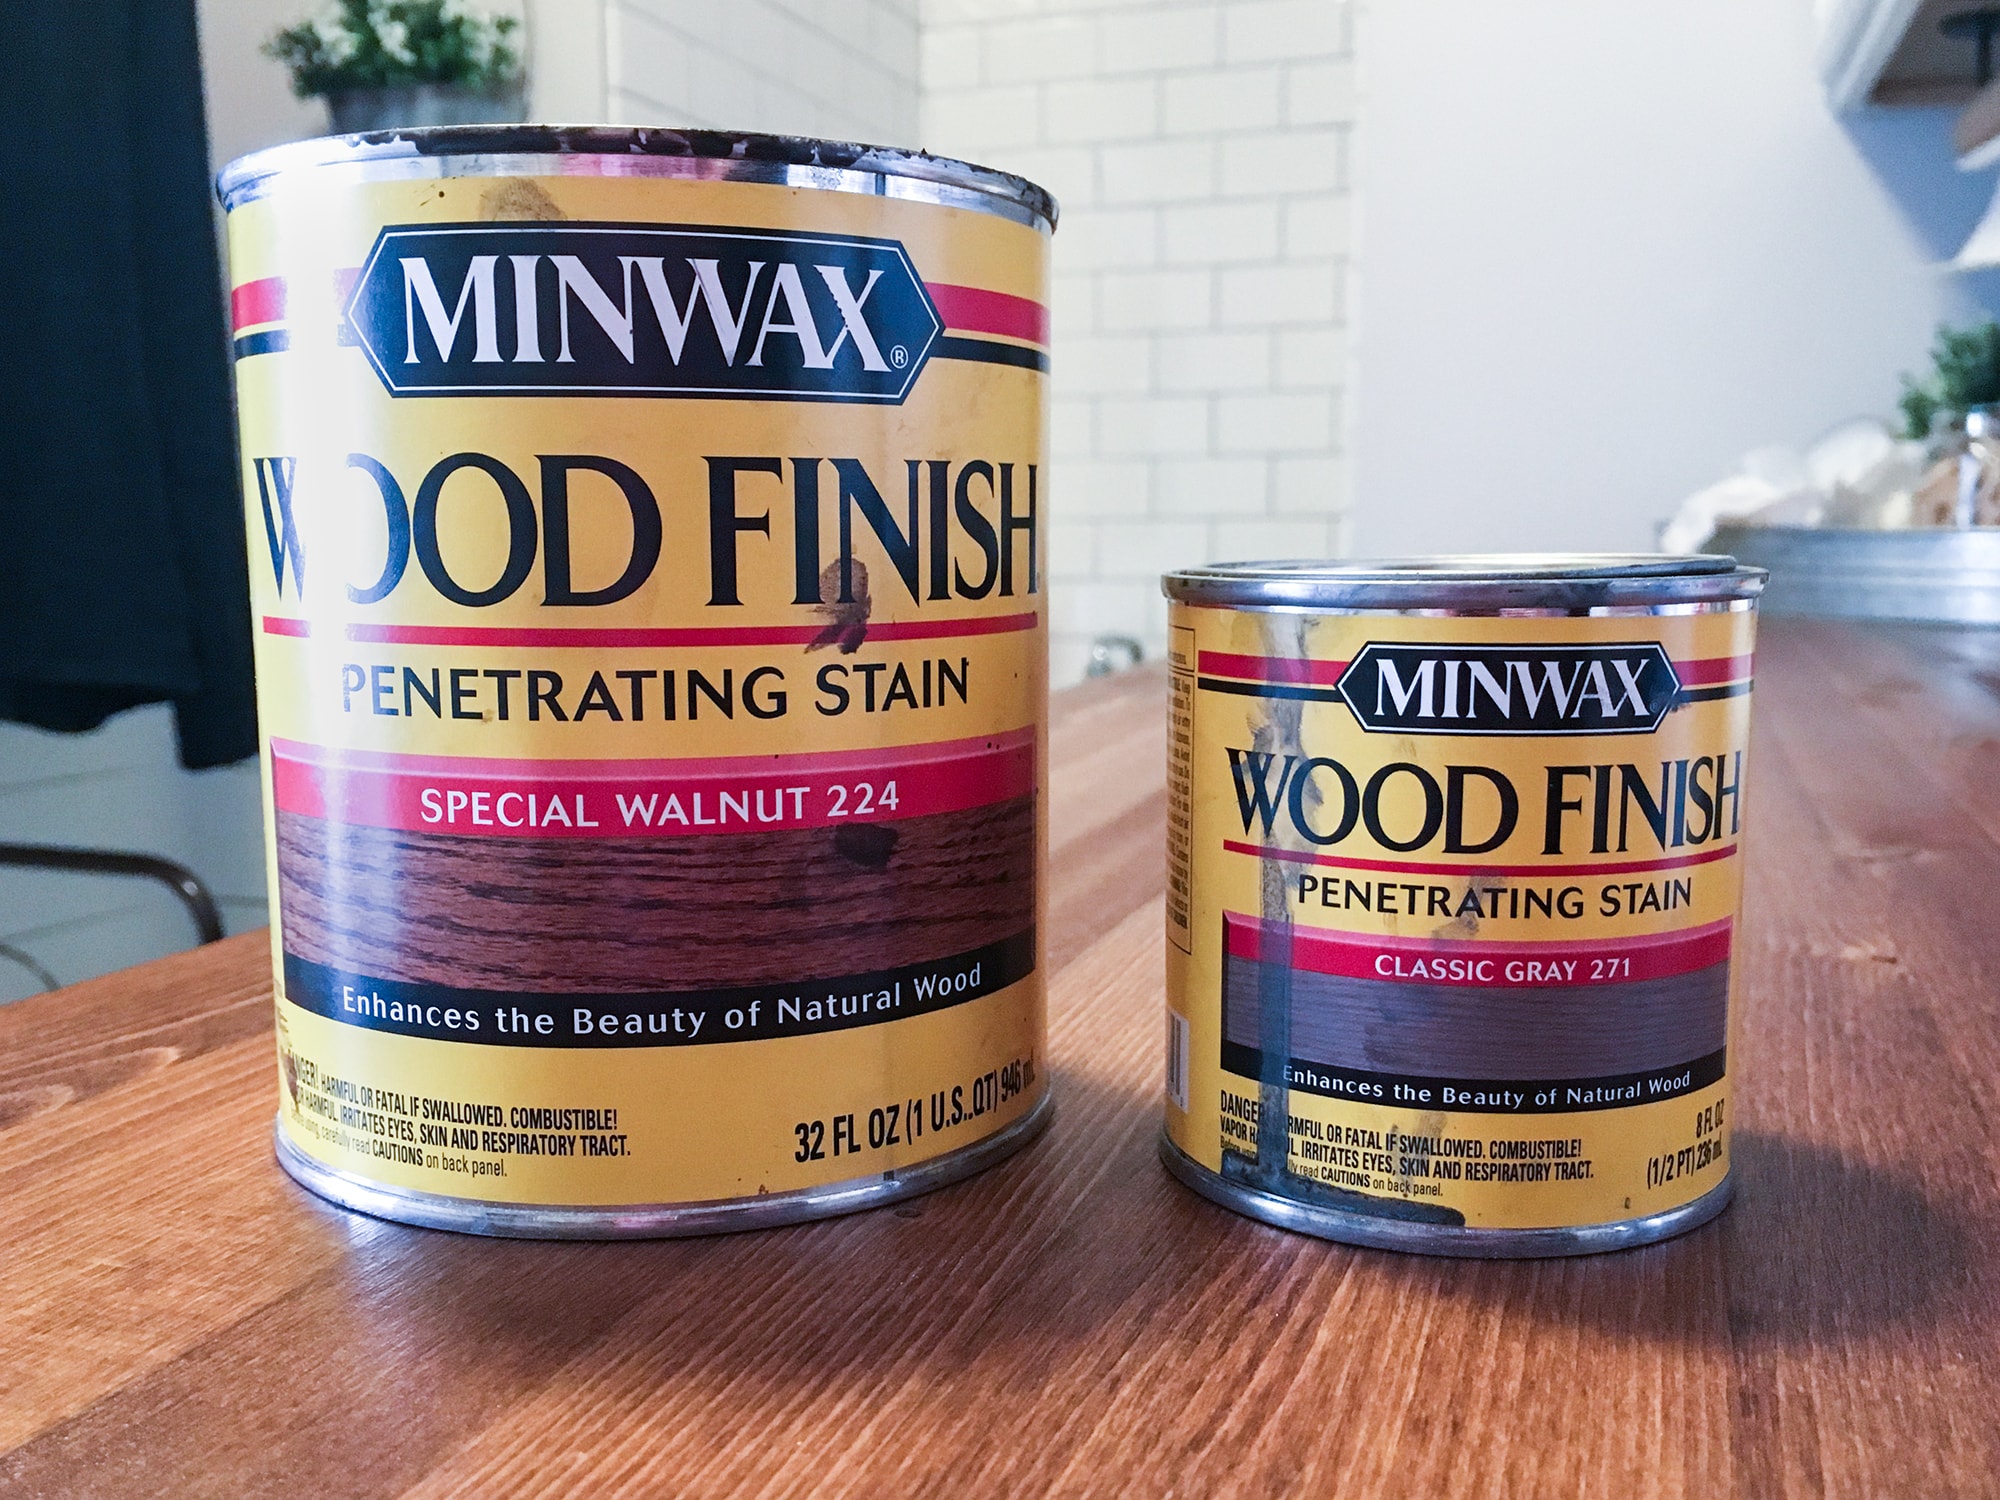
For this project, we used a combo of Minwax Special Walnut and Classic Gray. We used a foam brush to apply the special walnut stain and then wiped it off immediately (the longer it sits, the darker it gets). Then, we took another clean foam brush and applied a very thin layer of the classic gray. We wiped this one off a little couple minutes later, giving it time to set in. This was our preference for stain / color.
You can use whatever stain color you like best. You know what you like! Use your best judgement on this for yours 🙂
We opted out to add a polycrylic protective finish. If you see fit, you can always add it, but we didn’t think we needed it for this project!
Make sure to let your stain dry for at least 24 hours before putting it together!
Step 5 – Assemble
Yay! Time to put it together. We used both small finishing nails and wood glue to hold the box together.
First, glue all the edges of the boards together, one by one, using the bottom base board to start. To make sure it all sticks together, secure each of the side boards together with very small finishing nails, near the edges where the boards meet. We used 2 nails on each side where they meet. Then, we added additional nails along the bottom of each side board, that connected into the bottom base piece.

Completed!
Voilà! There you have a rustic looking wood centerpiece box for less than $5. Woot-woot!
Look how cute ours turned out! 🙂
This project can easily make a great homemade gift too! Valentine’s Day, or even a Mother’s Day gift – how simple and perfect!
What do you think?! Comment below and let us know, or even pin it!
More to come!


Nicely done, looks amazing!
Thank you!!
Love the creativity, keep it up Sammy 🙂
This is literally the BEST DIY post I’ve seen in terms of the step-by-step instructions, illustrations and pictures. WOW! Thank you for taking the time to show us the beautiful centerpiece.
Thank you so much!! That means a lot!