Well, we’re a litttleeee behind for week 3 of the One Room Challenge. But! We got everything we needed to get done, which is great. This week’s progress was the “messy” part of the bathroom remodel. The demolition!
Bathroom Demolition
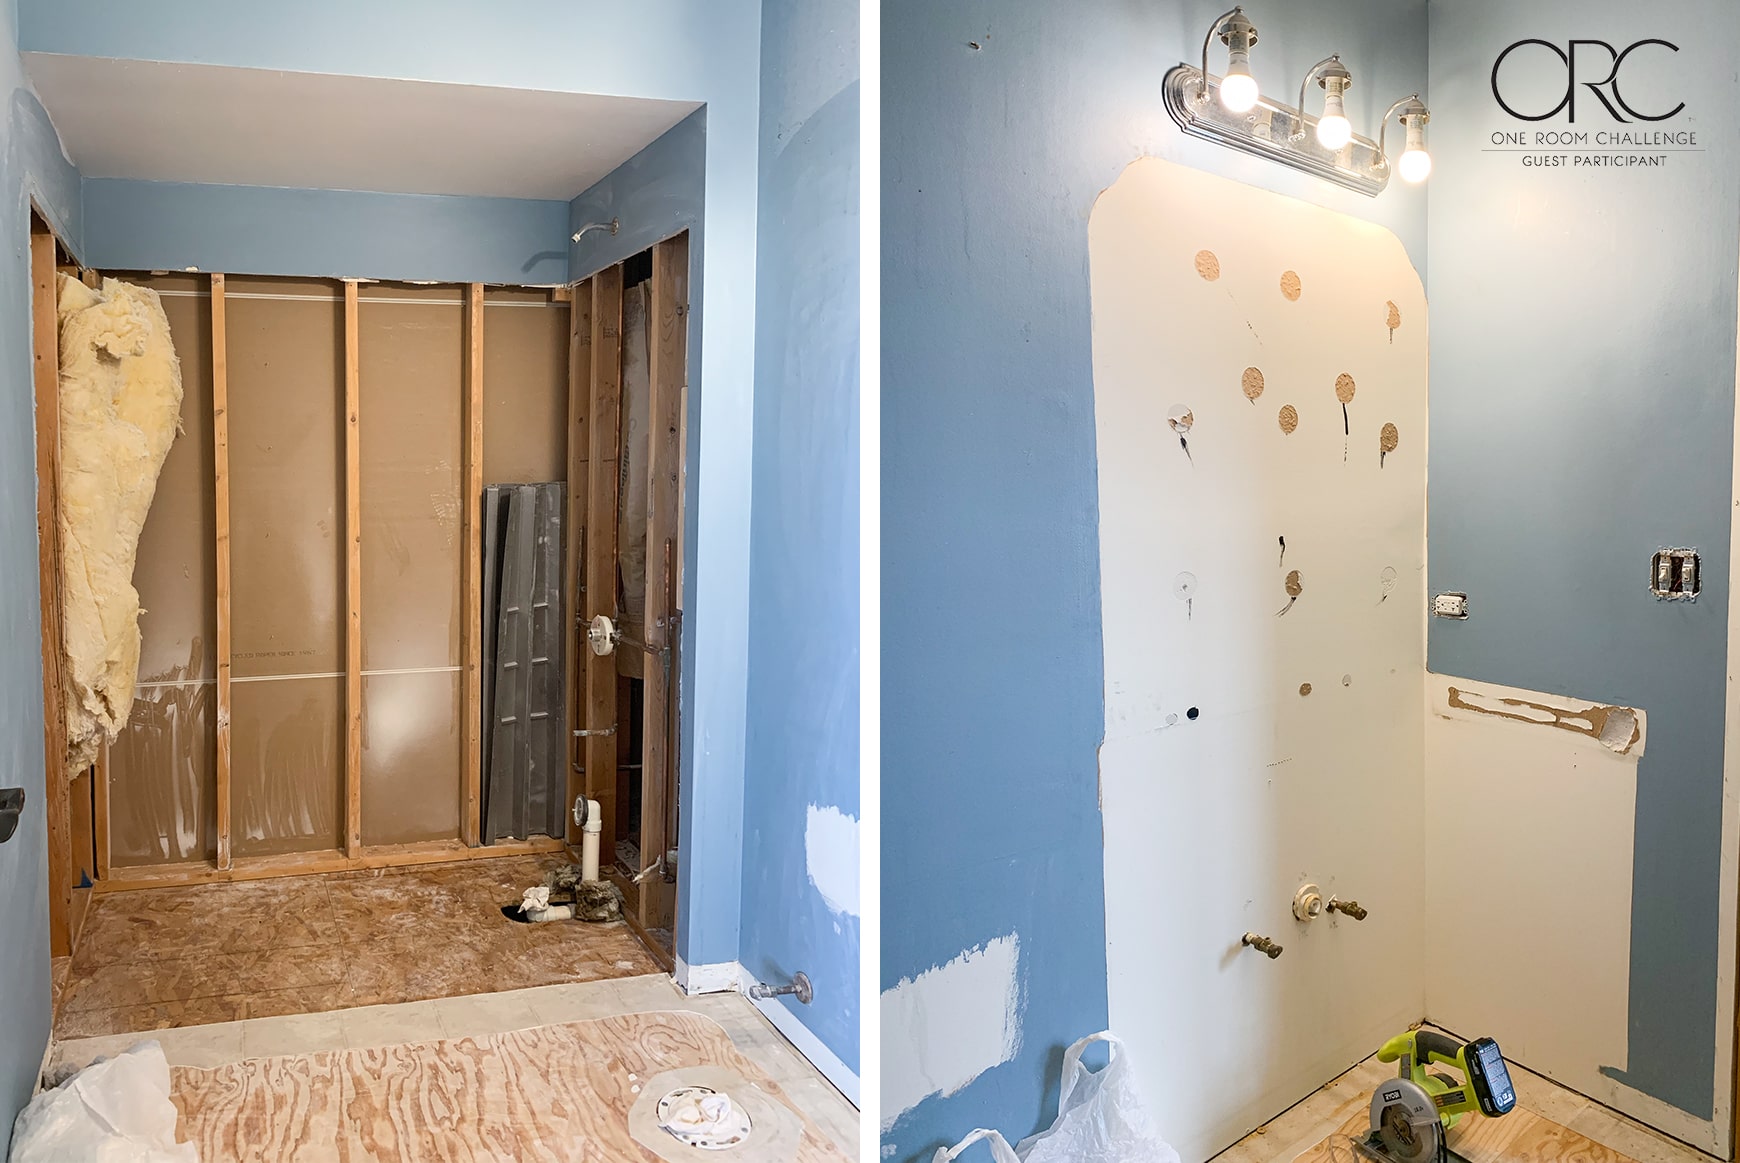
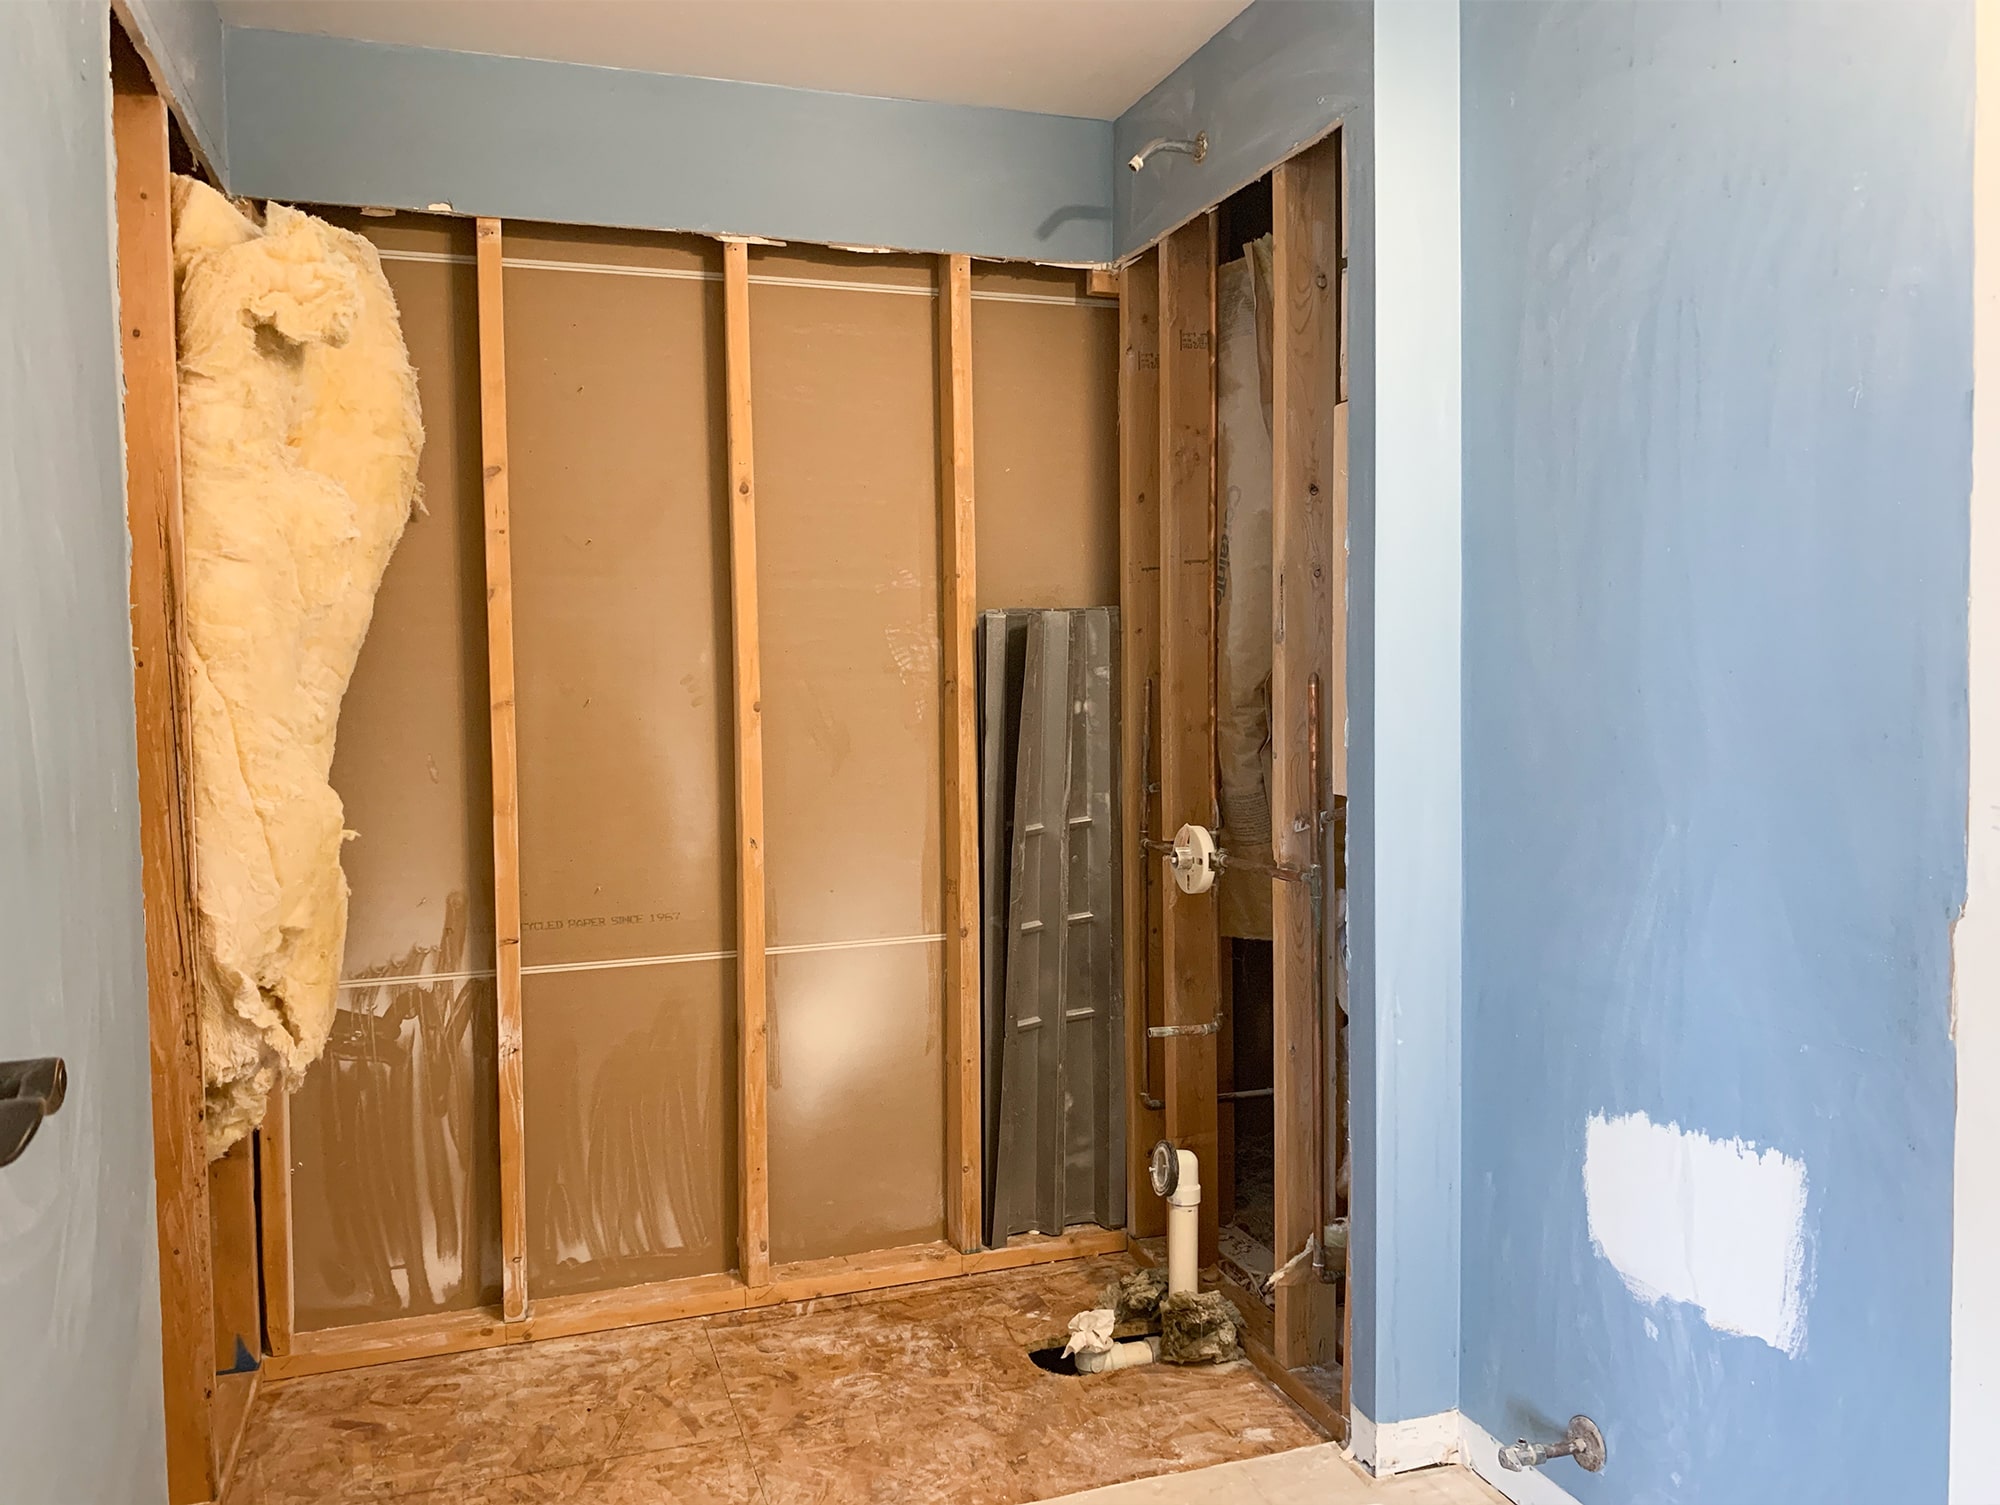
Everything in the bathroom is out, and we are down to studs in the shower area!
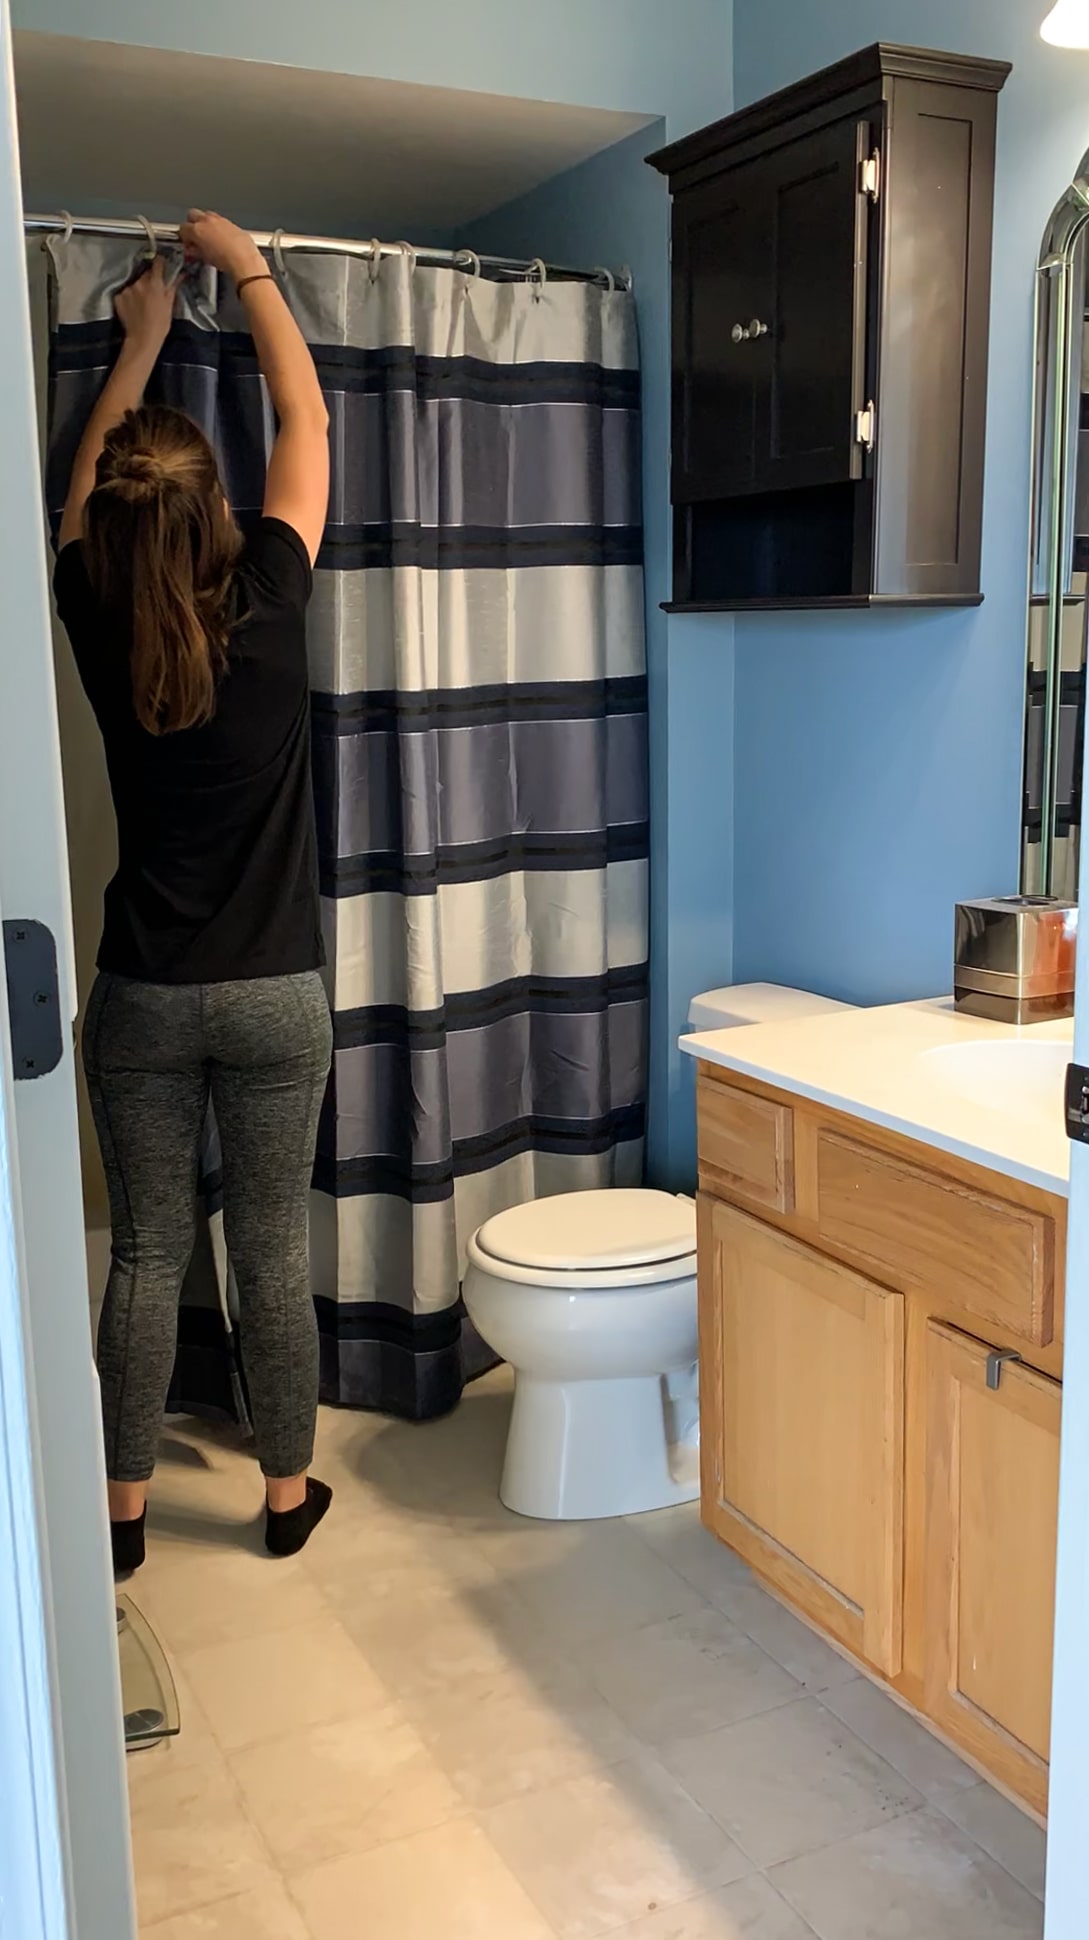
We started by removing all of the bathroom accessories, then moved onto the vanity area. As I mentioned in our week one post, our plan is to keep the vanity itself and give a major facelift. So, we kept the vanity cabinet, but everything else went to the curb!
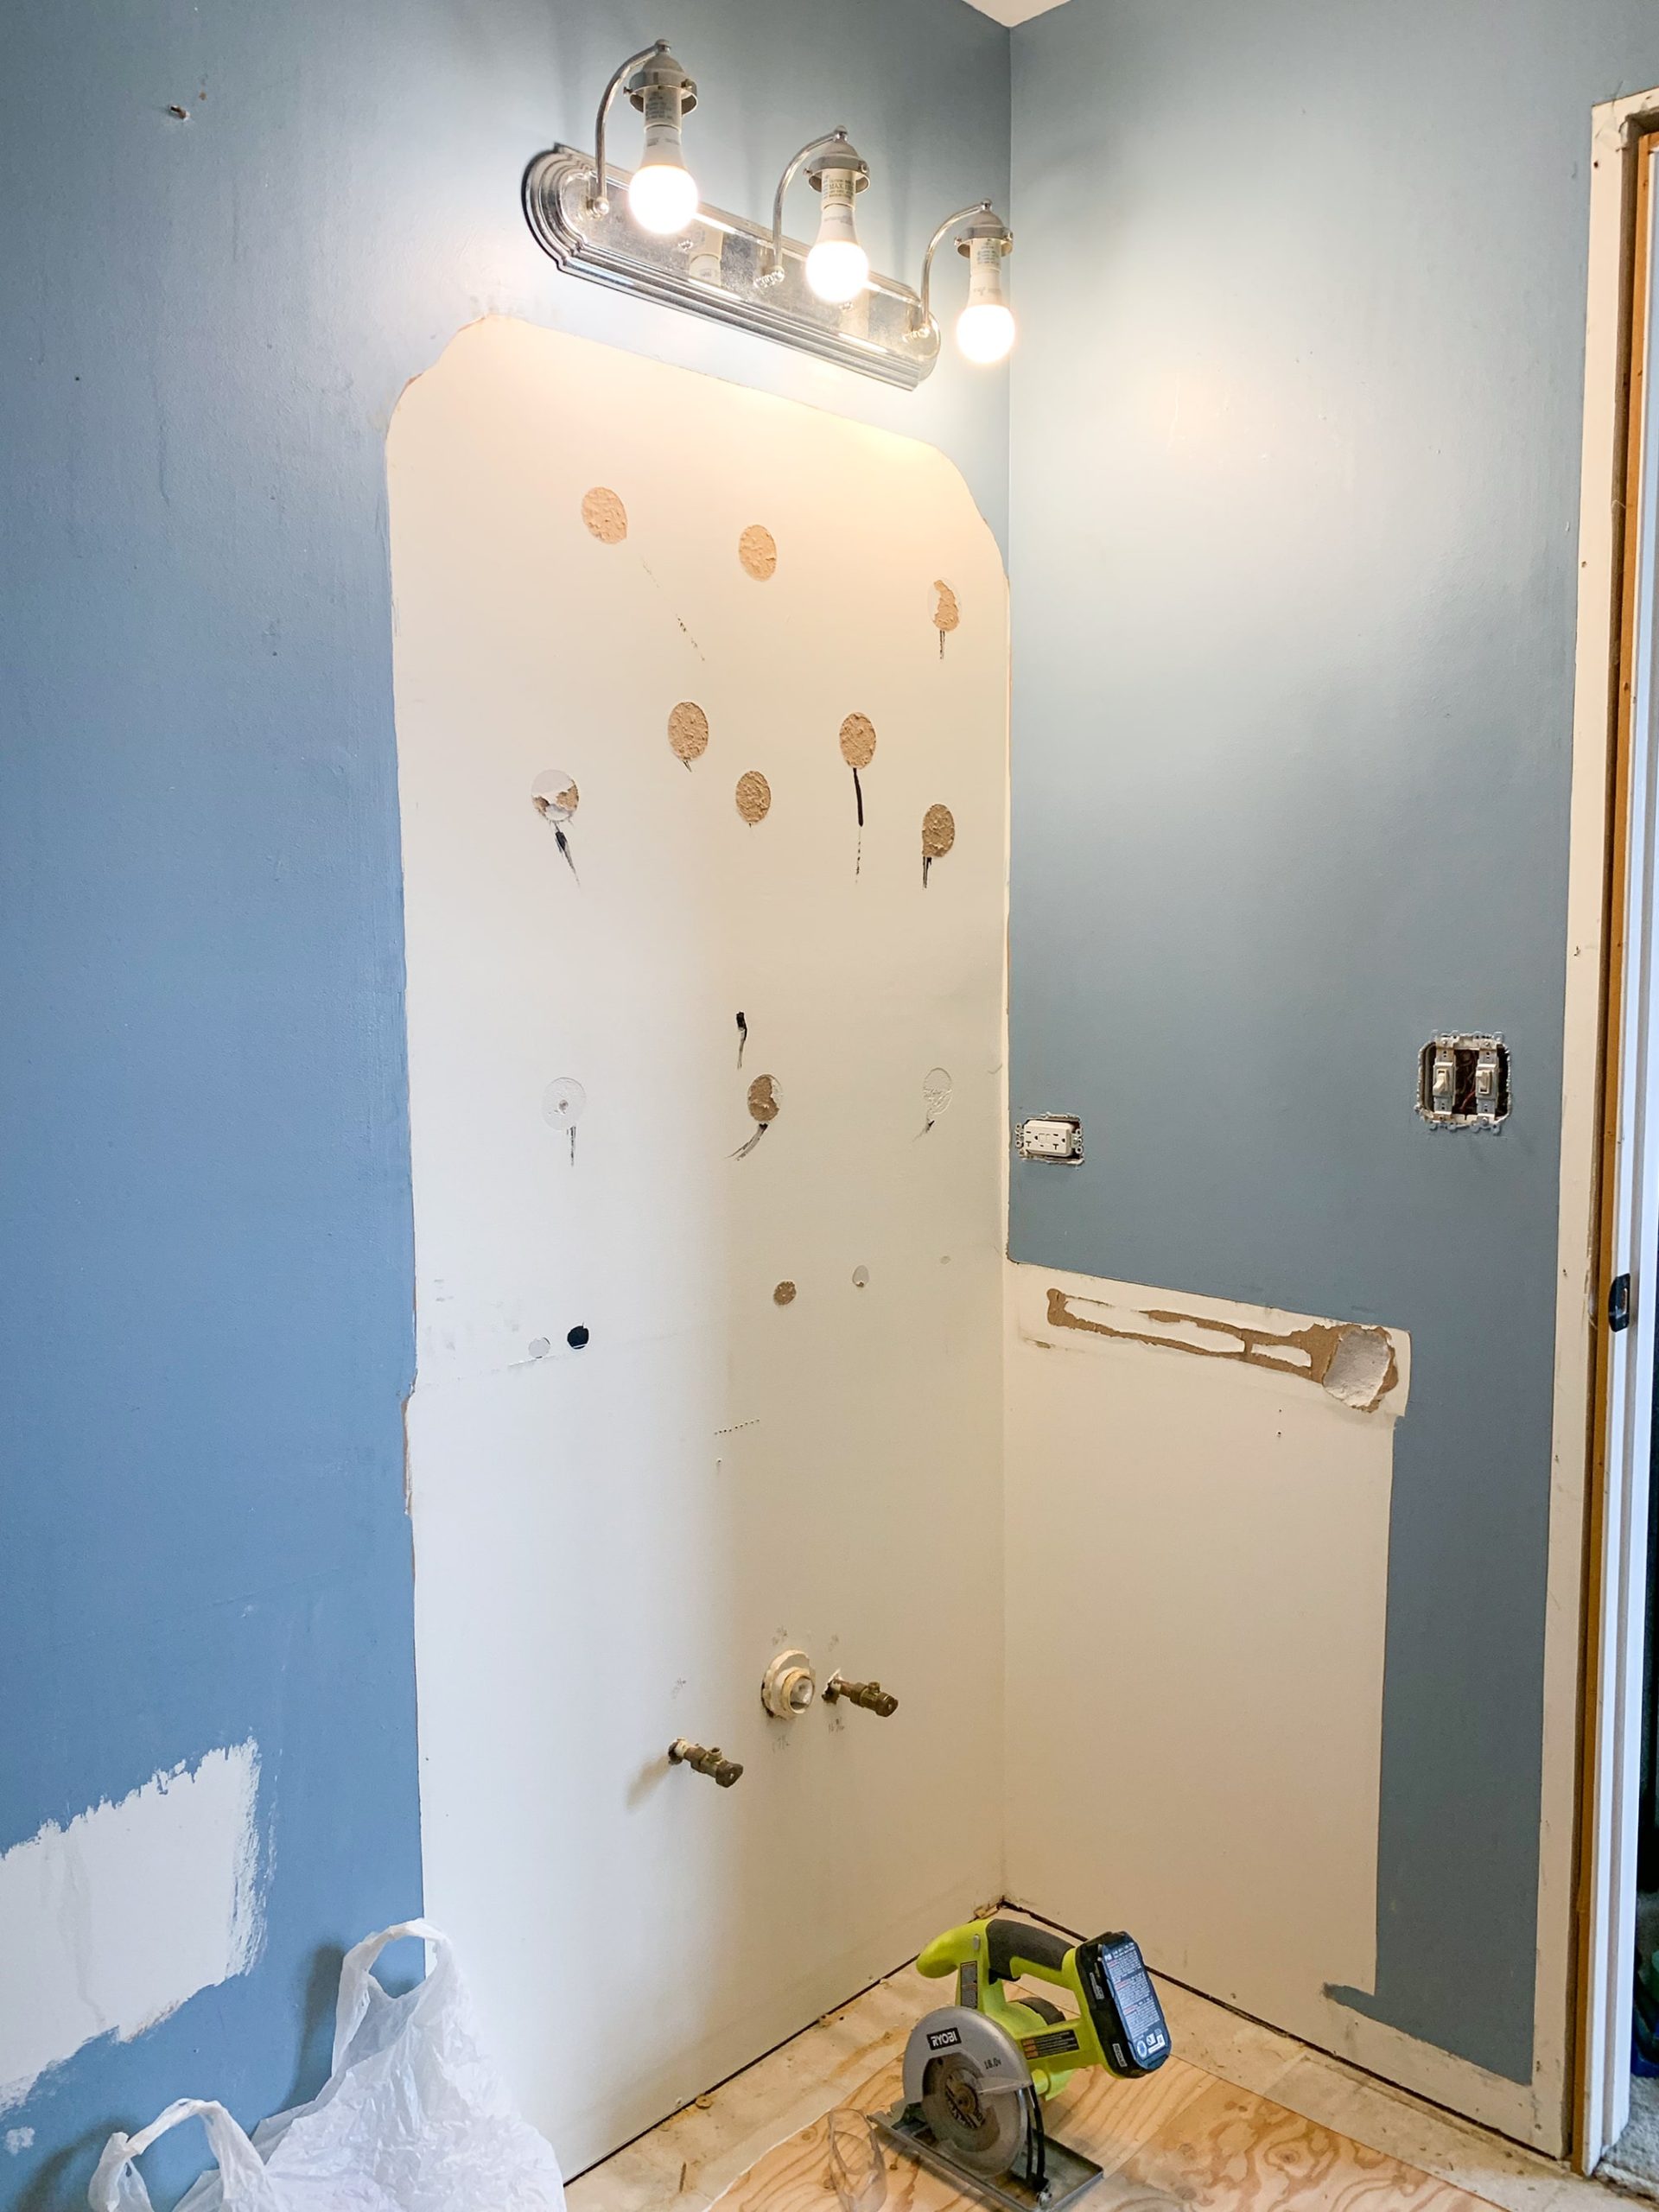
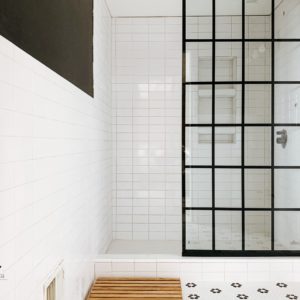
Removing Shower Tub Surround
I researched and watched a bunch of YouTube videos on how to remove a shower tub surround and it seemed straightforward, maybe even easy. Well, that was NOT the case for us! ? The shower tub surround was a pain to get out! SO messy too. But, lo and behold, we got it all out. Thankfully.
One thing I learned from my research that I did not know, was that shower tub surrounds are attached to studs, with a flange that is located behind the drywall. I guess I just never really thought about how it was attached! Since we weren’t remove all of the drywall around the shower tub area, we used our multi-tool to cut around the surround to expose the flanges. This gave us a nice clean, straight cut which will make seeming together the drywall a lot easier!

Now, cutting out the entire surround… that was a whole different story. The flanges were attached with flat head nails, that were damn near impossible to pry off! If the builder would have used screws, WOW. It would have been so much easier to get out.
We used our reciprocating saw, multi-tool, AND angle grinder to cut the surround into pieces and to pry it off. It. was. a. mess. It’s definitely safe to say that I’m super happy that we’re past this part of the project!
Removing the Linoleum Floors and Plywood
The next fun part of the demolition… pulling out what felt like 10 million staples from the subfloor. If you follow us on Instagram, you know I’m talking about. ?
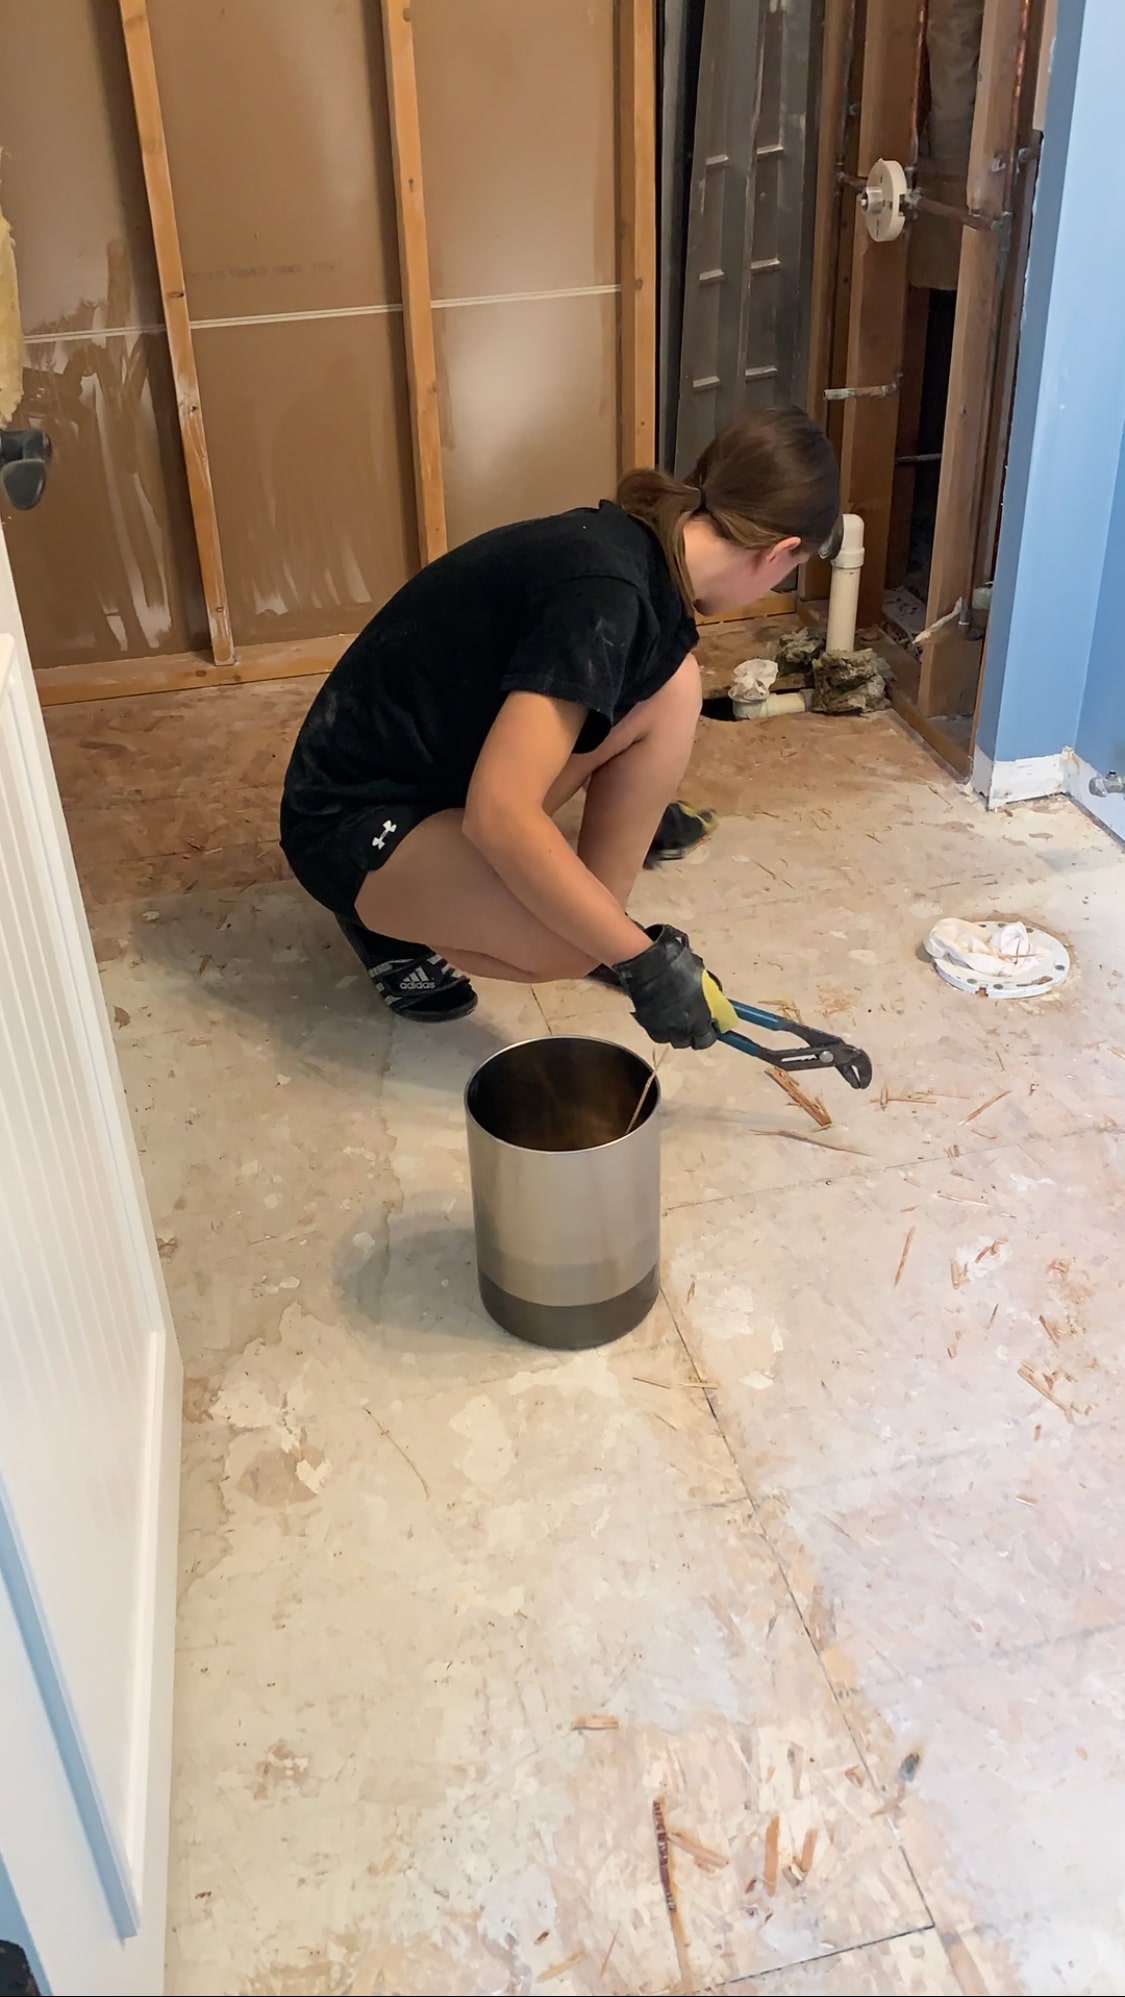
When we renovated our main flooring when we first moved in, we had to complete this same process to remove the linoleum flooring in the kitchen. Since linoleum is so thin, you’ll usually see that the builder adds a 1/4″ thick plywood board on top of the subfloor to add the linoleum. Well, whoever built our house, they loved, and I mean LOVED the staple gun. I’ve never seen so many staples before in my life. During that renovation, I pulled out so many staples. I wish I had a count of how many it was.
Well, our bathroom was the exact same way. Thankfully, this time around, Brad was able to get most of the staples up with the plywood. However, there still were a ton of staples left in the subfloor. How many you ask? 116. 116 staples. In a 36 square foot radius. When realistically, 85% of them were already pulled up with the plywood. See what I mean? They went staple gun-crazy!
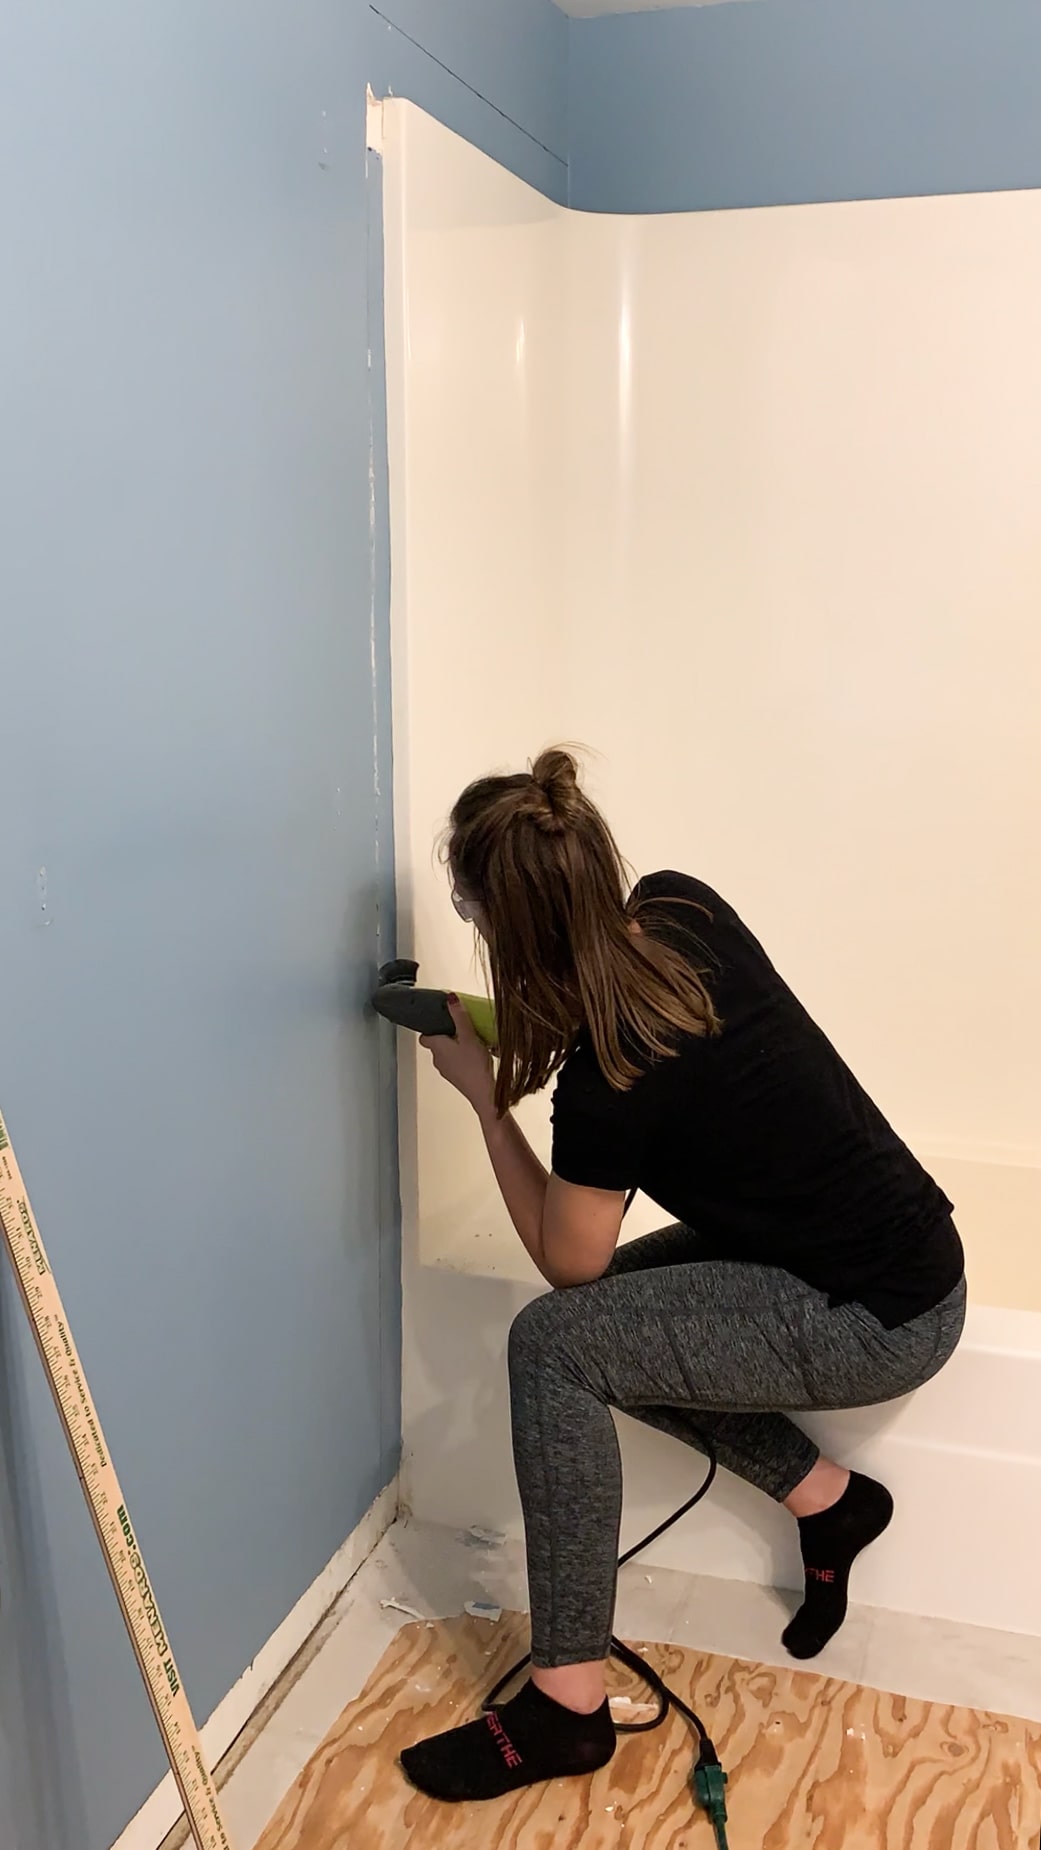
What’s Next for Our One Room Challenge?
Since everything is gutted, we’re ready to start putting it back together!
Our next steps:
- Install shower niches
- Add new drywall in the shower area
- New plumbing for the shower system
- Paint
I’ll be honest, plumbing is not for us. We’re not the best at it, and we’re a little nervous about this part. Especially after taking a look at how it’s currently set up. Thankfully, my dad knows his way around plumbing, so I have a feeling I’ll be giving him a call this week to come help out!
If we’re able to complete everything above this upcoming week, then we’ll be in good shape to stay on track for the One Room Challenge! So fingers crossed we can get it all done. ??
I’ve been posting all the details on our Instagram stories, so be sure to follow along there if you want to see more in-depth progress (almost on the daily!). Or, subscribe to our blog to get notifications for any new ORC posts.
I know this week was nothing too exciting over here for progress, but if you’re interested in more room transformations or project ideas, check out what the other participants of the ORC are up to!