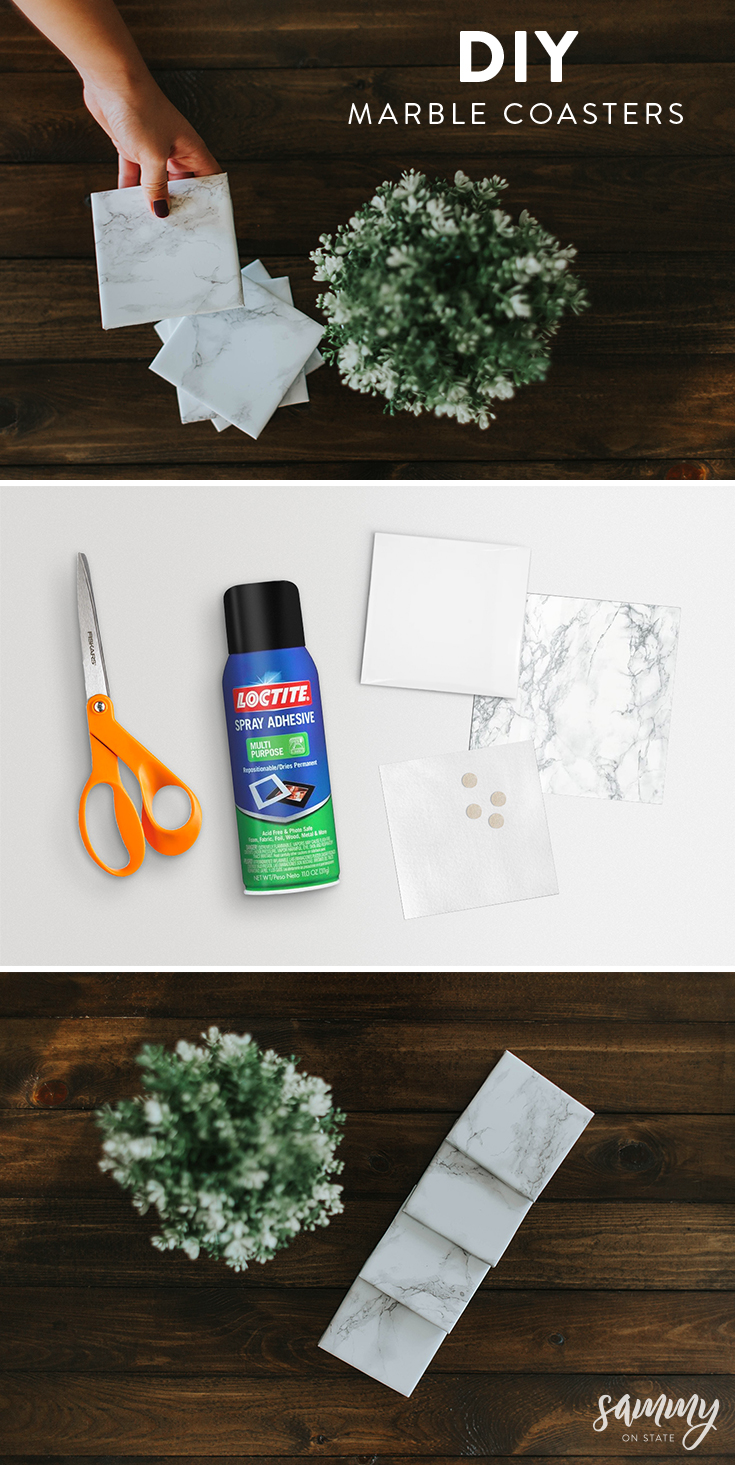
Hello everyone!
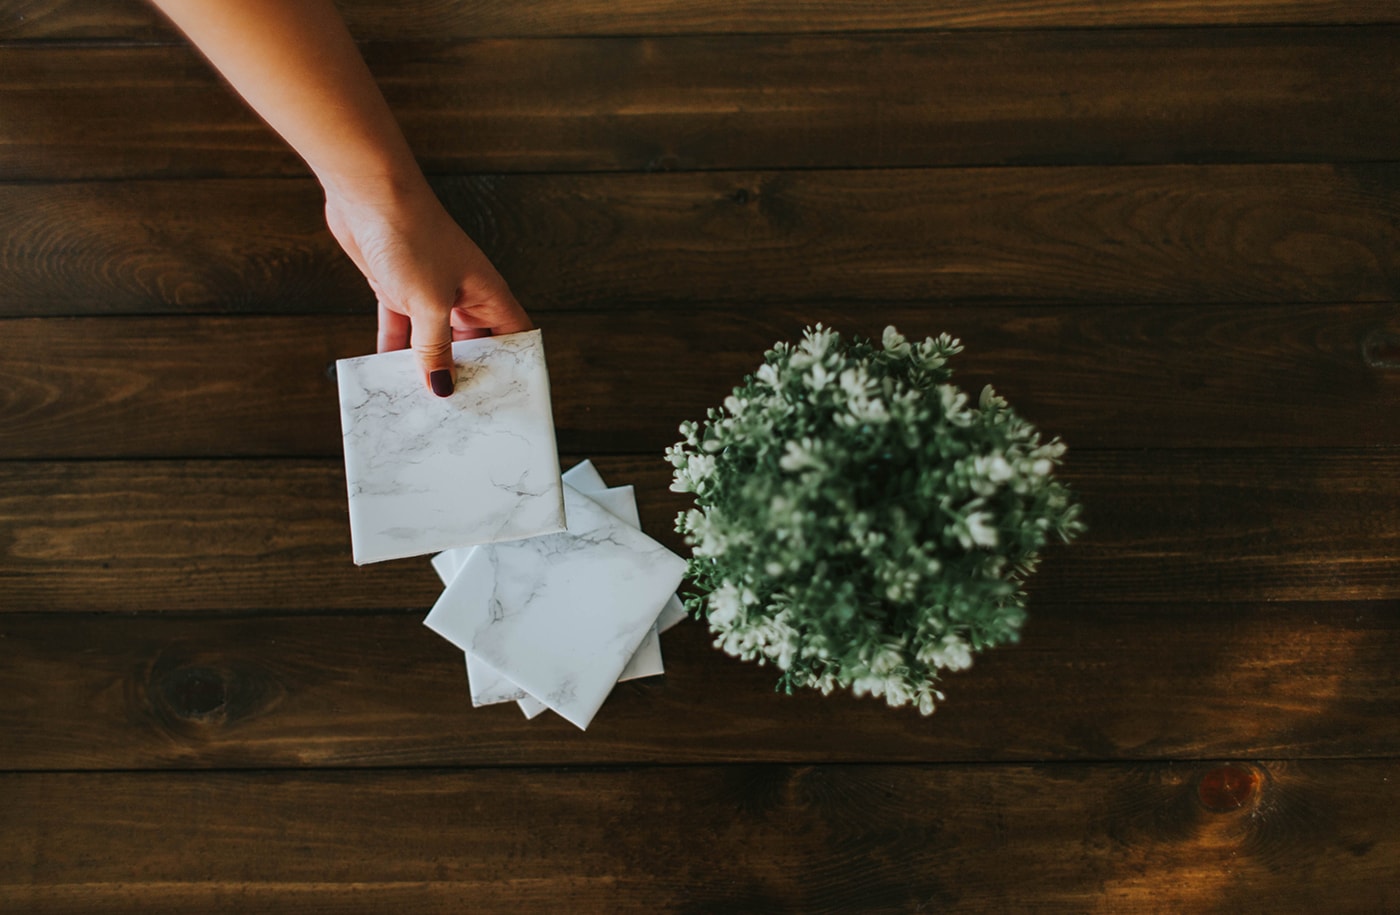
We had some left over contact paper from a recent DIY faux marble table top project (which we will post about at a later date) that we wanted to use up. So! We decided to try and make our own marble coasters for the fraction of the price of real marble coasters.
$$$$$ look for $ 😉
This post may contain affiliate links where we earn a small commission on your purchases at no additional cost to you.
What you will need:
- Square ceramic tiles
- Marble contact paper
- Scissors / exacto knife
- Felt or 3/8-inch felt guards
- Spray adhesive

STEP 1:
Cut the contact paper slightly larger than your tile. (about 3/4 – 1 inch on each side of the tile)
This will allow you to fold over the edges to cover the sides and fold underneath the tile. The seams will be underneath the coaster. Soooo, no one will see them. 😉
STEP 2:
Spray the top of the tile with the spray adhesive. Let the tile sit for a little bit (a few seconds) in order for the top to become real sticky. Make sure there is an even amount of adhesive on the top of the tile.
– tips –
1.) Don’t touch the top of it.
2.) Spray the adhesive on the tile away from where your work station is. If you don’t, once you set the tile down it ain’t coming back up… 😉 Learning from experience
STEP 3:
Pull the guard paper off the back of the contact paper. Take your contact paper and center it above the top of the sticky tile to make sure all sides are equal. Then starting from one side of tile, you’ll want to put/smooth the contact paper down very carefully from the one side of the tile, and continue slowly to the other side, smoothing it out with your hand as you go. You want to do this to ensure no air bubbles. If there are air bubbles, use the palm of your hands to gently press out the air bubbles.
– tip –
Remember the tile is sticky as well as the contact paper. You really only get one good shot at this. CONCENTRATE.
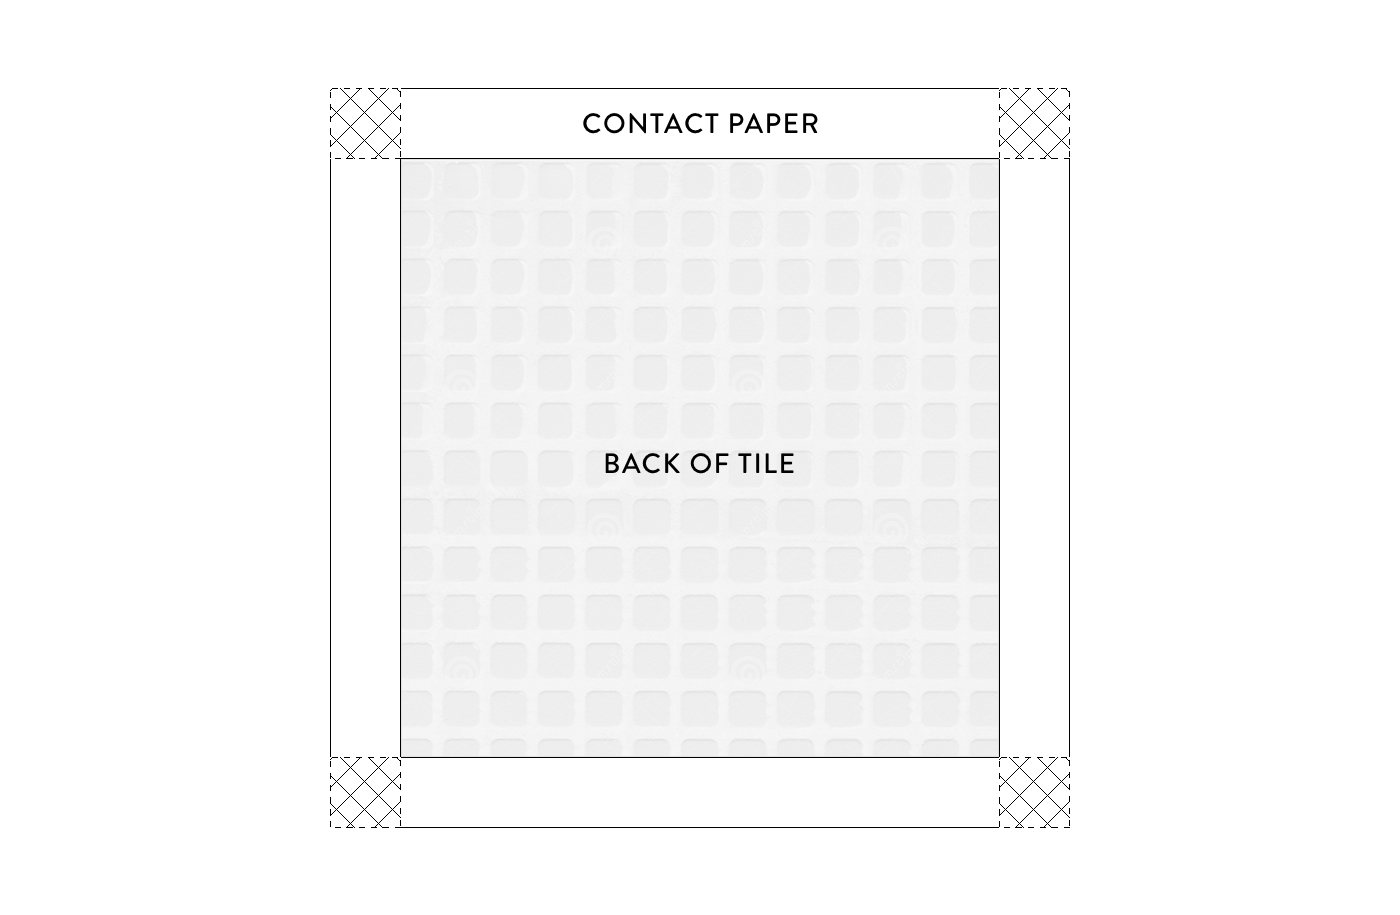
STEP 4:
Once the contact paper is on the top of the tile, flip over the tile. With your tile laying upside down, you’re going to cut the corners of the contact paper to the corners of the tile. You should be cutting out a square on each corner of the tile. This way, the contact paper does not overlap. (See the diagram below)
Once the contact paper is cut, fold the edges over to the back side of the tile. Make sure you pull the paper tight as you wrap around the backside.
STEP 5:
Felt Squares
Cut square felt pieces, 1/4 inch smaller than the tile size. Spray the back of the tile with the spray adhesive and let it sit a couple seconds. Then, place the felt square on the back side of the tile. Press/smooth down with your hand.
Circle Felt Guards
Depending on your preference, you can use the circle felt guards instead of the felt squares. Sarah decided to use the felt circles because she figured it was easier. LOL.
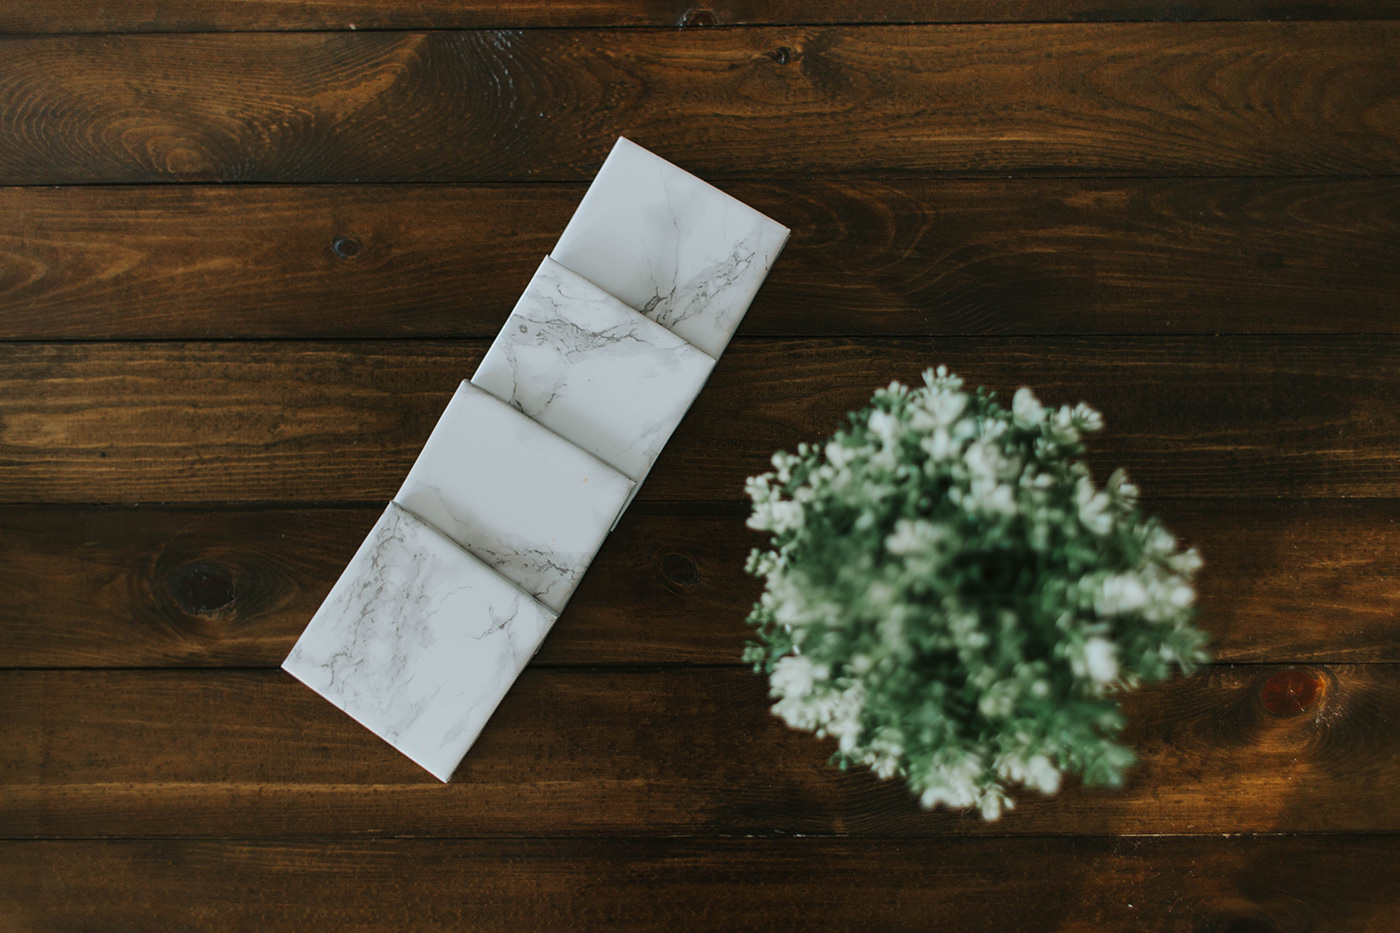
AND THAT’S IT.
If you have any question feel free to comment below and don’t forget to share!