I can’t believe it. I really cannot believe it! Our master bathroom is finished! Since the day we moved into this house, this bathroom was on my list of demos. I honestly wanted to throw a grenade in it the minute I saw it. (Like the rest of the house…LOL)
This remodel was by far our hardest and most rewarding. The space is so spa-like and relaxing now. It’s awesome to go in there at the end of the day and take a shower (or bath – yes, I can finally take a bath now without having only my butt cheeks underwater, LOL!)
Here it is guys – my master bathroom reveal!
BEFORE
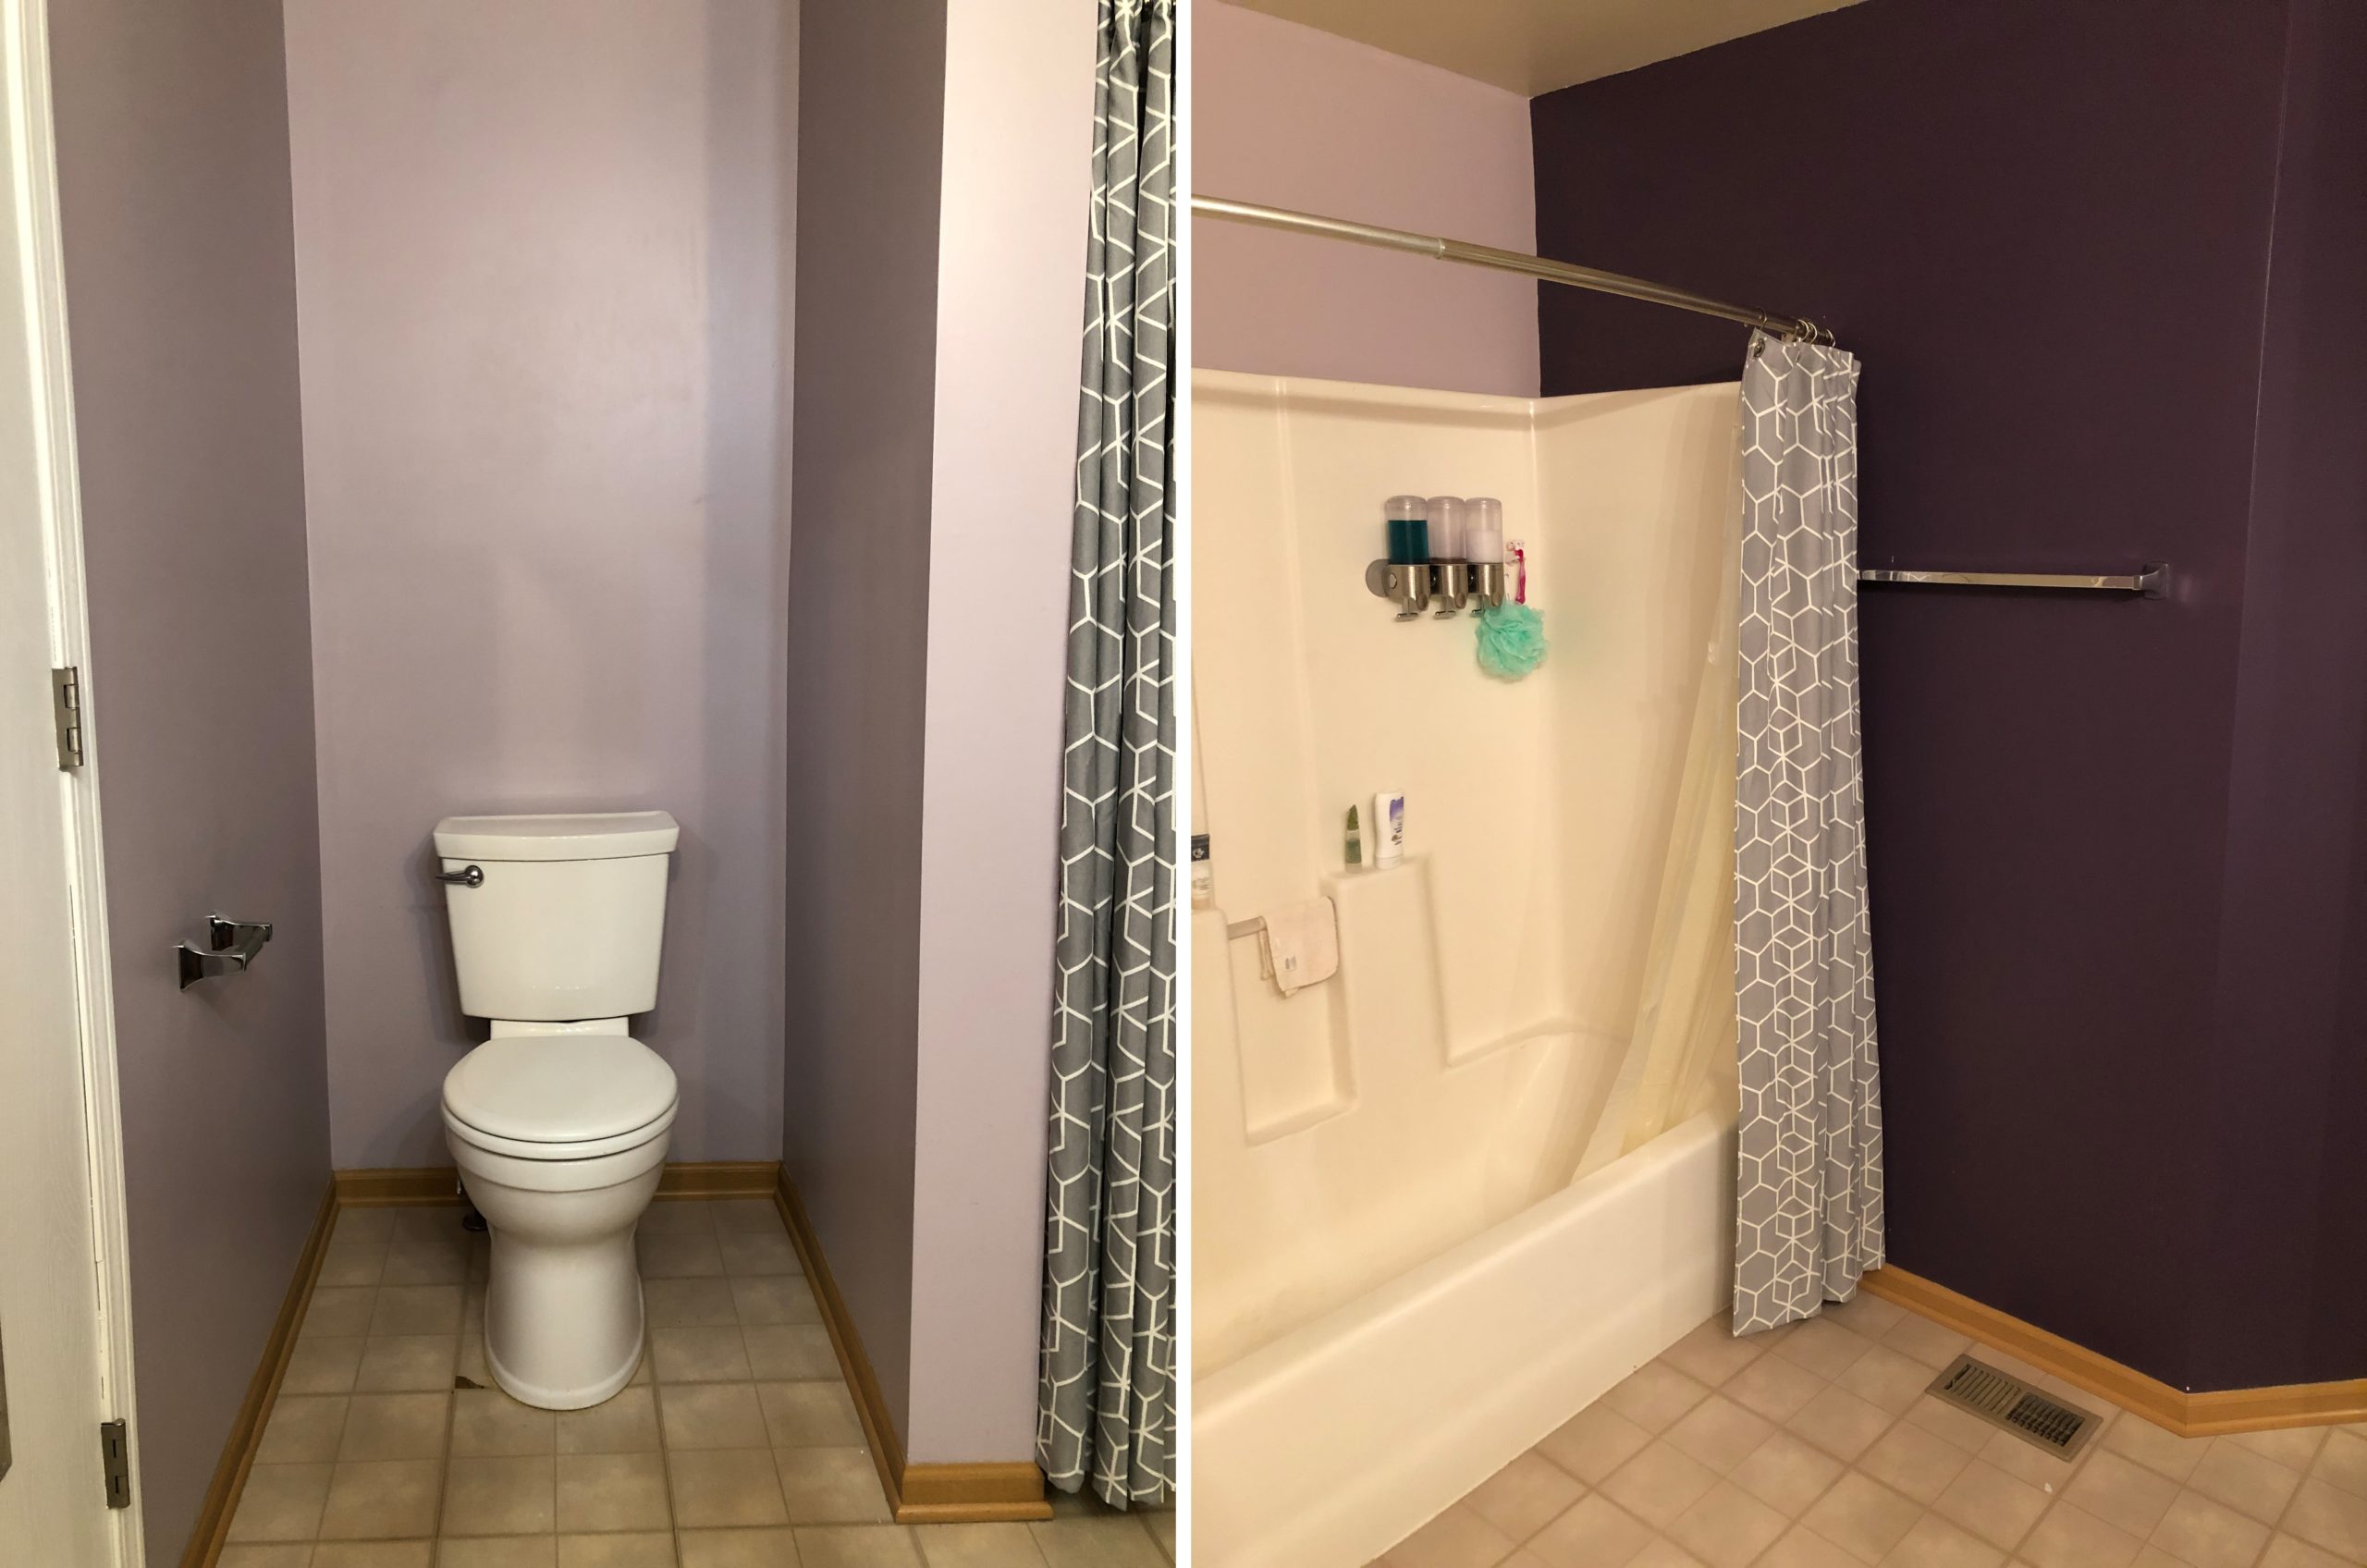
Purple. Purple. PURPLE. BLAH! I was so happy to say goodbye to that color.
I also bought that shower curtain when we moved in thinking it was going to hopefully hold me over until we remodeled… LOL boy was I wrong!
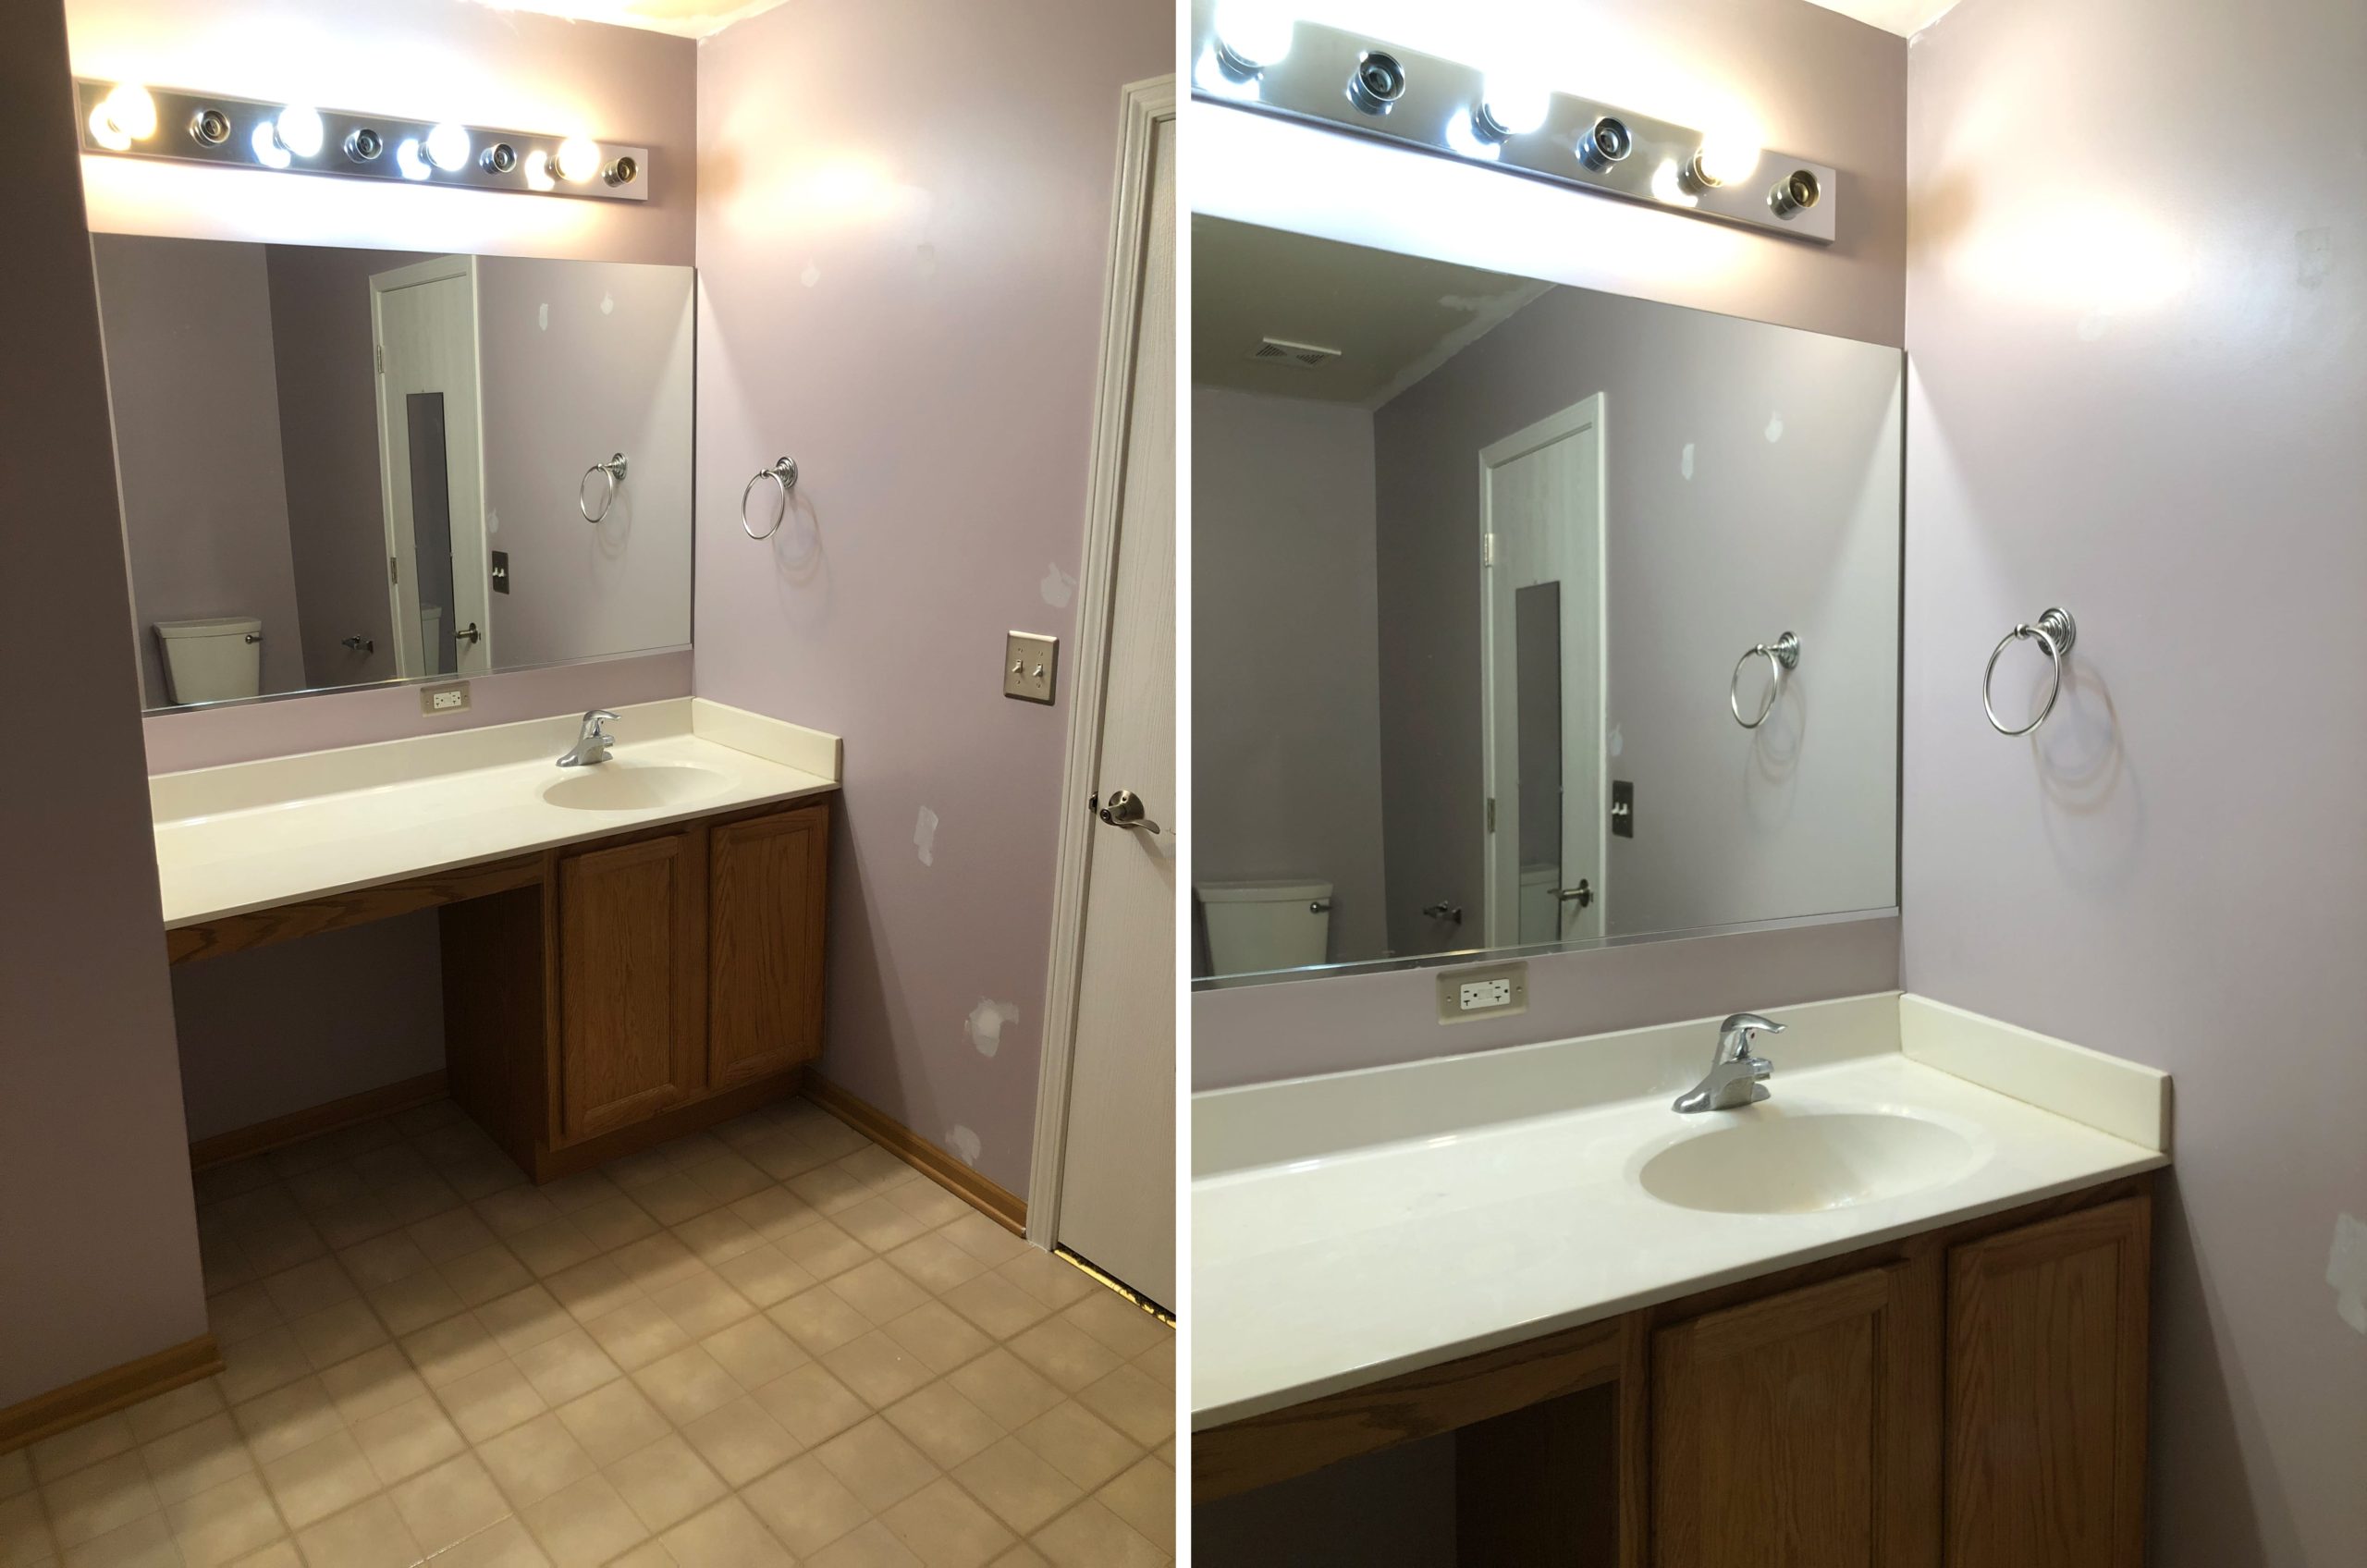
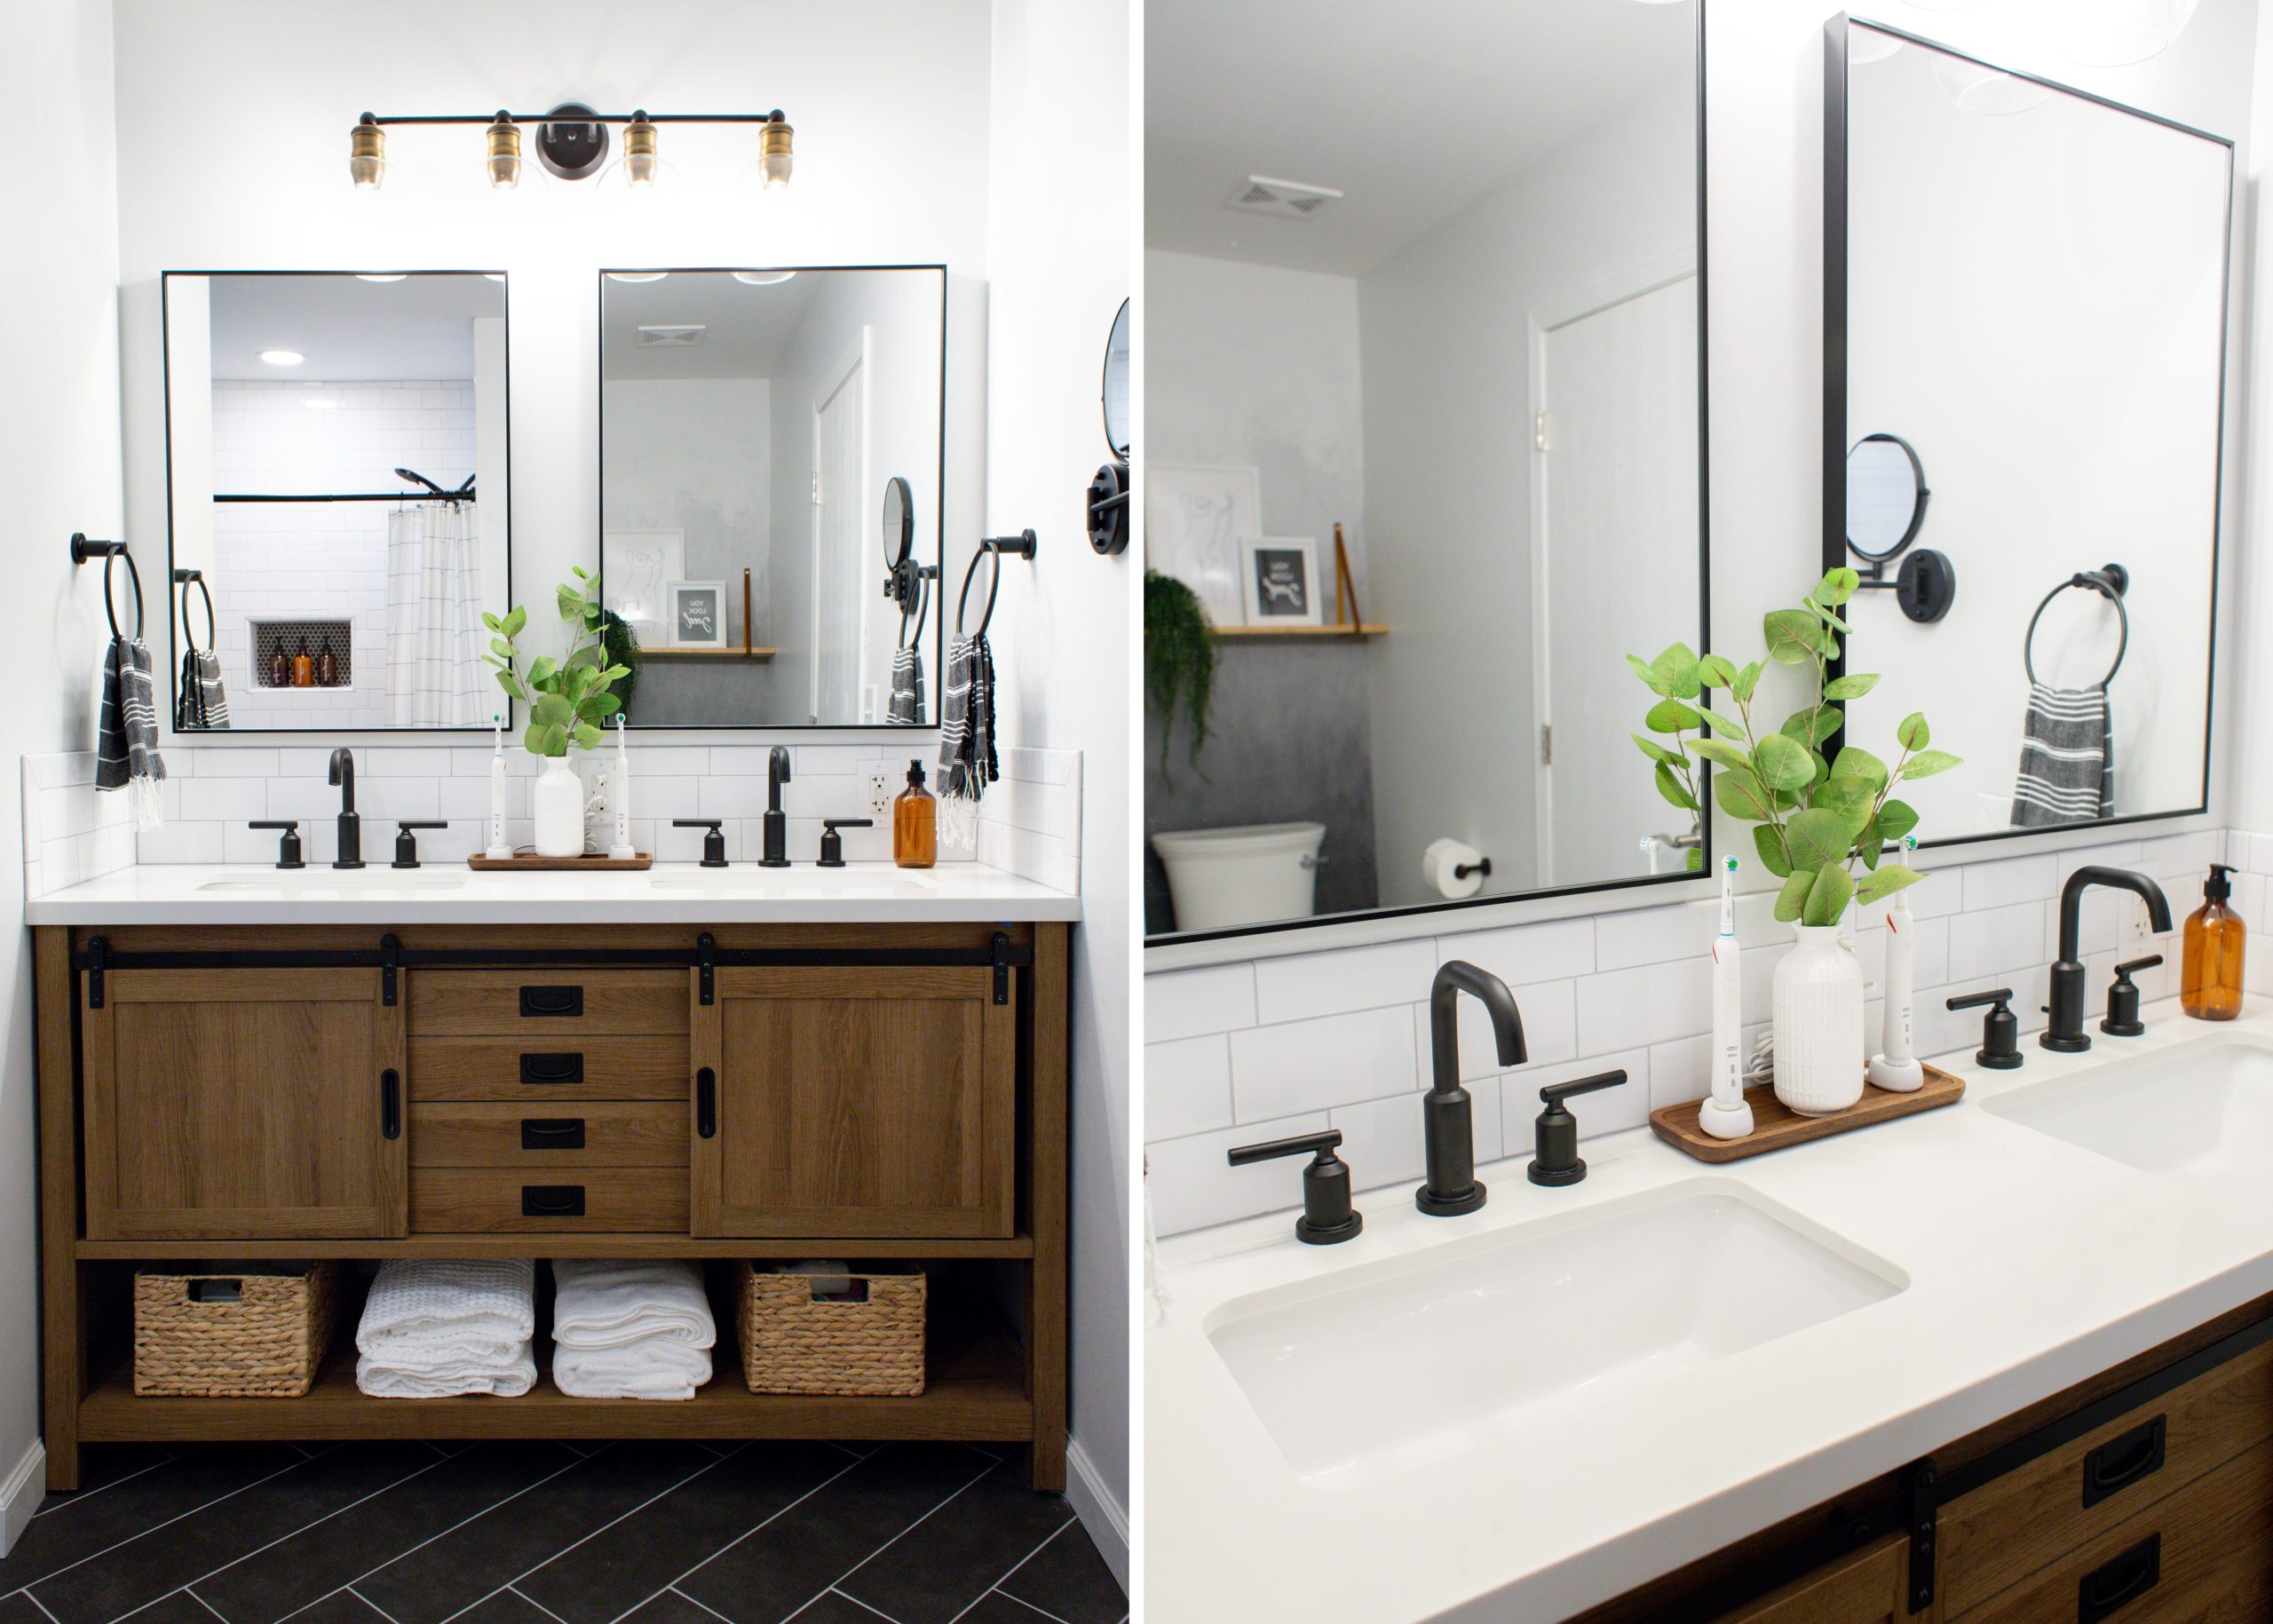
Can we discuss the double vanity but only one sink? TYPICAL BUILDER-GRADE MOVE. Let’s just say a double sink was definitely in the plans for this remodel!
Oh yeah – I also really think the brown/beige linoleum flooring is the perfect accent to the walls… If you don’t realize I’m being sarcastic, please stop reading this post and go ahead and exit your browser window. LOL
This post may contain affiliate links where we earn a small commission on your purchases at no additional cost to you.
Remodel Must-Haves
1.) A Larger Tub & Shower Light
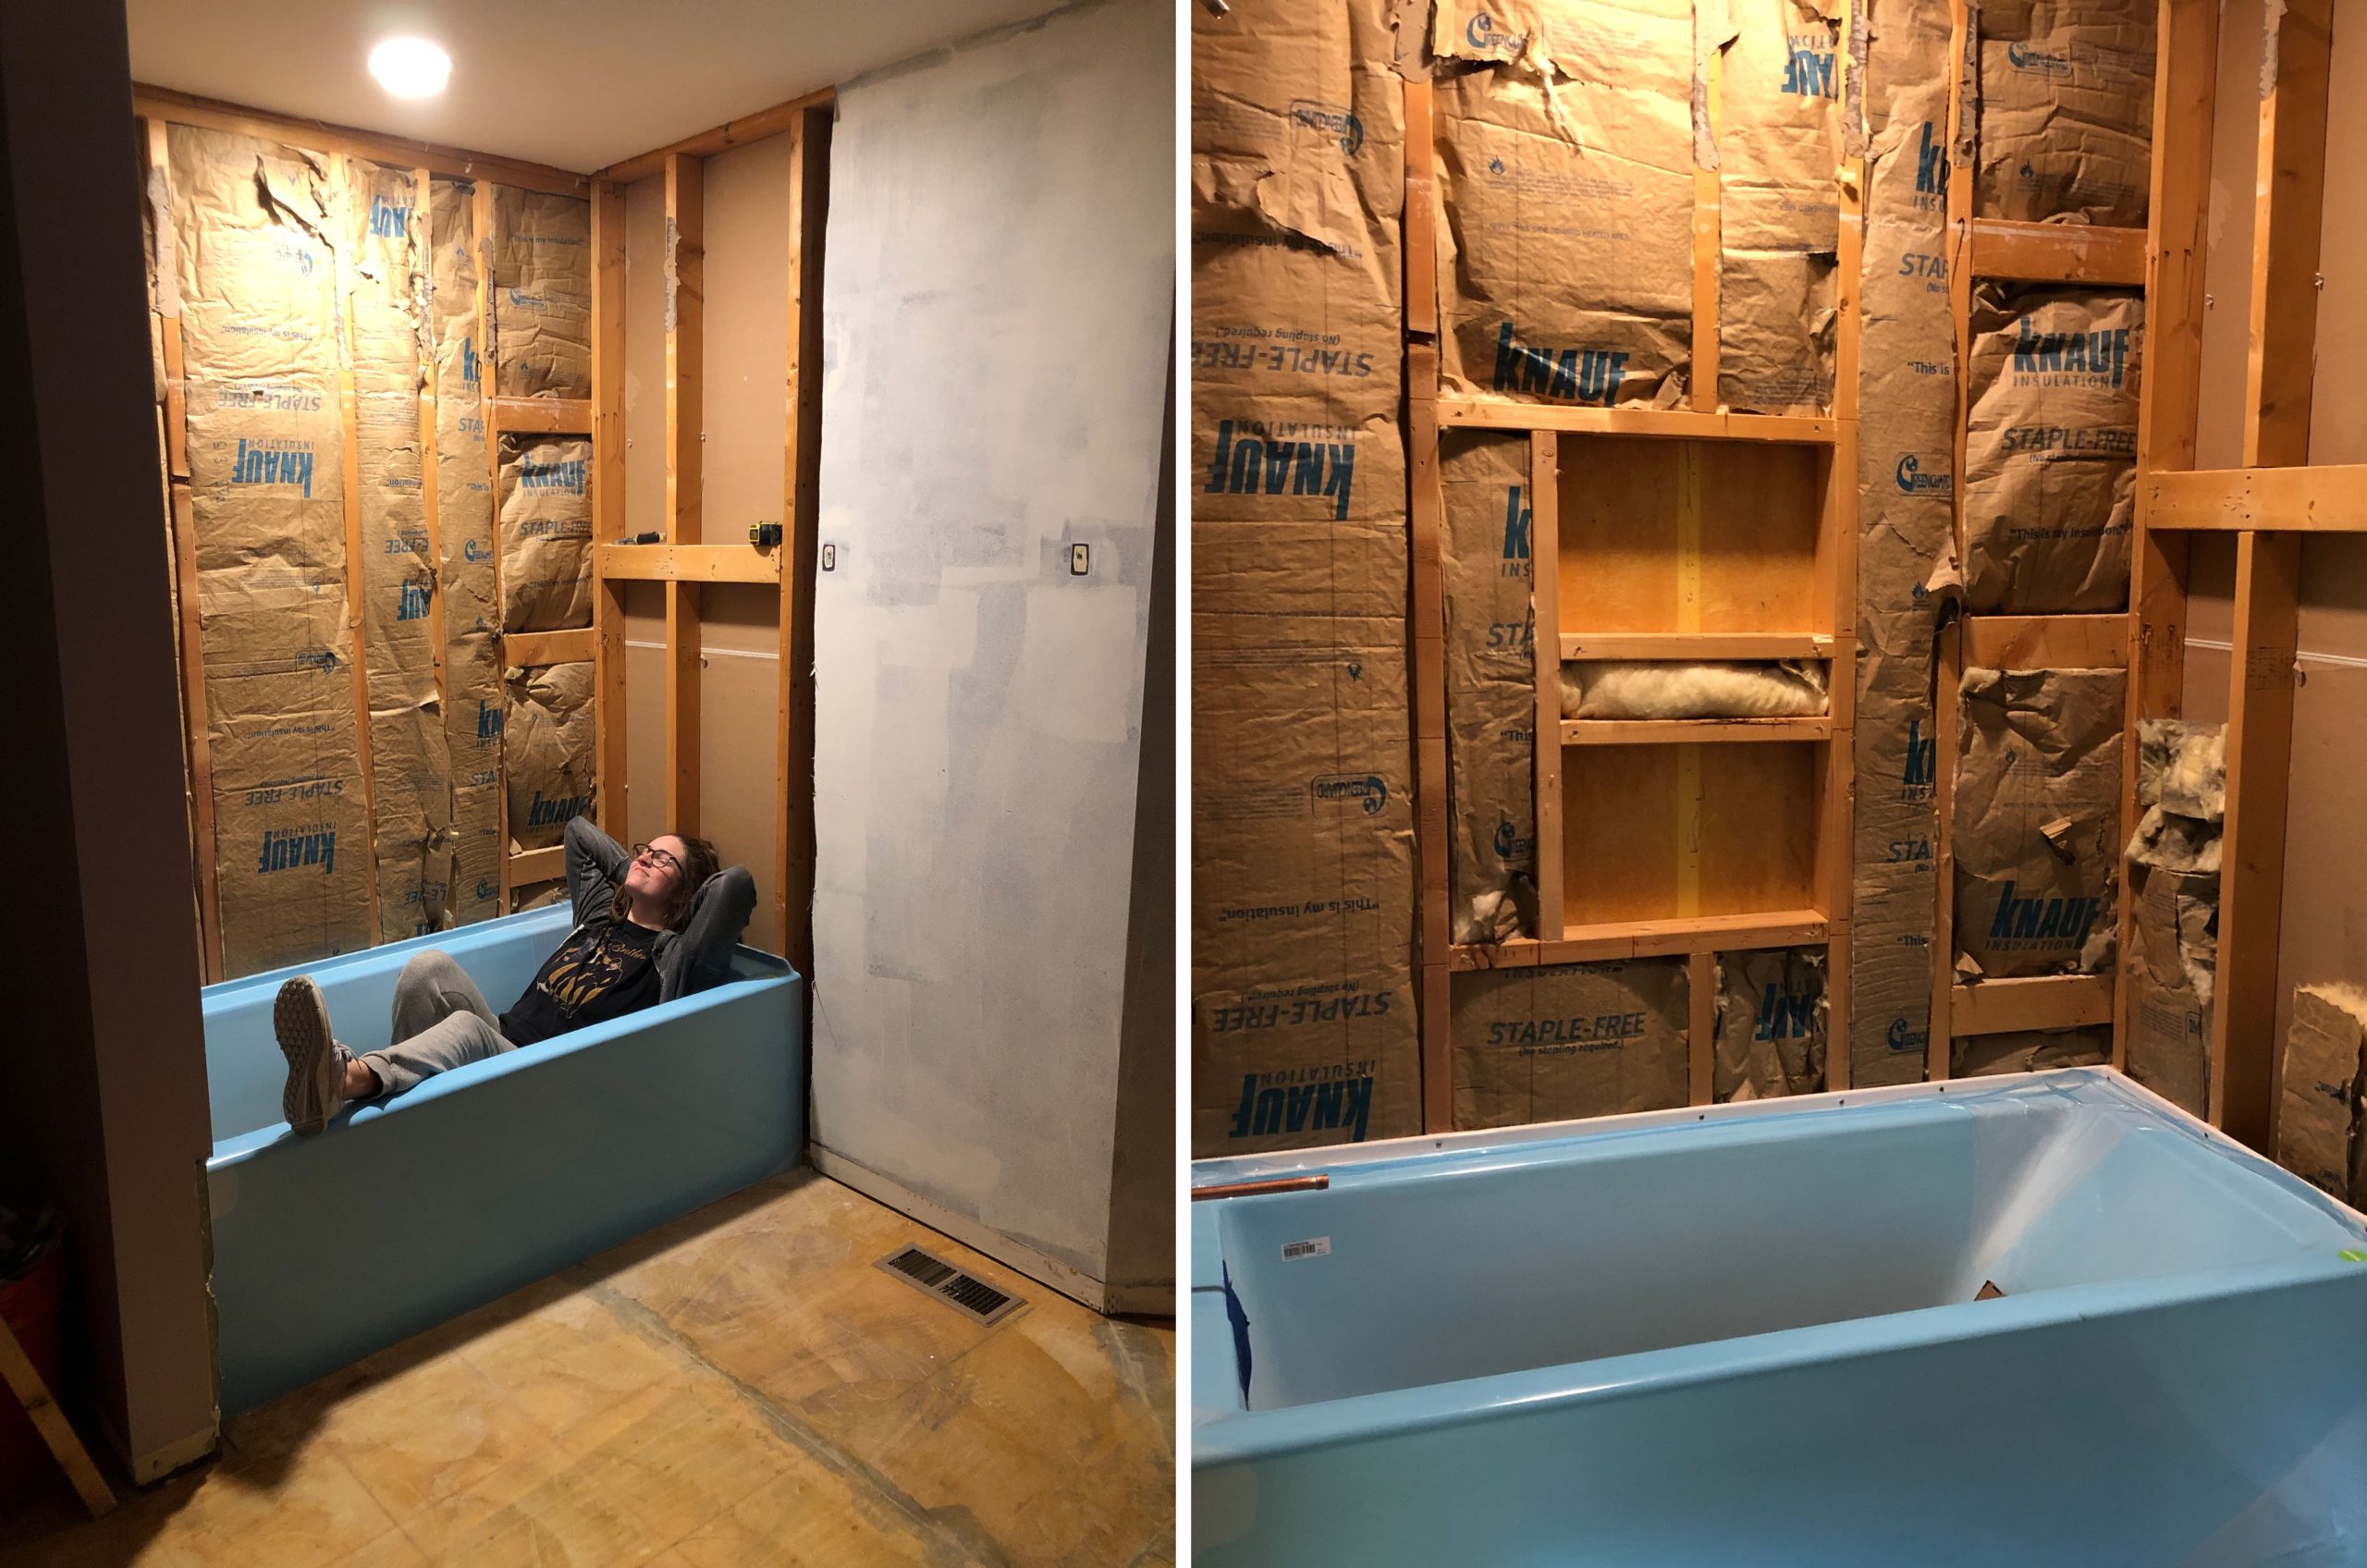
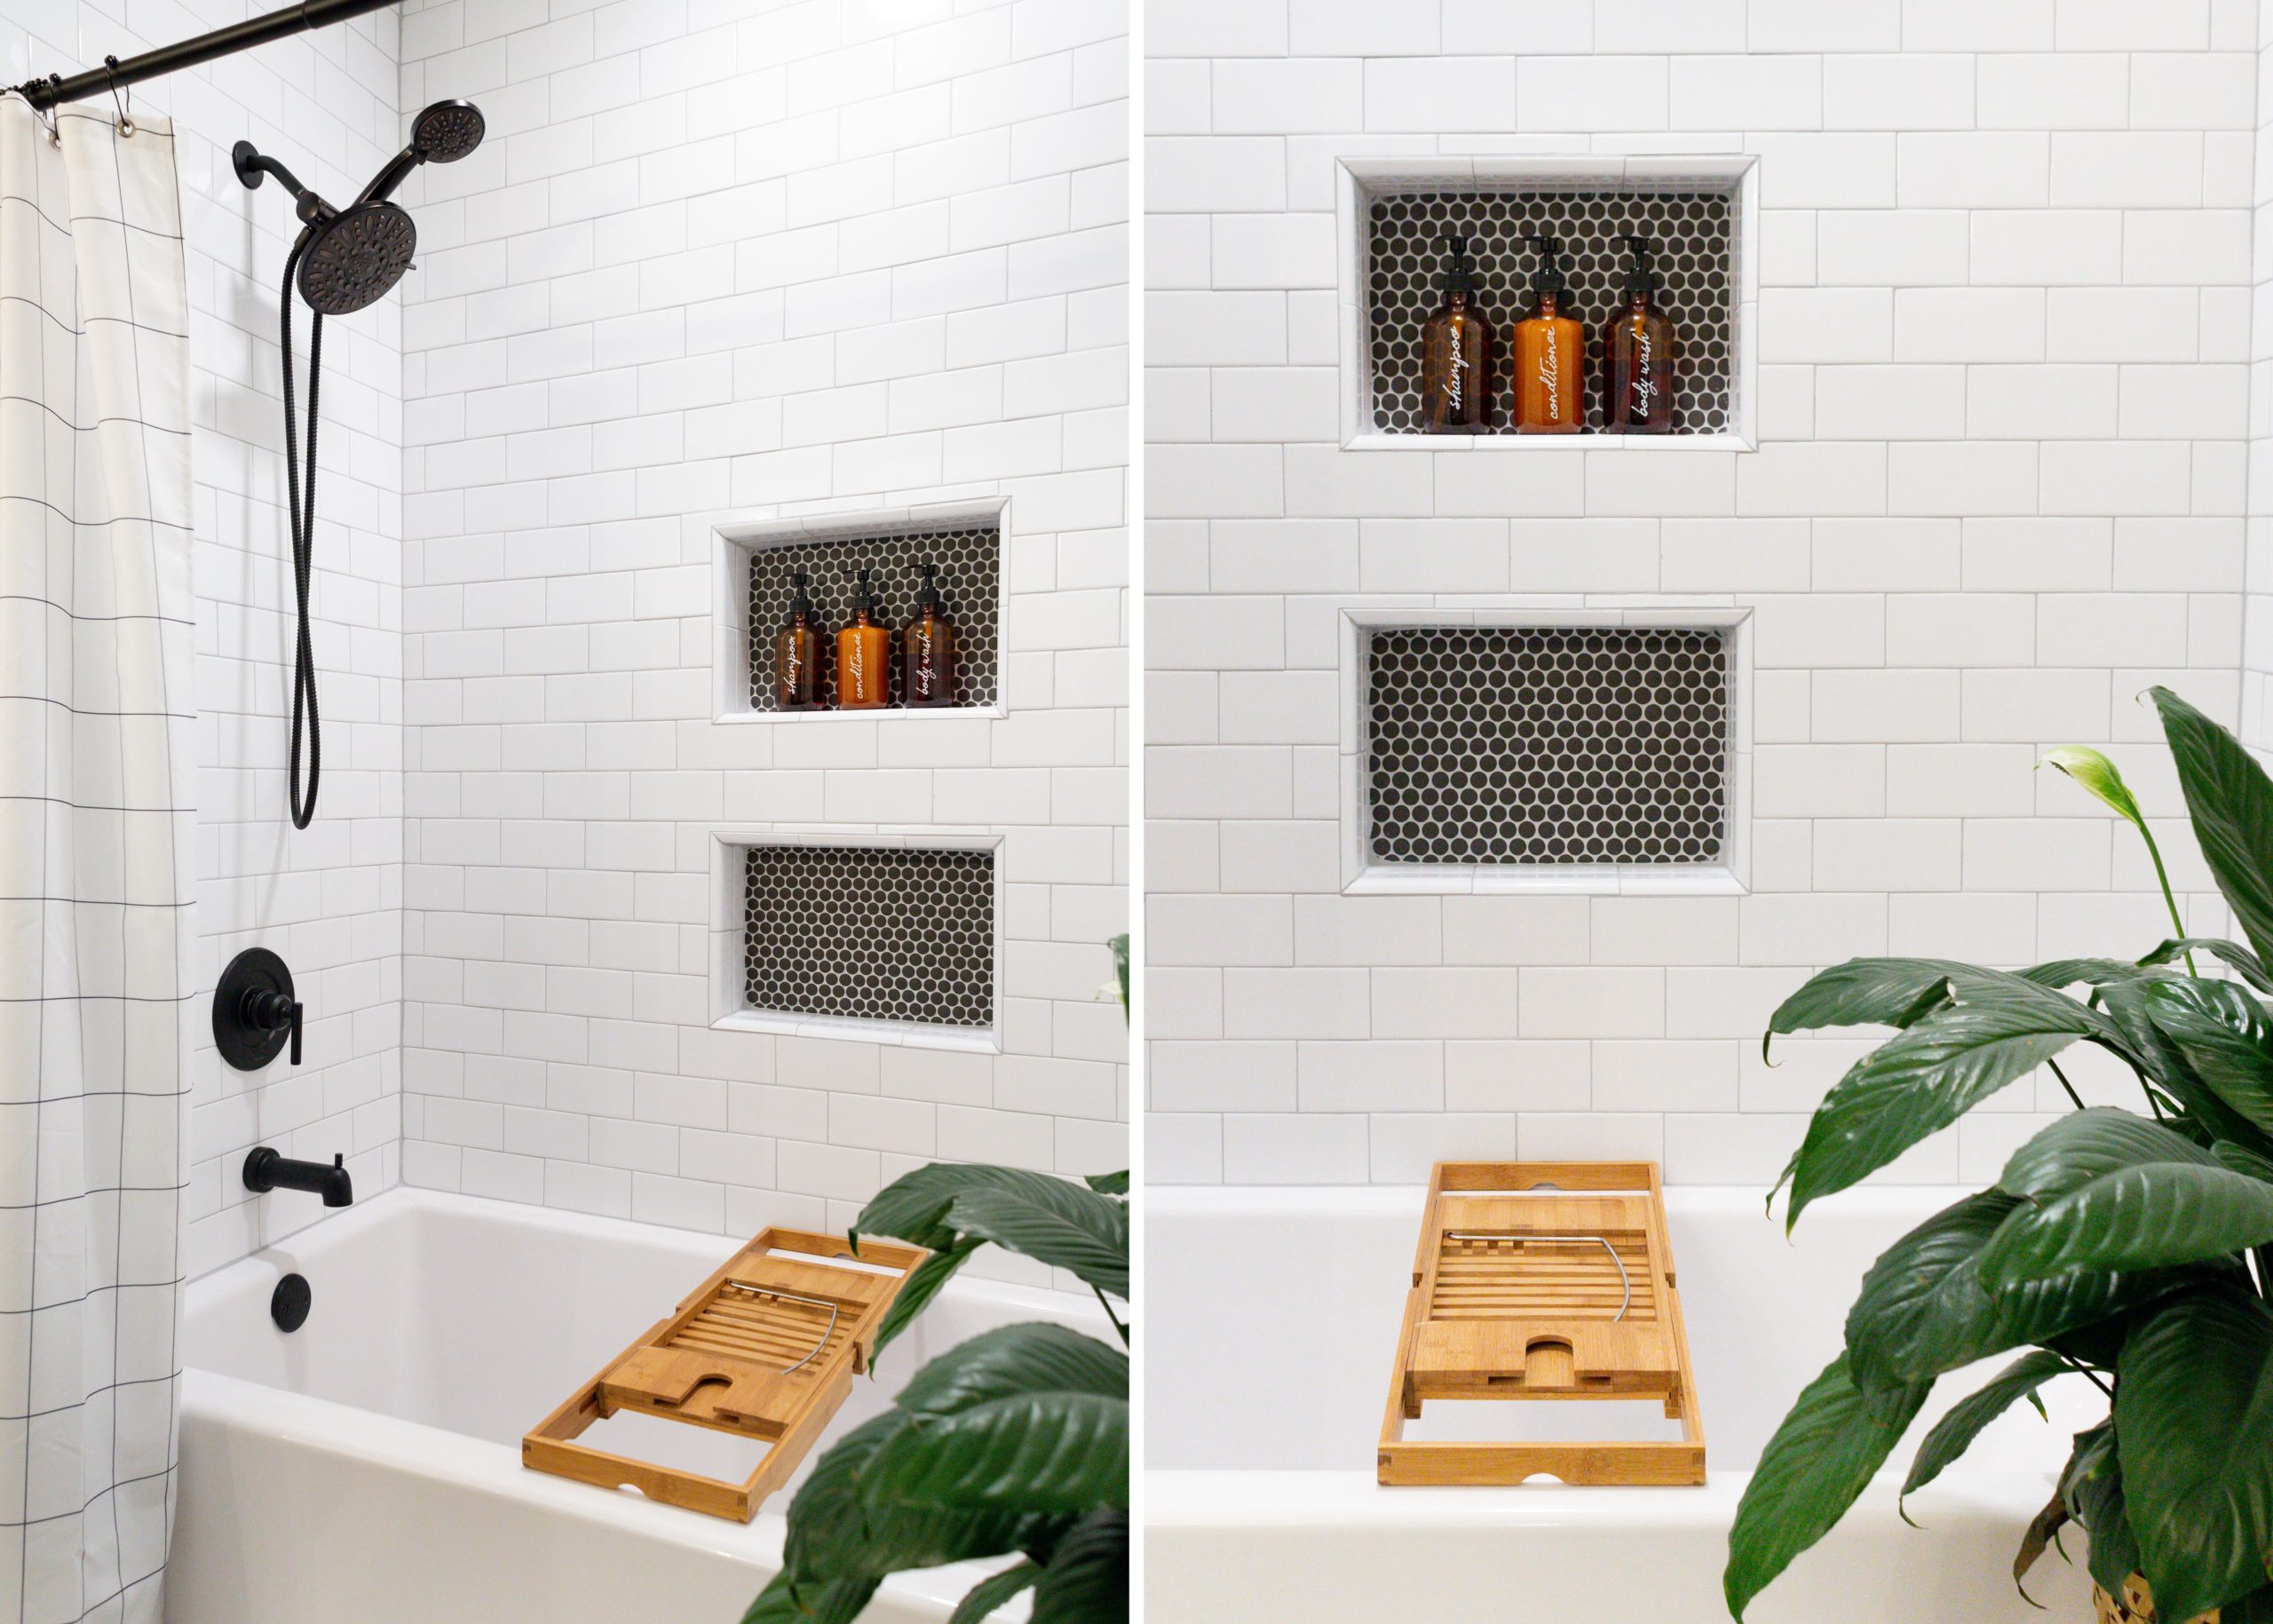
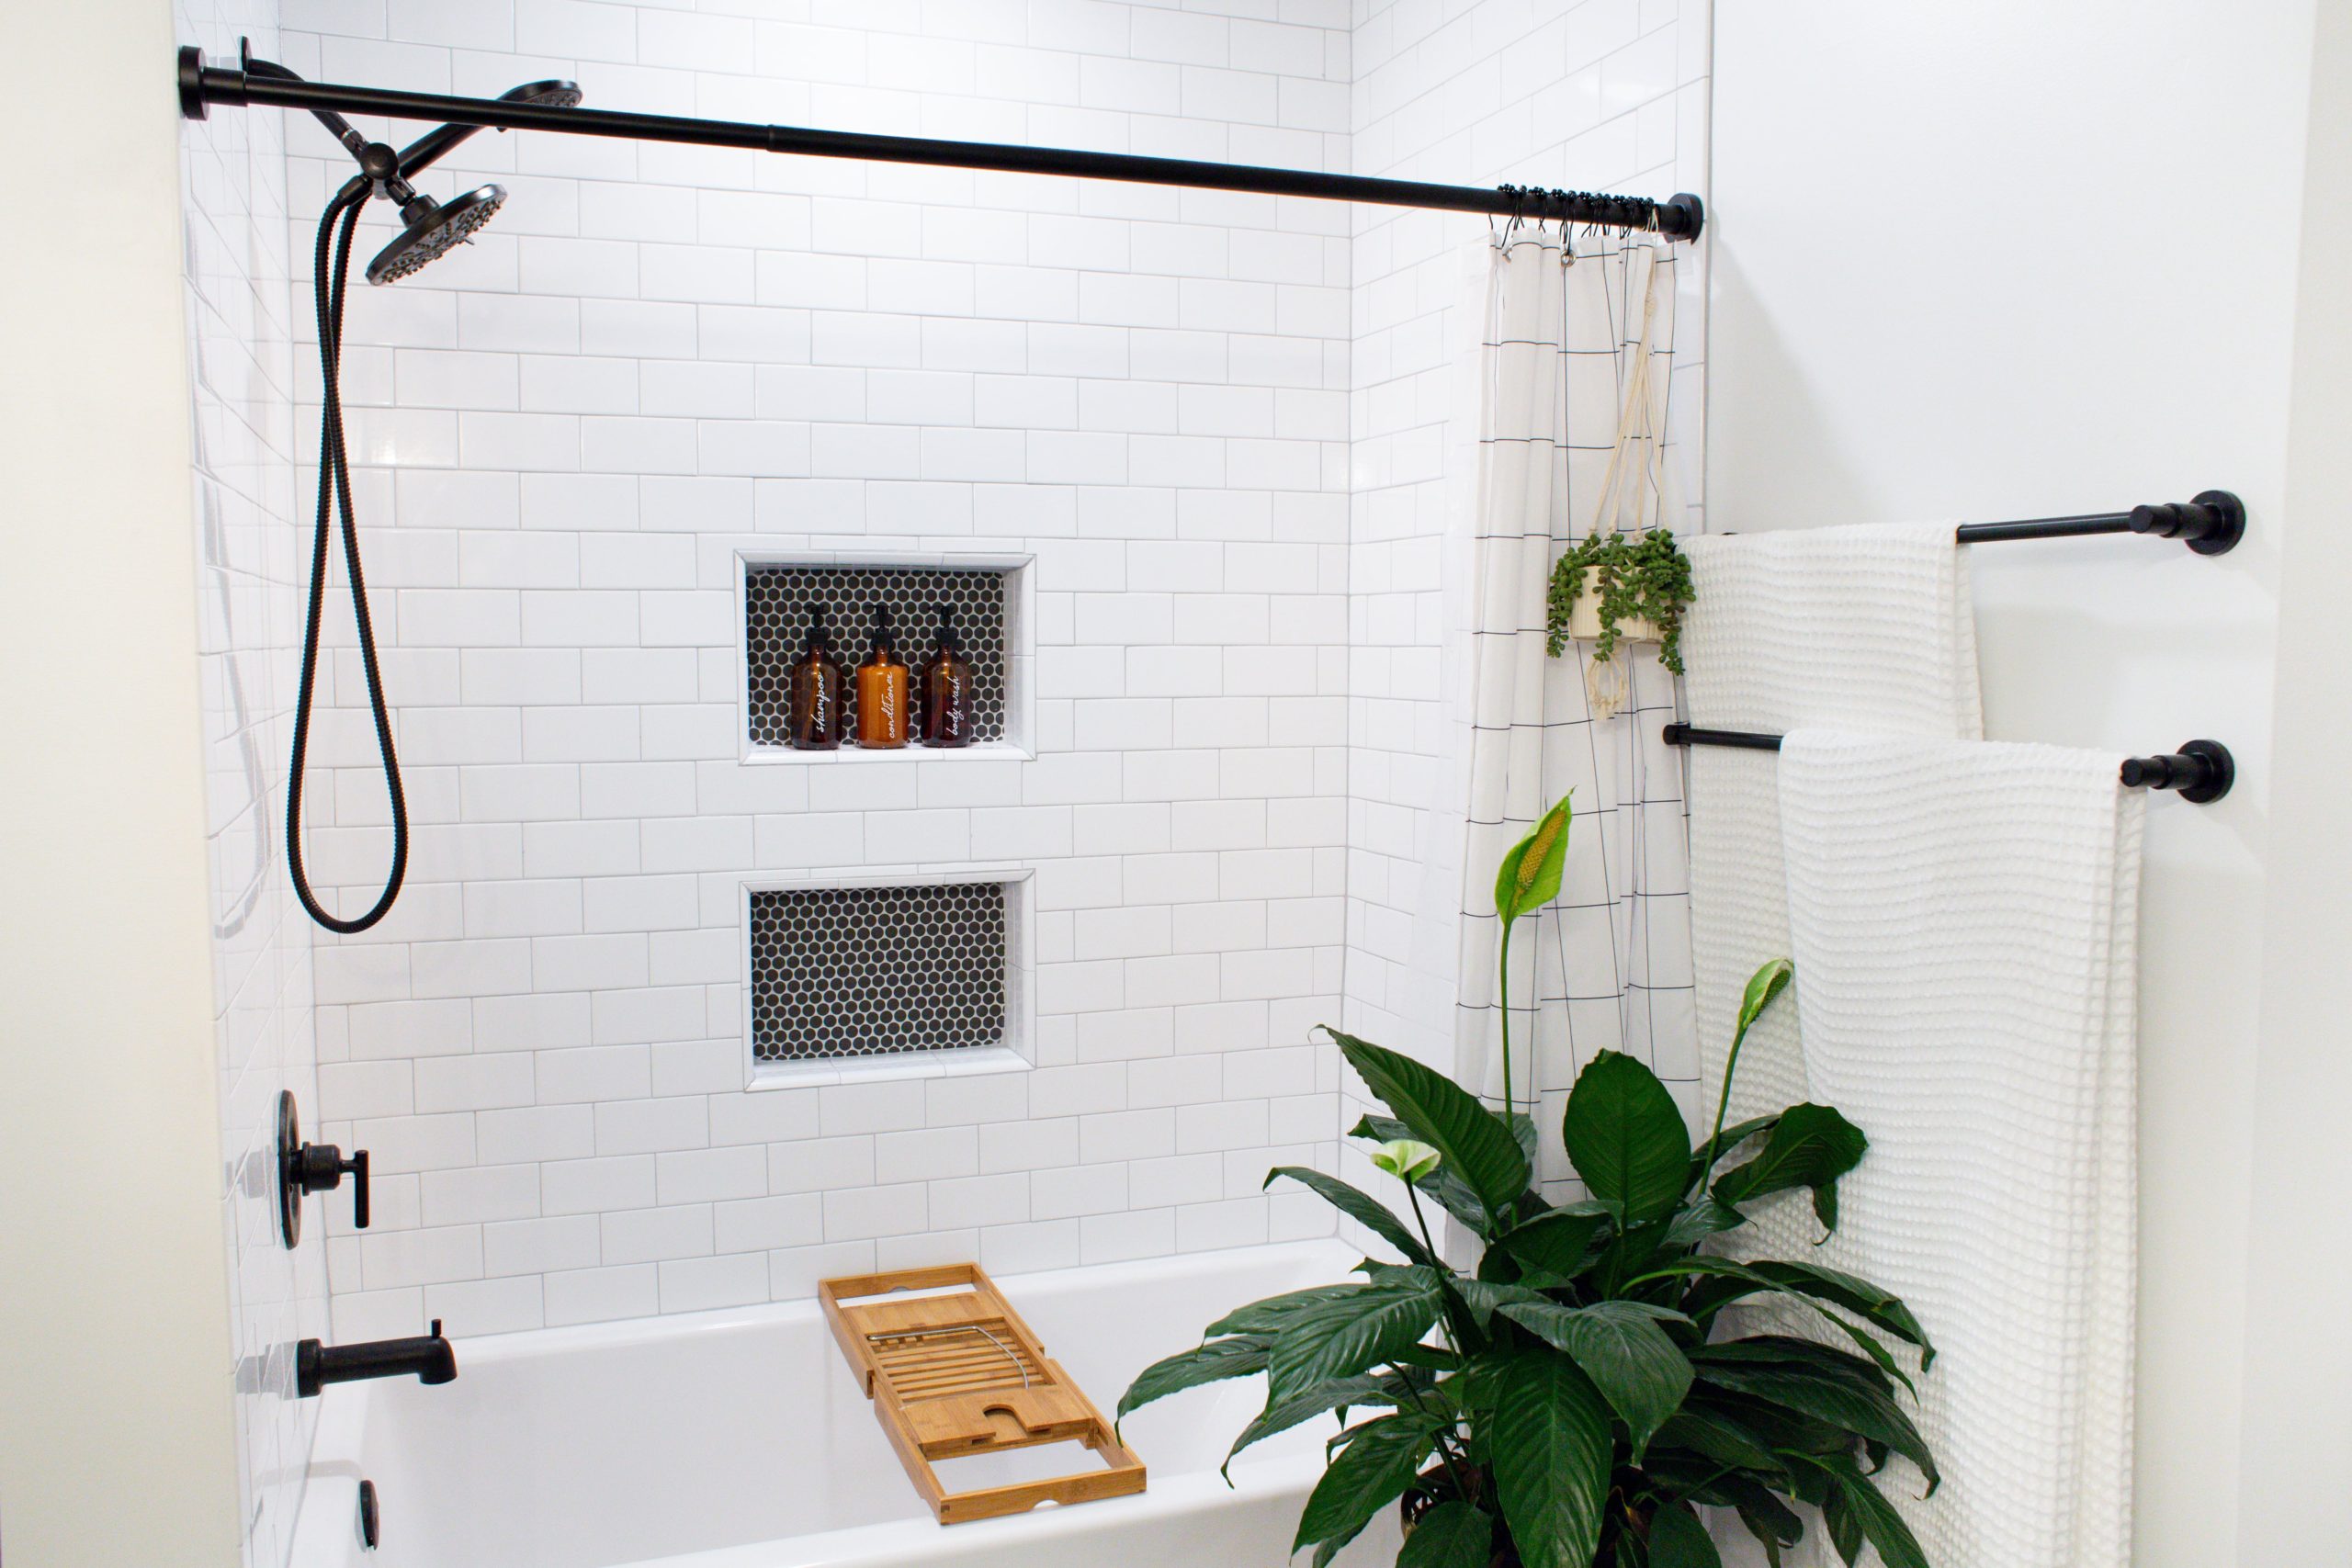
Yes, a larger tub was definitely on the list of needs for this bath reno! And when I say larger, I mean deeper & wider. We obviously really couldn’t go any longer even though my long legs needed the space. Hey, I’ll take anything over the small baby tub we had! We ended up buying this tub from Menards. No, it’s not blue! LOL, It’s actually just the protective film over it. Could you imagine? Me? Ms. Neutral Design.. a blue tub?! HA!
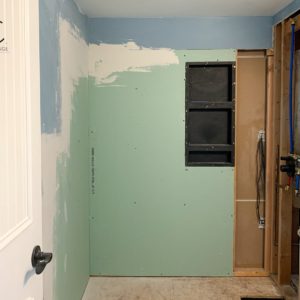
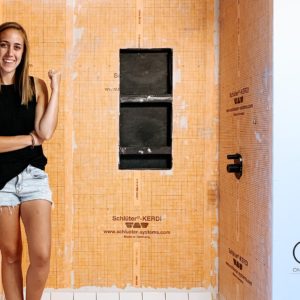
We also decided to add 2 niches so we can store shampoo and conditioner without having to buy any of those shelving units you put in your shower. We wanted as much room as we could get in the space we had!
Another must-have on the list was a shower light! It was so dark in there before and adding it was surprisingly not too hard. Thankfully my husband is an electrical engineer and I just handed him the light and he got it done in 20 minutes. LOL
2.) A Double Vanity
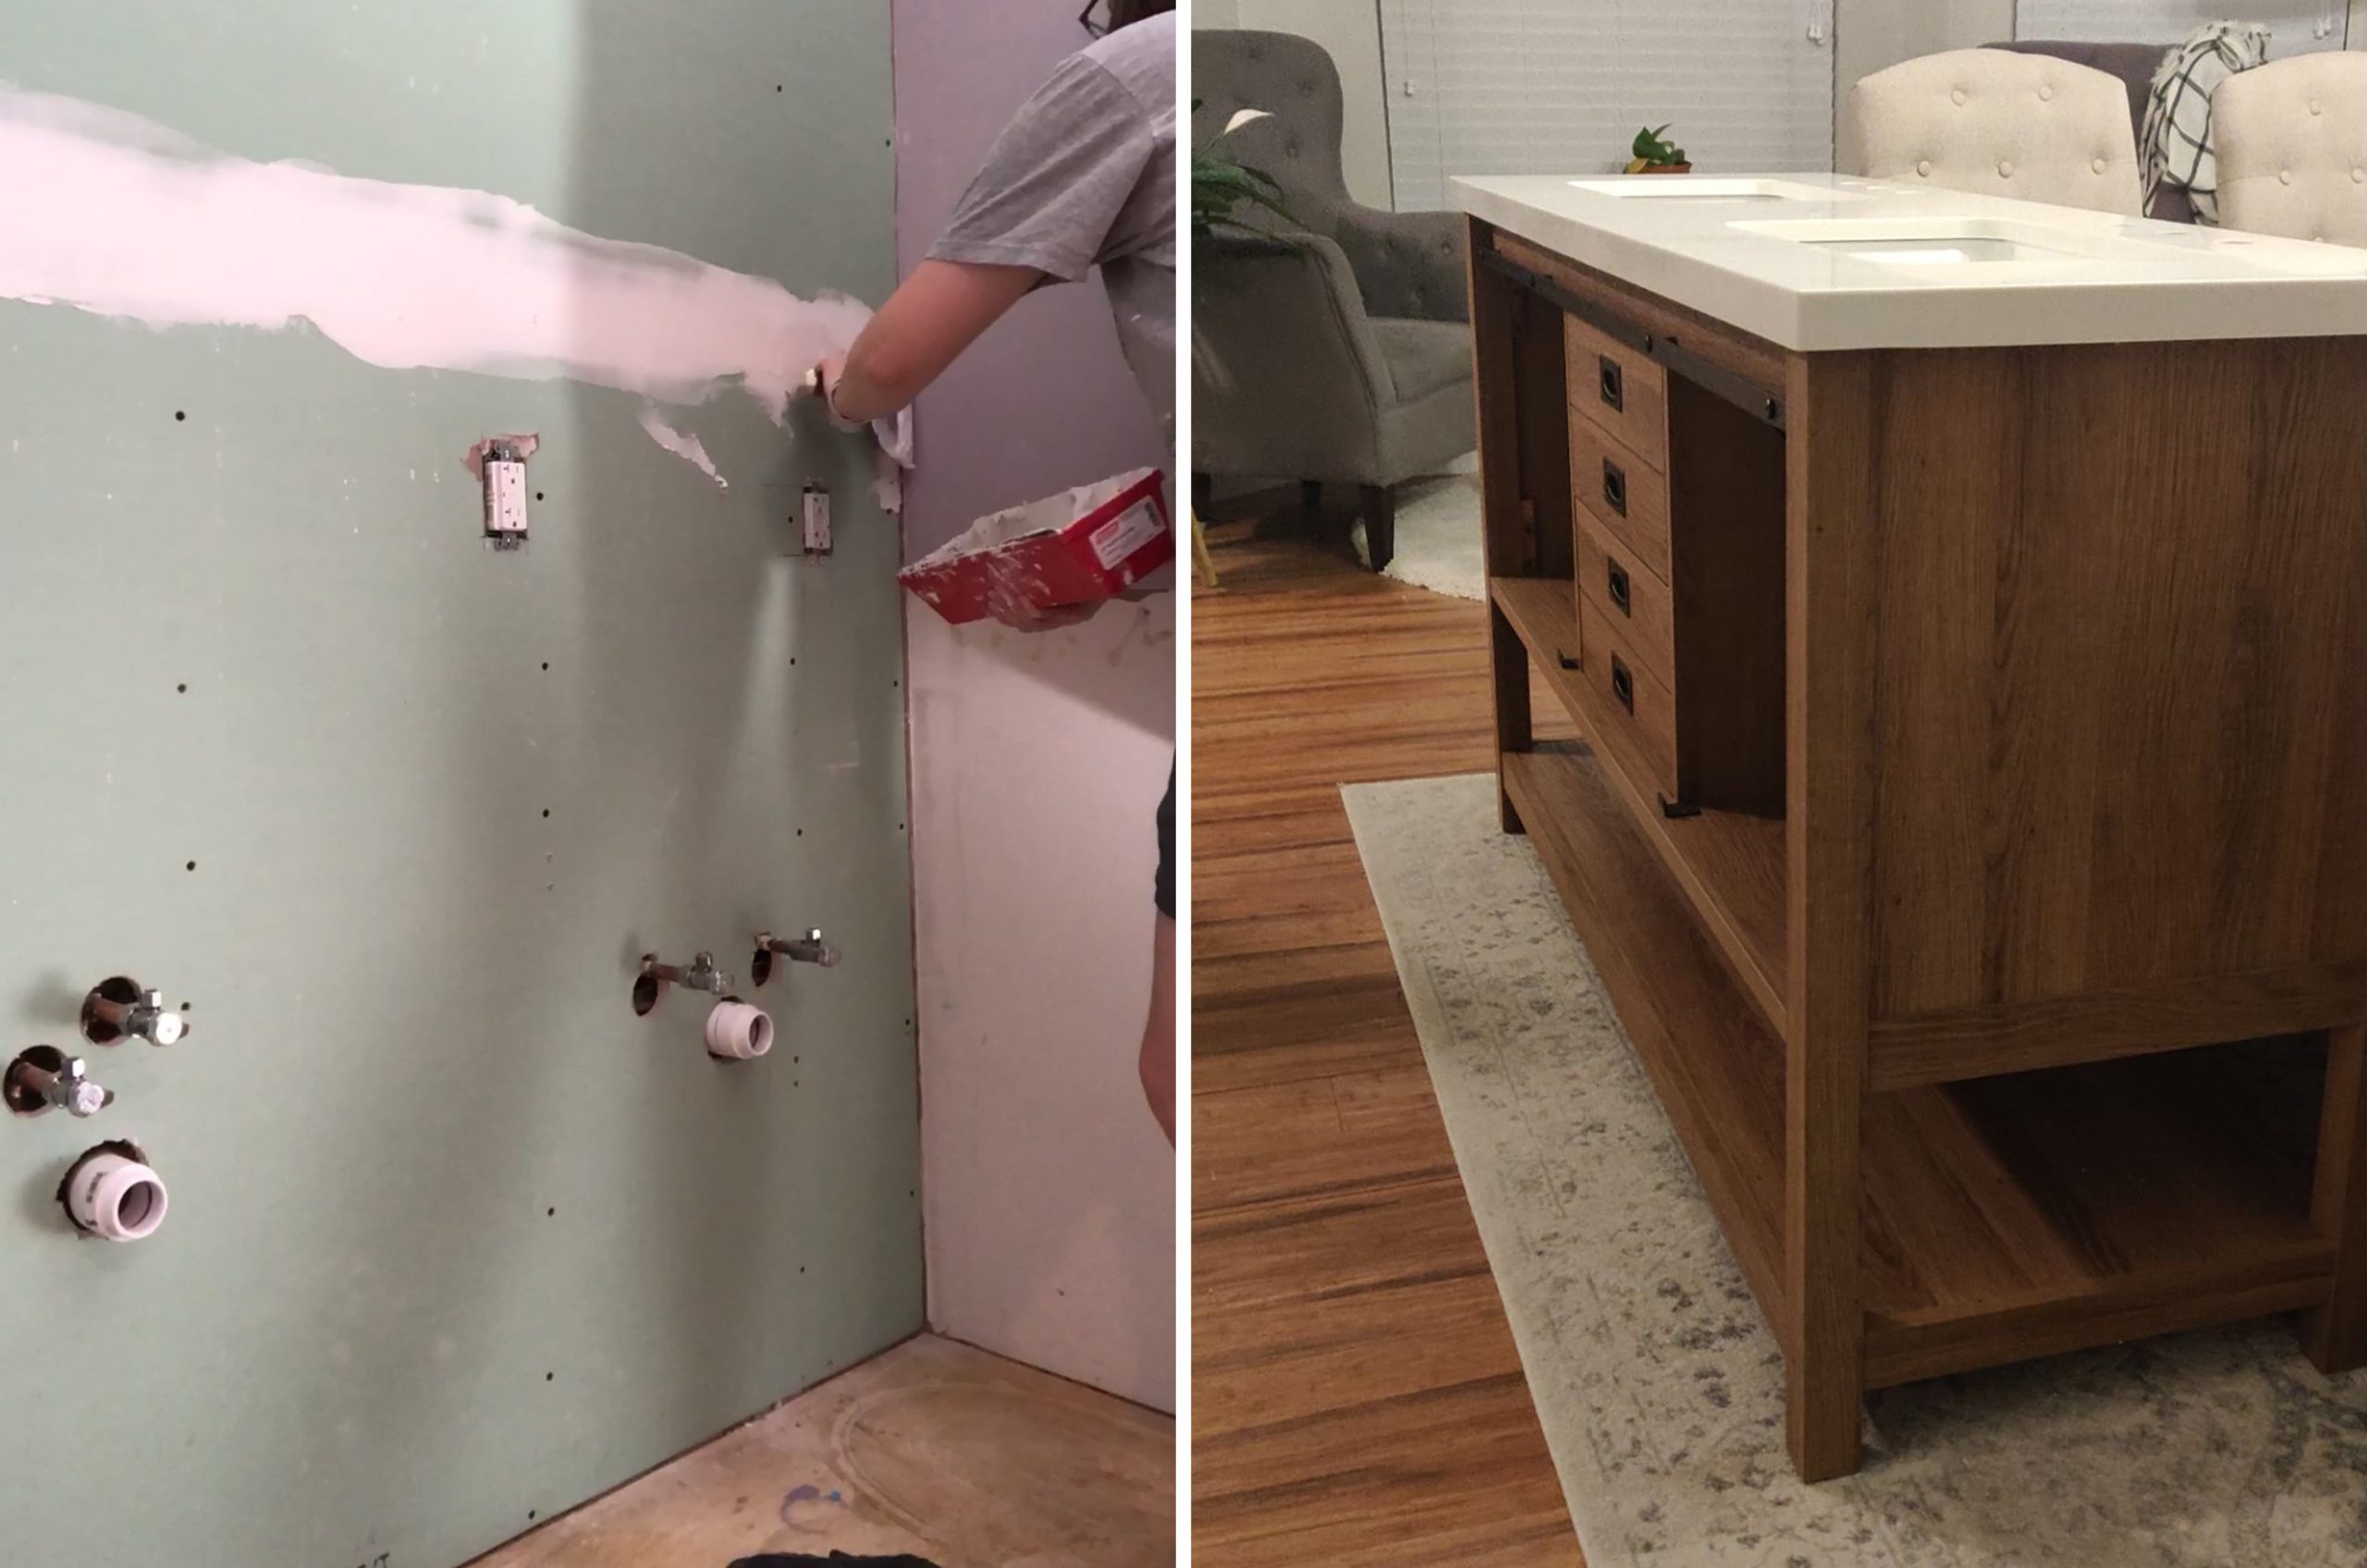
The double sink was also a must for the bathroom. I can already tell you since we’ve had the 2 sinks put in, it’s been so nice. We even added an extra outlet on my side for my straightener, curling iron, etc.
The vanity we ended up buying was this one from Lowe’s. It’s SUCH a good deal. Especially since it has a quartz countertop built-in!
3.) Tile In The Shower
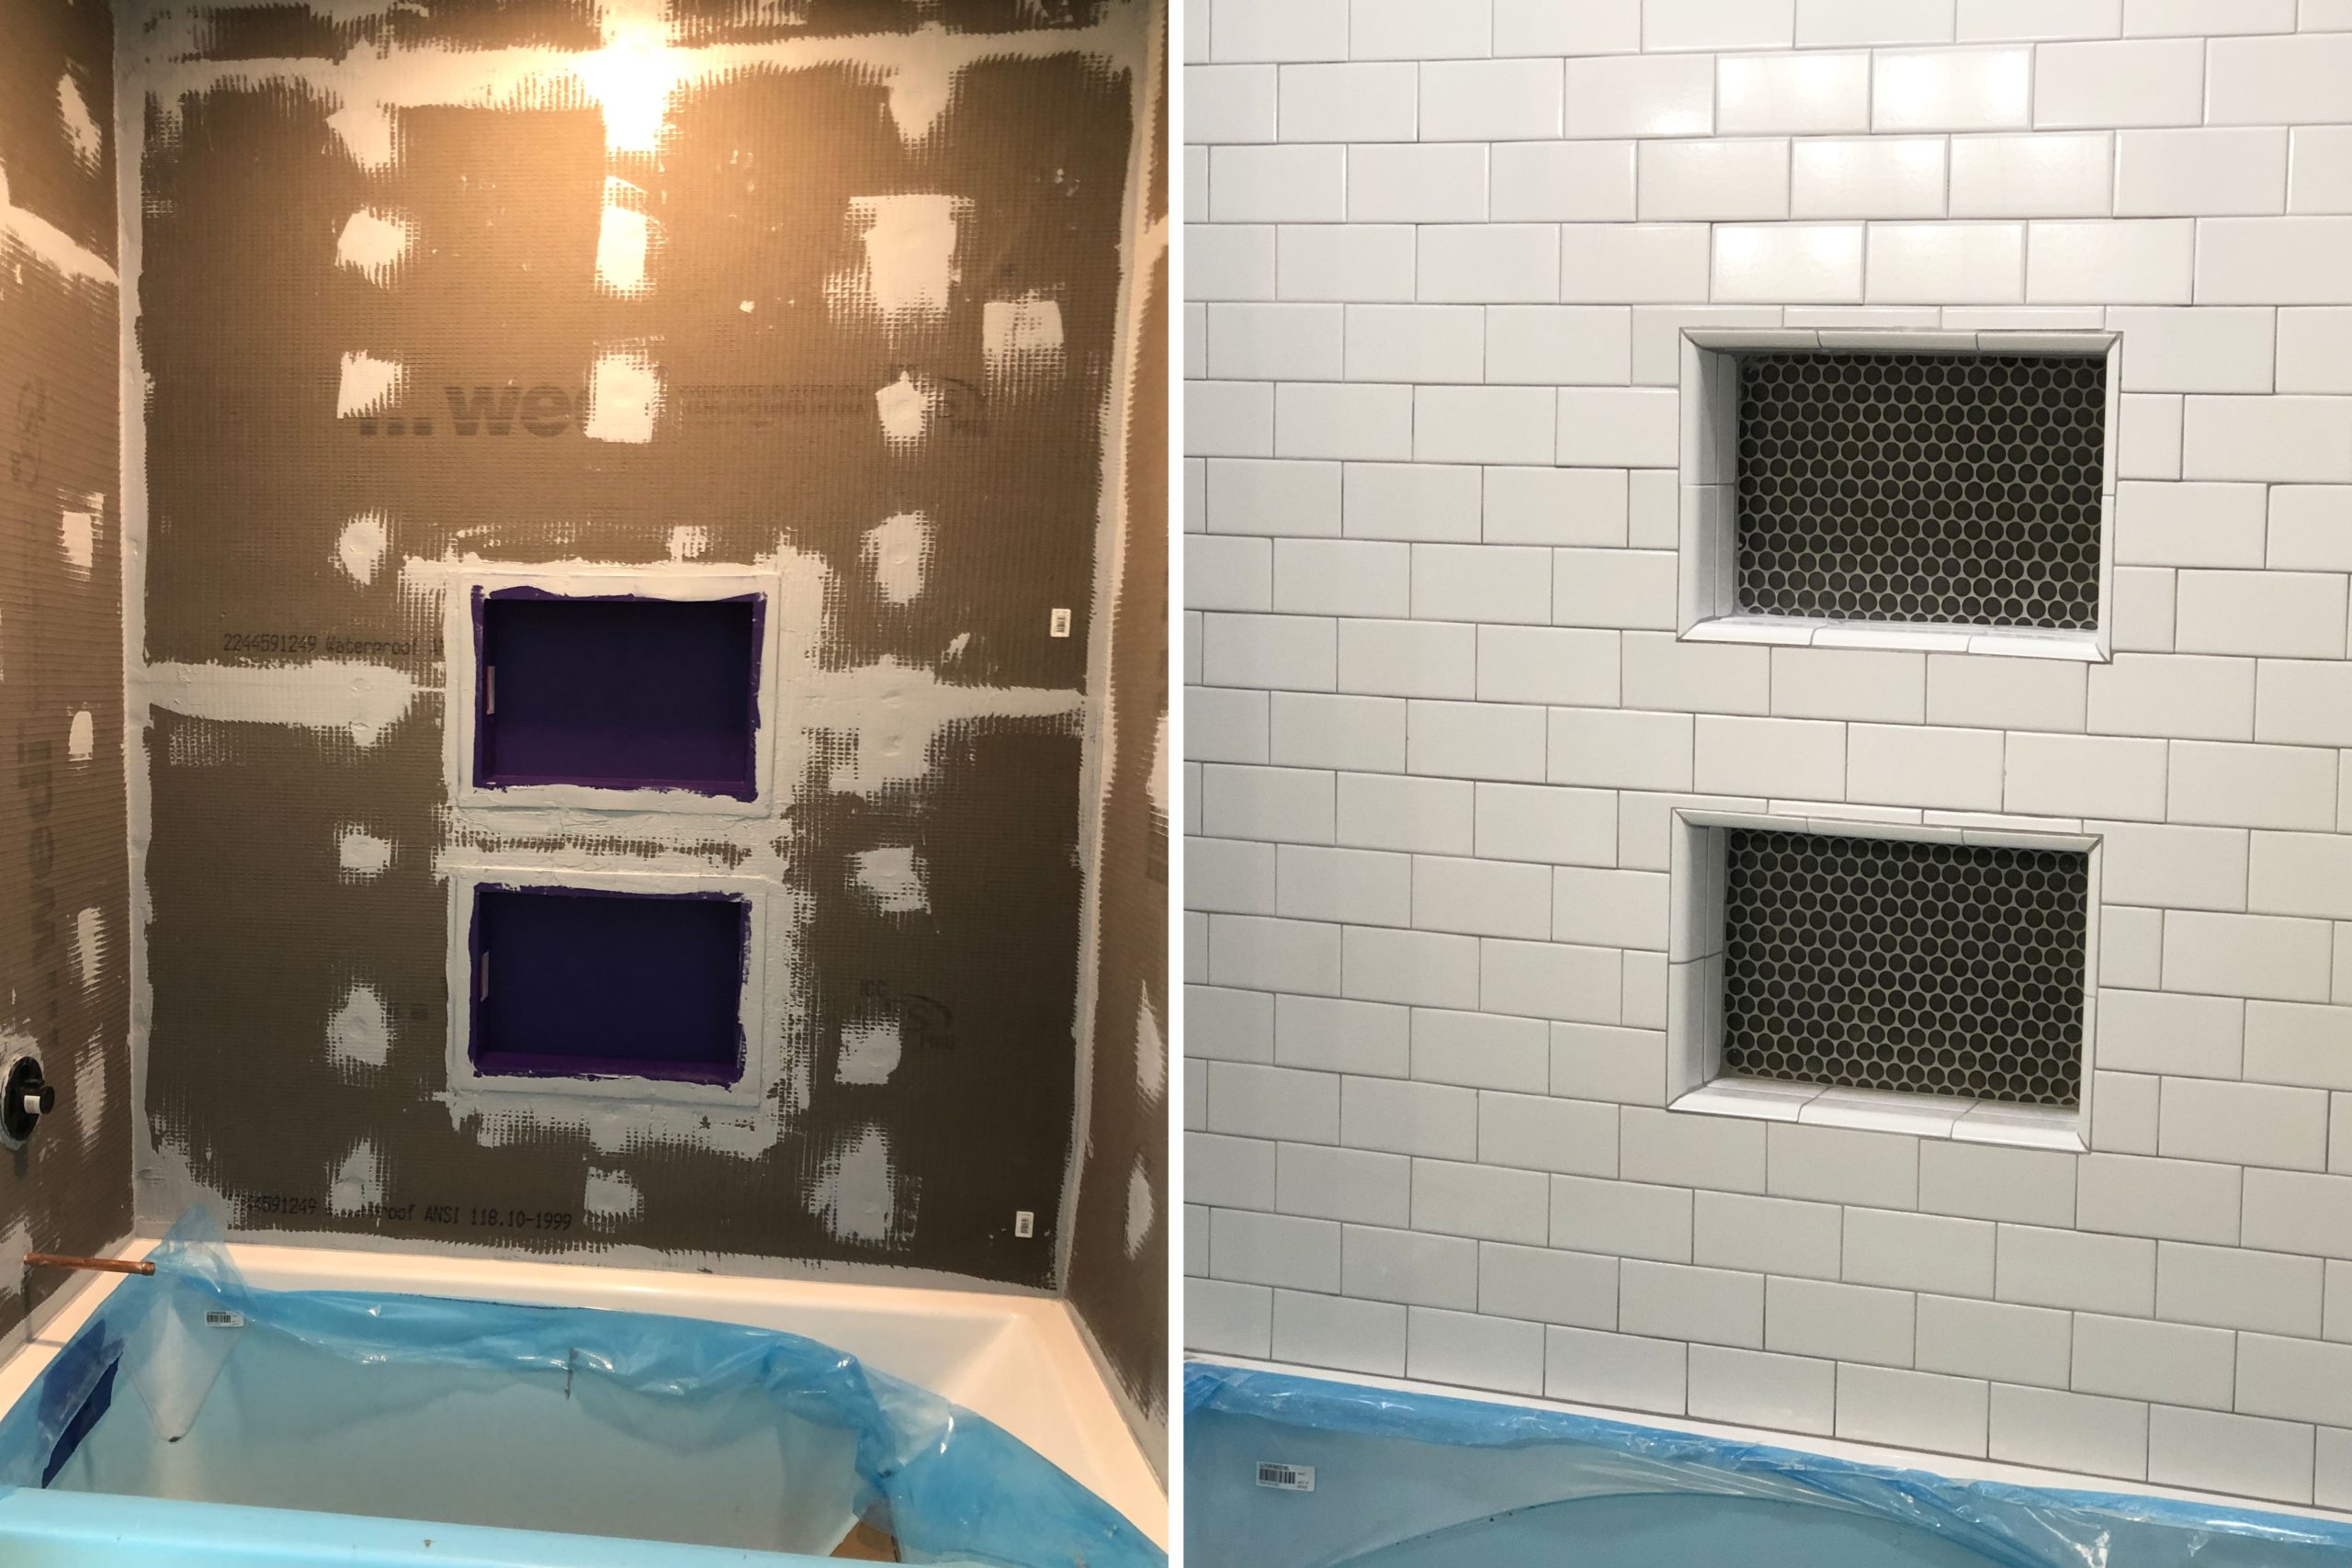
Our original tub/shower was your standard fiberglass mold that didn’t cover the entire height of the shower wall. Ryan and I are pretty tall people and when we took showers, the top of the fiberglass was around eye level for both of us. You tell me how water is not supposed to splash on the walls when the top of our heads are literally right at the same level as where the shower ends?! It’s not possible. LOL. That is why tiling the shower all the way to the ceiling was an absolute must-have for us!
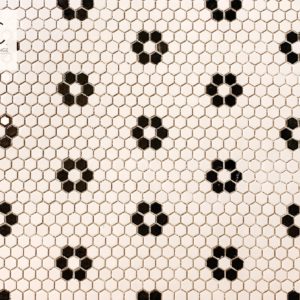
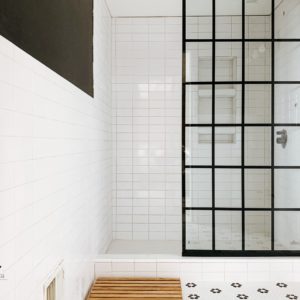
We used what’s called ‘Wedi Board‘ & some prefabricated niches underneath the tile to make our shower completely waterproof! The tile we chose was a white subway tile with dark gray penny tile for the niches. Both of these are from Floor & Decor. The grout color is called ‘Rain‘ from Floor & Decor as well.
4.) Last but definitely not least– Herringbone Tile Flooring
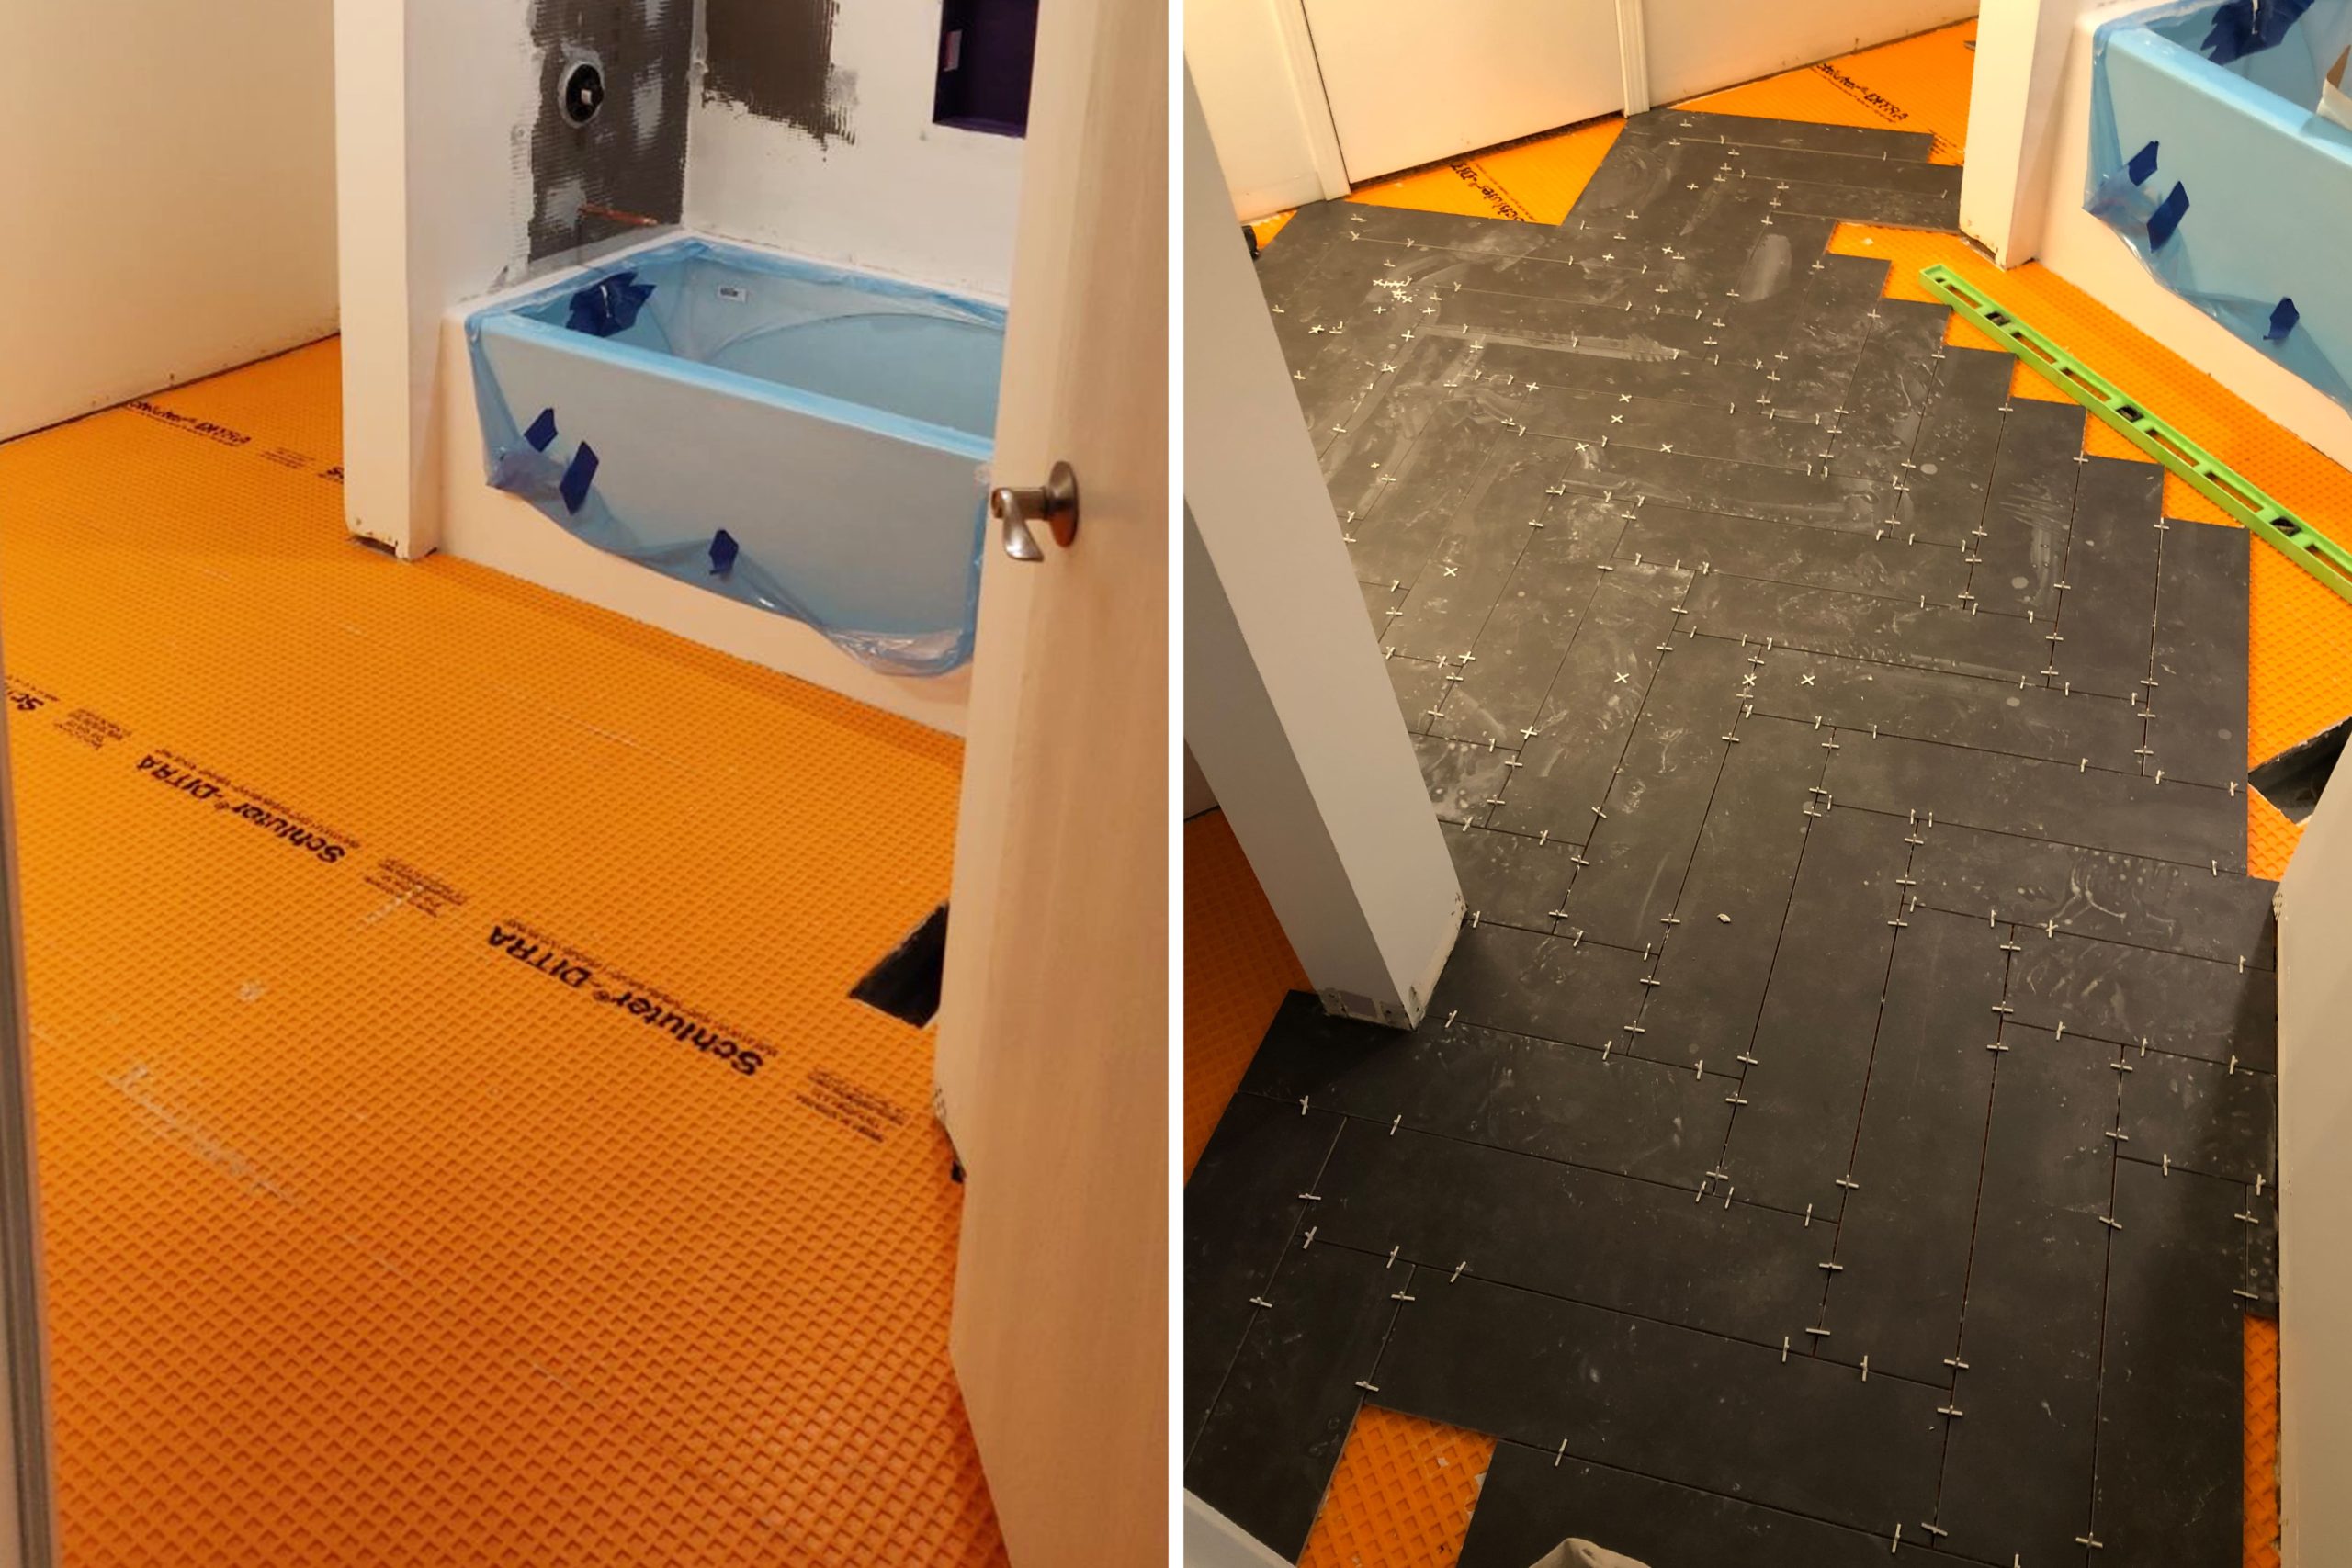
We both voted to tile the floor actually before we made the decision to tile the shower. But of course, I had to be difficult and choose the herringbone pattern. LOL. Sorry, not sorry!
For both the floor & shower tile, we had our family tile guy lay everything, but we did all the prep work so we can save money on labor costs. We didn’t want to take any chances of possibly messing it up! 😉
We used a ‘Schluter-Ditra Membrane‘, instead of Durock underneath the floor tiles. It was SO much easier to work with because it’s super lightweight! The flooring we chose is a porcelain tile called ‘Uptown Antracite’ from Floor & Decor. Unfortunately, Floor & Decor doesn’t sell the floor tile anymore. Thankfully we grabbed enough to finish the job! If you are interested, they do sell the same tile but much larger. We also went with the grout color ‘Rain‘ for the flooring as we did for the shower.
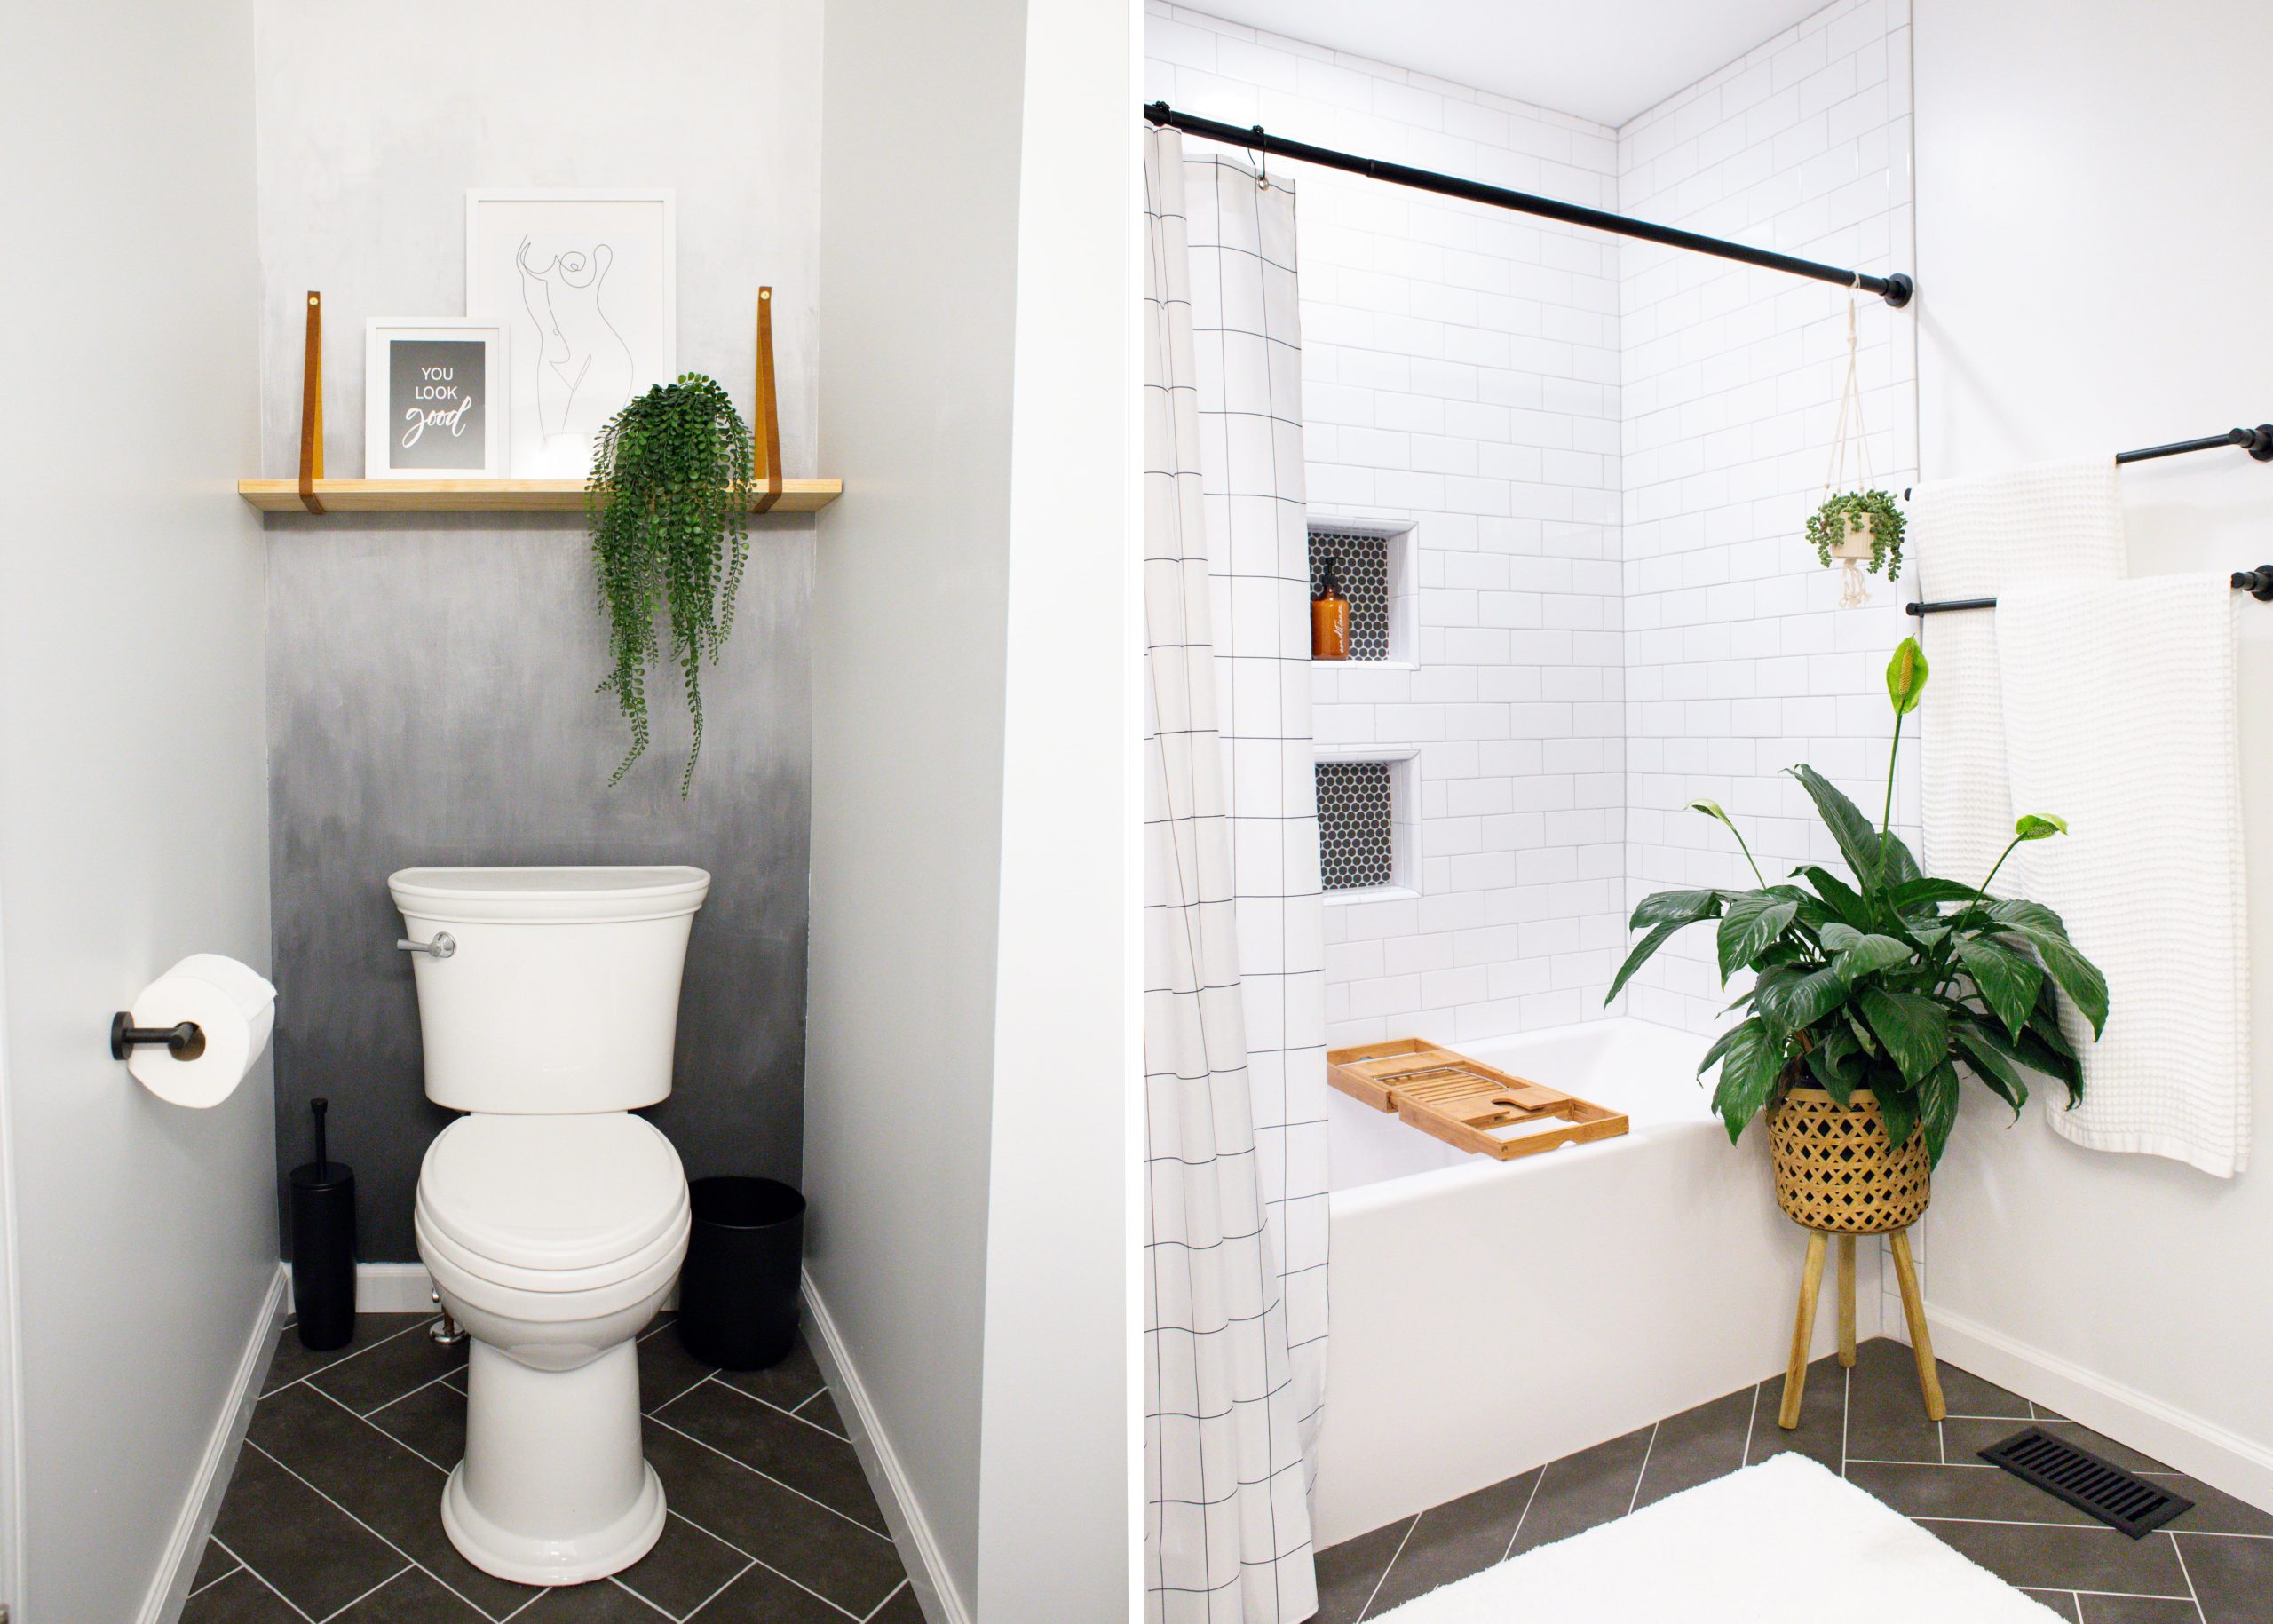
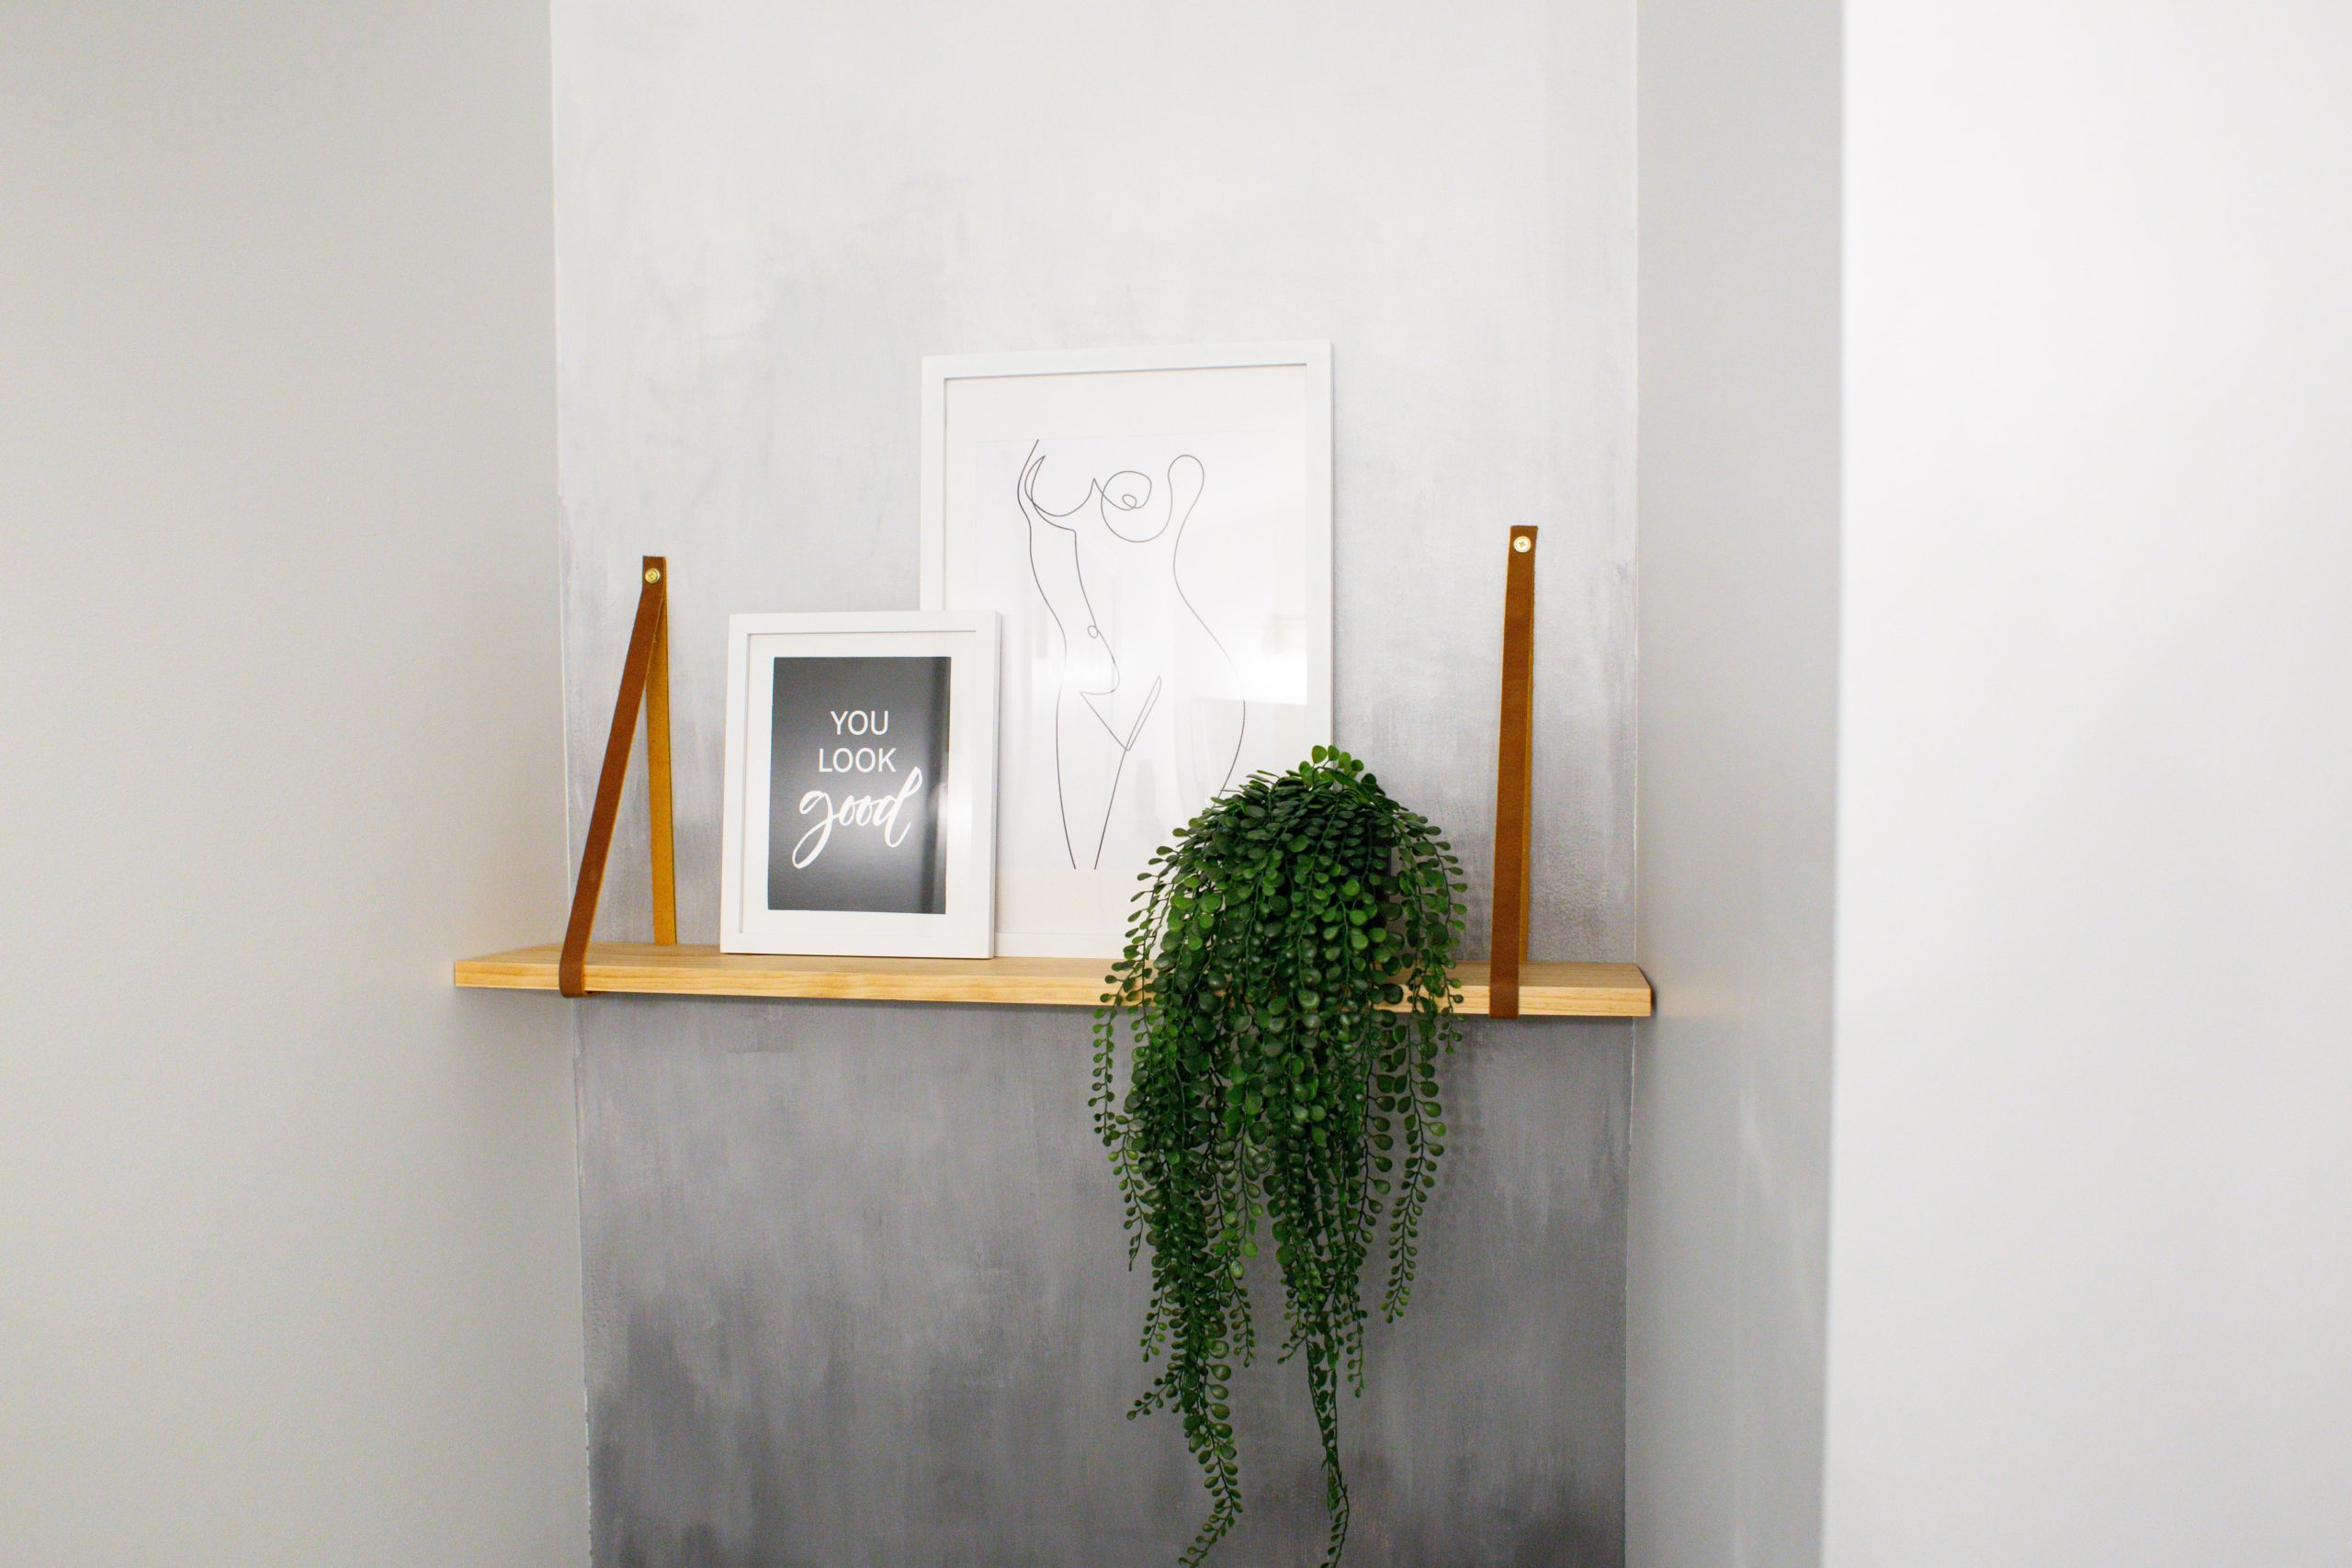
THE FINISHED SPACE
Free Bath Bottle Labels!
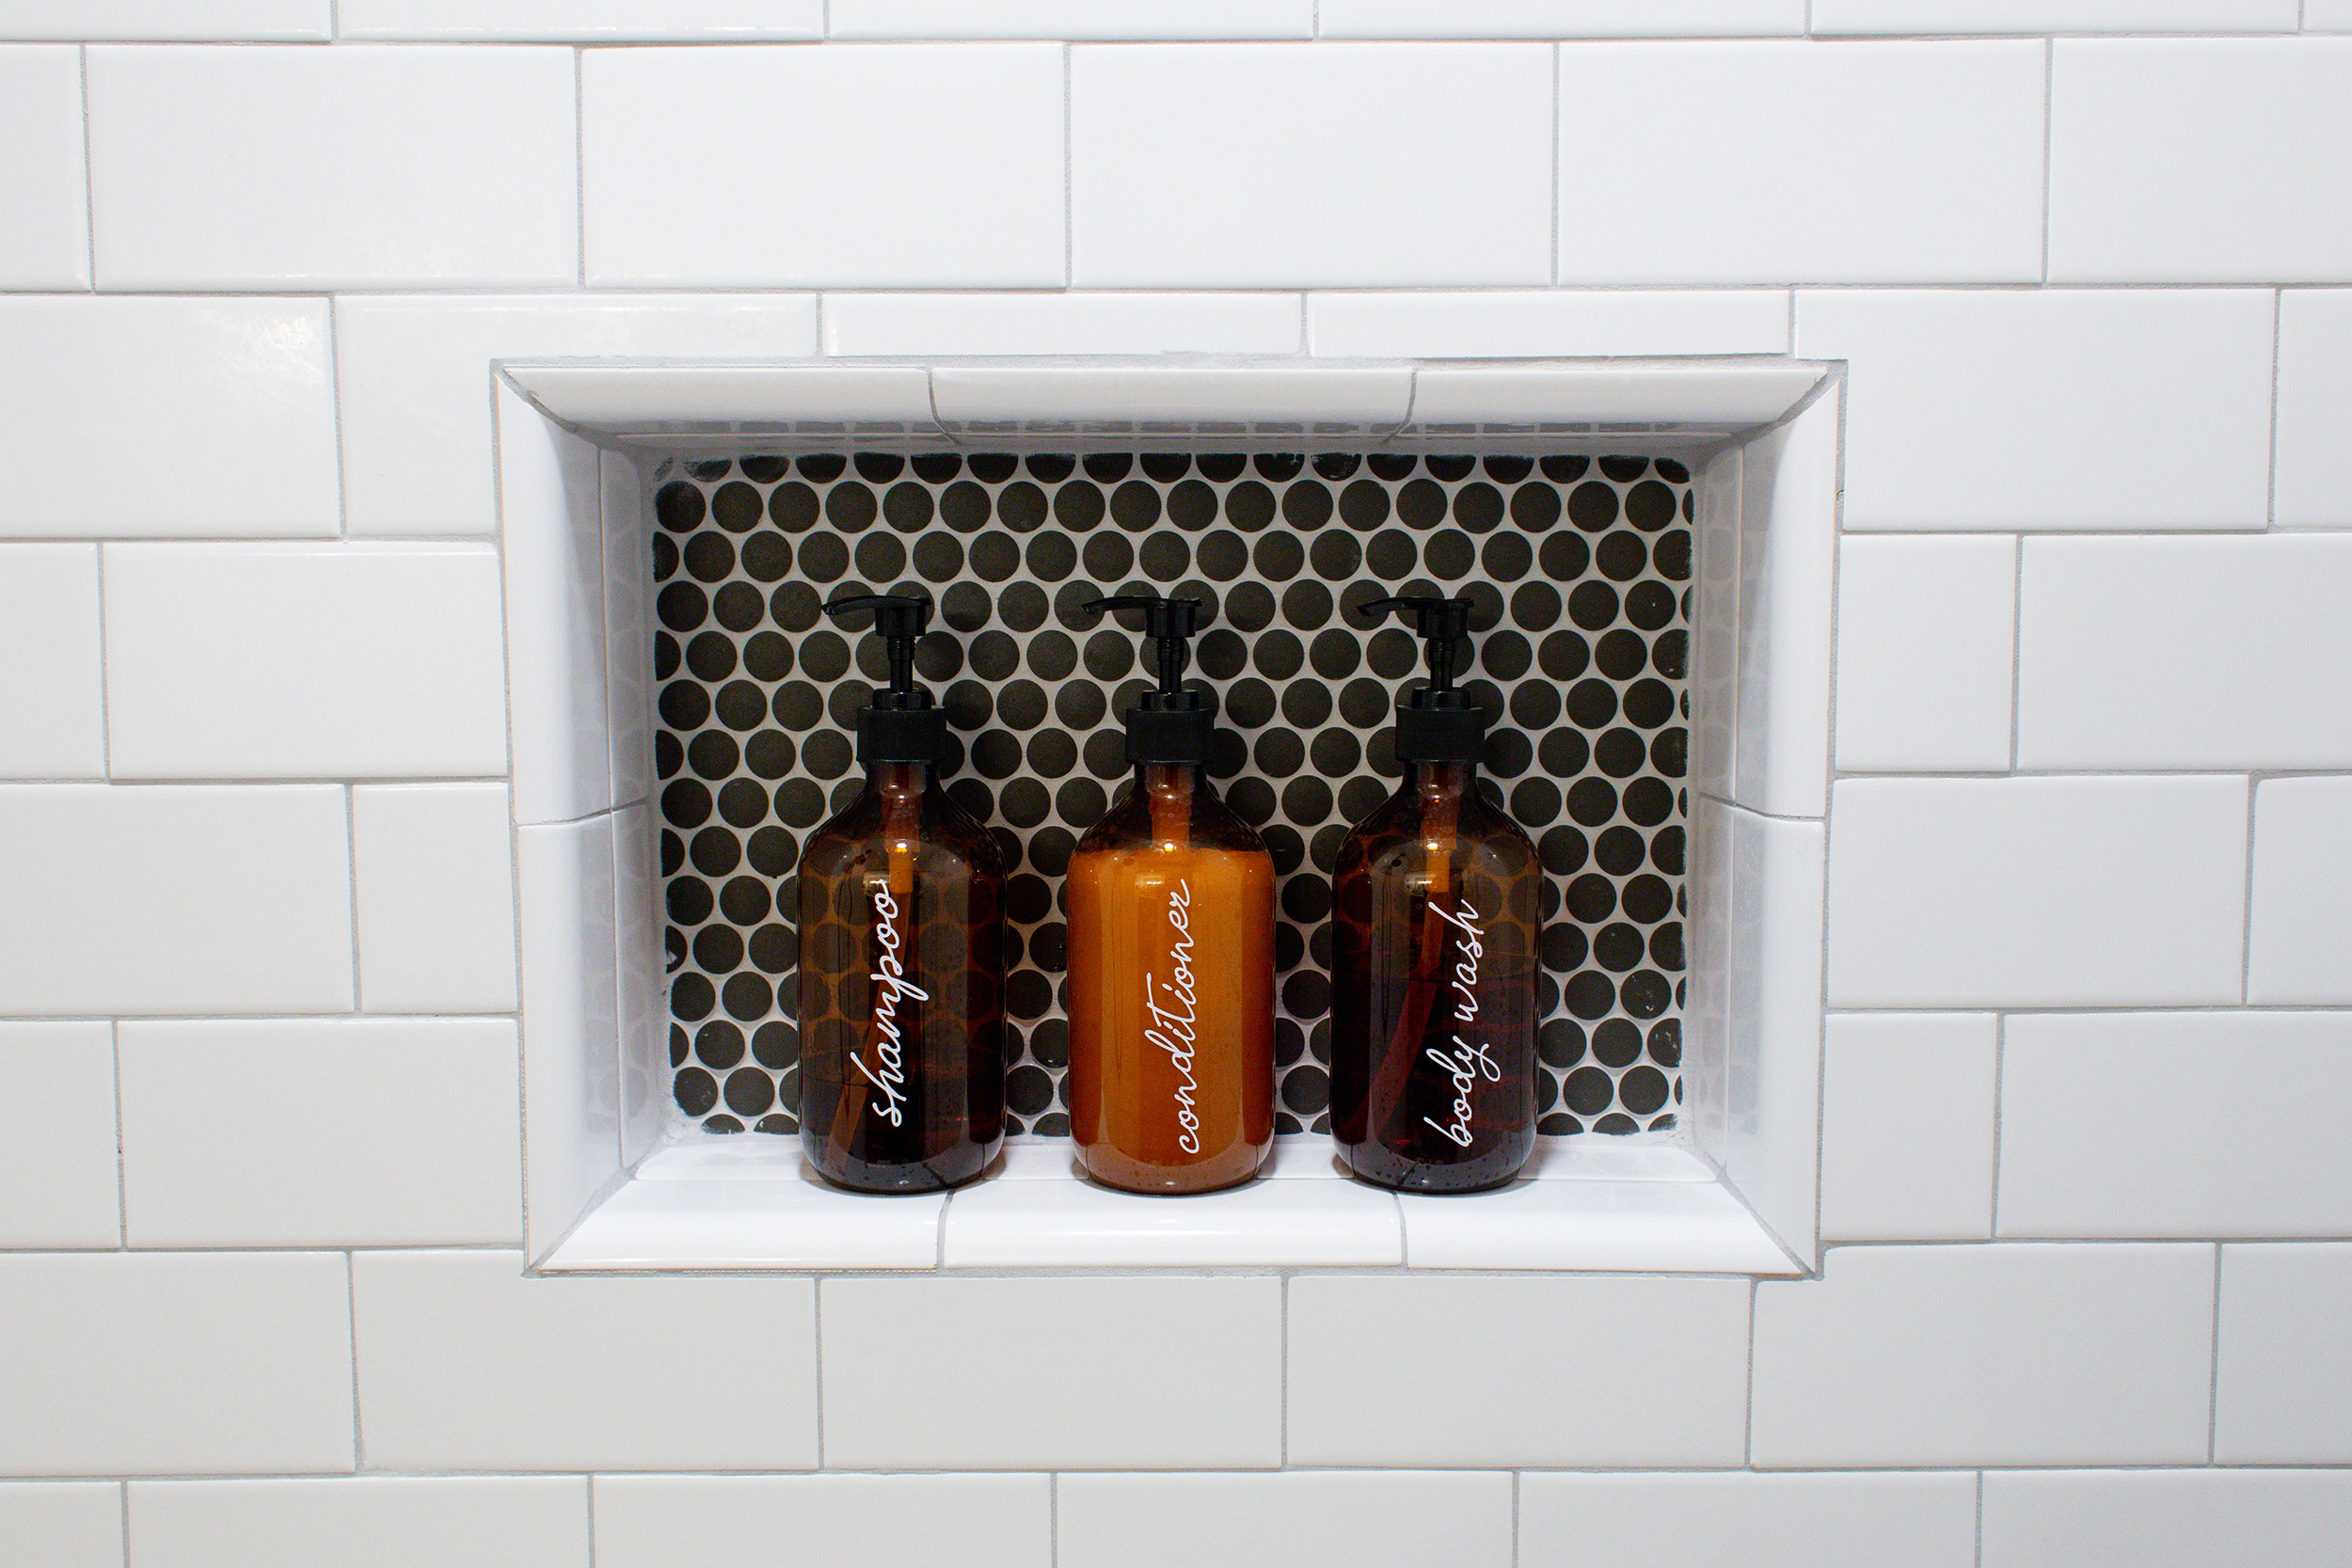
The labels on the amber bottles are actually vinyl adhesive I cut with my Cricut machine! I thought I would share these with you guys so you can make your own too!
There is a ‘Lotion’ and ‘Hand Soap’ label in the download as well!
SOURCE LIST
Hopefully, we can start incorporating separate DIY posts for all the stuff we made in this room. In the meantime, here’s the source list:
VANITY
- Vanity: Lowe’s
- Sink Faucets: Amazon (Moen)
- Sink Faucet Valves: Amazon (this is needed to install the sink faucets)
- Vanity Mirrors: Amazon
- Swivel Wall Mounted Mirror: Amazon
- Light Fixture: Home Depot
- Wicker Baskets: The Container Store
- Wood Vanity Tray: Amazon
- Hand Towels: Amazon
- Bath Towels: Target
- Hand Towel Rings: Lowe’s
BATH/SHOWER
- Bathtub: Menards
- Tub Drain & Overflow: Amazon
- Moen Bath/Shower Trim Hardware Kit: Amazon
- Moen Shower Valve: Amazon
- Showerhead & Handheld Combo: Amazon
- Shower Light: Home Depot
- Shower Curtain: Amazon
- Shower Curtain Liner: Amazon
- Shower Curtain Rings: Amazon
- Shower Curtain Rod: Amazon
- Towel Bars: Lowe’s
- Bath Towels: World Market
- Plastic Amber Bottles: Amazon
- Faux String of Pearls Plant: Amazon
- Plant Stand: Wayfair (I got mine from Tjmaxx before everything closed for COVID19, but Wayfair sells the exact same ones!)
- Bamboo Bathtub Caddy: Amazon
- White Rug: Target
- Black Floor Vent: Lowe’s
TOILET
- American Standard Toilet: Lowe’s
- Female Body Line Drawing Print: Etsy
- Small White Frame(8×10): Target
- Large White Frame(12×18): Target
- Garbage Can: Target
- Toilet Brush: Target
- Toilet Paper Holder: Amazon
- Shelf Leather Straps: Amazon
- Shelving Wood: Lowes
- Brass Wood Screws: Lowe’s
- Brass Finishing Washers: Lowe’s
PAINT
- Walls: Behr ‘Gallery White’
- Ombre Wall Colors (Dark To Light): Behr Shadow Mountain, Behr Elemental Gray, Behr Platinum, Behr Gallery White
I’m so happy to have this checked off our list! I’m super proud of myself and my husband for being able to tackle this! If you are interested, you can watch this bath reno project from start to finish by checking out our Instagram highlight here!




Hi there!! This bathroom is amazing!!! We are thinking about doing our bathroom remodel soon. Just to prepare ourselves (our bathroom looks just like yours!!) was is the total remodel budget for this bathroom? Would be huge help!! Thank you!!
Hey!!
We did everything ourselves minus laying the tile. We prepped everything and did plumbing ourselves for the double vanity as well as the shower.
With that being said, I tallied everything up and we spent about 6k in total! We did have to put new plumbing in for a second vanity as well as change the piping for the shower. So if you don’t have to do any major plumbing changes, then it would be a lot less than that! & if you want to lay the tile yourselves you would save a bunch on labor costs. We decided on having someone lay it because it was herringbone and we didn’t want to take a chance on messing it up!
I hope that helps!