Hey, Tammy here!
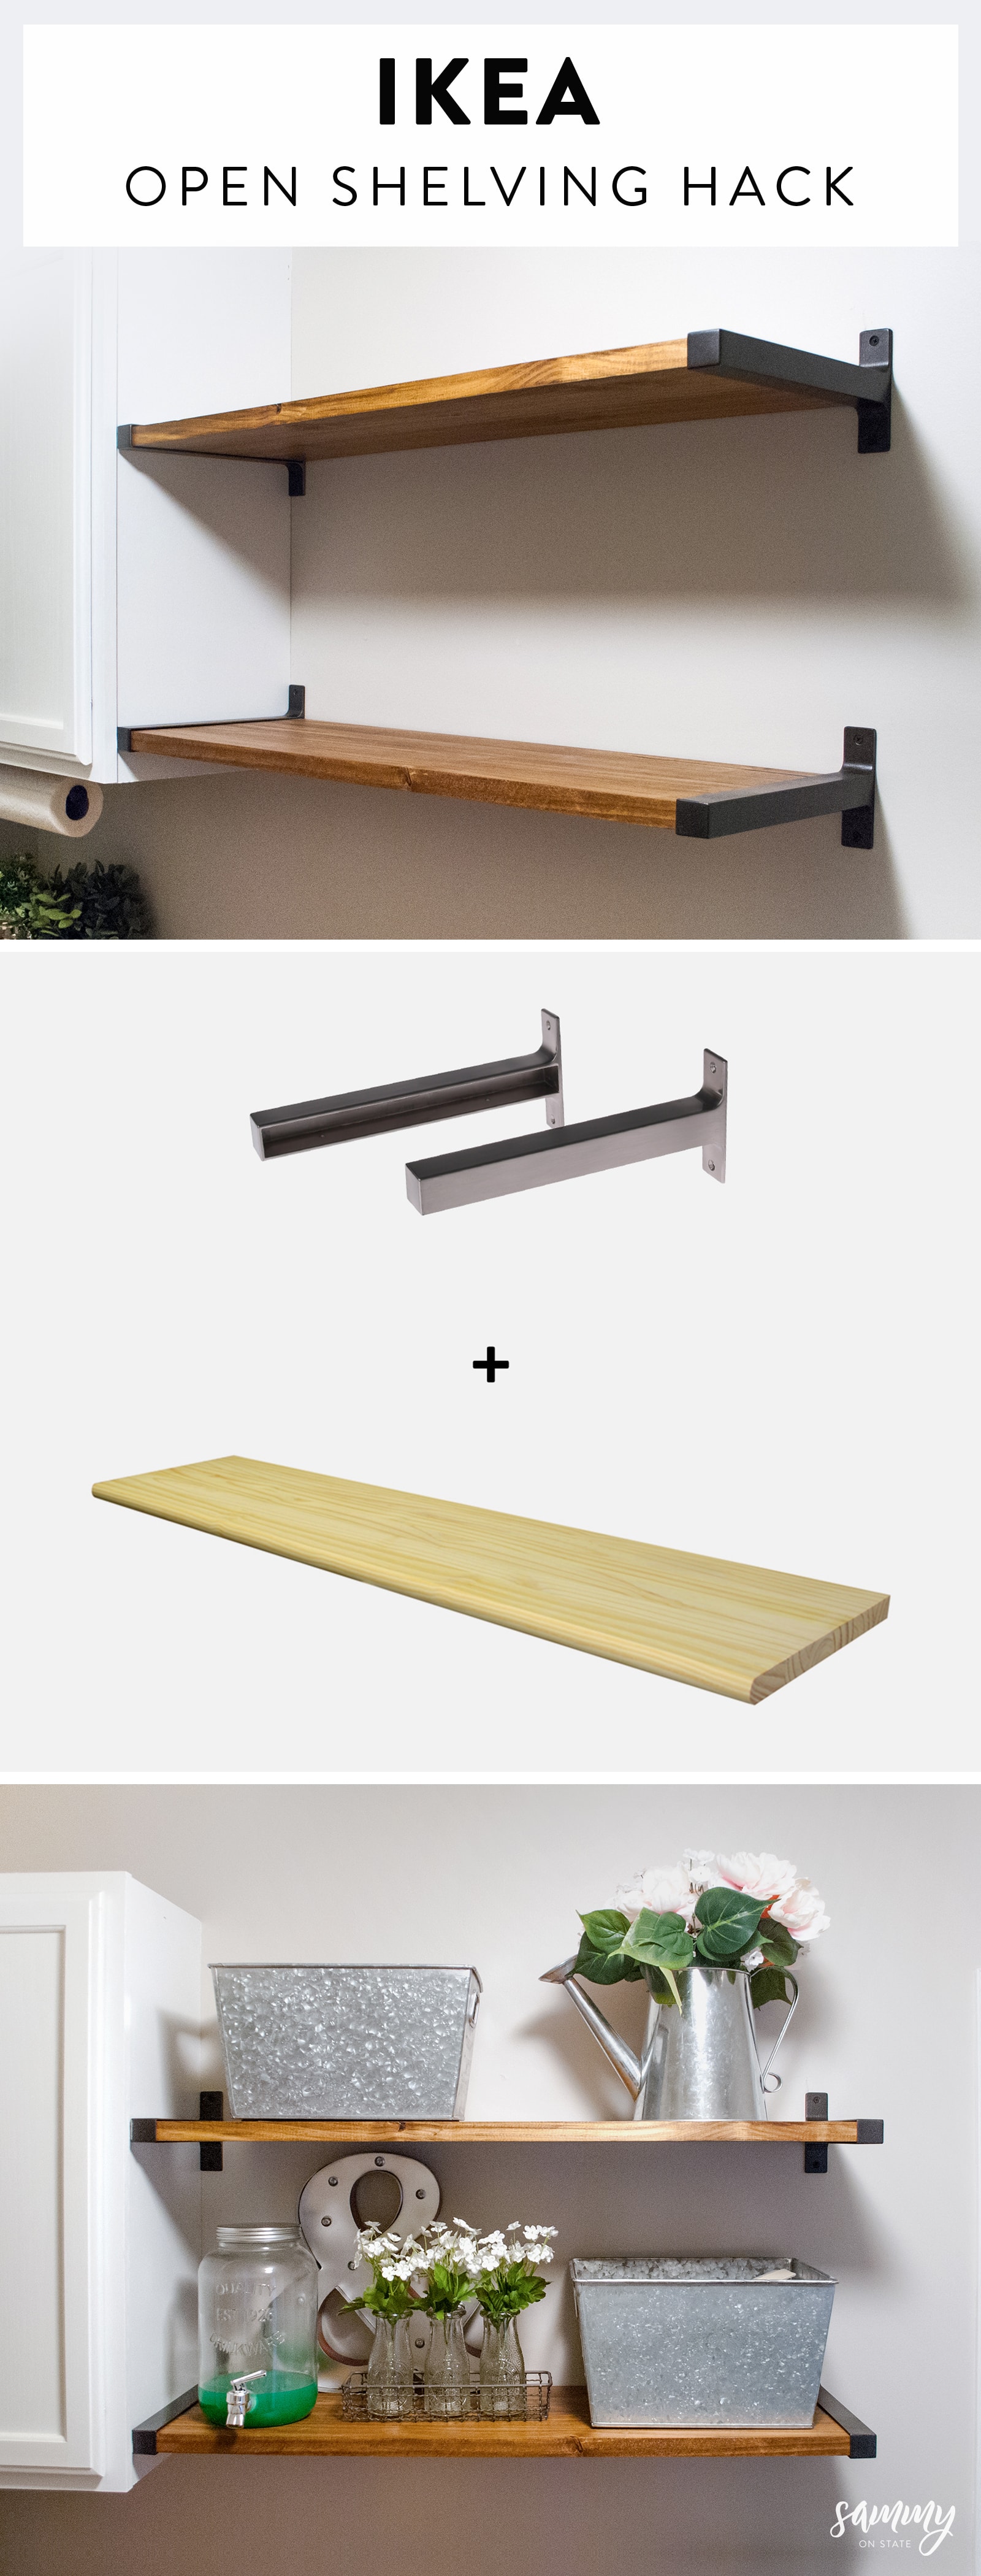
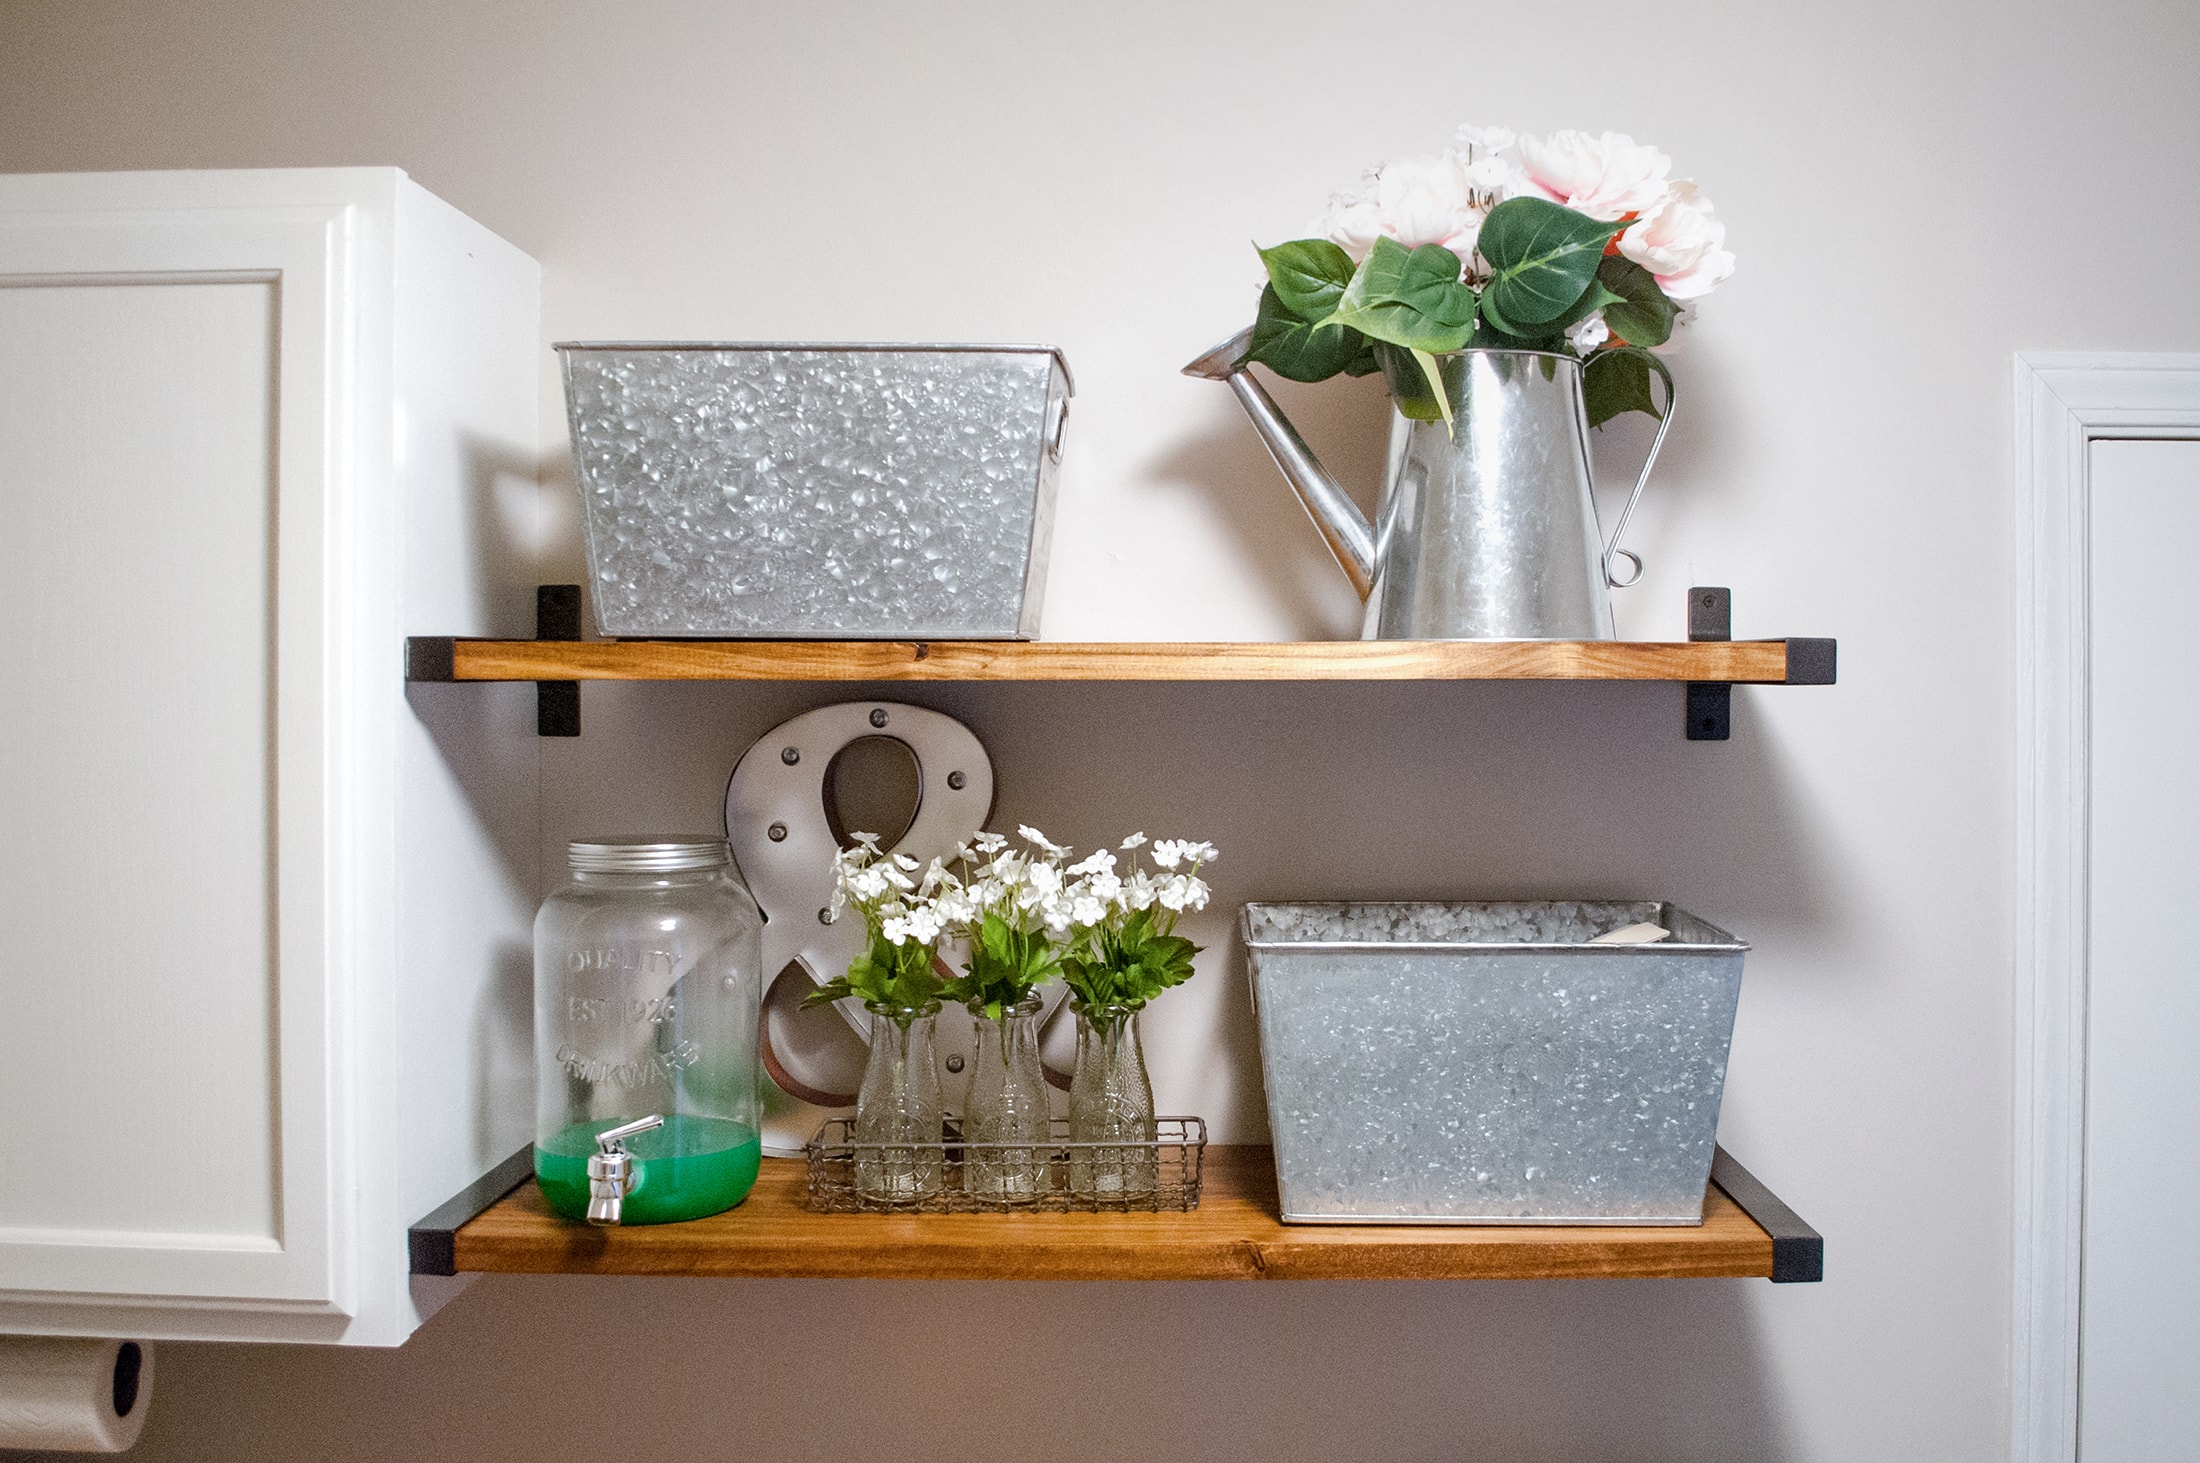
Today I’m sharing how we created these cute, budget-friendly open shelves that are in my laundry room. The best part… it’s an easy and a cheap IKEA hack using IKEA’s Granhult brackets (11 3/4”)
I know we just posted about the laundry makeover – which you can read about it here, – but we’ve gotten a few people asking where we got the open shelving from. Well! With a little bit of stain, wood, spray paint, and creativity, (the staple for most of our projects), we were able to achieve this opening shelving look for little cost.
This post may contain affiliate links where we earn a small commission on your purchases at no additional cost to you.
When we were remodeling the laundry room, I knew I wanted to include open shelving. I looked at Hobby Lobby, Target, HomeGoods, Kirklands (the list goes on), nothing I saw I really liked… at least within budget. After no luck, I knew what was going to happen next… Pinterest.
After a couple of scrolls, there was my inspiration… a DIY rustic bookshelf tutorial using IKEA Granhult 7 3/4” brackets. I couldn’t click fast enough. If someone says IKEA, you got both Sarah and I’s FULL attention! Which sometimes, is a bit difficult to do… lol.
Reading through the tutorial, I found that 7 3/4” bracket really wouldn’t be wide enough for what I needed. We already had our cabinet in place and knew that the depth of it was around 11” (behind the 1” front face lip). We wanted to match the depth with the open shelving. BUT! Low and behold, there it was… 11 3/4” brackets. (cue light from above and hallelujah music). Literally, perfect.
After continuing to read the post, the wood they used was a standard 1 x 8 board. The issue with this was that there was a gap inside the brackets since the board was not thick enough… Not good. I continued the Pinterest hunt a bit more, to see if anyone else used the Granhult bracket hack. Sure enough, there it was! This blogger used stair treads, ripped down to size. I was a little skeptical at first… not really knowing how this would turn out. I thought why not, let’s give-it-a-go. Off to IKEA it was! Let the fun begin (after a cinnamon bun or 2 😉 )
SUPPLIES
- IKEA Granhult brackets (11 3/4”)
- Stain (We used Early American Minwax)
- Polycrylic Protective Finish (optional)
- Oil Rubbed Bronze spray paint (if brushed aluminum is not your style)
- Screws
TOOLS
- Circular Saw or Table Saw
- Drill
- Level
- Stud Finder
- Tape Measure
- Pencil
- Foam Brush or Lint-free Cloth (for stain)
Each shelf cost under $20 a piece (not including stain or spray paint… I had extra of both laying around). So, for both shelves, stain and spray paint, we’re looking at tops of $50! This really isn’t too bad for 2 shelves.
STEP 1 – Cut down wood
The stair treads we got were 11-1/4″ width, while the shelving brackets are 11” – so you’ll need to cut 1/4″ off the piece of wood. Most, if not all, stair treads have a bull-nosed edge on one side… You’ll want to remove your excess wood from this side of the stair tread. Using your tape measure and pencil, mark 1/4″ from each side of the bull-nosed edge and draw your connecting line… you’ll cut down this line.
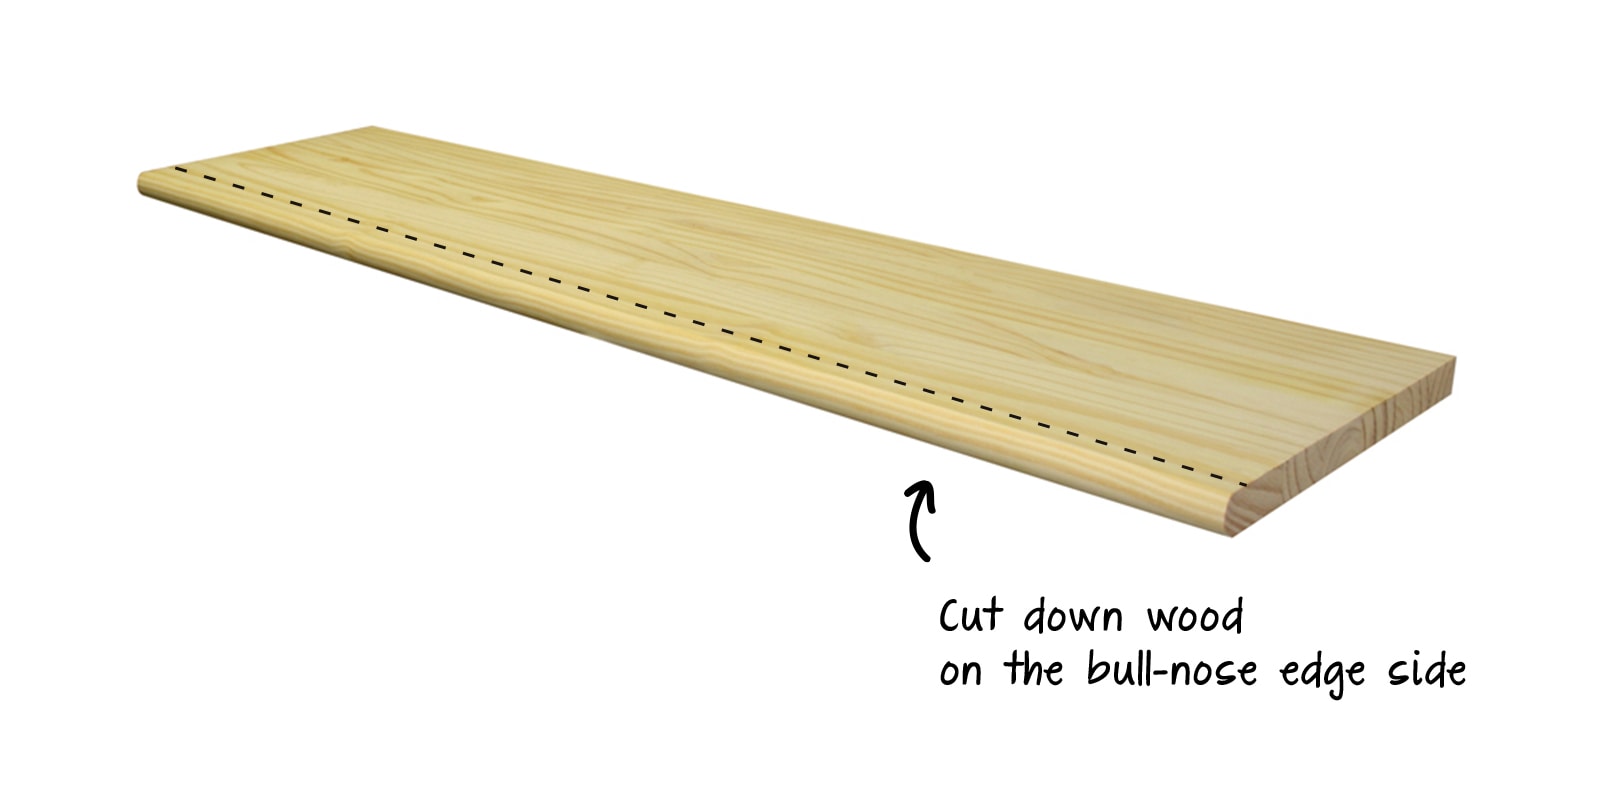
Using either a circular saw, or a table saw, cut down the line you marked.
Also, the stair treads come in a 48″ length. So, your shelves can be as long as 48″ or can be cut down to any size.
– side tip – Just in case your cut isn’t perfect (especially if you’re using a circular saw) you can have that edge face towards the wall – no one will see that side!
STEP 2 – Stain
Time to stain! I ended up using Minwax’s Early American Stain. I was really feeling the warm yellow/orange undertones of this stain color. It worked great with our space.
Once you choose your stain color, use a foam brush or lint-free rag to apply your stain. Make sure to stain edges and both the top and bottom of the board!
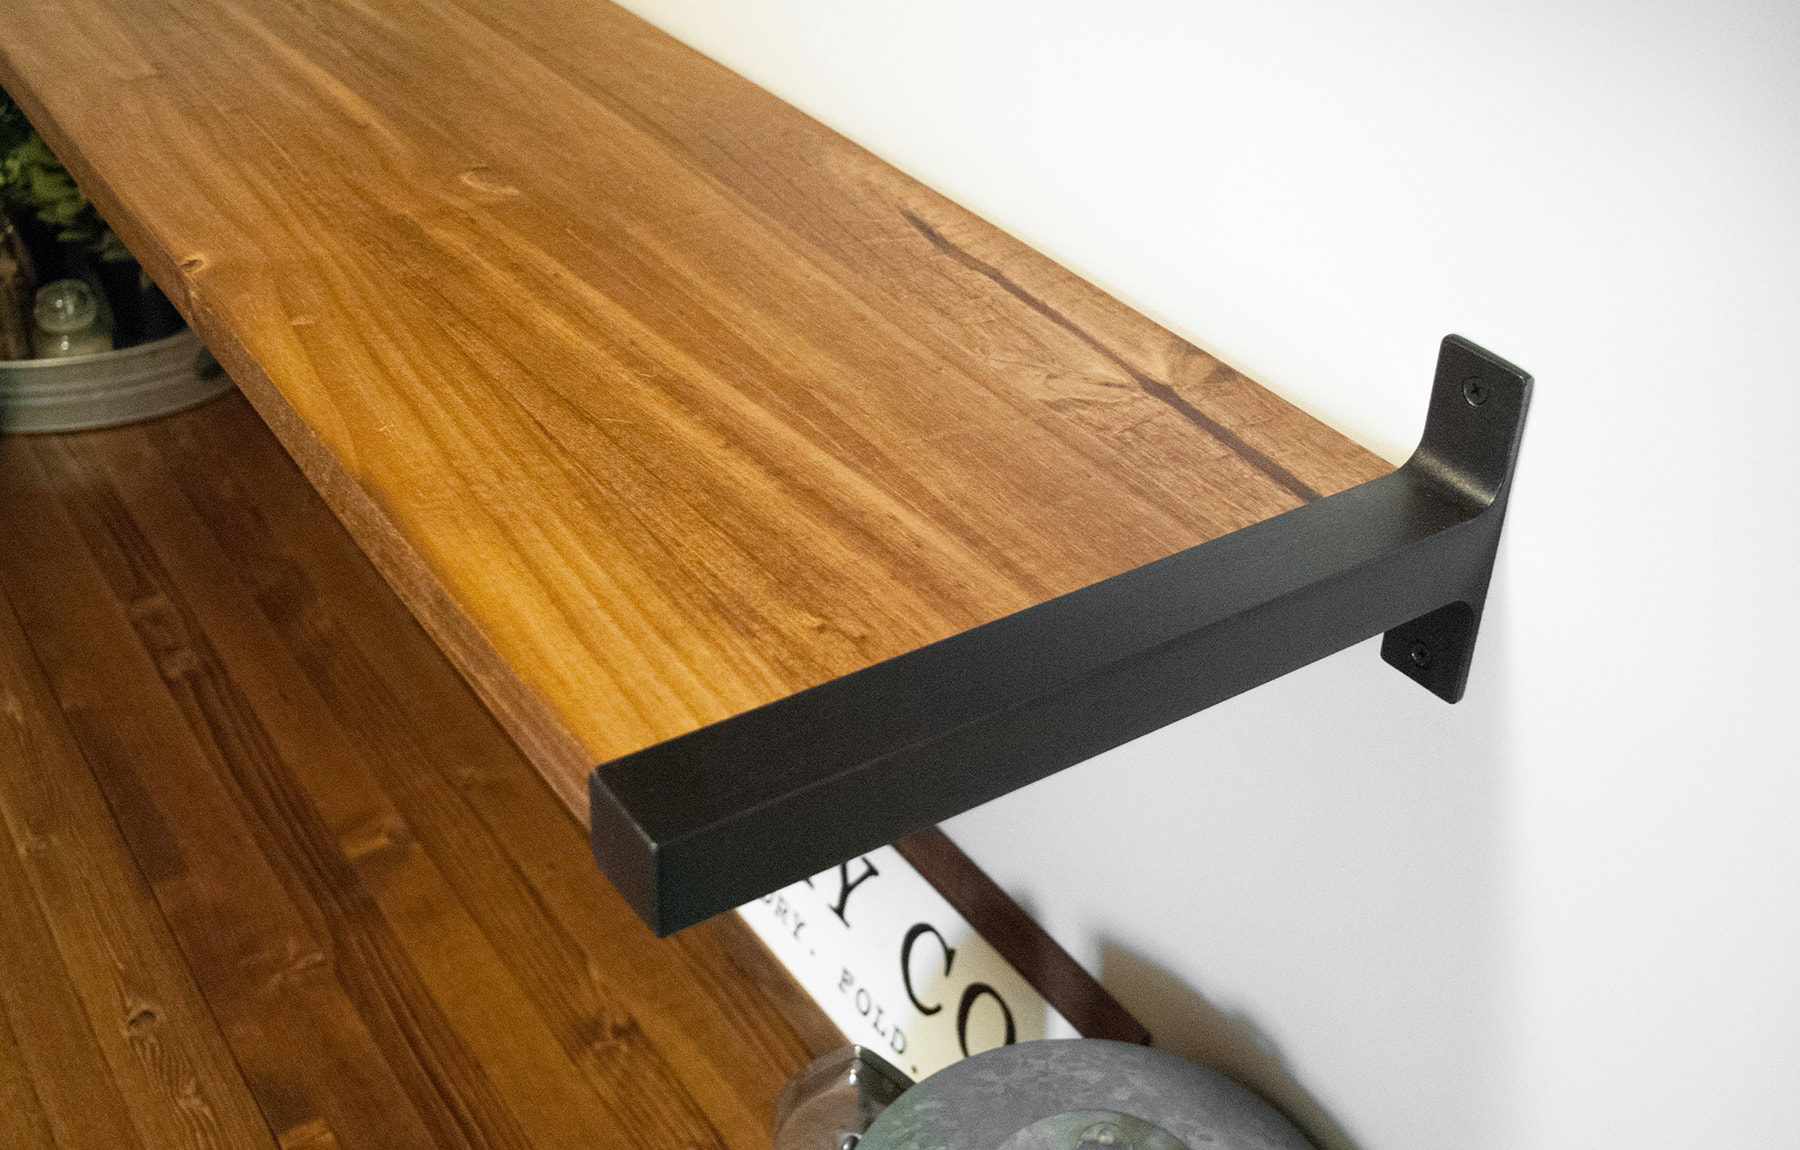
Both Sarah and I always like to protect/seal our wood projects. It’s totally optional and based on preference. If you do choose to add a protective coat, we recommend using Minwax polycrylic matte finish since it does not leave a yellow tint to the stain, like a polyurethane coat can. Polyurethane is oil-based, while polycrylic is water-based.
Set aside to let your stain dry (best to wait 24 hours before hanging).
STEP 3 – Spray paint brackets (optional)
I don’t know what it is, but I always seem to steer towards oil rubbed bronze for hardware. I kind of have an obsession (insert shrug emoji).
If brushed aluminum is not really your style either, you can spray paint your brackets! My go-to spray paint is Rust-Oleum’s Oil Rubbed Bronze spray paint since it’s a 2-in-1 paint & primer.
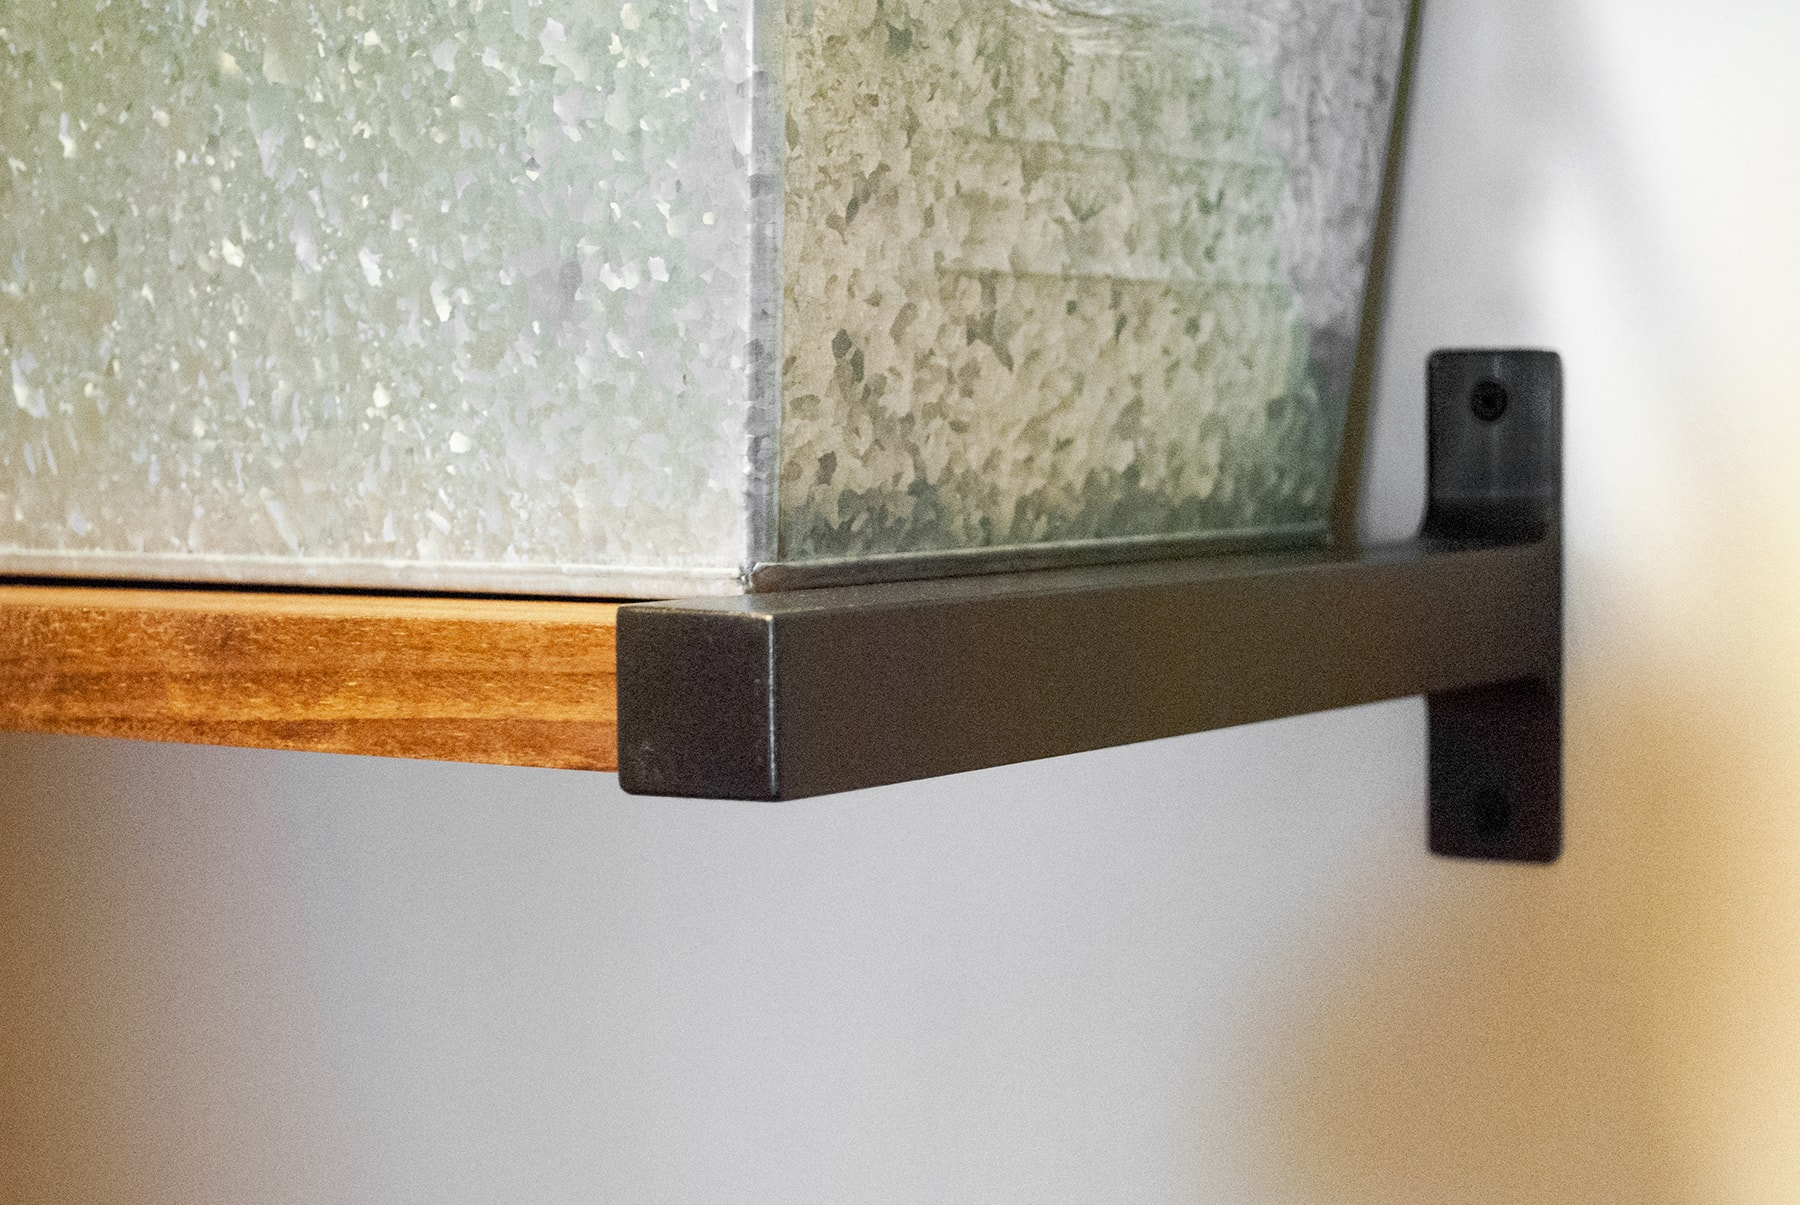
Make sure to let these dry too!
STEP 4 – Hang
You’ll want to start by hanging one bracket first and then go from there.
Find and mark the place on your wall where you want to hang the shelf. Try to hang your brackets on a stud, if possible. If there is no stud where you want to hang your shelf, you’ll want to use drywall anchors for support.
Using your drill, take your screws and screw into the bracket and wall. Don’t forget to use a level to make sure your bracket is level and straight! Once you’re done hanging your one bracket, grab the wood shelf and the other bracket.
Take both the wood shelf and the other bracket (the one that is not attached to the wall) and attach/slide into the bracket hanging on the wall. Again, use your level to make sure both the shelf and bracket are level. Mark your bracket’s placement on the wall and screw into the wall using your drill.
That’s it! You now have an open wood shelf hanging on your wall.
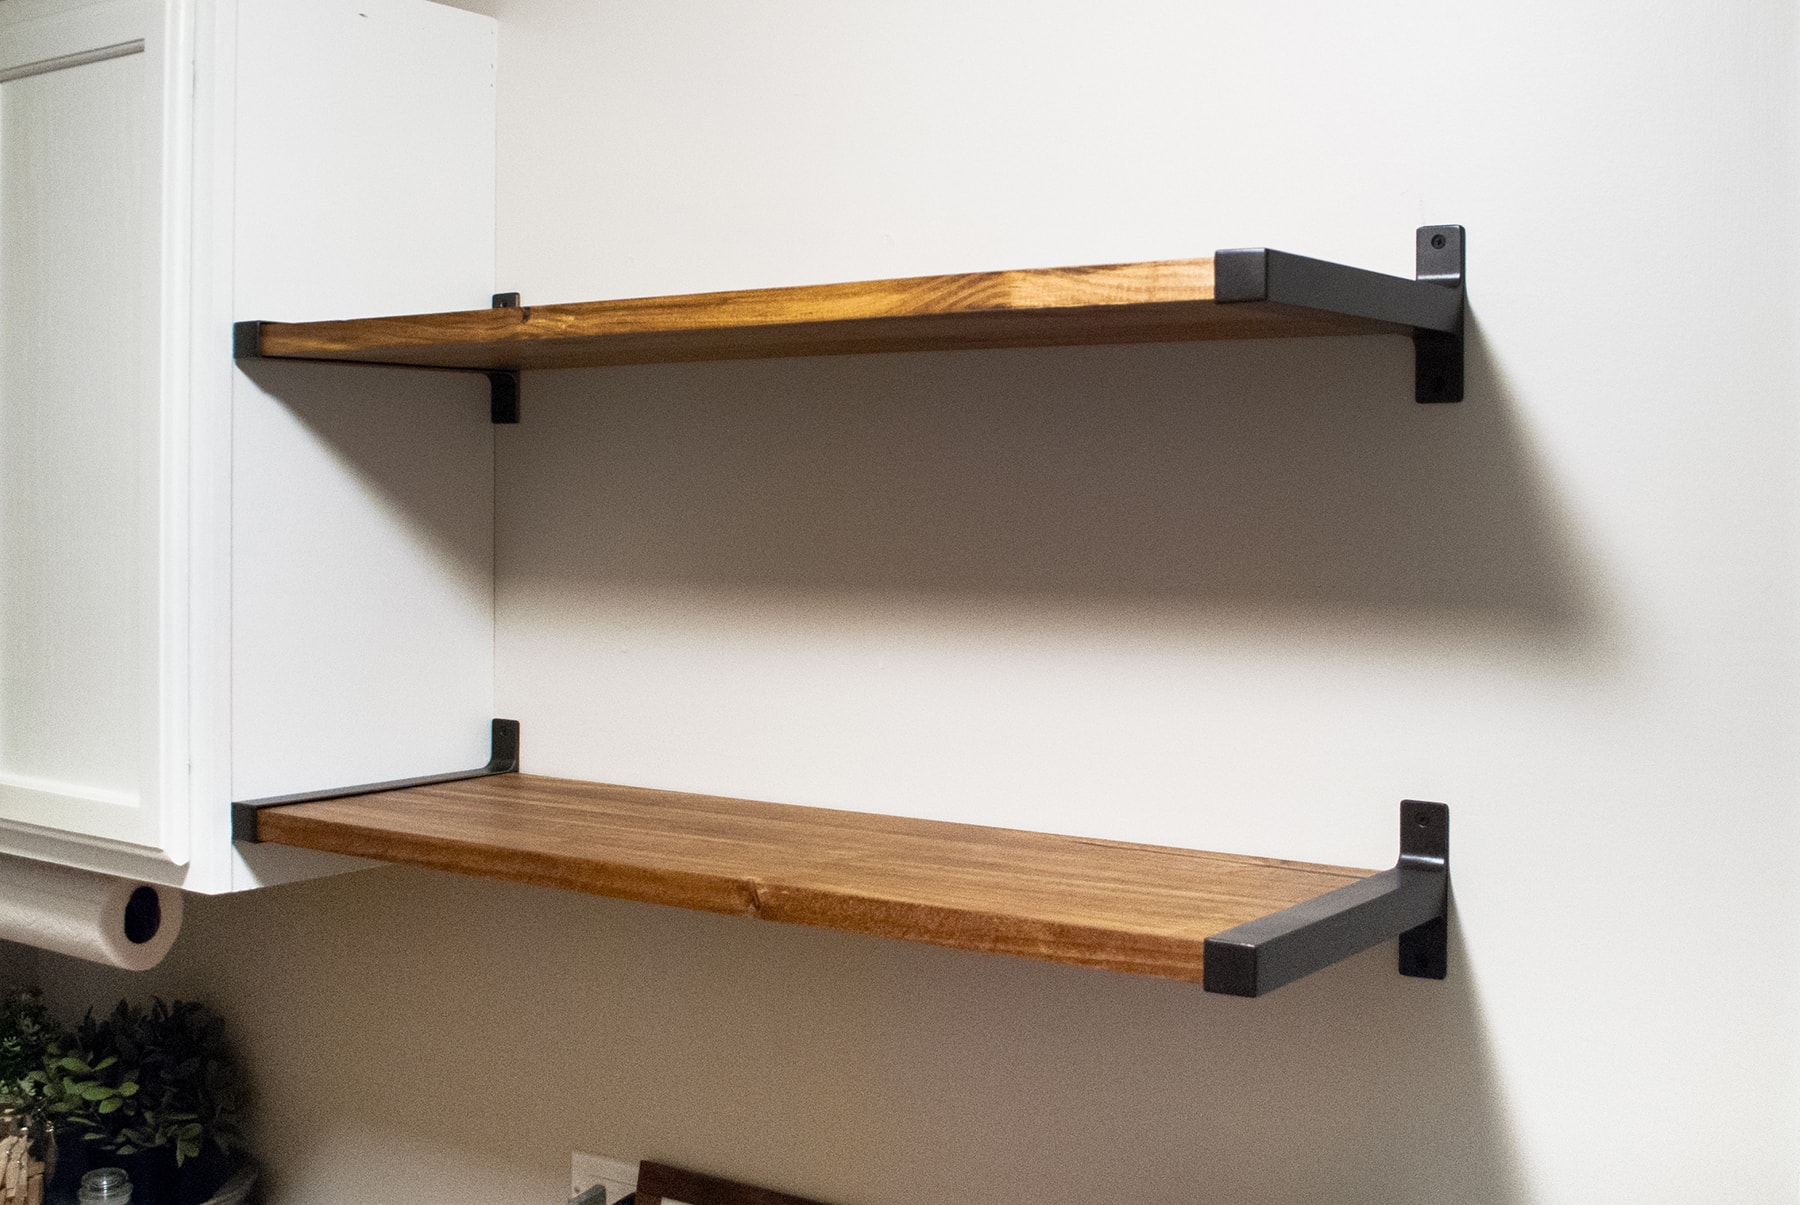
Check out our finished project below!
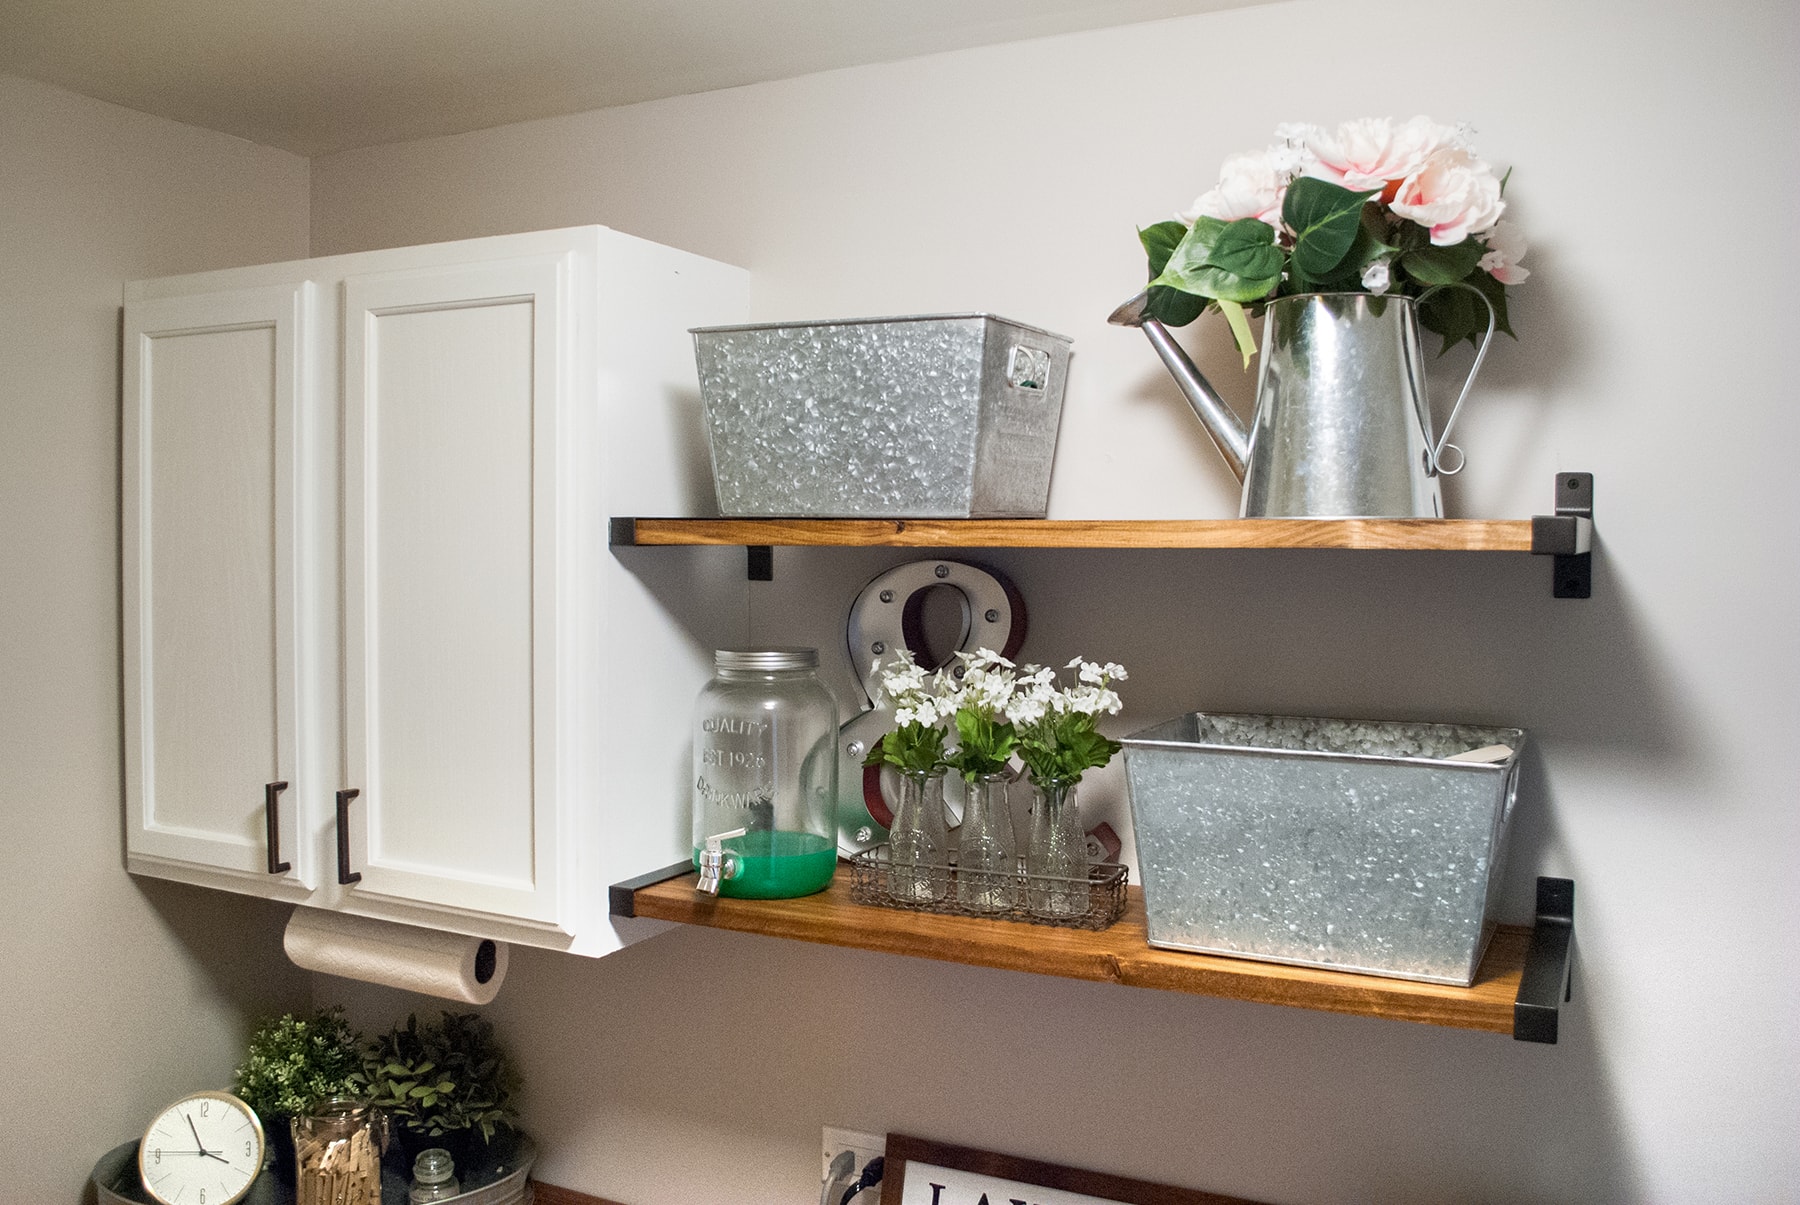
These galvanized storage bins are my favorite! To make them even better – they’re from WALMART. Yep, Walmart. $7.50.
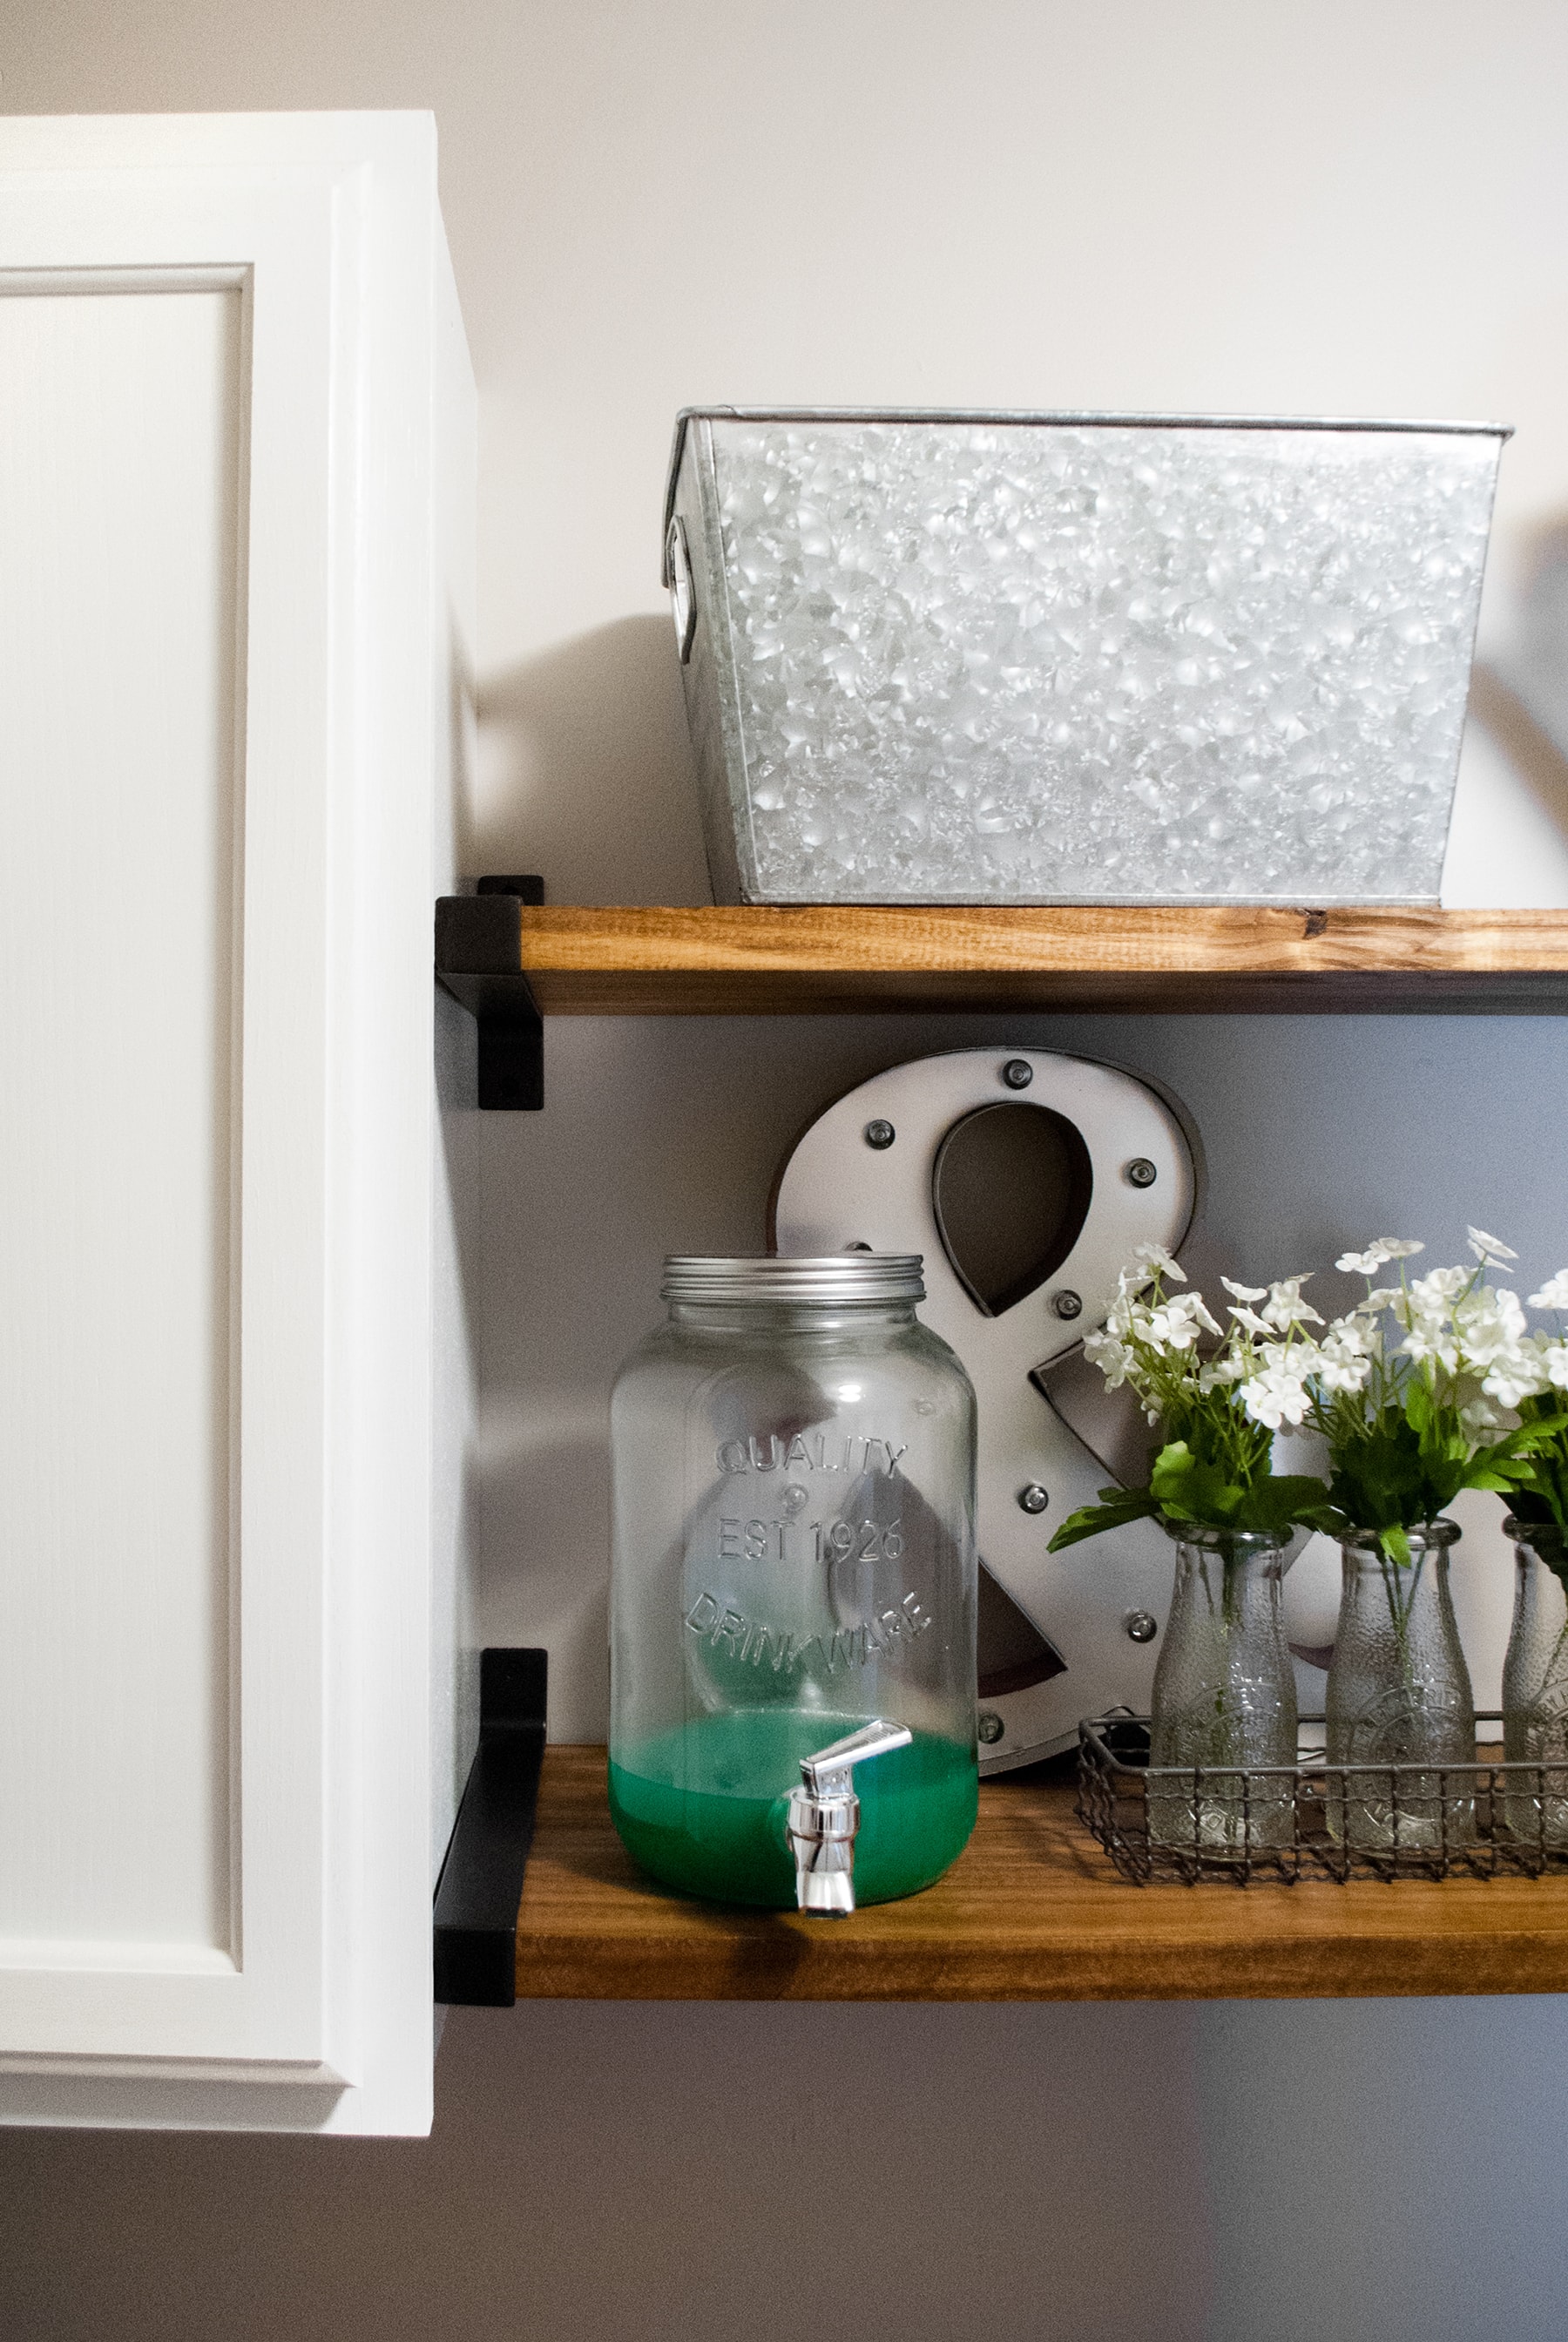
We turned this cute glass mason jar dispenser into our laundry detergent dispenser. I found this at Walmart too!
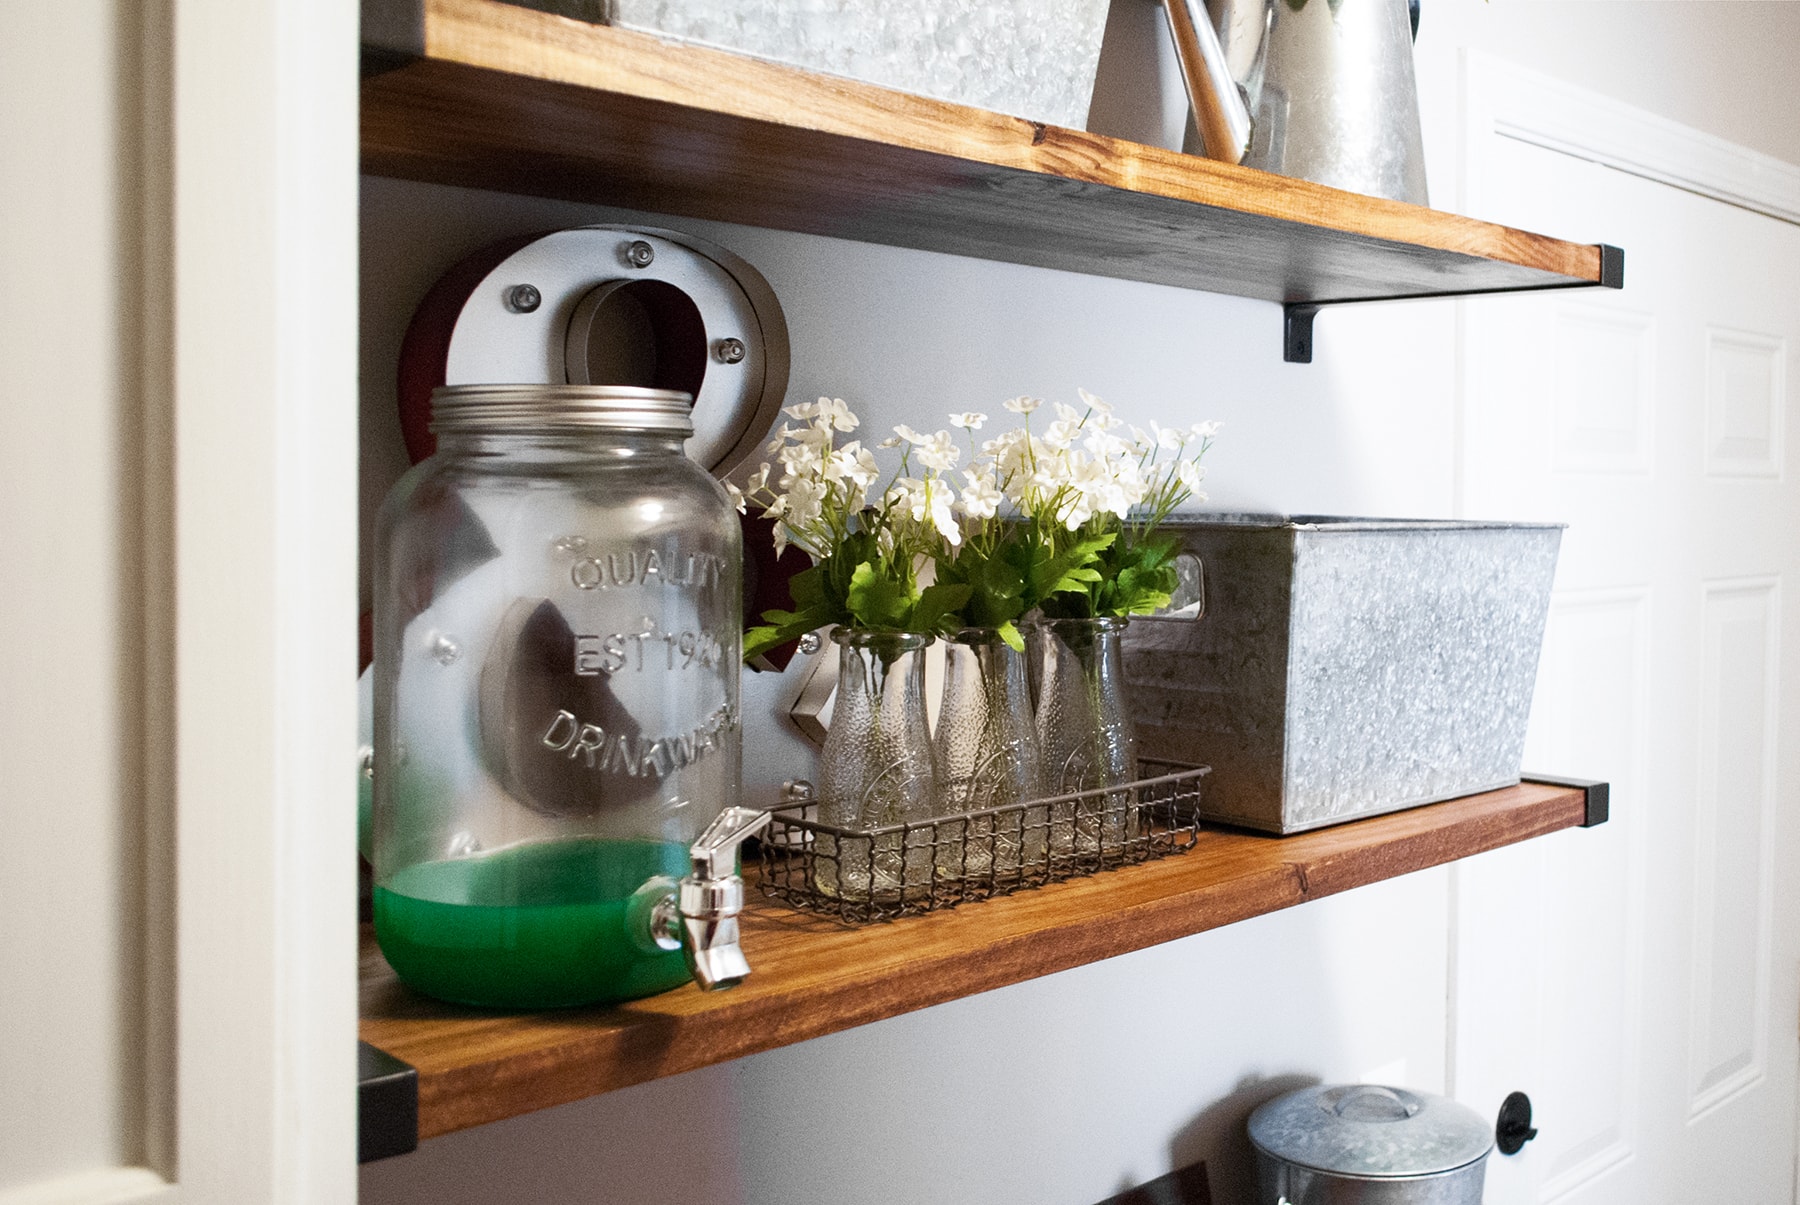
Thanks for reading! Let us know what you think in the comments below 🙂







Just wanted to note for anyone looking that these are actually Granhult brackets, not Ekby.
Yes! I think they’ve changed the name! Thank you for pointing this out! We are going to get this updated!
Hi there! I know this is an older post, but wanted to ask a quick question, as I’m looking to do these in my kitchen. The IKEA brackets state that they are 11 3/4”, however in your description you state that they are 11”. When looking at common stair treads from Lowe’s or Home Depot, it seems the common depth is either 11.25 or 11.5. Can you confirm the actual size of these brackets? If they are in fact 11 3/4, then the stair tread (or a standard board) wouldn’t be wide enough, causing a gap between the shelf and the wall. Just want to avoid ordering these brackets if they won’t work with what I can find in a hardware store.
Hey Dani!
Thanks for bringing this up. I looked into it and when they changed the name of the brackets from Ekby to Granhult, they also changed the dimensions of the brackets. So yes, they are now 11 3/4″. I just went to double-check the dimensions of the ones I have (the original Ekby ones), and they are 11″. So the stair tread hack works for the old brackets. For the new Granhult ones, I’m not sure if the stair tread will work because of the bullnose edge. You have to cut that part off, so it’s square on both sides, which means you’ll lose some depth of the stair tread.
As you said, it would cause a small gap between the shelf and the wall (maybe around 1/2″) if you did buy these new Granhult brackets. However, the brackets themselves would conceal the gap from the sides. I’m not sure if the 1/2″ or so will be noticeable from the front view.
Hope this is helpful!
Thank you so much for looking into this and letting me know!
Of course! 🙂
I’m going to try this with the new brackets and a red. Leaving the bullnose against the wall. **Fingers crossed**
Hi! I love this. I just ordered the ikea brackets. I was wondering how the spray paint held up on them? Was any prepping needed before spray painting? Thanks!
Hey Jenna!
I believe we did do a very light sanding on the brackets, just to be safe. But the spray paint has held up great! Our go-to spray paint is Rust-Oleum’s Universal Paint & Primer.
Also, just to note: We’ve recently found out that IKEA has changed the dimensions of the brackets. So there possibly could be a small gap at the backside of your shelf to the wall since stair treads only coming 11.5″ deep. I wish they didn’t change the bracket dimensions!
-Tammy & Sarah